AMSUMARS.A.C.
QUICK START GUIDE GLOBALFIX V4 406
MHZ gps epirb


When a 406 MHz beacon is activated, the digital distress message is transmitted toCospas-Sarsat satellites, which in turn, relay this message to reach the SAR Authorities.The distress message contains important information about the beacon and its owner.Additional information about the beacon is accessed by SAR from the beacon registrationdatabase. At the same time the 406 MHz signal is activated, a 121.5 MHz signal is turnedon. The 121.5 MHz signal is used by SAR to home in on the beacon, as they approach it.
Registration is Mandatorythis EPIRB must be promptly registered with the appropriate National Authority.
HOW AN EPIRB WORKS – COSPAS/SARSAT
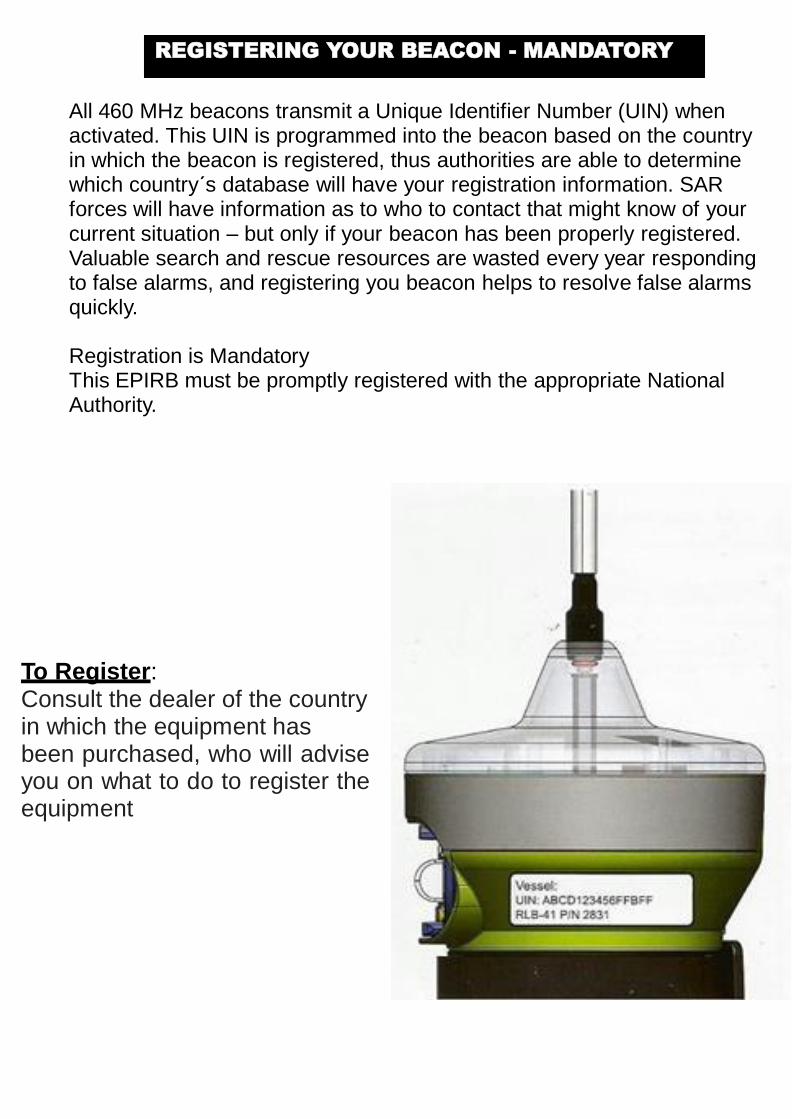
All 460 MHz beacons transmit a Unique Identifier Number (UIN) whenactivated. This UIN is programmed into the beacon based on the country in which the beacon is registered, thus authorities are able to determine which country´s database will have your registration information. SAR forces will have information as to who to contact that might know of your current situation – but only if your beacon has been properly registered. Valuable search and rescue resources are wasted every year responding to false alarms, and registering you beacon helps to resolve false alarms quickly.
Registration is MandatoryThis EPIRB must be promptly registered with the appropriate NationalAuthority.
To Register:Consult the dealer of the countryin which the equipment hasbeen purchased, who will adviseyou on what to do to register theequipment
REGISTERING YOUR BEACON - MANDATORY

Routine Beacon Maintenance:
Every 90 days perform a visual inspection of the mounting bracket and beacon fordeteriorationincluding:
and/or residue build-up
Check antenna for tightnessClean the beacon and mounting bracketwith a damp cloth
Check EPIRB case and bracket for anydamage
Review battery expiration date
Once a year must be sent to the groundfor inspection, testing and maintenanceby a service station approved by themanufacturer.
Improper use, opening and / ortampering will void any warranty or equipment certification
EPIRB SERVICE & MAINTENANCE

The Radio Beacon can self-test as needed, maximum once a month.ACR recommends that you perform a monthly self-test. The self-test can be done inside or outside a building or boat..
A self-test is initiated by pressing the self-test button for one (1)second, until a brief Green LED flashes, and then releasing thebutton. You will then see three (3) additional green LED flash(representing separate successful indicidual testes performed as partof the self – test) followed by a long green LED flash and a long beepindicating a successful test. If any of the indicidual tests fail during theself – test, there will be a red flash and beep associated with eachfailed test and there will then be four beeps, a long res LED flash, anda strobe at the end of the self – test. Self – test will discontinue at thatpoint and the beacon must be sent in for repair.
BEACON SELF - TEST

To do the extended GPS test, the beacom must be outside with a clear
view to the sky. The test is initiated by pressing the self – test button for 6
seconds. There will be an initial brief green LED flash, followed shortly by
three (3) short Green LED flashes and three (3) beeps to indicate that the
extended GPS test has started; the self – test button should then be
released. During the extended GPS test, the red LED will blink to indicate
that the beacon is searching for a good GPS fix. Upon completion of the
test, a long Green LED and beep will indicate that the extended GPS test
was successful. If the beacon is unsuccessful after two (2) minutes in
acquiring a good GPS fix, there will be a long red LED flas and four (4)
beeps.
The beacon may be tested for GPS functionality once every six weeks, up to
a máximum of 84 times during the life of the battery. When trying to initiate
a GPS test after the maximum number of GPS tests has been reached, there
will be a brief green LED flash followed shortly by three brief red LED flashes
and three beeps indicating that is no longer possible to run the GPS test.
Extended GPS Test LED sequence
EXTENDED GPS TEST

Category I Mounting Bracket – ACR P/N 2832
To mount the EPIRB in the category I bracket, insert
the top cap first at a slight angle and then press the
bottom casing until the EPIRB clicks and is firmly
supported. The EPIRB can only be mounted inside
the bracket the ON/Test buttons facing out.
CATEGORY I BRACKET (For P/N 2830)

Category II Mounting Bracket – ACR P/N 2833
To mount the EPIRB in the category II bracket, insert the topcap first at a slight angle and then press the bottom casinguntil the EPIRB clicks and is firmly supported. The EPIRBcan only mounted inside the bracket with the ON/Testbuttons facing out.
CATEGOR II BRACKET (For P/N 2831)

This EPIRB is fitted with a user replaceable battery.The battery for this EPIRB can be procured at any
ACR dealer. Battery replacement is due afteractivation or by expiry date on the beacon, whichevercomes first.
BATTERY REPLACEMENT

AMSUMARS.A.C.
AV. SANTA ROSA 791-793 LA PERLA CALLAO
Tel: 51(1)457-5234
Website: www.amsumar.com
E-mail: [email protected]


