Download - Prolog

The first step in my 3D environment creation process, was to determine the scale of the different
buildings in my environment, I needed to differentiate the scale for three different buildings that I
will model to be accessible and inaccessible, The inaccessible building models will be simply
modelled using basic cubes that will be textured with doors, windows and roofs added to them. The
accessible buildings models will be modelled similarly though they will be accessible and will have
models on the inside. There will be 3 different sizes of house building, a small single floored building, a slightly bigger single floored building and a larger two floored building.
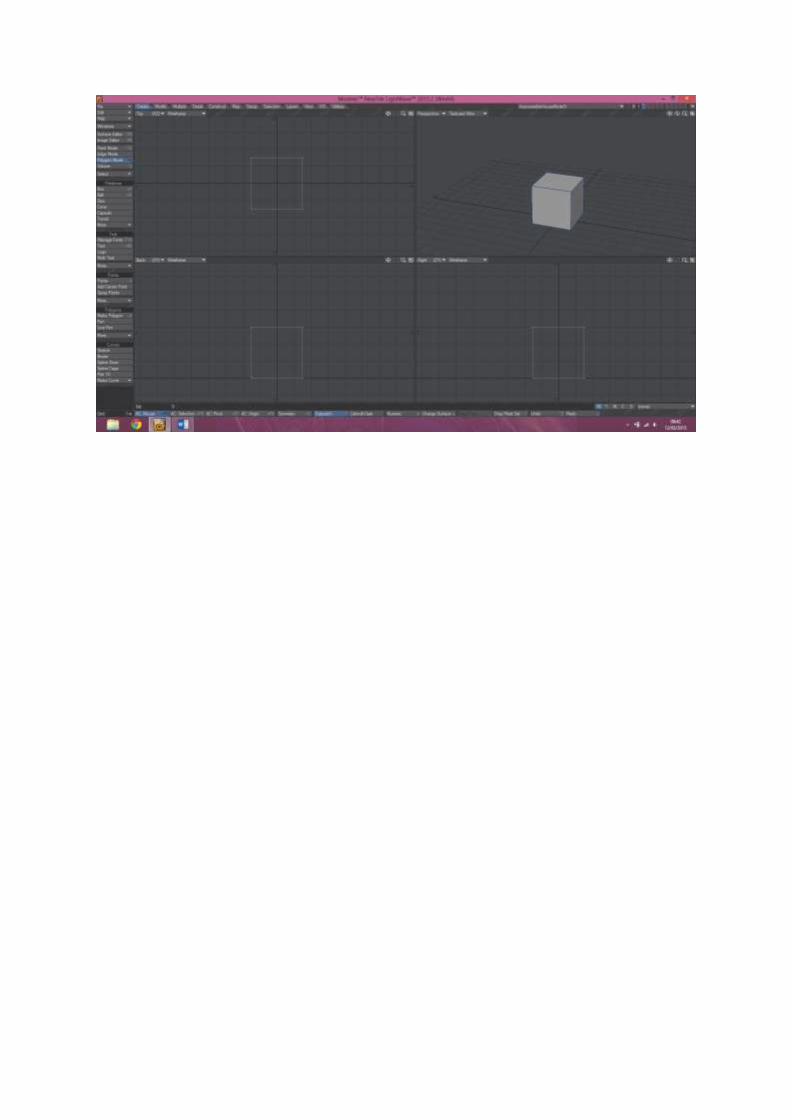
Below are screenshots of me determining the best sizes for the buildings, you can clearly see the 3
different building sizes. l I will model them further using these basic cubes to scale the accessible and
inaccessible final models.

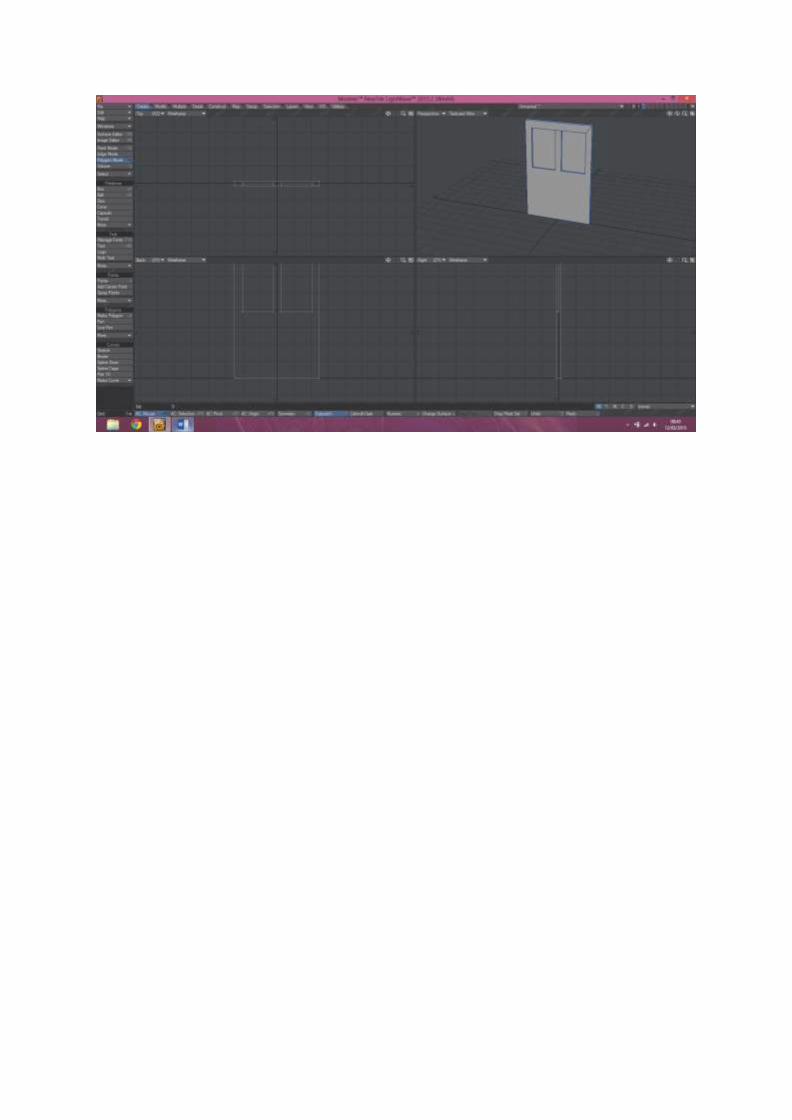
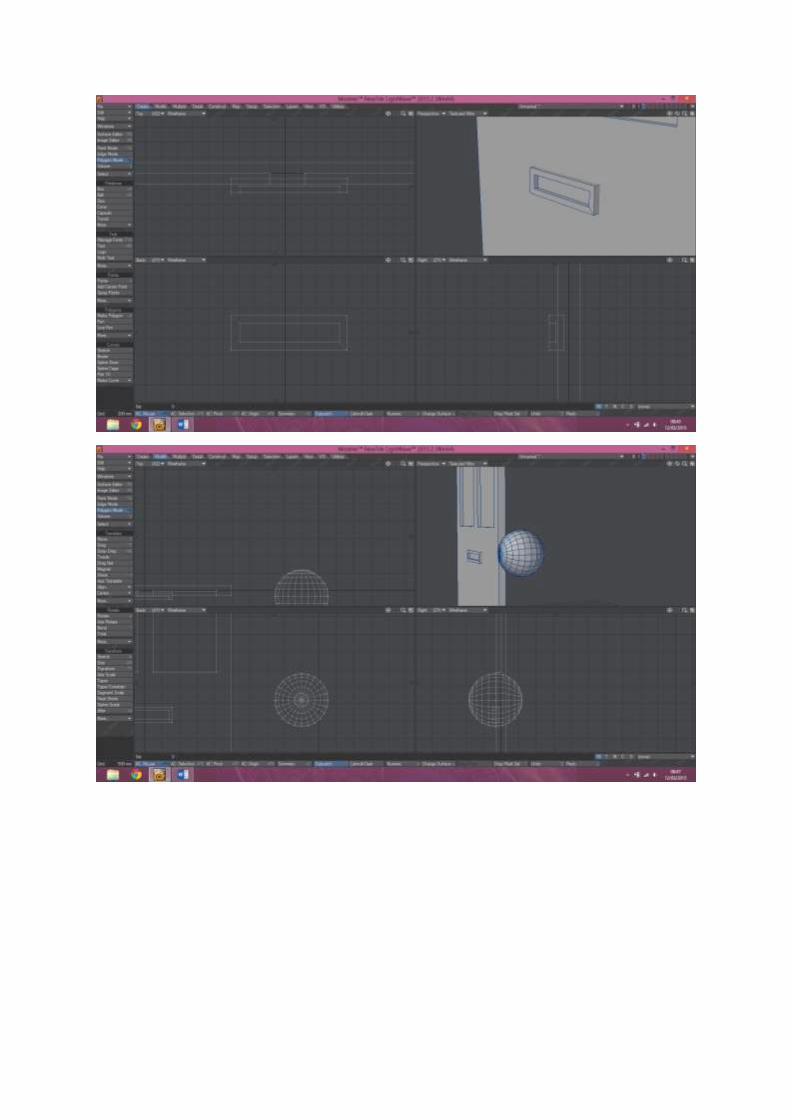
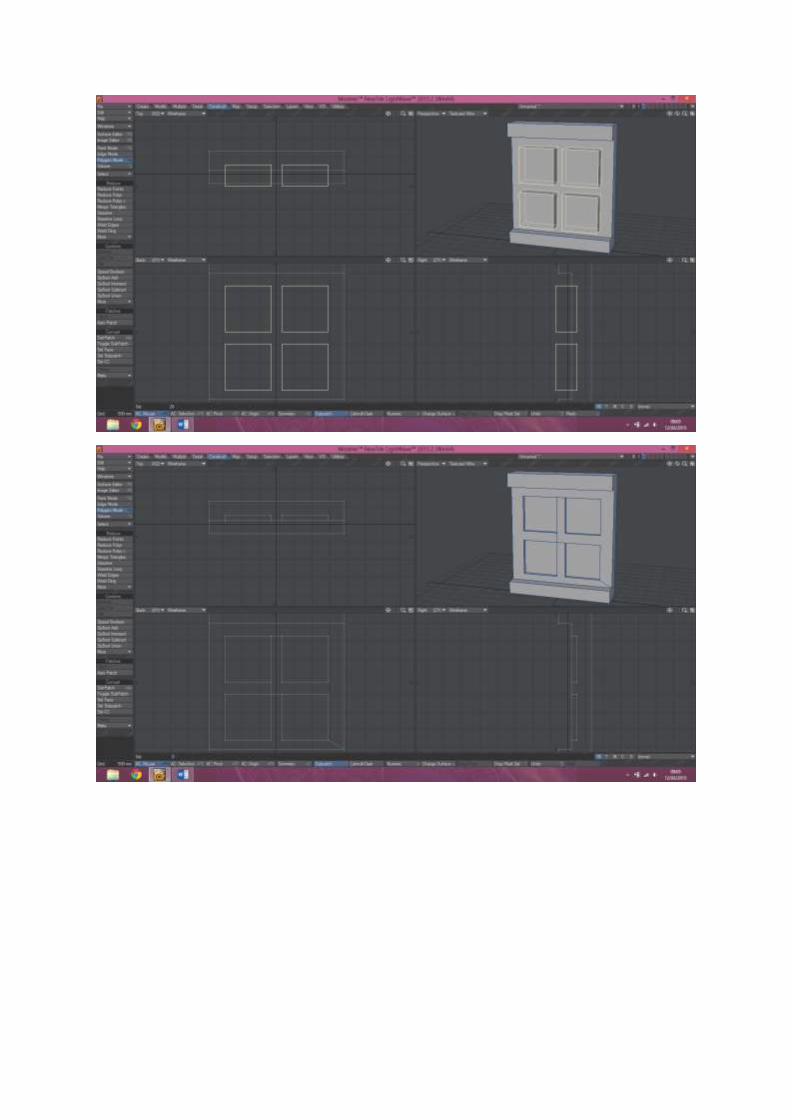
The next step I took was to create doors and windows as you can see below. I created simple models
in slightly different variations that will be featured on the inaccessible and accessible building
models. Colours will be altered in final production to create variation to my 3D environment though
most of the models will be the same throughout. Below you can see the process I went through
using primitive shapes to add and alter other shapes to replicate simple windows and doors in
different variations and amidst and below them you will see the other models I created in Lightwave Modeller for my environment. All of these models were created using my sketch drawings.
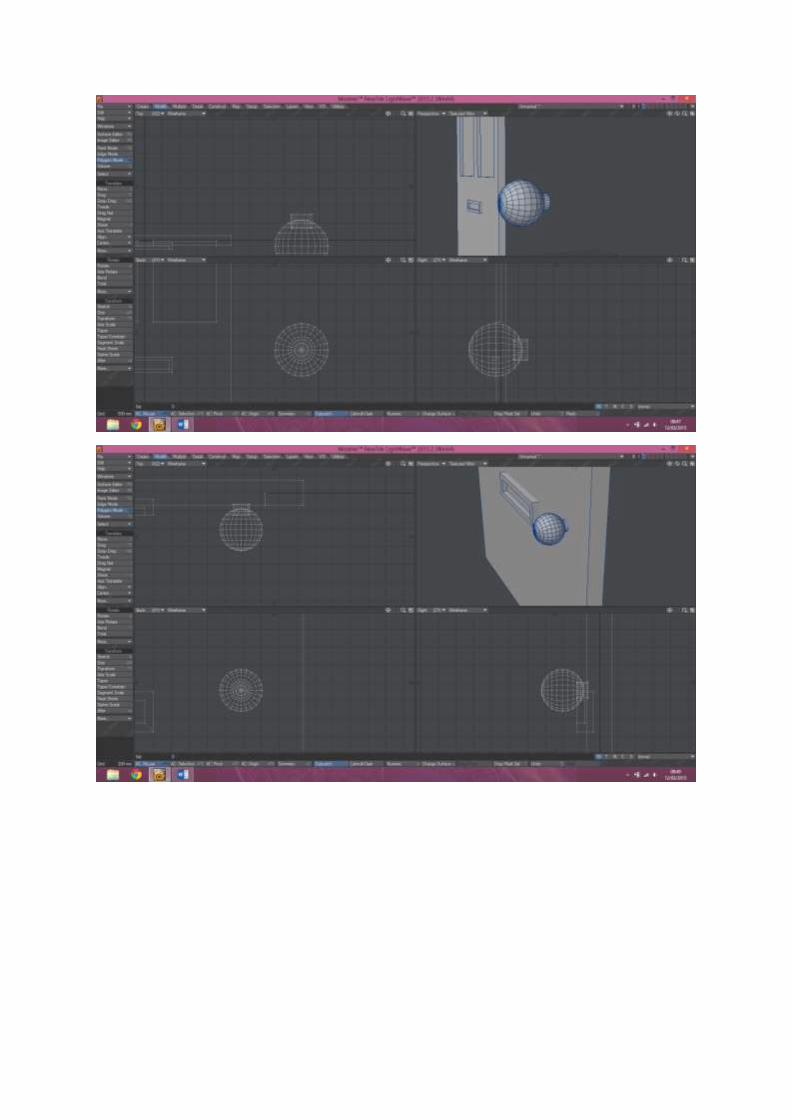
Door model


Steps model
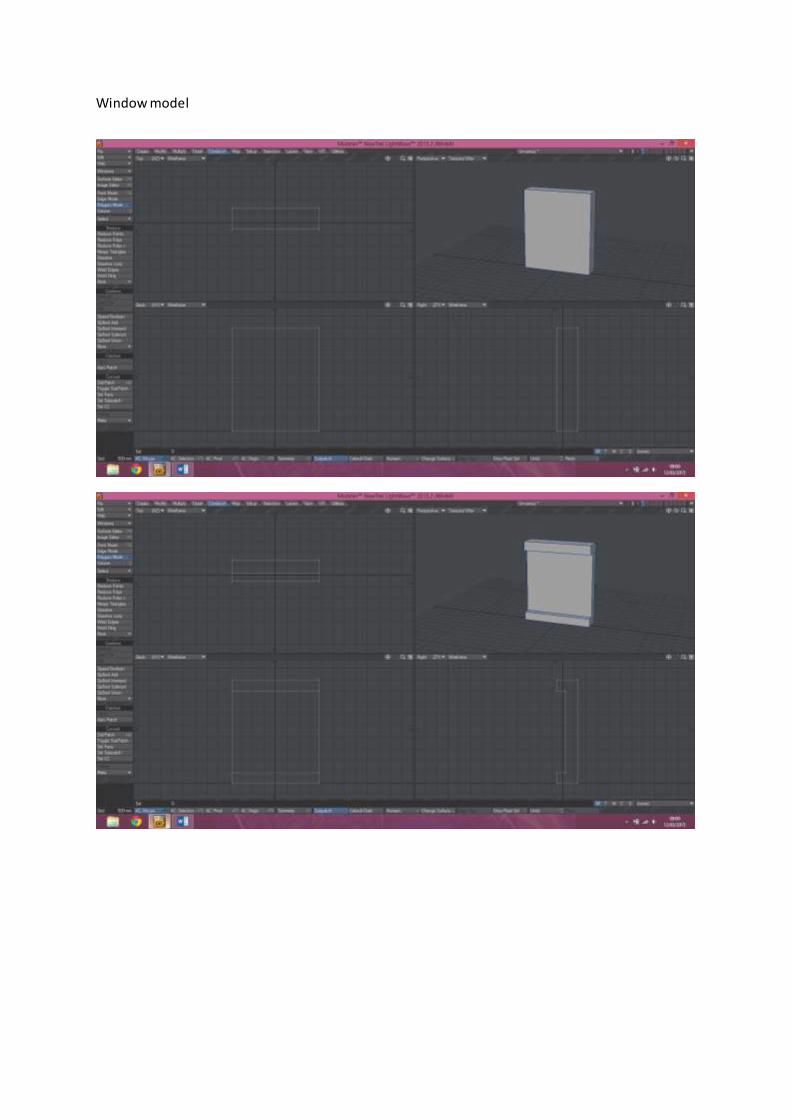
Window model

Shutter window model
Arched window model
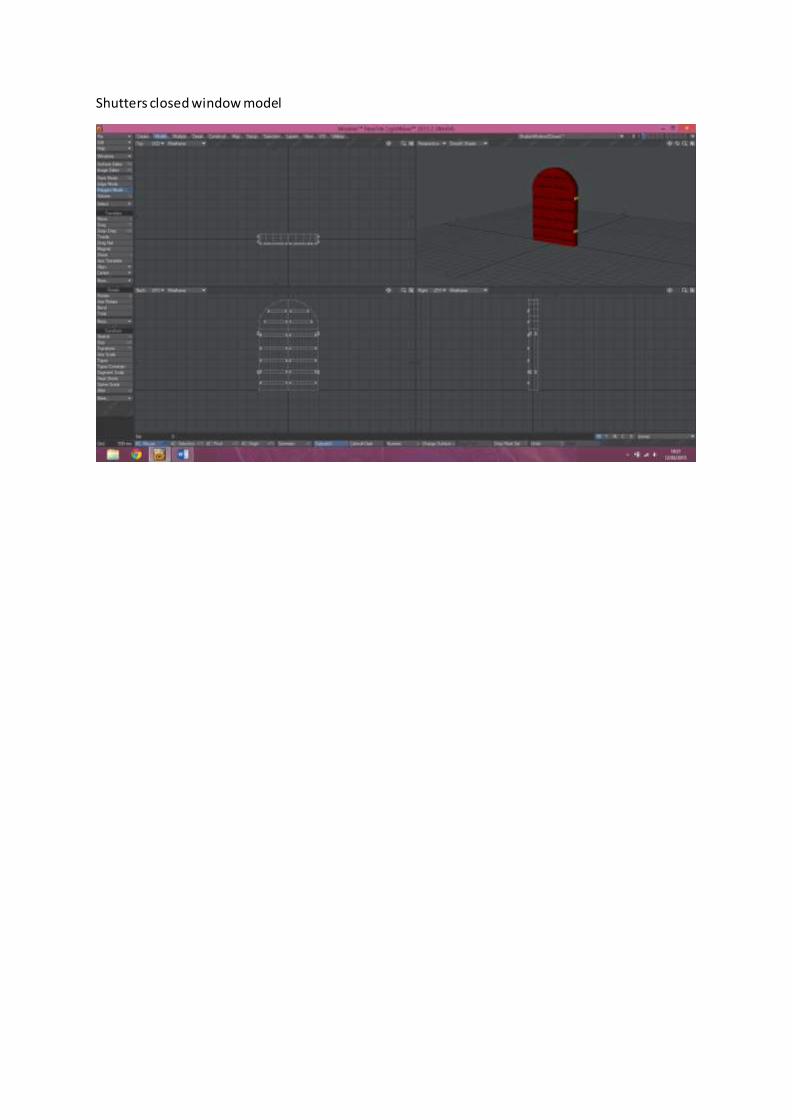
Shutters closed window model

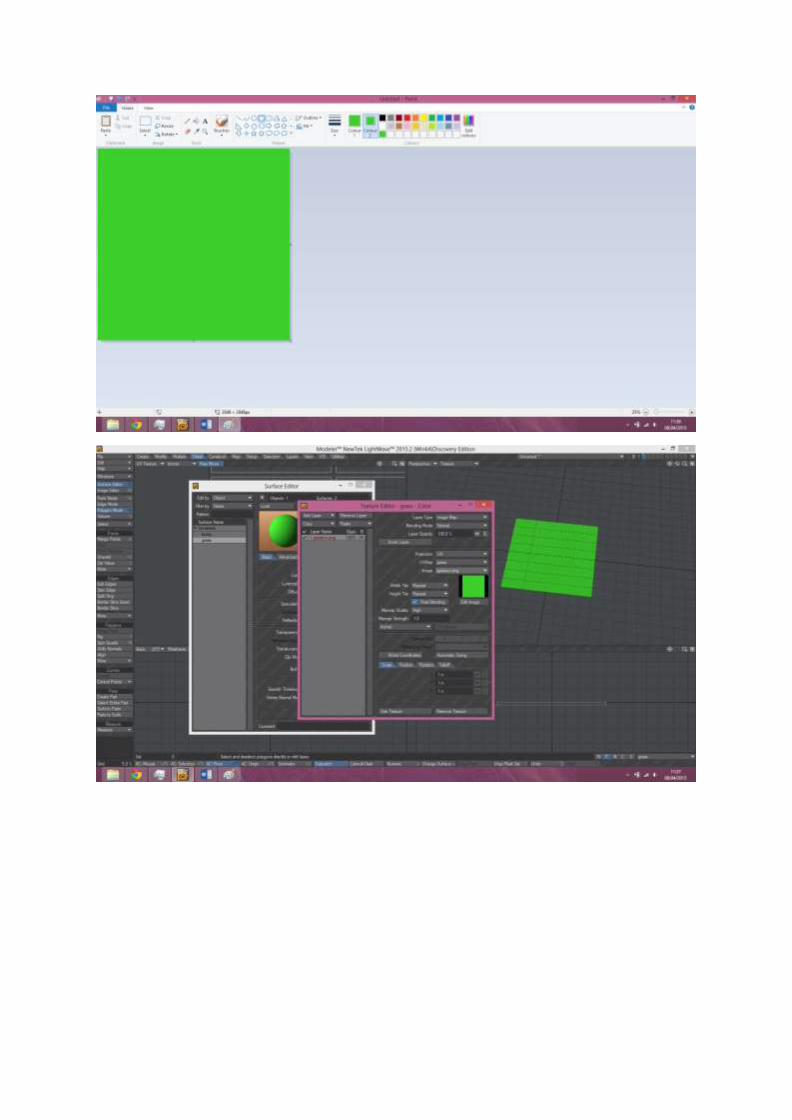
Grass model

Bed model
Drawer’s model

Bedside table model
Chair model

Sofa model
TV and TV stand model
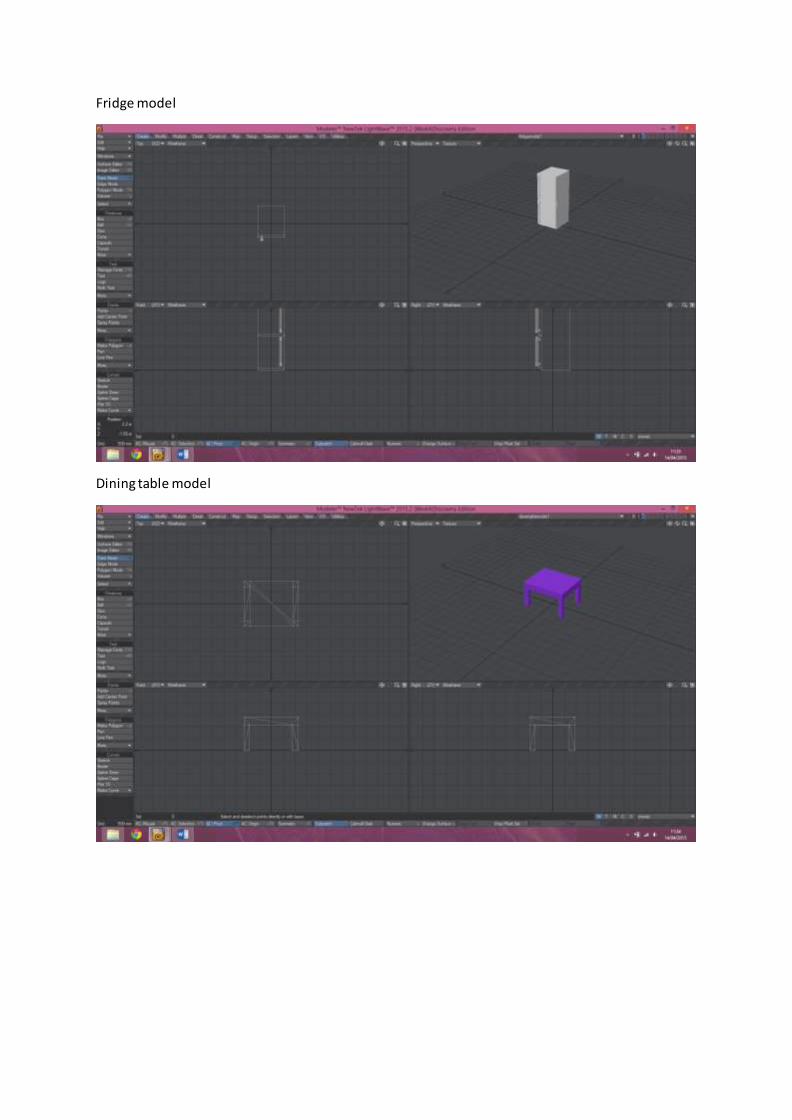
Fridge model
Dining table model

Dining chair model

Now that I have a large amount of my models, I am ready to import some of them and start to layout my 3D environment, in correlation to my planning.
Though before I could do this I had to ensure that all of my models were textured with UV maps, so
they do not all appear the same plain colour.
As you can see below, I already assigned colours to my models, I just did not assign them as UV
textures, so they do not stay attached to the models. I will now UV map all of these models with
simple textured colours, as I do not want to make my environment too complex and realistic looking,
as it is more aimed at people of a younger age.
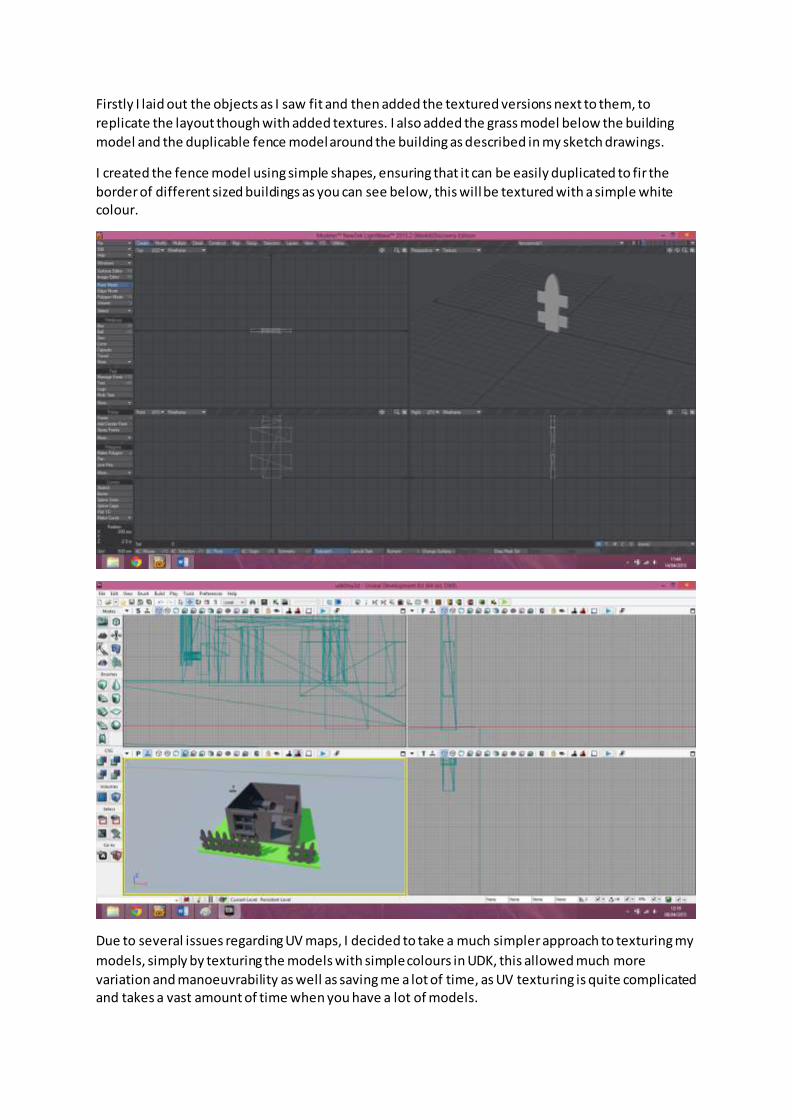
Firstly I laid out the objects as I saw fit and then added the textured versions next to them, to
replicate the layout though with added textures. I also added the grass model below the building
model and the duplicable fence model around the building as described in my sketch drawings.
I created the fence model using simple shapes, ensuring that it can be easily duplicated to fir the
border of different sized buildings as you can see below, this will be textured with a simple white colour.
Due to several issues regarding UV maps, I decided to take a much simpler approach to texturing my
models, simply by texturing the models with simple colours in UDK, this allowed much more
variation and manoeuvrability as well as saving me a lot of time, as UV texturing is quite complicated and takes a vast amount of time when you have a lot of models.

For this process, all I had to do was create a material and assign a colour to that material, then assign
that material to any appropriate models, allowing for an effective way to texture without making my
models look too realistic and more children appropriate.
I carried out this process for all models of my current models to end up with the outcome below.
Now that I have found the best way to texture all my models using simple colours, all that is left to
do is import and lay the rest out, according to my sketch drawings and my main layout design as you can see below.

I decided to add more detail to my city layout plan, identifying the positioning of various buildings
and other assets as you can see below. It is quite thorough and clearly identifies where models should be positioned in my final 3D environment.


Next I ensured that my inaccessible and accessible house models were completed, before exporting
them and importing them into my 3D environment to be laid out as in my city layout plan. Below you
can see the final models for my inaccessible and accessible building models, aside from accessible
house model 1 as I have already imported this model as you can see above. I replicated the
accessible building 1 and positioned it in place where all of the other building models will be placed, so I can easily identify where each building should be positioned upon importation into UDK.
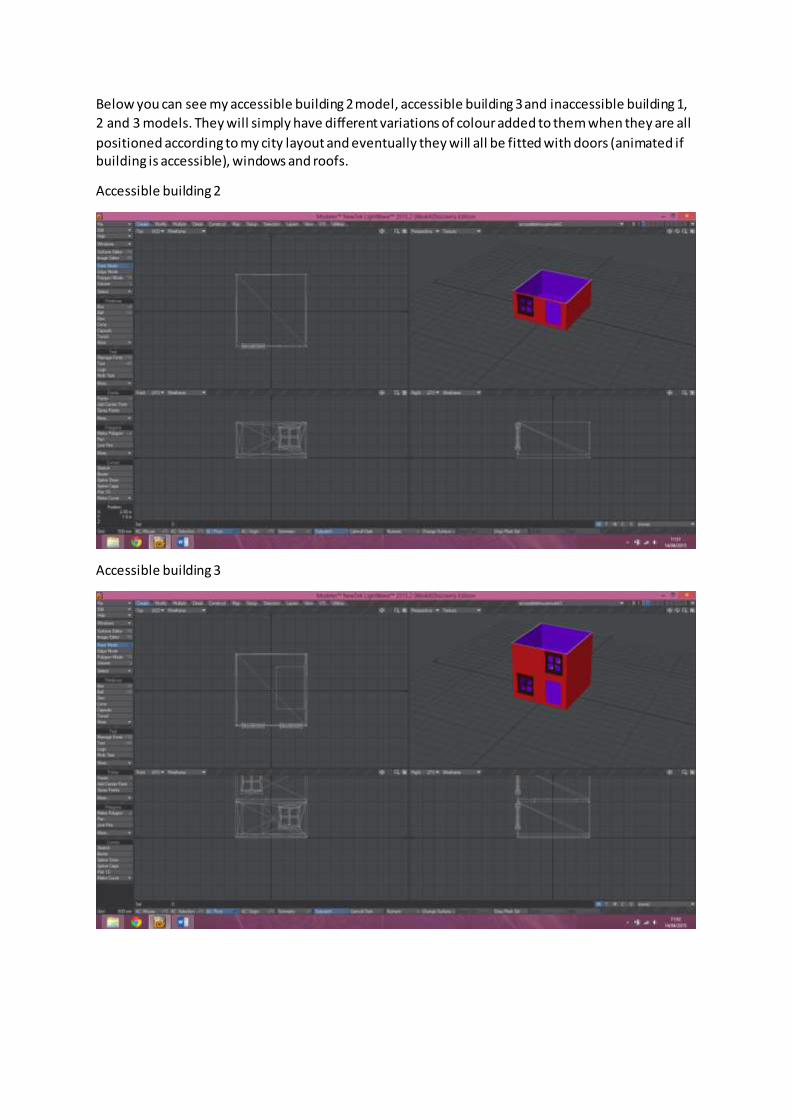
Below you can see my accessible building 2 model, accessible building 3 and inaccessible building 1,
2 and 3 models. They will simply have different variations of colour added to them when they are all
positioned according to my city layout and eventually they will all be fitted with doors (animated if building is accessible), windows and roofs.
Accessible building 2
Accessible building 3

Inaccessible building 1, 2 and 3 in order

I also added a shop model, hospital model, a bank model and ambulance models which you can see
individually below. I also laid out the grass to outline the first part of the environment and added a
road that leads off to the yet to be created second part of the environment. Below you can see all of
this laid out.

All of the buildings positioned below were positioned according to my plan as you can see above and the ambulance models were placed to the side of the hospital model.
Bank model
Hospital Model
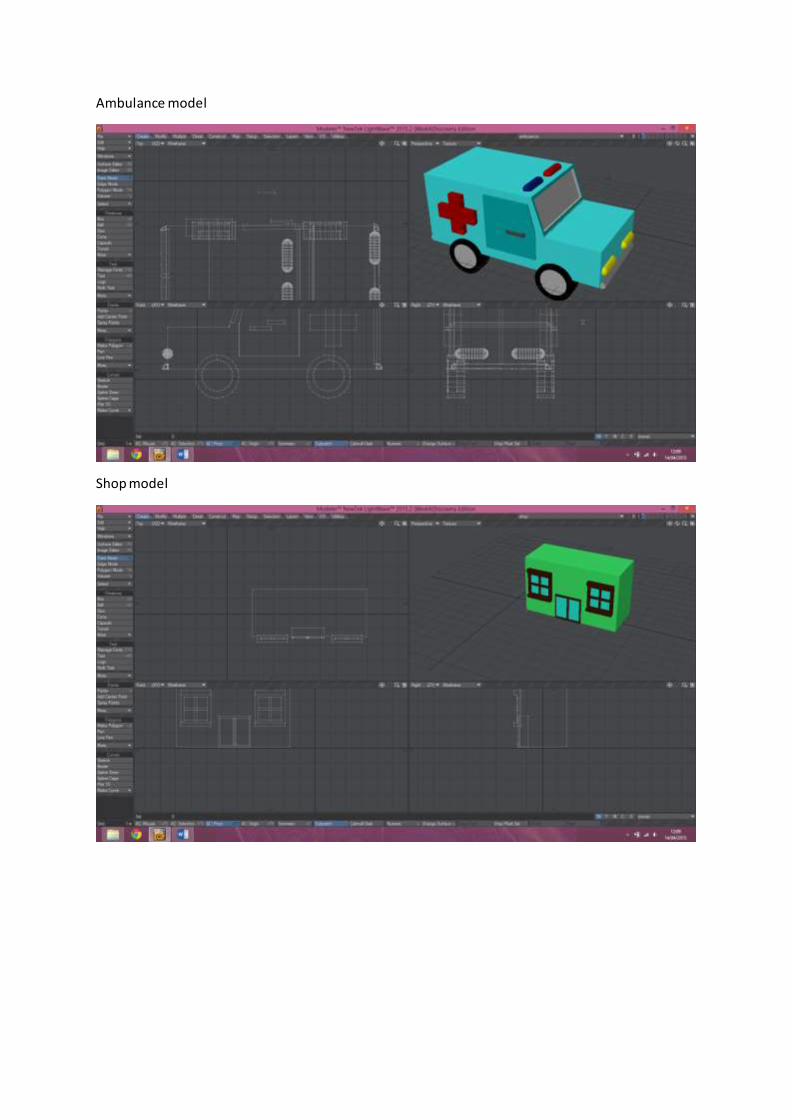
Ambulance model
Shop model
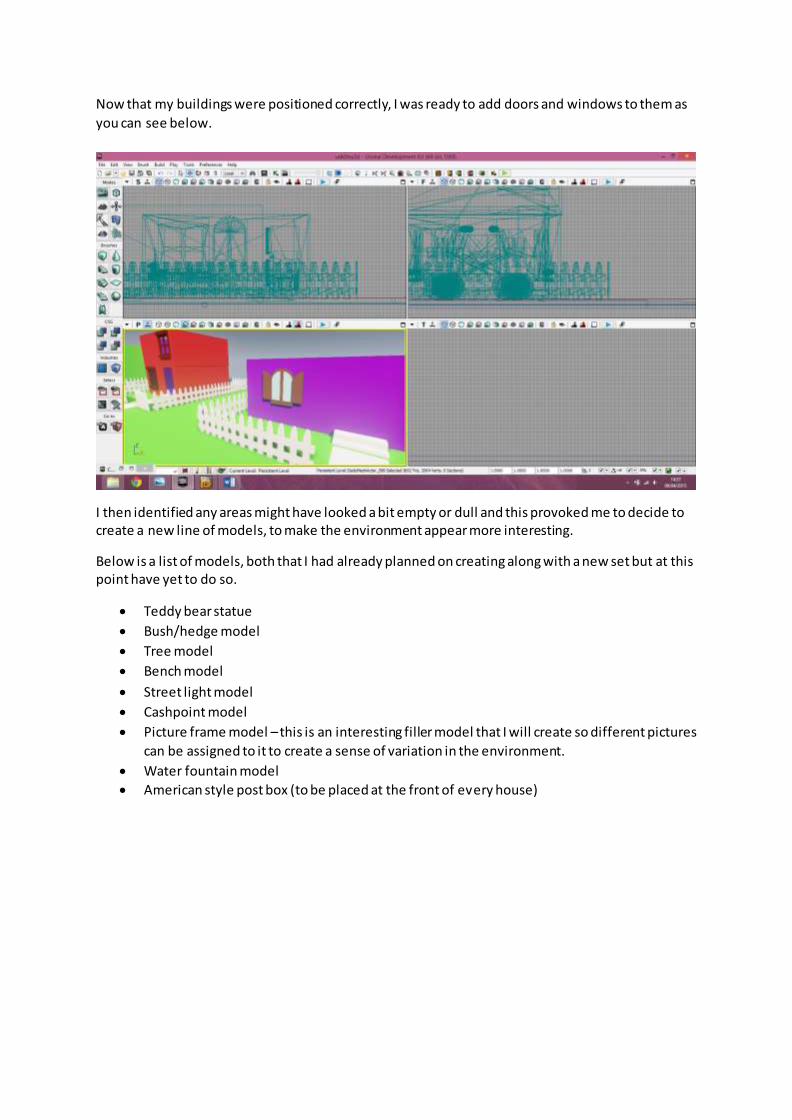
Now that my buildings were positioned correctly, I was ready to add doors and windows to them as
you can see below.
I then identified any areas might have looked a bit empty or dull and this provoked me to decide to create a new line of models, to make the environment appear more interesting.
Below is a list of models, both that I had already planned on creating along with a new set but at this point have yet to do so.
Teddy bear statue
Bush/hedge model
Tree model
Bench model
Street light model
Cashpoint model
Picture frame model – this is an interesting filler model that I will create so different pictures
can be assigned to it to create a sense of variation in the environment.
Water fountain model
American style post box (to be placed at the front of every house)

The first thing I decided to model was the bush model, I decided to create this first as it can be used
to fill a large amount of areas and is key in the construction of the island on which sits the
overlooking tower. I will also be placing this around and on the second part of the environment and aside the road leading to it.
I created this model using a simple box model with a large amount of polygons, before extruding
those polygons and rounding the object to create a simple, more unrealistic impression of a bush, fit
for my environment as you can see below.
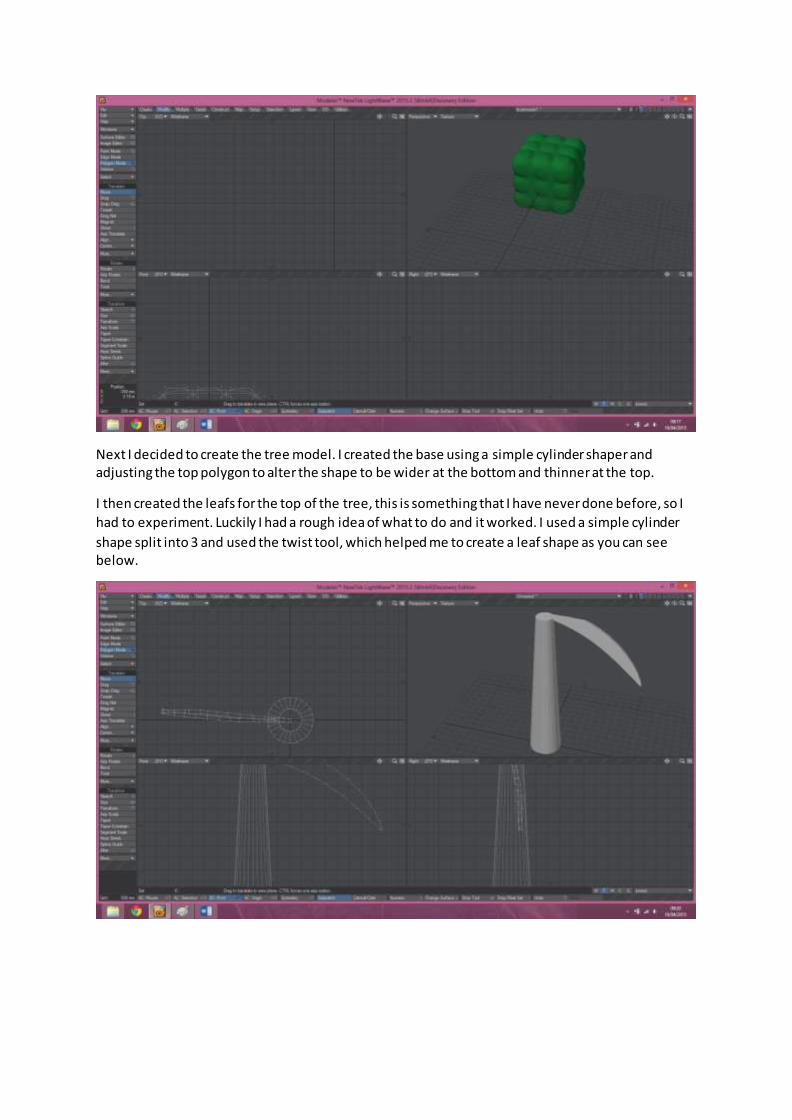
Next I decided to create the tree model. I created the base using a simple cylinder shaper and adjusting the top polygon to alter the shape to be wider at the bottom and thinner at the top.
I then created the leafs for the top of the tree, this is something that I have never done before, so I
had to experiment. Luckily I had a rough idea of what to do and it worked. I used a simple cylinder
shape split into 3 and used the twist tool, which helped me to create a leaf shape as you can see below.

I added more leafs to the top of the tree and ended up with what you see below.
Though as you can see below, when I decided to save this model, I ran into an error, as I have
recently come to the end of my trial for this program at home, I only have the discovery edition,
which limits the complexity of models you can create, which in a way is good for me, as I do not
need complex models.
To bypass this error, I decided to reduce the amount of polygons in my model, by simply merging multiple polygons, into singular polygons.
This proved to be quite an awkward process for this particular model, so I decided that I would save
the tree base and leafs as separate models, and attach the leafs within the UDK engine. This is
actually very beneficial to my environment, as it will enable me to add variation in my tree models,
as when duplicated, the trees will all not look exactly the same, due to a variation in leaf placement
and base size.
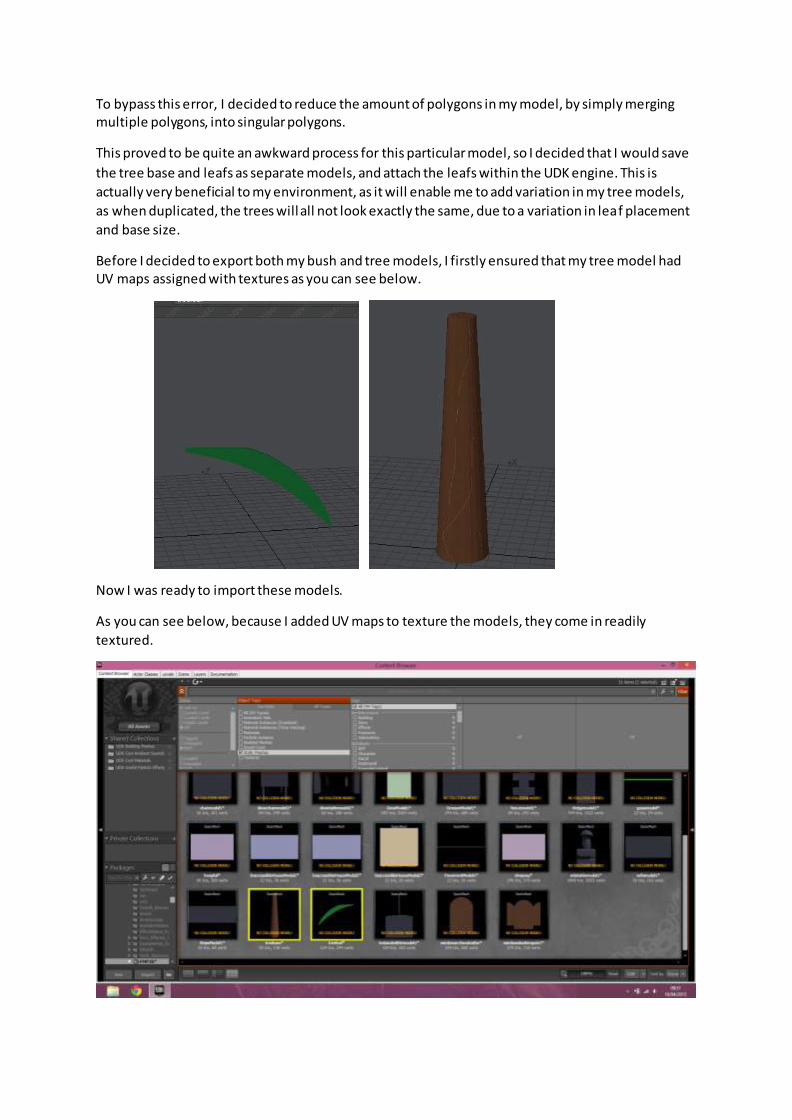
Before I decided to export both my bush and tree models, I firstly ensured that my tree model had UV maps assigned with textures as you can see below.
Now I was ready to import these models.
As you can see below, because I added UV maps to texture the models, they come in readily
textured.

Now all I had to do was lay the tree models and bush models out.
As you can see below, I have laid out my tree and bush models, I think they have helped to add a lot of appeal and variety to my environment and I am very happy with my results so far.
Next I decided to create my post box model, using primitive shapes to create a model replicating an American style post box. I will create these models so they can be recoloured easily to add variation.

After creating the main model, I decided to texture the post box handle, so that is the only part of
the model that will remain the same colour when different colours are applied to duplicated
versions of the post box.
For this to work efficiently though, the handle is to be imported and exported separately.
I then began to place the models into my environment.
Next I created the stand for my bear statue. I did this in UDK, using simple box shapes and stacking them on top of each other.

The next step is to create the teddy bear statue, another thing I am not very experienced in
modelling, but I will create my best attempt. Luckily my environment does not require particularly
advanced and detailed models.
At this stage I was quite happy with my progress and began to add furniture to the remaining
accessible unfurnished houses.
After this was completed I began to animate the doors for the accessible houses.
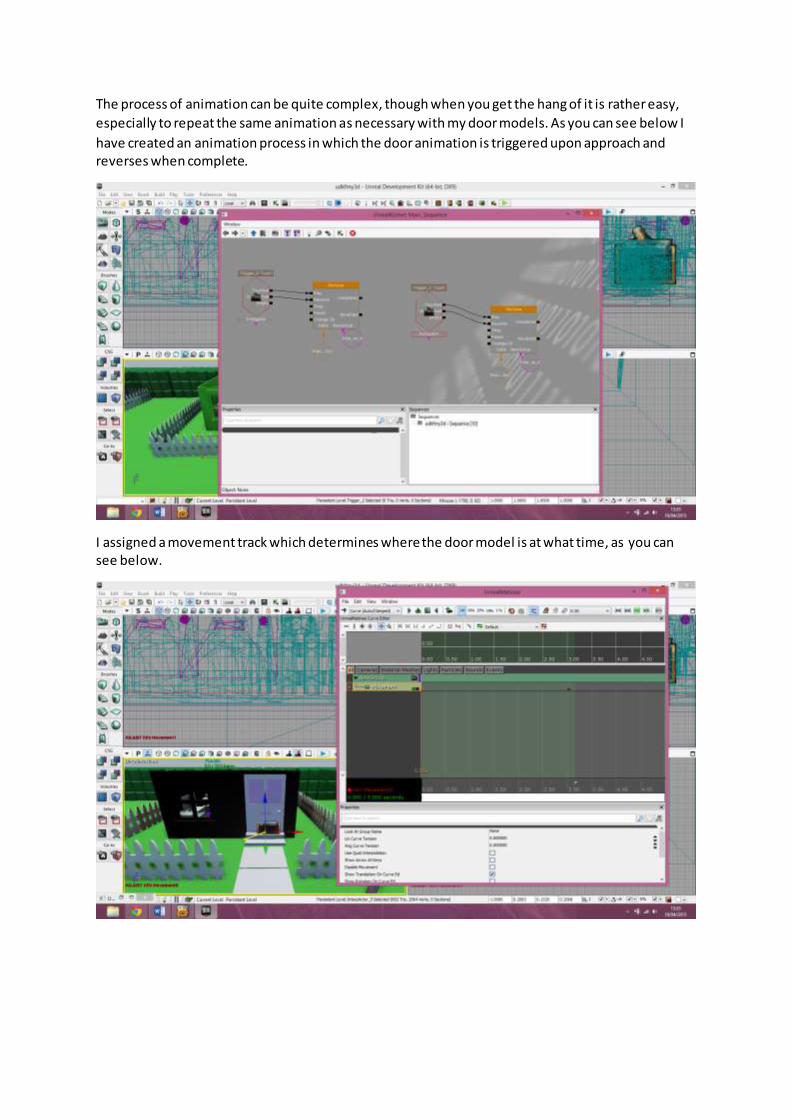
The process of animation can be quite complex, though when you get the hang of it is rather easy,
especially to repeat the same animation as necessary with my door models. As you can see below I
have created an animation process in which the door animation is triggered upon approach and reverses when complete.
I assigned a movement track which determines where the door model is at what time, as you can see below.

This is a very effective process which I will repeat throughout and it can be used on other models if movement animation is necessary.
Next I moved onto the layout of the second part of the environment with the overlooking tower. I
started by laying out the ground and bushes and adding the water fountain.
I created the overlooking tower in UDK.
I now had the grounds for the second part of my environment, including the area surrounding the
tower with bushes and the tower itself with space for doors and windows and I have even set up a fully working lift from the bottom floor to the top floor.
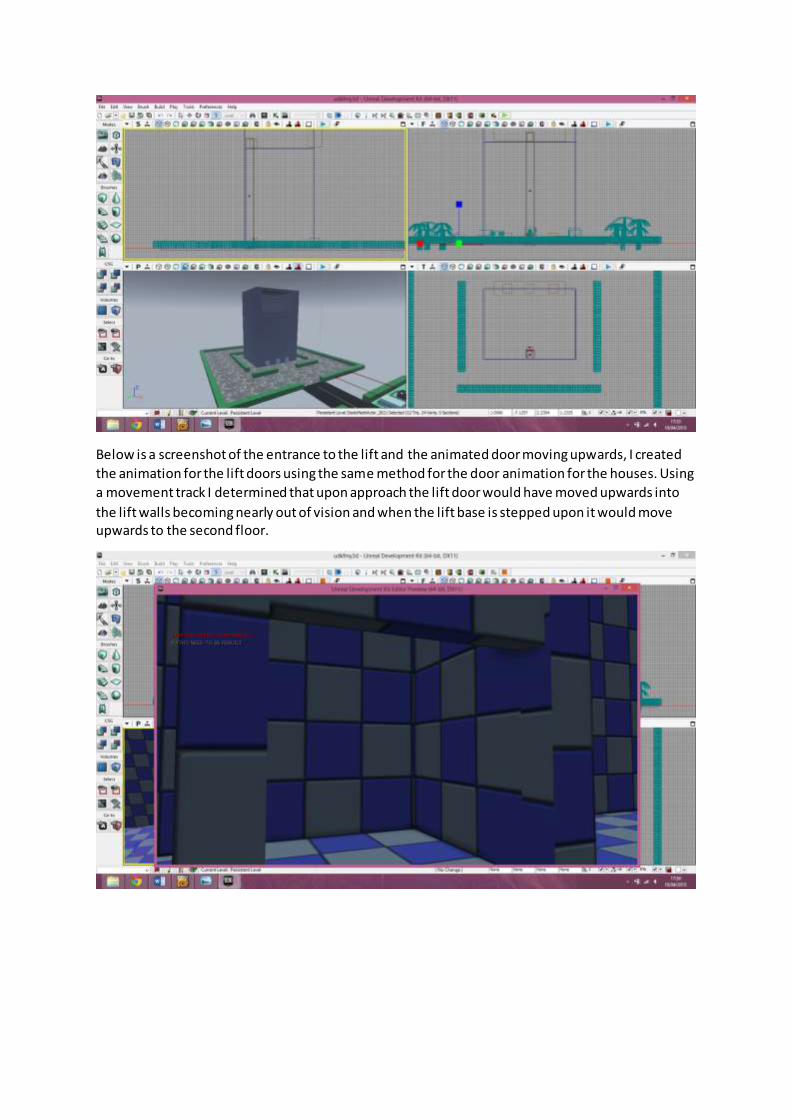
Below is a screenshot of the entrance to the lift and the animated door moving upwards, I created
the animation for the lift doors using the same method for the door animation for the houses. Using
a movement track I determined that upon approach the lift door would have moved upwards into
the lift walls becoming nearly out of vision and when the lift base is stepped upon it would move upwards to the second floor.

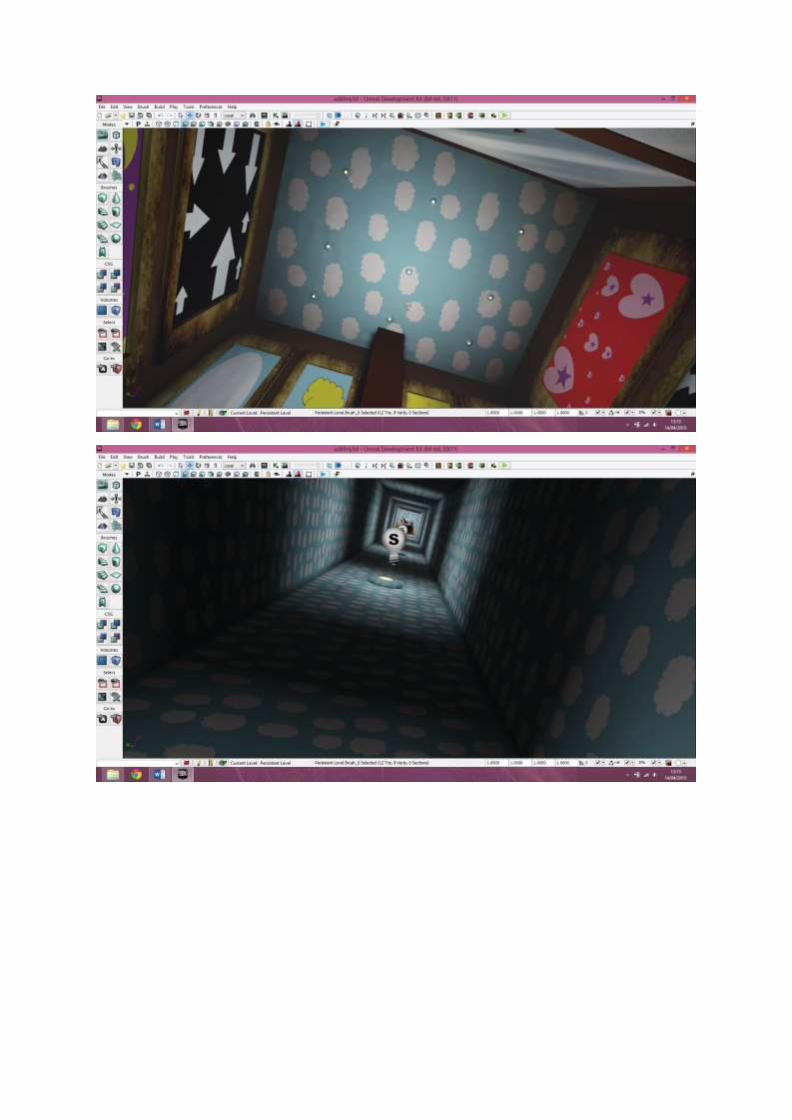
I put much thought into what this main overlooking tower will contain, I decided that I would make
it into a library type building filled with books and various art and artefacts to create a sense of
mystery to the environment.
For this interior I need to model the following models:
4 unique artefacts
Duplicable bookshelf’s with books
Artefact stands
Unique framed paintings
Rugs
Below are the models for each of the above and their UV maps.
Artefact stand
Artefact stand UV map

Artefact1 – The artefacts are not meant to be anything specific, they are vague mysterious objects that create a sense of mystery.
Artefact 1 UV map
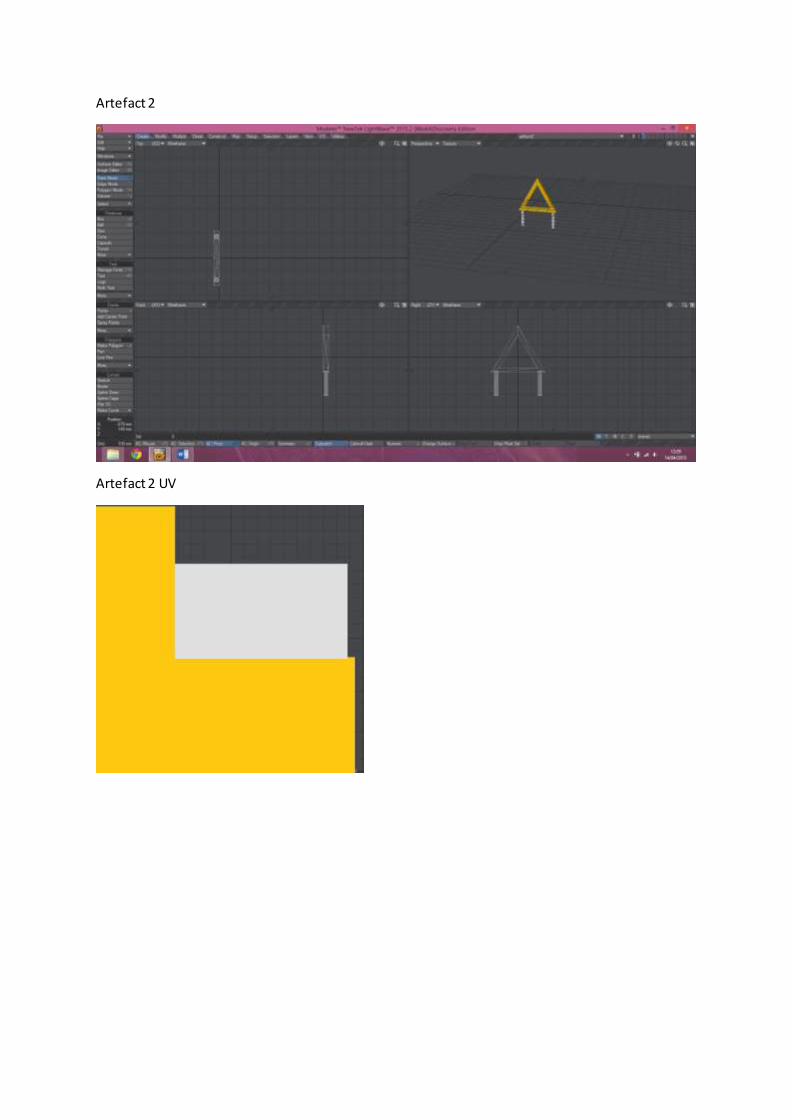
Artefact 2
Artefact 2 UV
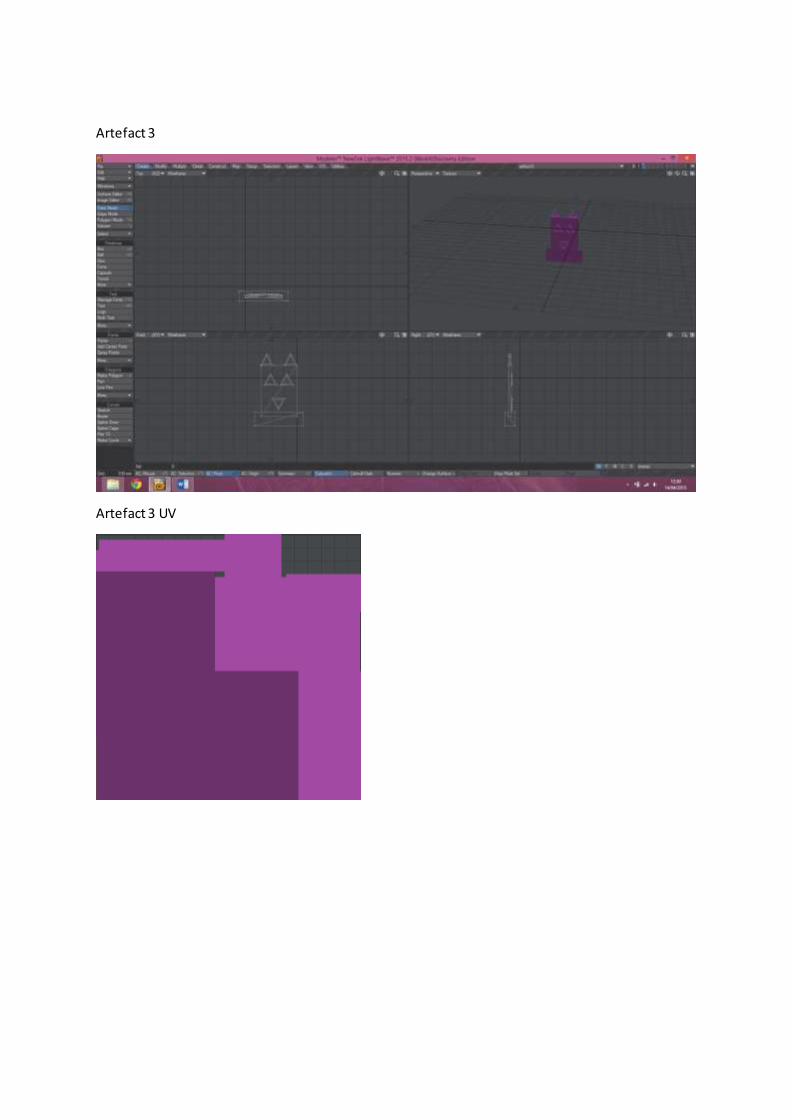
Artefact 3
Artefact 3 UV

Artefact 4
Artefact 4 UV

Shelves
Shelves UV
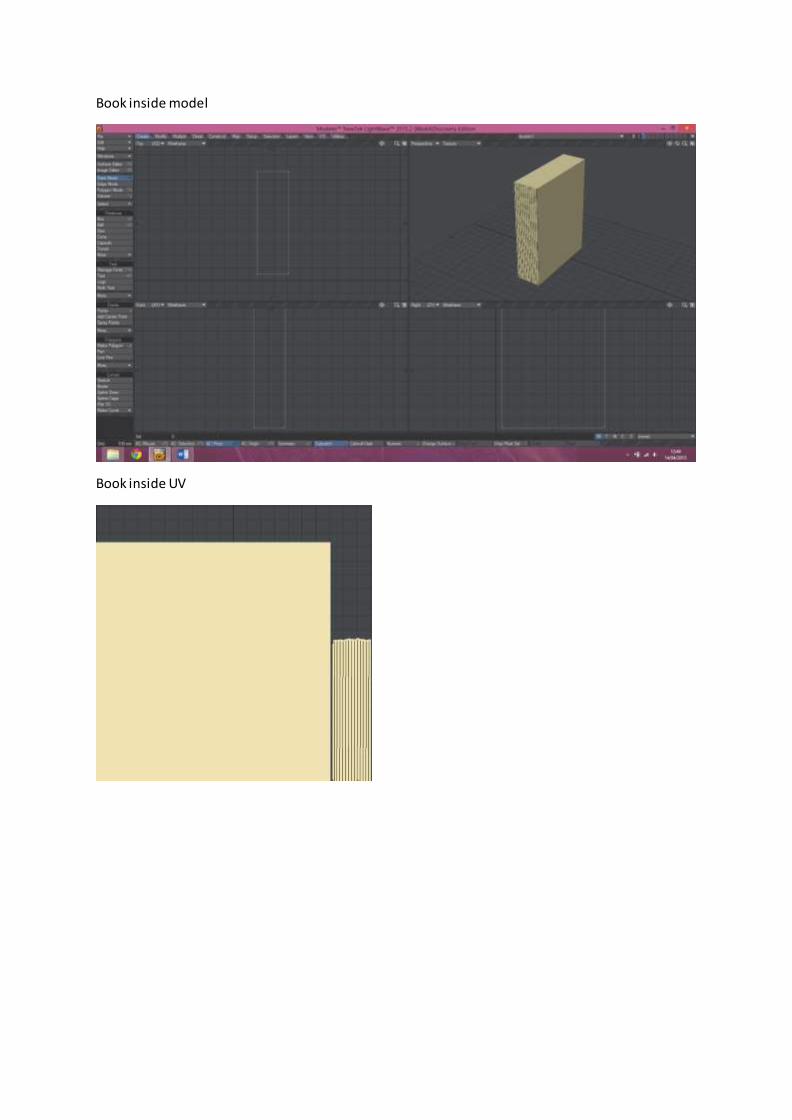
Book inside model
Book inside UV

Book outside model – No UV map as colour will be added upon importation and replication to create more variation when placed upon shelves.
Picture frame model
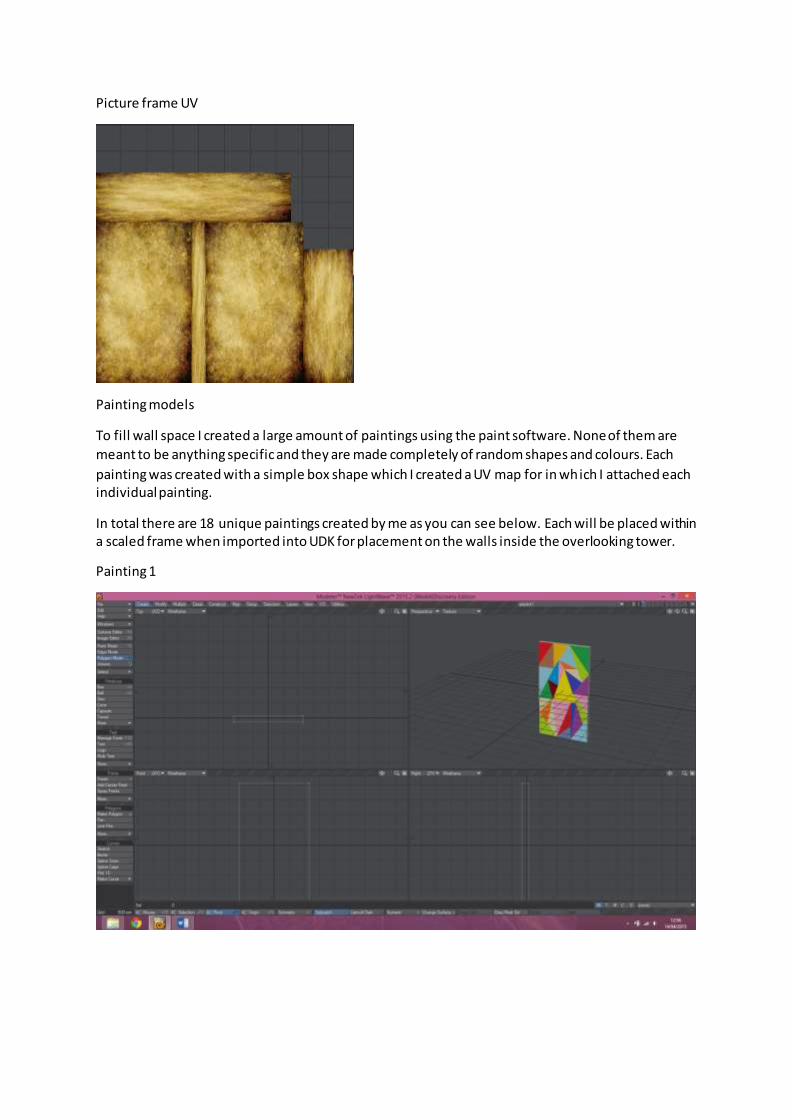
Picture frame UV
Painting models
To fill wall space I created a large amount of paintings using the paint software. None of them are
meant to be anything specific and they are made completely of random shapes and colours. Each
painting was created with a simple box shape which I created a UV map for in which I attached each individual painting.
In total there are 18 unique paintings created by me as you can see below. Each will be placed within a scaled frame when imported into UDK for placement on the walls inside the overlooking tower.
Painting 1

Painting 2
Painting 3
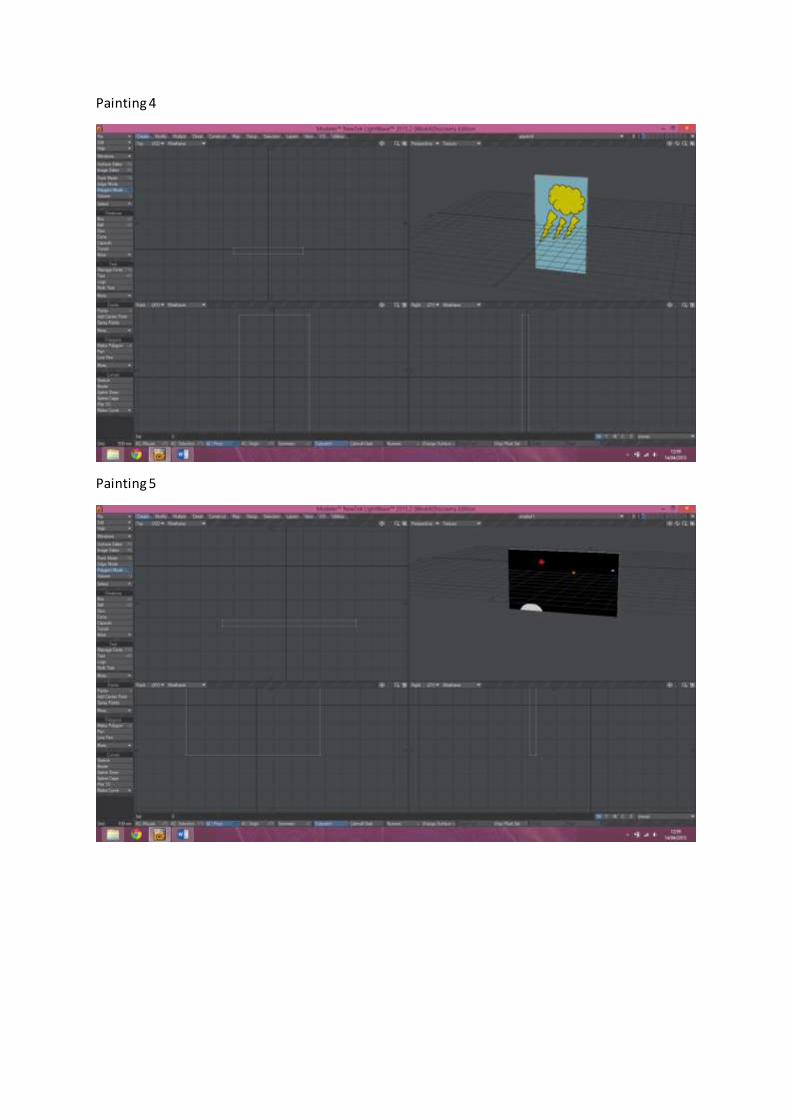
Painting 4
Painting 5

Painting 6
Painting 7
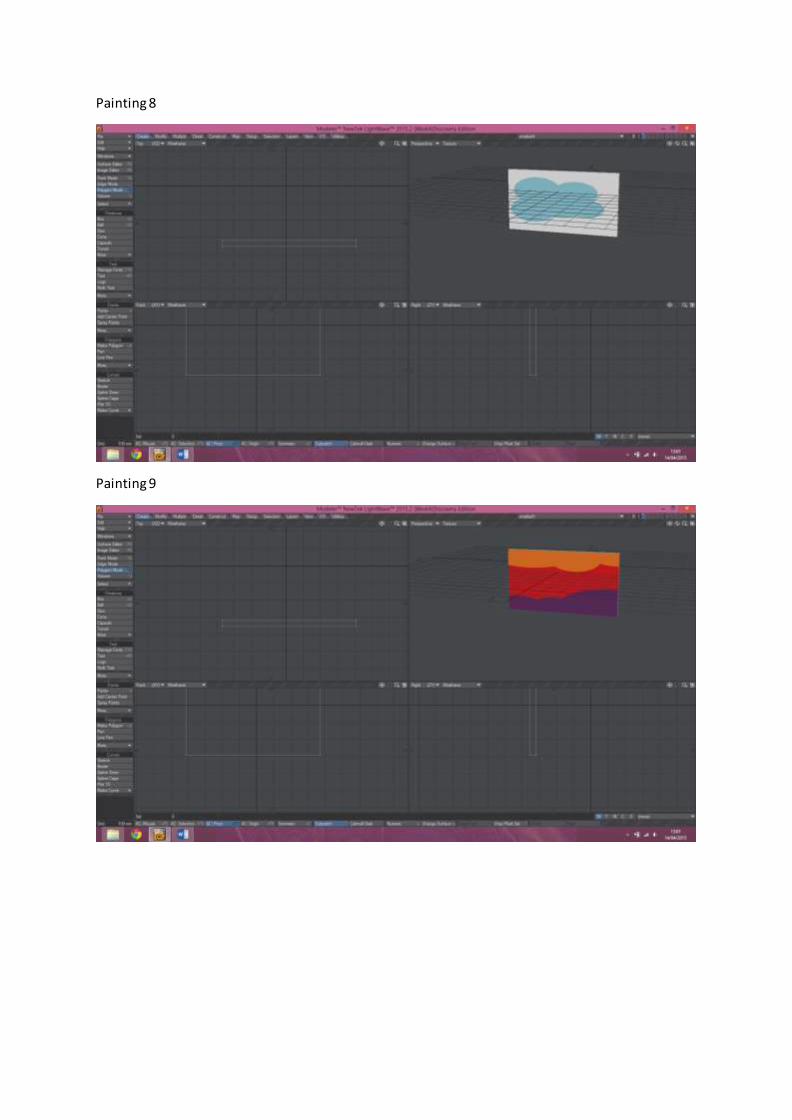
Painting 8
Painting 9

Painting 10
Painting 11
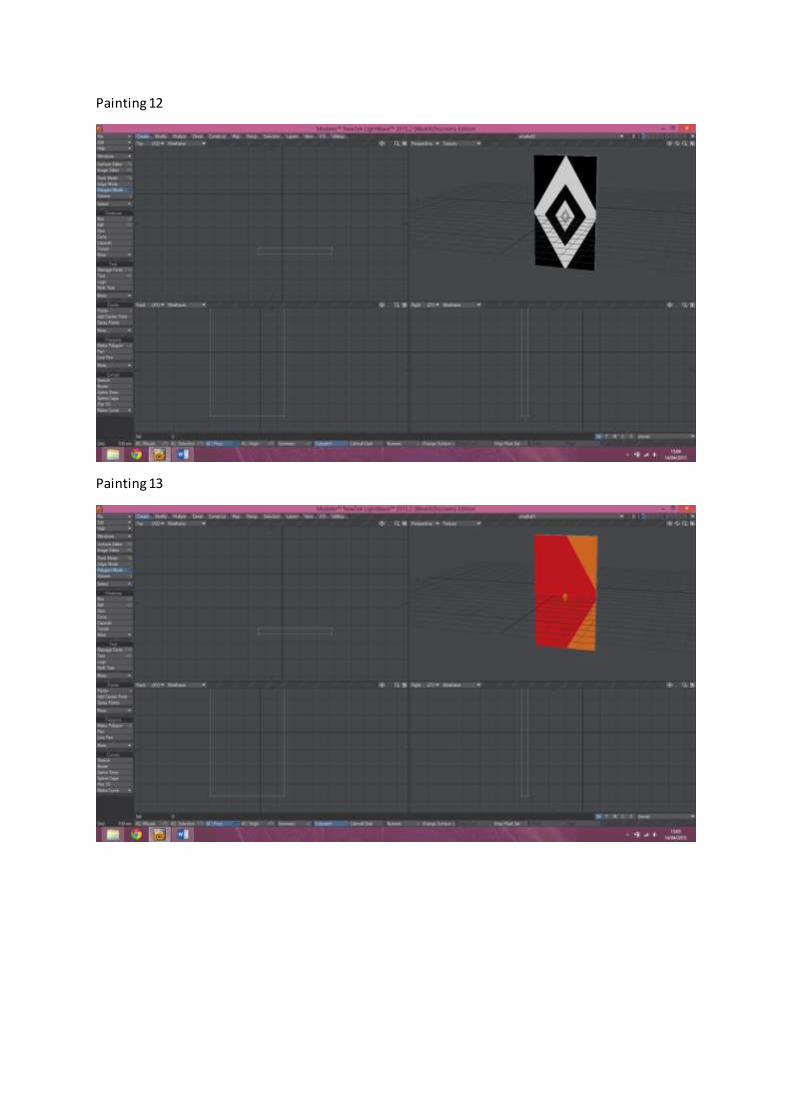
Painting 12
Painting 13
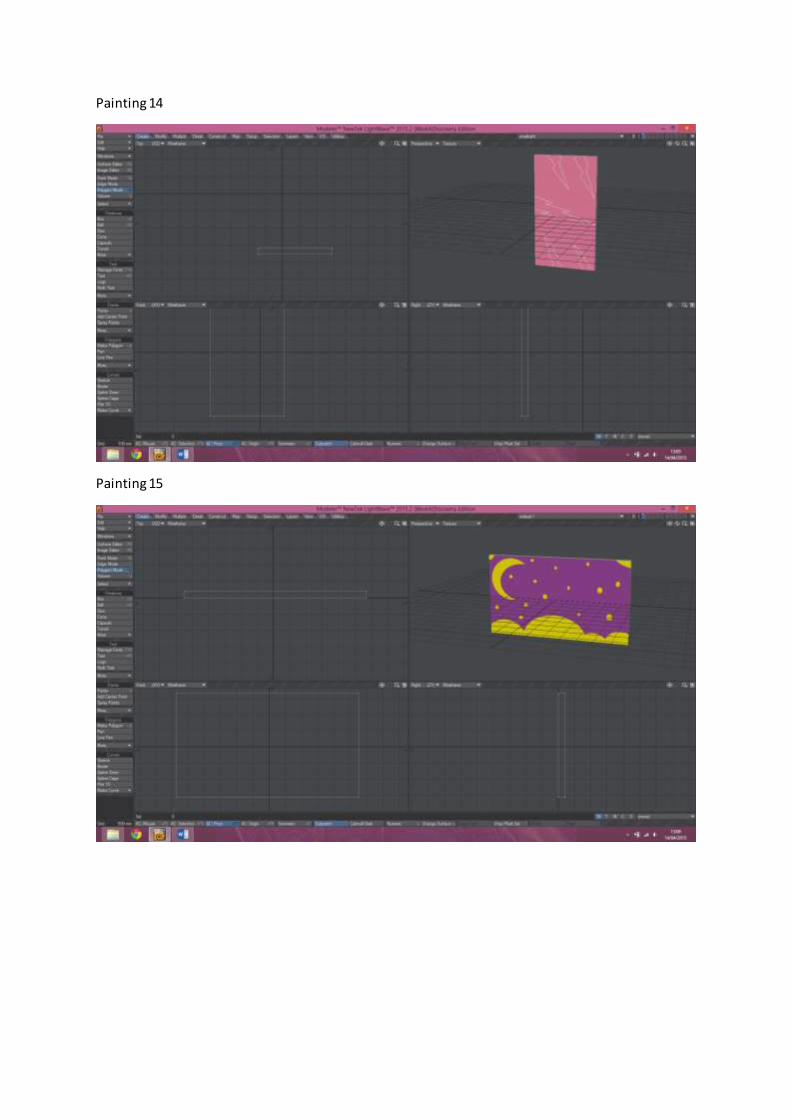
Painting 14
Painting 15

Painting 16
Painting 17

Painting 18
I am now at the stage of finalising my environment, I am happy with the amount of models I have created and I am ready to lay out and finalise everything else within the environment.
I will now lay out all of the models and texture where I see fit.
Below are screenshots of my final environment in editor mode with all models imported and
textured. You can see animation triggers, light points and every asset appropriately laid out within my environment.

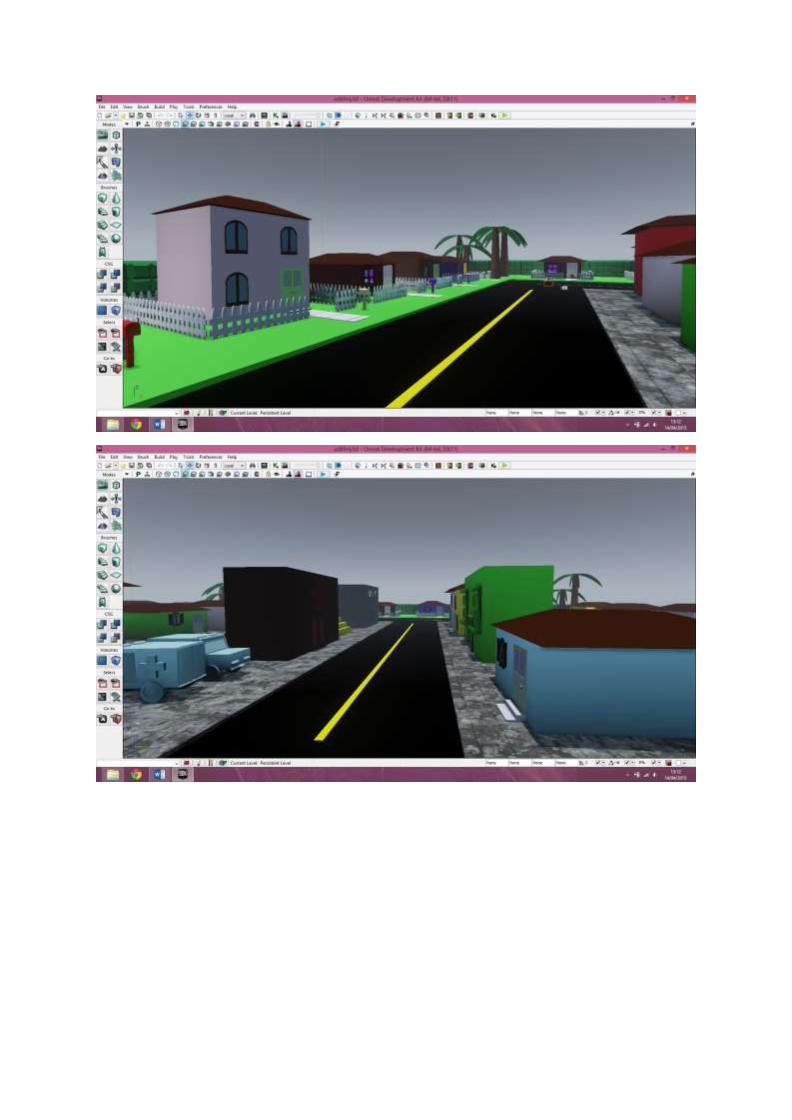


As you can see I have created my final product according to my planning and preparation. I have
added extra assets and left some out, but overall I am very happy with what I have created and it fits well with the target audience.


