Download - DIY Wedding Word Save the Date
7/27/2019 DIY Wedding Word Save the Date
http://slidepdf.com/reader/full/diy-wedding-word-save-the-date 1/3
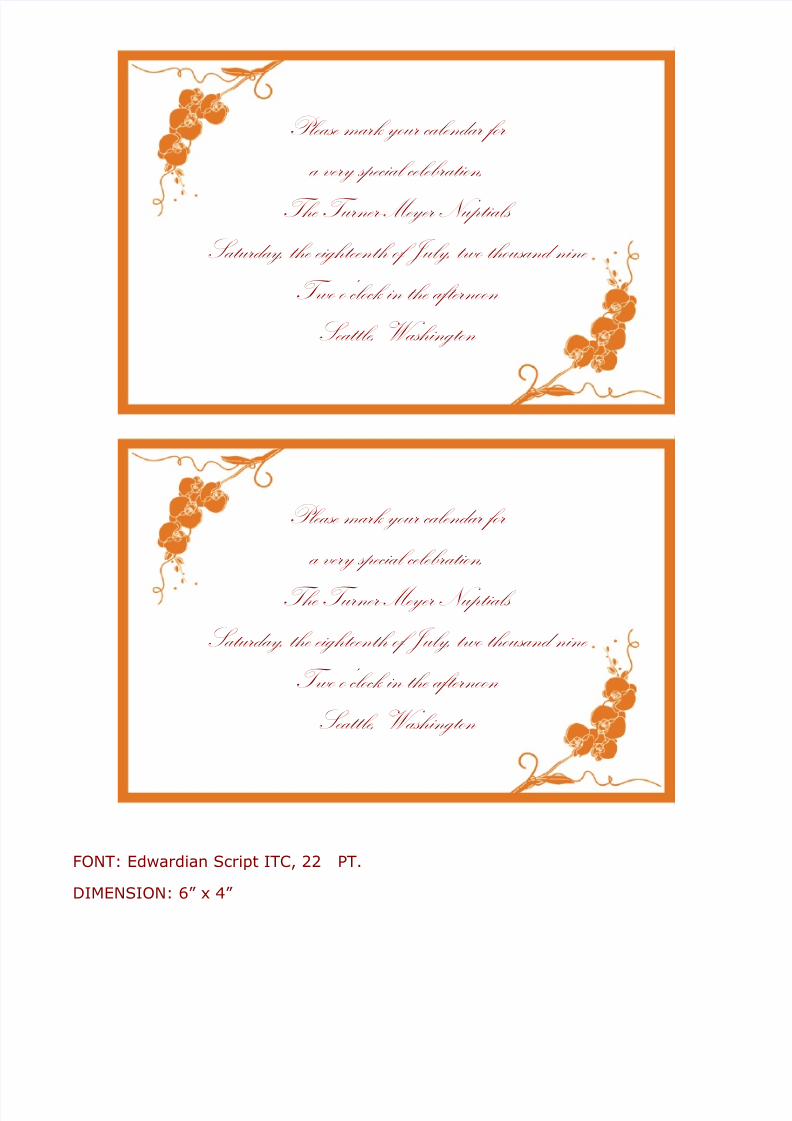
FONT: Edwardian Script ITC, 22 PT.
DIMENSION: 6” x 4”
Please mark your calendar for
a very special celebration,
The Turner-Meyer Nuptials
Saturday, the eighteenth of July, two thousand nine
Two o’clock in the afternoon
Seattle, Washington
Please mark your calendar for
a very special celebration,
The Turner-Meyer Nuptials
Saturday, the eighteenth of July, two thousand nine
Two o’clock in the afternoon
Seattle, Washington

7/27/2019 DIY Wedding Word Save the Date
http://slidepdf.com/reader/full/diy-wedding-word-save-the-date 2/3
TIP SHEET: Creating a SAVE THE DATE
1. Open a new Word document and activate the PUBLISHING LAYOUT VIEW (center icon in bottom
left corner of screen).
2. To import a graphic or flourish to your invitation:
INSERT (main menu) > PICTURE > FROM FILE… (Browse for image file and select) > INSERT
3. Check that your inserted graphic is the correct/required size:
a. Double click on graphic to highlight it. The FORMAT PICTURE dialog box will open.
b. Select SIZE in the menu then check the box next to LOCK ASPECT RATIO in the new dialogbox.
c. Change number in horizontal or vertical dimension measurement box to adjust the size of
the graphic.
d. Select LAYOUT and click on the icon above BEHIND TEXT and select CENTER forHORIZONTAL ALIGNMENT option.
e. Click on ADVANCED button at bottom right of the window.
f. In the PICURE POSITION window, toward the bottom, make sure that the boxes next to
LOCK ANCHOR and ALLOW OVERLAP are checked. Boxes next to MOVE OBJECT WITH TEXTand TEXT PLACEHOLDER should not be checked.
g. Click OK button to close dialog boxes.
4.
Insert a Text Box:
INSERT (main menu) > TEXT BOX (drop down menu).
5. A cross-hatch will appear at the point of your cursor:
a. Holding mouse down, drag the cross-hatch from the left edge of the graphic across to theright edge.
b. Click on the border of the Text Box. In the FORMATTING PALETTE< select center
justification option in the ALIGNMENT AND SPACING palette. Click cursor in textbox and
begin typing content.
c. You can move the position of the Text Box by placing your cursor on or within the boundaryof the Text Box. Hold down the mouse and move cursor in the direction you want to move
it.
6. To maximize number of cards on the page:
a. Drag cursor to select area of graphic and text box.
b. Hold down CONTROL key. Click within the border of the graphic. Select GROUP >Group.

7/27/2019 DIY Wedding Word Save the Date
http://slidepdf.com/reader/full/diy-wedding-word-save-the-date 3/3
c. Hold CONTROL key. Click within the graphic. Select COPY. Click cursor in graphicagain. Select PASTE> Duplicate graphic will appear.
d. Arrange so the graphics don’t overlap on the page. Repeat as space allows.
7. Save document.
8. To give your files to a commercial printer for printing, PDF files are usually the best choice. To
save your Word document as a PDF, select the PDF button instead of the PRINT button in the
print dialog window when you initiate a print command.


