
A M E R I C A N A R C H I T E C T U R A L
AAMA 2410-13
Standard Practice for Installation of Windows with an Exterior Flush Fin Over an Existing Window Frame
M A N U F A C T U R E R S A S S O C I A T I O N

1.0 SCOPE ......................................................................................................... 1
2.0 REFERENCED DOCUMENTS .................................................................... 1
3.0 DEFINITIONS ............................................................................................... 2
4.0 SIGNIFICANCE AND USE ........................................................................... 2
5.0 PRE-INSTALLATION INSPECTION ........................................................... 3
6.0 PROCEDURE ............................................................................................... 3
7.0 PRODUCT PROTECTION ........................................................................... 5
AAMA. The Source of Performance Standards, Products Certification and Educational Programs for the Fenestration Industry.
All AAMA documents may be ordered at our web site in the “Publications Store”. ©2013 American Architectural Manufacturers Association – These printed or electronic pages may NOT be reproduced, republished or distributed in any format without the express written consent of the American Architectural Manufacturers Association. This document was developed and maintained by representative members of AAMA as advisory information. AAMA DISCLAIMS ALL WARRANTIES WITH REGARD TO THIS INFORMATION, INCLUDING ALL IMPLIED WARRANTIES OF MERCHANTABILITY AND FITNESS. IN NO EVENT SHALL AAMA BE LIABLE FOR ANY DAMAGES WHATSOEVER FROM THE USE, APPLICATION OR ADAPTATION OF MATERIALS PUBLISHED HEREIN. It is the sole responsibility of the user/purchaser to evaluate the accuracy, completeness or usefulness of any information, opinion, advice or other content published herein. AAMA 2410-13 ORIGINALLY PUBLISHED: 2003 PRECEDING DOCUMENT: 2410-03 PUBLISHED: 3/13 American Architectural Manufacturers Association
1827 Walden Office Square, Suite 550, Schaumburg, IL 60173 PHONE (847) 303-5664 FAX (847) 303-5774 EMAIL [email protected] WEBSITE www.aamanet.org

AAMA 2410-13 Page 1
1.0 SCOPE
1.1 This practice covers the installation of retrofit windows in detached one- and two-family dwellings and townhouses not
more than three stories above-grade in height with a separate means of egress.
1.2 This practice applies to retrofit windows with an exterior flush fin installed over a pre-existing window frame into a
vertical wall.
1.3 This practice covers the installation process from pre-installation procedures through post-installation procedures. It does
not cover the fabrication or assembly of windows whether such fabrication takes place in a factory or at the intended
installation site.
1.4 This practice provides minimum requirements that will help to ensure the installation of exterior flush fin retrofit
windows in an effective manner. Actual conditions in buildings vary greatly, and in some cases substantial additional care
and precaution will have to be taken.
1.5 This practice assumes that the seal between the pre-existing window and adjacent wall or water resistive barrier is
adequate and that the wall surrounding the pre-existing window is structurally sound.
1.6 This practice covers typical installations and generic details. It does not purport to cover all situations that may be
encountered in the field.
1.7 This practice does not purport to address all of the safety concerns associated with its use. It is the responsibility of
whomever uses this standard to consult and establish appropriate safety and health practices and determine the applicability
of regulatory limitations prior to use.
1.8 This practice is not intended to replace a manufacturer's installation instructions or federal, state, or local building codes.
In all cases follow manufacturer's instructions and applicable building codes for any special procedures, applications, or
requirements. In the event of a conflict between this practice and the manufacturer’s installation instructions, the
manufacturer’s instructions shall prevail.
2.0 REFERENCED DOCUMENTS
2.1 References to the standards listed below shall be to the edition indicated. Any undated reference to a code or standard
appearing in the requirements of this standard shall be interpreted as to referring to the latest edition of that code or standard.
2.2 American Architectural Manufacturers Association (AAMA)
AAMA 800-10, Voluntary Specifications and Test Methods for Sealants
AAMA AG-12, AAMA Glossary
AAMA IM-TM-08, Installation Masters Training Manual
AAMA TIR A9-91, Metal Curtain Wall fasteners
2.3 ASTM International (ASTM)
ASTM B456-11e1, Standard Specification for Electroplated Coatings of Copper Plus Nickel Plus Chromium and Nickel Plus
Chromium
ASTM B633-11, Standard Specification for Electrodeposited Coatings of Zinc on Iron and Steel
ASTM B766-86(2008), Standard Specification for Electrodeposited Coating of Cadmium
ASTM E2112-07, Standard Practice for Installation of Exterior Windows, Doors and Skylights
AAMA 2410-13 Page 2
3.0 DEFINITIONS
3.1 Please refer to AAMA Glossary (AG-12) for all definitions except for those appearing below (which apply only to this
standard practice).
3.2 BLOCKING: A lineal piece of suitable material designed to support and prevent rotation of the replacement window sill.
3.3 ROUGH OPENING: Minimum clear opening of the pre-existing window frame after removal of sash, glass and all sash
components.
3.4 SEALANT: Any of a variety of compounds used to fill and seal joints or openings in wood, metal, masonry, and other
materials, as contrasted to a sealer; which is a liquid used to seal a porous surface. Recommended sealants are those capable
of exterior weathering and exhibit a minimum of ±25% movement capacity consistent with the sealant manufacturers’
recommendations for this application.
3.5 SHIM: A thin, flat or wedge shaped piece of suitable material used to level or plumb a window frame during installation.
3.6 WATER RESISTIVE BARRIER: The surface or surfaces of a wall responsible for preventing water infiltration into the
building interior.
4.0 SIGNIFICANCE AND USE
4.1 This practice recognizes that the effectiveness and durability of installed windows depend not only on the choice and
quality of material, design, adequacy of assembly, and support system, but also on their proper installation.
4.2 Improper installation of windows may hinder operation or reduce their effectiveness, by allowing excessive air, water and
sound infiltration or condensation. It may promote the deterioration of the wall construction and its respective components.
4.3 The application of this practice also requires a working knowledge of applicable Federal, State and local codes and
regulations regarding windows, specifically, but not limited to: a) a required emergency escape and rescue opening; b)
requirements for safety glazing; and c) an understanding of construction practices relating to the building wall water resistive
barrier system. Consult with local building codes prior to installation.
4.4 The application of this practice also requires a working knowledge of the tools, equipment, and methods necessary for the
installation of windows. It further assumes familiarity with caulking, sealing, painting (where applicable) and glass handling
procedures. It also requires an understanding of the fundamentals of residential construction that affect the installation of
these windows.
5.0 PRE-INSTALLATION INSPECTION
5.1 Inspect the interior and exterior walls adjacent to the window to be retrofitted. If evidence of water penetration is
observed or suspected, corrective measures shall be taken prior to installation.
5.2 Carefully inspect the existing window frame perimeter for evidence of damage, deterioration or decay. If the installer
notices problems, the deficiencies shall be reported to the approving authority. These deficiencies shall be corrected prior to
the installation of the retrofit window.
6.0 PROCEDURE
6.1 MEASURING FOR RETROFIT WINDOWS
6.1.1 Measurements shall be taken to determine rough opening sizes and to ensure squareness.
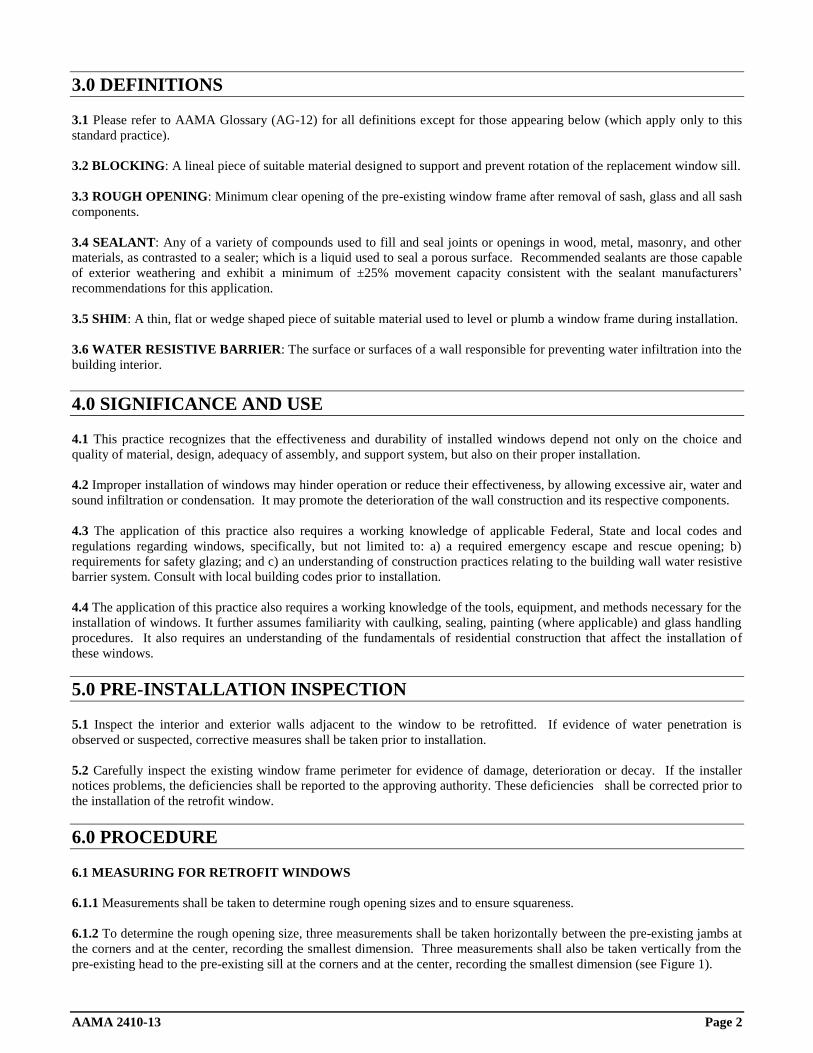
6.1.2 To determine the rough opening size, three measurements shall be taken horizontally between the pre-existing jambs at
the corners and at the center, recording the smallest dimension. Three measurements shall also be taken vertically from the
pre-existing head to the pre-existing sill at the corners and at the center, recording the smallest dimension (see Figure 1).

AAMA 2410-13 Page 3
6.1.3 Determine squareness of the rough opening by cross-measuring the rough opening diagonals.
6.2 SIZING OF RETROFIT WINDOWS
6.2.1 Accuracy of size is critical. Sizing shall allow for proper fit without having to rack or force the retrofit window into the
rough opening.
6.2.2 The retrofit window shall be no less than 6 mm (1/4 in) less in width and height than the measurements of Section 6.1.2.
Out of square conditions may require additional allowances.
6.3 PROTECTION FROM DISSIMILAR METALS
6.3.1 Metal products shall be isolated from dissimilar or corrosive materials with a nonconductive coating, membrane or
sealant material.
6.3.2 All fasteners shall be corrosive resistant, in accordance with ASTM B633, B766 or B456 as indicated in
AAMA TIR A9.
6.4 PREPARATION AND INSTALLATION
6.4.1 Verify that the retrofit window will fit in the rough opening and that the flush fin will cover the exterior of the pre-
existing window's frame.
6.4.2 Prepare the opening by removing any pre-existing sash components that will interfere with the installation of the retrofit
window. Trim protruding elements of the pre-existing window frame as required. Leave only the pre-existing window's outer
frame in place (see Figure 2). Any exposed fastener holes shall be fully sealed prior to installation of the replacement
window.
6.4.2.1 In removing existing materials, it is important not to disturb the pre-existing installation, as it will still be utilized. If
the pre-existing installation is damaged, corrective measures shall be taken prior to the installation of the retrofit window.
6.4.3 Ensure that the pre-existing frame's exterior mounting surface is clean and free of any debris and will allow for full
perimeter contact with the flush fin of the retrofit window. Trimming the exterior flush fin of the retrofit window may be
required.
6.4.4 Install the retrofit window, making sure to level it and block it as necessary, or as directed by the manufacturer, to
ensure that the frame will be well supported along its base to prevent sill rotation or distortion (see Figures 3 & 6). Do not
block any weep holes on the pre-existing window.
6.4.4.1 Retrofit windows must be installed such that the flange does not cover or interfere with any pre-existing head
flashing.
6.4.5 Pre-fit the retrofit window in the opening. Square and shim as necessary for a level, plumb and square installation.
Secure sufficiently to check for proper operation, locking and fit. Remove retrofit window from the opening. Trim the
perimeter of the retrofit flush fin if necessary. (See AAMA IM-TM for additional information on shimming.)
6.4.6 Apply a minimum 10 mm (3/8 in) continuous bead or ribbon of sealant to the mounting surfaces of the pre-existing
window frame across the head and down the jambs. An adequate amount of sealant shall be applied to compensate for
irregularities in the wall surface to ensure a proper seal between the pre-existing window frame and the flush fin of the
retrofit window (see Figure 4).
6.4.7 Apply a minimum 10 mm (3/8 in) bead or ribbon of sealant across the exterior mounting surface of the sill, leaving a
minimum void of 25 mm (1 in) in-line with existing weep holes to allow any moisture to escape. Do not block any weep
openings on the pre-existing window (see Figure 4).
NOTE 1: Where no weep openings exist, leave two 25 mm (1 in) minimum voids; one each within 100 mm (4 in) from each
corner.

AAMA 2410-13 Page 4
6.4.8 Place the retrofit window into the opening. Push firmly to ensure contact with the sealant on the pre-existing frame to
achieve a primary seal between the pre-existing frame and retrofit window (see Figure 5).
NOTE 2: Confirm installation is level, plumb and square. Install and check vent panels for proper operation, locking and fit.
Make adjustments as necessary in accordance with window manufacturer's instructions.
6.4.9 Secure the retrofit window in the opening. Screw through both the retrofit and pre-existing window frame head and
jambs and anchor into the surrounding wall framing. Unless otherwise stated by the window manufacturer, installation
screws shall be no closer than 75 mm (3 in) and no more than 250 mm (10 in) from each corner and at a maximum of
400 mm (16 in) on center. Do not over-tighten screws as this may warp or bend the retrofit window's frame. Shims may be
used at each fastener location as recommended by the window manufacturer. The shim shall not encroach beyond the interior
edge of the frame and shall be wide enough to provide proper support between the window frame and rough opening.
Seal screw-hole openings both prior to and after installation of the screw.
NOTE 3: User may refer to AAMA 2501 for additional guidance.
6.4.10 If the window is sufficiently large to require anchoring of the sill, consult manufacturer's instructions. Anchor the sill
in a fashion that will not violate the existing window's sill drainage system.
CAUTION: Do not screw through the pre-existing window's sill in a fashion that may allow water to penetrate the water
resistive barrier.
6.4.11 Apply a secondary seal, between the fin and the adjacent building wall materials, around the perimeter of the retrofit
window's flush fin (see Figure 6). Leave minimum voids of 25 mm (1 in) in line with the pre-existing window's weep holes to
allow for drainage to the exterior (see Figure 5).
NOTE 4: Where no weep openings exist, leave two 25 mm (1 in) minimum voids; one each within 100 mm (4 in) from each
corner.
6.4.12 If expanding foam products are used to insulate between the existing and new window frames, only use low pressure
foam products or low expanding foam products that have been tested in accordance with AAMA 812 to avoid distortion of
the new window frame.
6.4.13 Finish the interior of the retrofit window with desired trim. It is recommended to not install any interior trim within 30
minutes of a foam insulation application.
6.5 SEALANT REQUIREMENTS
6.5.1 Installation sealant shall conform to AAMA 800. Use compatible sealant recommended and approved by the sealant
manufacturer, following their printed application procedures. ASTM E2112 provides guidance on sealant selection and
application.
NOTE 5: The movement capability of the sealant used should be sufficient to accommodate the expected joint movement.
6.5.2 Where sealant is required in this standard, an application of a nominal 10 mm (3/8 in) diameter sealant bead or ribbon
as recommended by the sealant manufacturer is required.
6.5.3 Install the window immediately after sealant application before a skin forms and/or contamination occurs on the sealant
surface.

AAMA 2410-13 Page 5
7.0 PRODUCT PROTECTION
7.1 Caution shall be used to avoid damage to windows during and after installation. Prior to installation, store windows in a
near vertical position with adequate sill support, in a clean area free of circulating dirt or debris and protected from exposure
to weather elements.
FIGURE 1: Determining the Rough Opening Size (Three Measurements)
FIGURE 2: Preparing the Opening
PRE-EXISTING FRAME
MEASURE HORIZONTALLY AND VERTICALLY AT THREE POINTS AND RECORD SMALLEST OPENING
DIMENSIONS.

AAMA 2410-13 Page 6
FIGURE 3: Level and Block Window

AAMA 2410-13 Page 7
FIGURE 4: Apply Sealant to the Mounting Surfaces
Apply sealant to mounting surfaces of pre-existing frame

AAMA 2410-13 Page 8
FIGURE 5: Placing the Retrofit Window into the Opening
FIGURE 6: Flush Fin

AAMA 2410-13 Page 9
Changes from AAMA 2410-03 to AAMA 2410-13
- Various editorial changes
- Changed Section 1.1 to reference “not more than three stories” (previously “no more than four stories”)
- Removed old Section 1.4 regarding installation effectiveness
- Added statement to Section 1.8 regarding use of manufacturer’s installation instructions in the event of a conflict
- Updated definitions for “Sealant” and “Shim”; added new definition of “Water Resistive Barrier”
- Changed Section 6.2.2. to be “no less than” 6 mm (previously “approximately”)
- Modified Section 6.4.2.1 from a note into a required section
- Added new Section 6.4.4.1
- Changed Section 6.4.9 to reference the window manufacturer and requirement for shim not encroaching beyond the interior
edge of the frame
- Added reference to AAMA 812 in Section 6.4.12 for low expanding foam
- Added a new “NOTE 5”
- Updated figures throughout; removed old Figure 2

American Architectural Manufacturers Association 1827 Walden Office Square, Suite 550
Schaumburg, IL 60173 PHONE (847)303-5664 FAX (847)303-5774
EMAIL [email protected] WEBSITE www.aamanet.org


