dockerizing ruby apps and effectively testing them · in this book you will learn how to dockerize...
TRANSCRIPT
Dockerizing Ruby Apps and Effectively
Testing them
TAYLOR JONES SOFTWARE CHEF AT IZEA
CO D E S H I P. CO M - B LO G . CO D E S H I P. CO M - R E S O U RC E S . CO D E S H I P. CO M
About the Author.
Taylor is Software Chef at IZEA, slowly simmering in the Florida heat. He is a contributor to the Codeship blog and mainly writes about how to transition to a microservice structure with your software team.
Codeship is a fully customizable hosted Continuous Integration and Delivery platform that helps you build, test, and deploy web applications fast and with confidence.
Learn more about Codeship here.
Share this
Codeship Guide
- 2 -
In this book you will learn how to dockerize Ruby applications and how to test them. We will take a look at Docker's powerful features from the perspective of a Dockerized Ruby on Rails application.
AB
OU
T T
HIS
EB
OO
K
Dockerizing Ruby Apps and Effectively Testing them
Docker is an incredibly popular tool for virtualizing development and production environments. Its value lies in the idea that it creates portable, scalable environments that anyone can scaffold within minutes.
However, a consequence of virtualizing environments is that we have to take a different approach to testing them.
How do we effectively test Docker applications? This can be a loaded question. Its answer lies within a slightly different way of approaching testing. However, I believe Docker provides a variety of simple but powerful features that we can leverage to test any kind of application from both a current and historical point of view.
Share this
Codeship Guide
- 3 -
Bringing Your Application into the Virtual Realm
Docker's virtualization design has a bit of a weird learning curve to it. The gist of it involves taking something that seems physical (a bundled and working application) and abstracting it into a new kind of reality. Docker likes to refer to this newer reality as a container. What's most interesting about this reality is that a container also can be composed of other smaller containers.
With this in mind, we can guarantee two things about our Docker ecosystem:
1. Our Rails app will exist within a single container2. Our database and other services, will also exist in
different containers.
Formulating your Docker setup
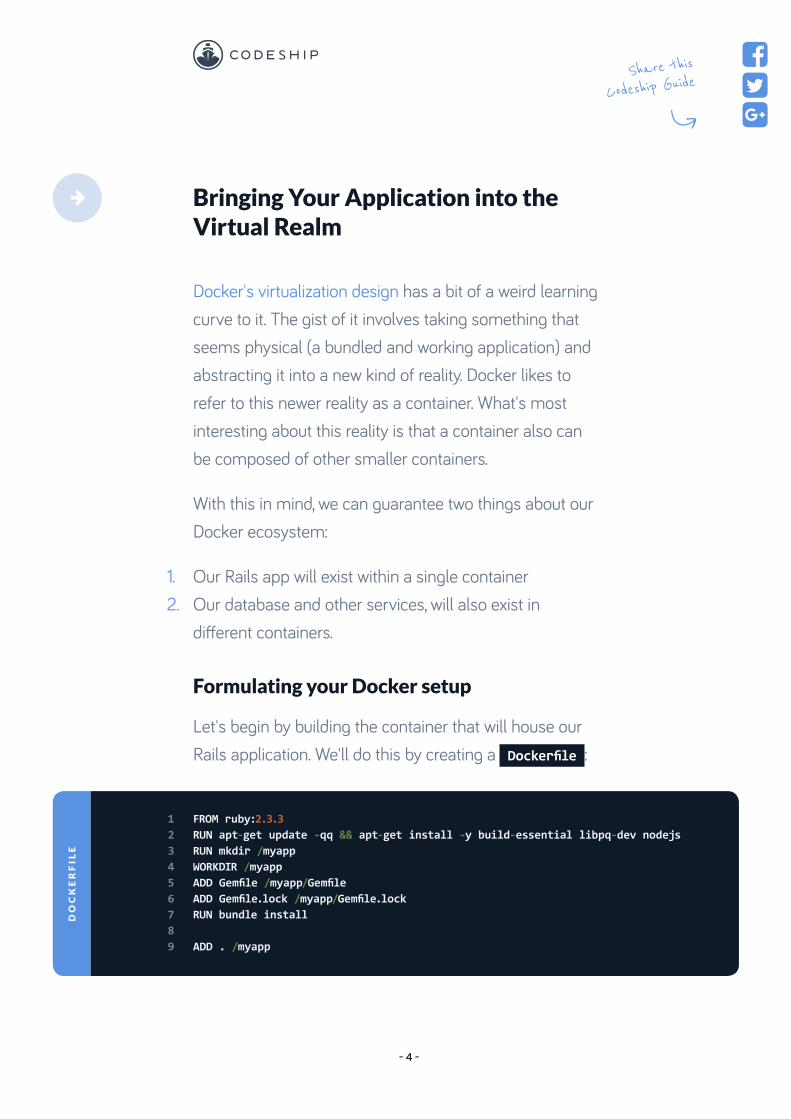
Let's begin by building the container that will house our Rails application. We'll do this by creating a Dockerfile :
1 FROM ruby:2.3.32 RUN apt-get update -qq && apt-get install -y build-essential libpq-dev nodejs3 RUN mkdir /myapp4 WORKDIR /myapp5 ADD Gemfile /myapp/Gemfile6 ADD Gemfile.lock /myapp/Gemfile.lock7 RUN bundle install8 9 ADD . /myapp
DO
CK
ER
FIL
EShare this
Codeship Guide
- 4 -
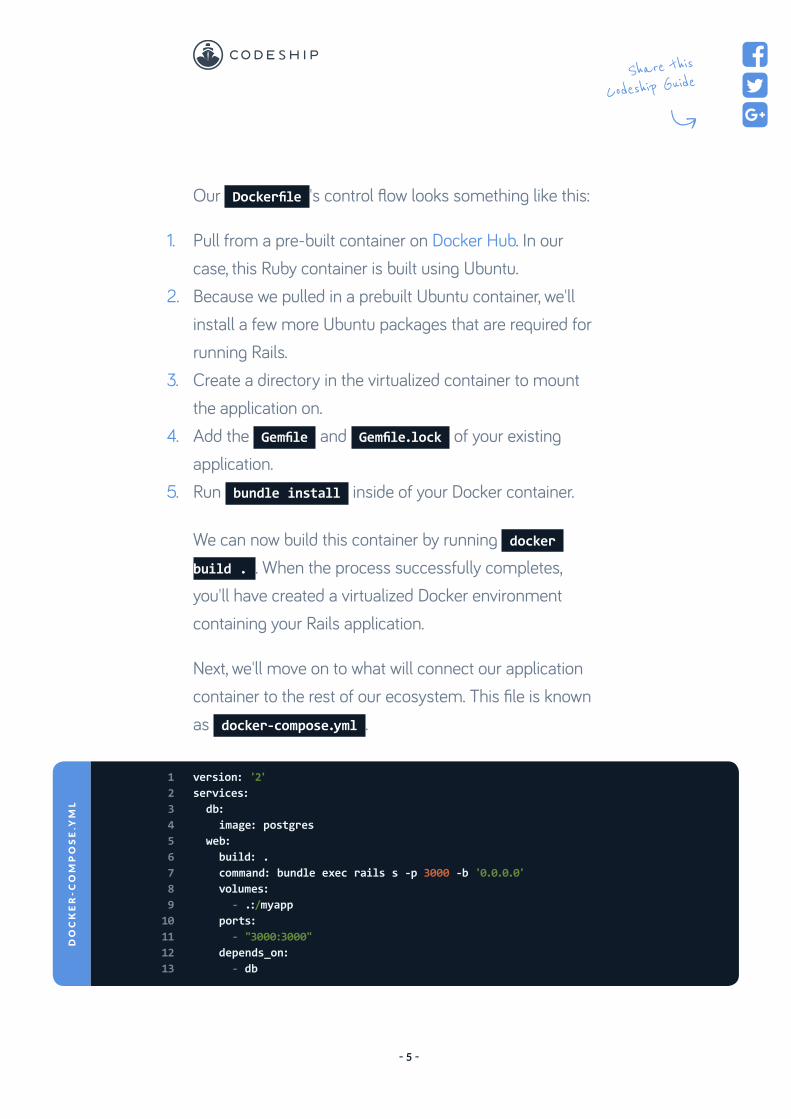
Our Dockerfile 's control flow looks something like this:
1. Pull from a pre-built container on Docker Hub. In our case, this Ruby container is built using Ubuntu.
2. Because we pulled in a prebuilt Ubuntu container, we'll install a few more Ubuntu packages that are required for running Rails.
3. Create a directory in the virtualized container to mount the application on.
4. Add the Gemfile and Gemfile.lock of your existing application.
5. Run bundle install inside of your Docker container.
We can now build this container by running docker build . . When the process successfully completes, you'll have created a virtualized Docker environment containing your Rails application.
Next, we'll move on to what will connect our application container to the rest of our ecosystem. This file is known as docker-compose.yml .
1 version: '2'2 services:3 db:4 image: postgres5 web:6 build: .7 command: bundle exec rails s -p 3000 -b '0.0.0.0'8 volumes:9 - .:/myapp10 ports:11 - "3000:3000"12 depends_on:13 - db
DO
CK
ER
-C
OM
PO
SE
.YM
LShare this
Codeship Guide
- 5 -
Breaking down this file, we find that:
1. We're declaring use of version 2 of Docker Compose's file format. We want a file that's relevant to the design decisions and formatting that is currently the standard (Feb 2017). Read more on the file format here.
2. We're defining two services: db and web .3. db is made up of a prebuilt postgres image that
contains an instance of PostgreSQL.4. web is created by building our Dockerfile , configuring
a command for docker-compose up , mounting the application to our big container, exposing ports for the app, and declaring a dependence on the db container.
When all of this is said and done, we will be able to run docker-compose up , and our whole application should be up and running (accessible under http://localhost:3000 ).
Running commands against a Docker container
Now that our app is Dockerized, we can start figuring out how to interact with its newly virtualized context. The first
By the way, did you know that once you understand how to set up docker-compose.yml it will be very easy for you to start setting up Codeship Pro and its codeship-services.yml and codeship-steps.yml files?
Share this
Codeship Guide
- 6 -
thing that's different about our interactions is how we run basic command line commands against the Docker container. You'll now need to run docker-compose run web before any commands that you want to execute against the app container.
This means that something like: rails g model user now becomes docker-compose run web rails g model user . The distinction is very important as we want to run the Rails commands against our Docker container, not our local environment.
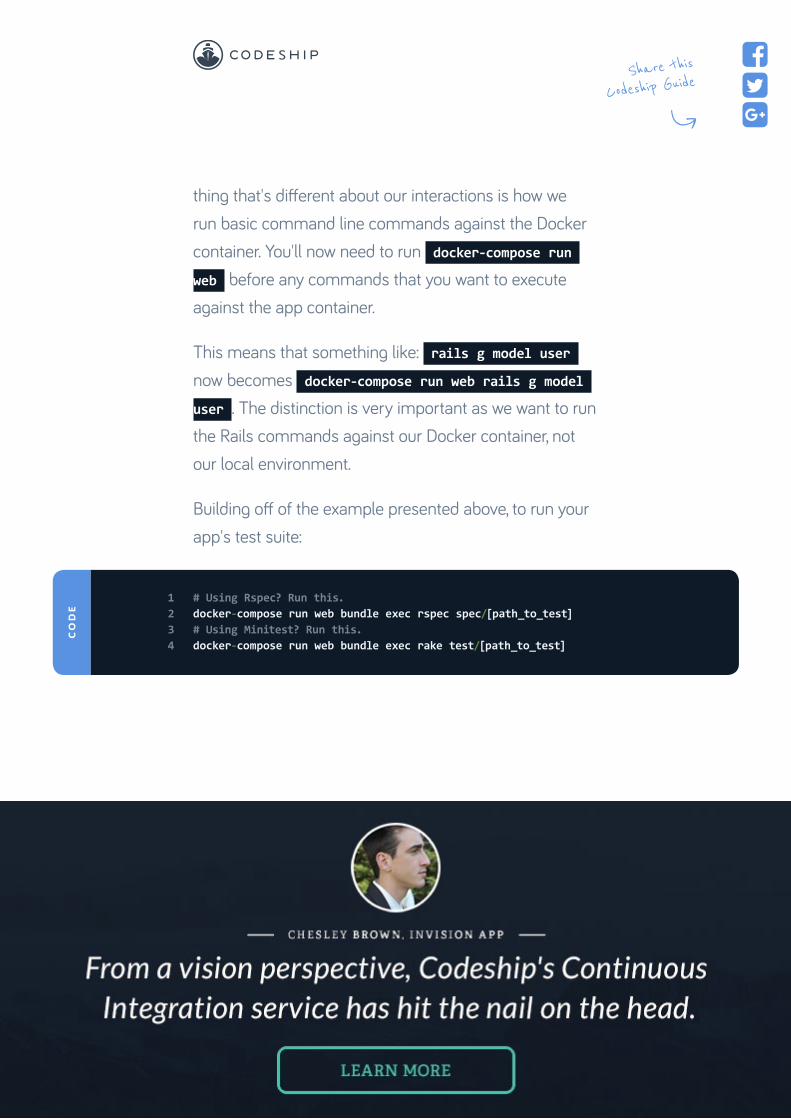
Building off of the example presented above, to run your app's test suite:
1 # Using Rspec? Run this.2 docker-compose run web bundle exec rspec spec/[path_to_test]3 # Using Minitest? Run this.4 docker-compose run web bundle exec rake test/[path_to_test]
CO
DE
Share this
Codeship Guide
- 7 -
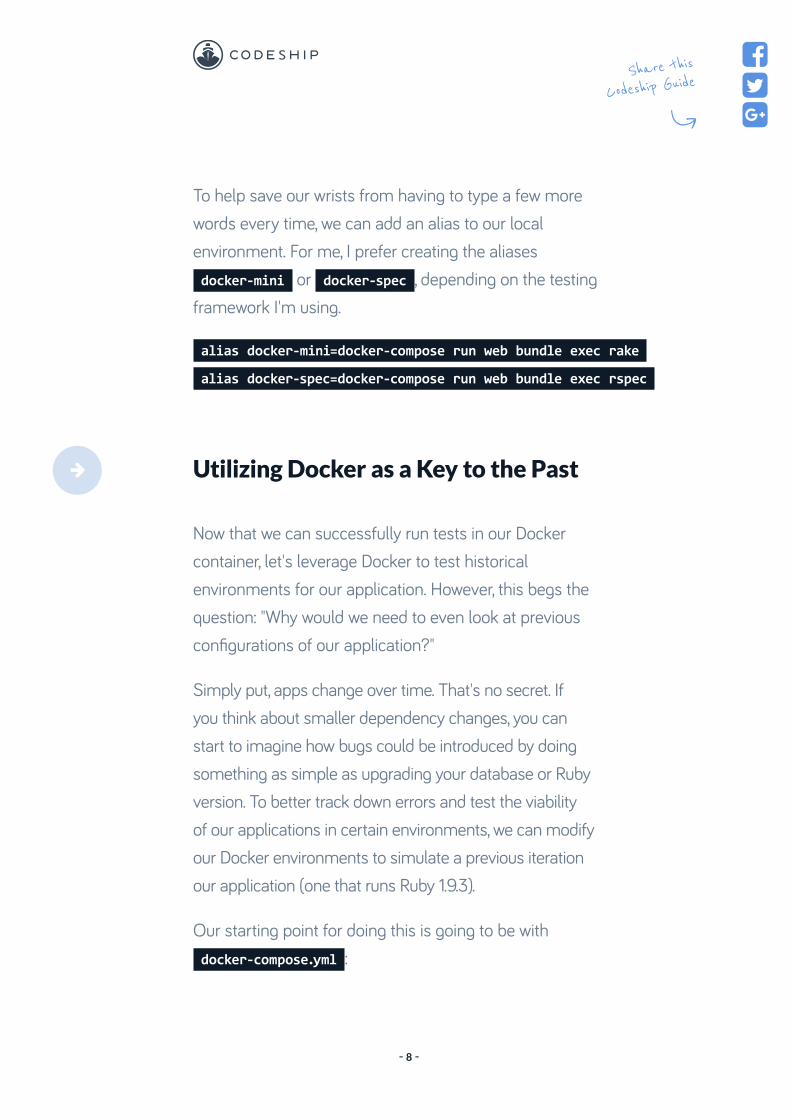
To help save our wrists from having to type a few more words every time, we can add an alias to our local environment. For me, I prefer creating the aliases docker-mini or docker-spec , depending on the testing framework I'm using.
Utilizing Docker as a Key to the Past
Now that we can successfully run tests in our Docker container, let's leverage Docker to test historical environments for our application. However, this begs the question: "Why would we need to even look at previous configurations of our application?"
Simply put, apps change over time. That's no secret. If you think about smaller dependency changes, you can start to imagine how bugs could be introduced by doing something as simple as upgrading your database or Ruby version. To better track down errors and test the viability of our applications in certain environments, we can modify our Docker environments to simulate a previous iteration our application (one that runs Ruby 1.9.3).
Our starting point for doing this is going to be with docker-compose.yml :
alias docker-mini=docker-compose run web bundle exec rake alias docker-spec=docker-compose run web bundle exec rspec
Share this
Codeship Guide
- 8 -
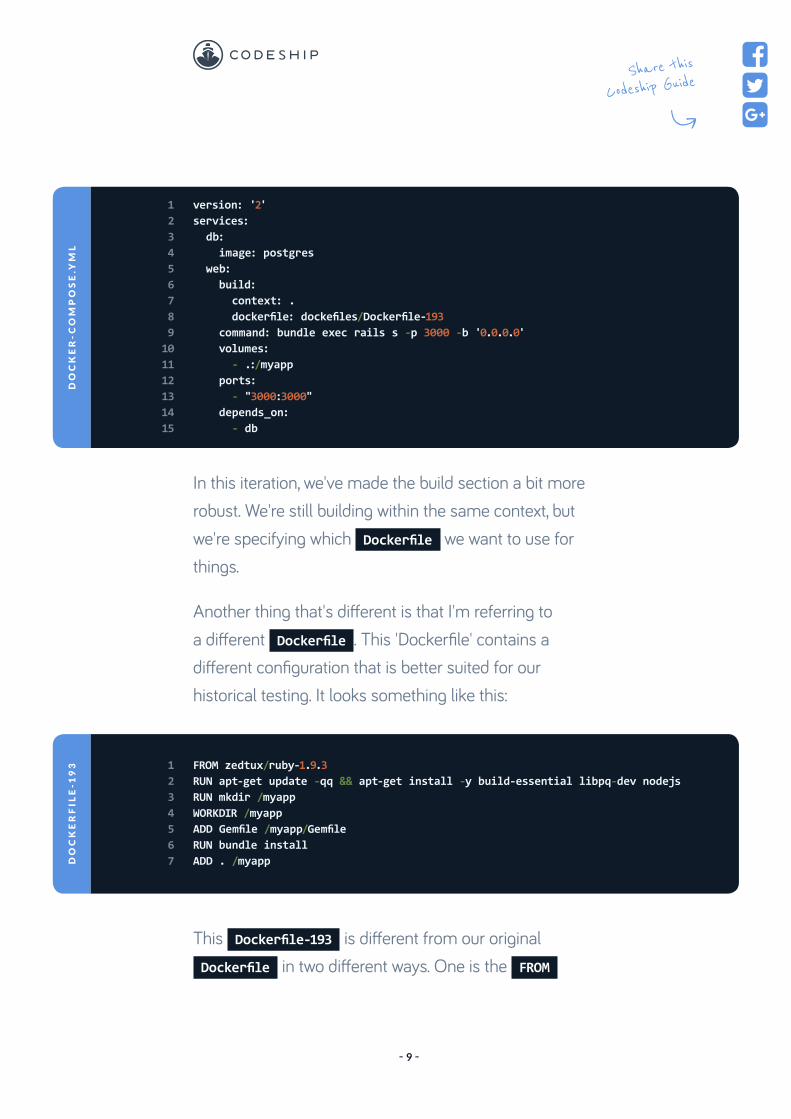
In this iteration, we've made the build section a bit more robust. We're still building within the same context, but we're specifying which Dockerfile we want to use for things.
Another thing that's different is that I'm referring to a different Dockerfile . This 'Dockerfile' contains a different configuration that is better suited for our historical testing. It looks something like this:
This Dockerfile-193 is different from our original Dockerfile in two different ways. One is the FROM
1 FROM zedtux/ruby-1.9.32 RUN apt-get update -qq && apt-get install -y build-essential libpq-dev nodejs3 RUN mkdir /myapp4 WORKDIR /myapp5 ADD Gemfile /myapp/Gemfile6 RUN bundle install7 ADD . /myappD
OC
KE
RF
ILE
-19
3
1 version: '2'2 services:3 db:4 image: postgres5 web:6 build:7 context: .8 dockerfile: dockefiles/Dockerfile-1939 command: bundle exec rails s -p 3000 -b '0.0.0.0'10 volumes:11 - .:/myapp12 ports:13 - "3000:3000"14 depends_on:15 - db
DO
CK
ER
-C
OM
PO
SE
.YM
LShare this
Codeship Guide
- 9 -
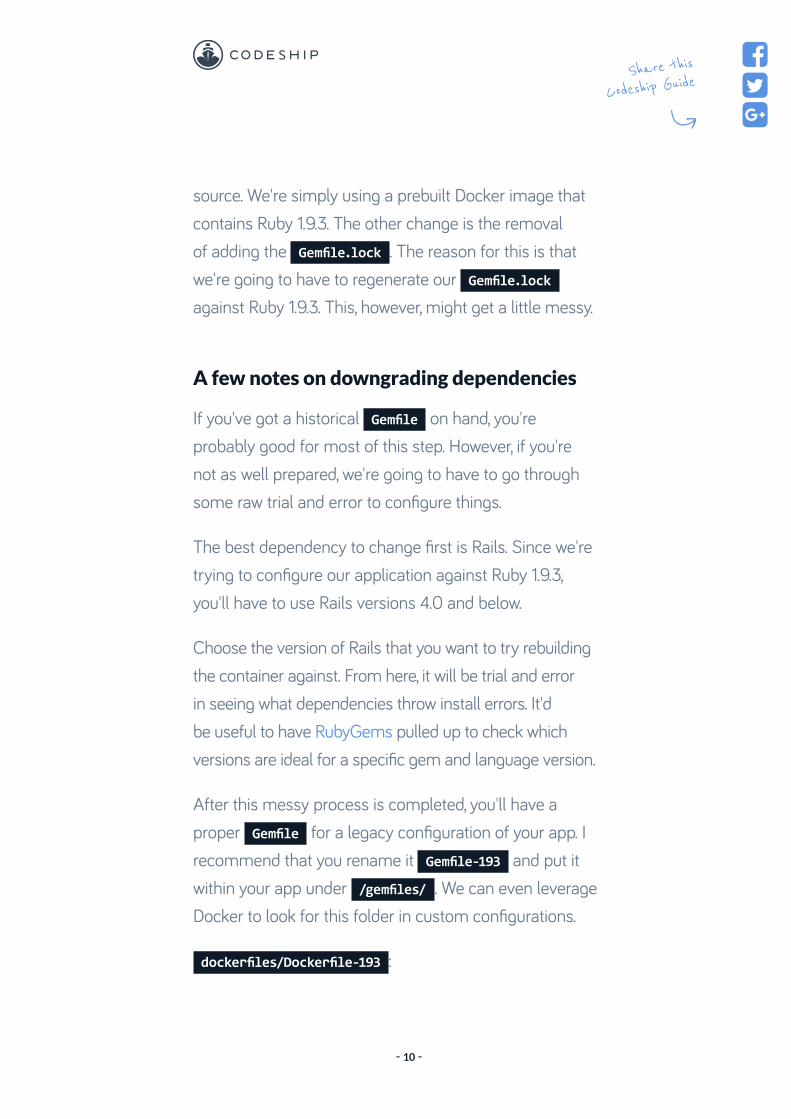
source. We're simply using a prebuilt Docker image that contains Ruby 1.9.3. The other change is the removal of adding the Gemfile.lock . The reason for this is that we're going to have to regenerate our Gemfile.lock against Ruby 1.9.3. This, however, might get a little messy.
A few notes on downgrading dependencies
If you've got a historical Gemfile on hand, you're probably good for most of this step. However, if you're not as well prepared, we're going to have to go through some raw trial and error to configure things.
The best dependency to change first is Rails. Since we're trying to configure our application against Ruby 1.9.3, you'll have to use Rails versions 4.0 and below.
Choose the version of Rails that you want to try rebuilding the container against. From here, it will be trial and error in seeing what dependencies throw install errors. It'd be useful to have RubyGems pulled up to check which versions are ideal for a specific gem and language version.
After this messy process is completed, you'll have a proper Gemfile for a legacy configuration of your app. I recommend that you rename it Gemfile-193 and put it within your app under /gemfiles/ . We can even leverage Docker to look for this folder in custom configurations.
dockerfiles/Dockerfile-193 :
Share this
Codeship Guide
- 10 -
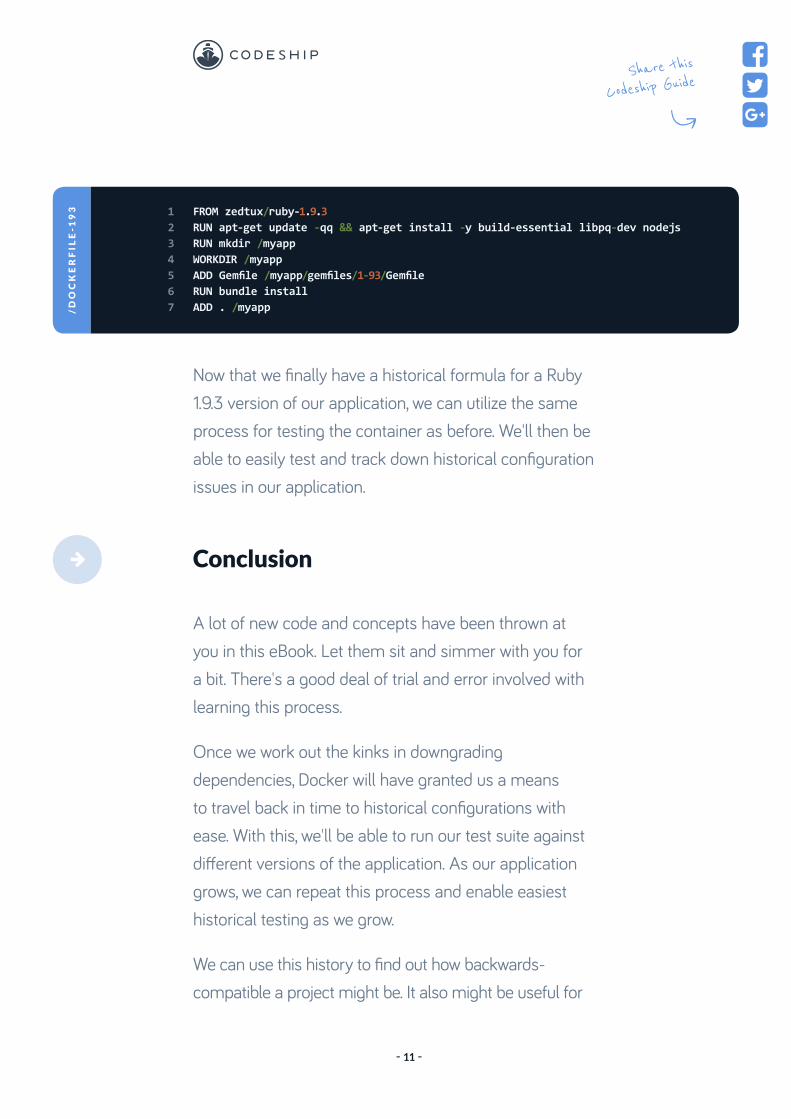
Now that we finally have a historical formula for a Ruby 1.9.3 version of our application, we can utilize the same process for testing the container as before. We'll then be able to easily test and track down historical configuration issues in our application.
Conclusion
A lot of new code and concepts have been thrown at you in this eBook. Let them sit and simmer with you for a bit. There's a good deal of trial and error involved with learning this process.
Once we work out the kinks in downgrading dependencies, Docker will have granted us a means to travel back in time to historical configurations with ease. With this, we'll be able to run our test suite against different versions of the application. As our application grows, we can repeat this process and enable easiest historical testing as we grow.
We can use this history to find out how backwards-compatible a project might be. It also might be useful for
1 FROM zedtux/ruby-1.9.32 RUN apt-get update -qq && apt-get install -y build-essential libpq-dev nodejs3 RUN mkdir /myapp4 WORKDIR /myapp5 ADD Gemfile /myapp/gemfiles/1-93/Gemfile6 RUN bundle install7 ADD . /myapp/
DO
CK
ER
FIL
E-1
93
Share this
Codeship Guide
- 11 -
being able to track down historical bugs in the application that could have been caused by configuration changes, a much-needed relief for the DevOps process. Either way, you now know how to leverage Docker for your personal and team needs.
Last but not least, if you are interested in testing and deploying your dockerized Ruby applications with a dedicated services consider giving Codeship Pro a try. It's Codeship's fully customizable Continuous Integration and Delivery service with native Docker support. It makes it easy to test and deploy your microservices and push to any registry. It's also lets you deploy with Kubernetes and comes with a convenient local CLI tool that allows you to run your builds locally, helps encrypting your environment variables, and guarantees 100% parity between your development and production environment!
Codeship Pro comes with a free plan that grants 100 builds per month, unlimited projects and unlimited users.
Share this
Codeship Guide
- 12 -
Share this
Codeship Guide
- 13 -
EB
OO
KS
Continuous Integration and Delivery with Docker.In this eBook you will learn how to set up a Continuous Delivery pipeline with Docker.
Download this eBook
EB
OO
KS
An Introduction to Deploying Docker Apps with Codeship Pro.In this eBook, we will walk you through Codeship's Continuous Integration platform for Docker.
Download this eBook
EB
OO
KS
Best Practices for Building Minimal Docker Images.In this eBook we will look at some ways to streamline your Docker image as small as possible.
Download this eBook
More Codeship Resources.
Share this
Codeship Guide
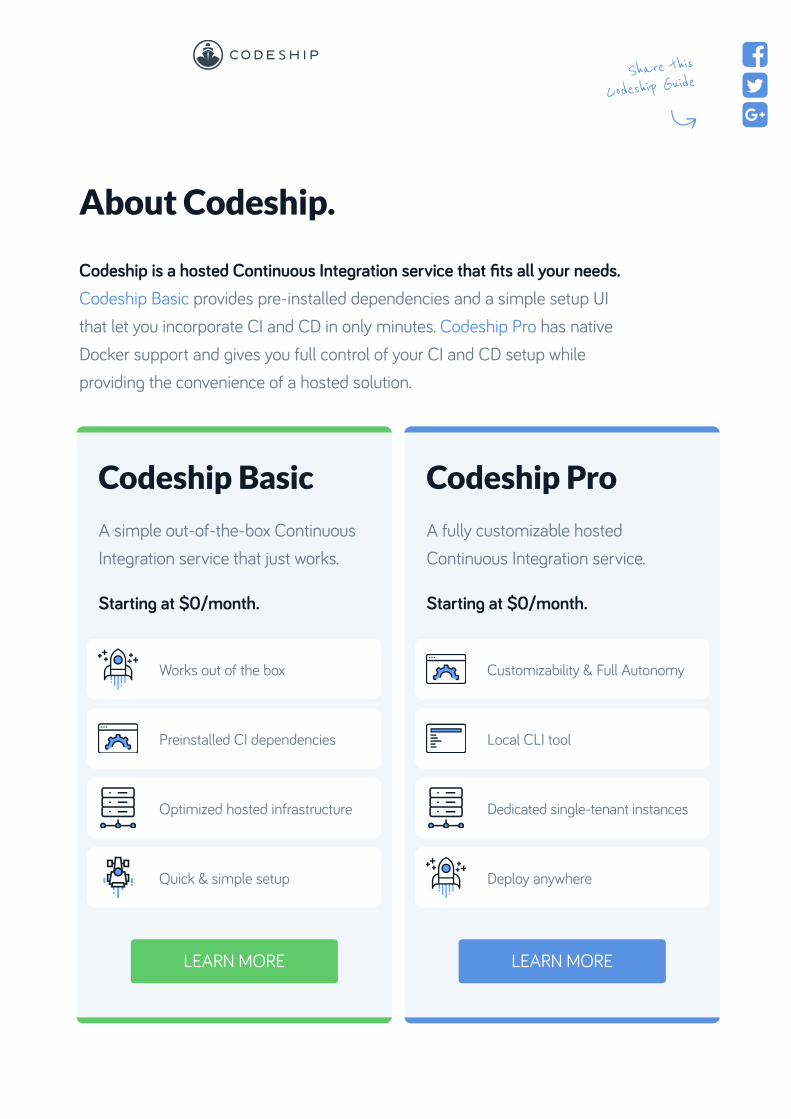
About Codeship.
Codeship is a hosted Continuous Integration service that fits all your needs. Codeship Basic provides pre-installed dependencies and a simple setup UI that let you incorporate CI and CD in only minutes. Codeship Pro has native Docker support and gives you full control of your CI and CD setup while providing the convenience of a hosted solution.
Codeship Basic
A simple out-of-the-box Continuous Integration service that just works.
Starting at $0/month.
Works out of the box
Preinstalled CI dependencies
Optimized hosted infrastructure
Quick & simple setup
Codeship Pro
A fully customizable hosted Continuous Integration service.
Starting at $0/month.
Customizability & Full Autonomy
Local CLI tool
Dedicated single-tenant instances
Deploy anywhere
LEARN MORELEARN MORE