delivery guidelines - welcome to costco wholesale & freezers please read all general guidelines...
TRANSCRIPT

DELIVERY GUIDELINES

GENERAL GUIDELINES
Thank you for choosing I nnovel! We want to ensure a smooth delivery and installation of your appliance. Please read over
these general guidelines as well as the appliance-specific guidelines that are included in
this guide.
NOTE: it is the homeowner’s responsibility to ensure the home has the proper gas,
electrical or water supply lines and shut-off valves required in these guidelines.
BEFORE WE GET THERE:
• Make sure a responsible adult, 18 years or older, will be present during delivery.
• Ensure a clear path from the street to the residence entrance (clear ice, snow, debris,
etc.) and the home has an accessible path (move furniture, toys, pets, etc.).
OUR DELIVERY TEAM WILL:
• Visually inspect the appliance to make sure there’s no damage. If you see damage,
please notify the delivery agent or contact the retailer and report it.
• Connect new appliance(s) to existing home utilities and test for proper operation
(only if proper gas, water supply lines, venting and shutoff valves required are present
in the home 3 ft. behind the appliance and on the same floor level).
• Remove all packaging materials from your home.
• Recycle your old product if we remove it from your home while following strict,
environmentally friendly guidelines.
FOR YOUR SAFETY, OUR TEAM CANNOT:
• Remove their shoes, but will act with due care to protect your home and merchandise.
• Lift or hoist merchandise over banisters, countertops or other obstructions, or through
windows to complete a delivery.
• Relocate used appliances to a different address or re-connect relocated, used
appliances to the home’s utilities.
• Perform carpentry, electrical or plumbing work or install appliance trim kits.
• Install a free-standing or slide-in range without installing a range anti-tip device.

GENERAL GUIDELINES
How To Prepare for your Appliance Delivery
SOME HELPFUL TIPS:
CHECK THE AVAILABLE SPACE
• Measure the height, width and depth
of the empty space your appliance is
going into. Make sure to account for
your existing countertops and cabinets.
WALK THE PATH
• Start at the curb and walk the path your
new appliance will take to find the best route.
If possible, have a back-up route in mind.
MEASURE TIGHT SPACES
• Make sure the appliance can get through
doors (including door jams), staircases,
around corners and between kitchen
islands and countertops.

REFRIGERATORS & FREEZERS
Please read all general guidelines on Page 2
Prior to reading specific appliance guidelines.
BEFORE DELIVERY
• If your refrigerator dispenses water and/or ice cubes, there needs to be space between the refrigerator and the wall for the water
line. This reduces the risk of deterioration in existing lines.
• Verify needed utilities: 3-prong grounded electrical outlet within
3 ft. of appliance location, ice-maker/water dispenser models require a water supply line and water shut-off valve on the same
floor level as the appliance and preferably within 3 ft. of the appliance location.
• We’ll call 30 minutes before delivery to give you time to transfer
food to another refrigerator or cooler where the food won’t spoil.
OUR DELIVERY TEAM WILL
• Provide appliance literature.
• Reverse new merchandise doors, if requested.
• Connect new appliance to existing approved water shutoff valve/supply and check for leaks.
• Place racks, crispers, trays and door handles in recommended
positions.
• Plug unit in and set to a mid-range cold setting and level the
refrigerator or freezer.
1
2

BUILT-IN OVENS, MICROWAVES, & DISHWASHERS
Please read all general guidelines on Page 2
Prior to reading specific appliance guidelines. Note: DELIVERY TEAMS CANNOT CONNECT DISHWASHERS, BUILT-IN OVENS.
BEFORE DELIVERY
• Verify 240V grounded 50 AMP electrical or gas power supply.
• Ensure water supply with accessible shut-off is in close proximity
to dishwasher, and that air gap is present.
• See product page for delivery service and installation
requirements prior to delivery and installer team arrival.
OUR DELIVERY TEAM WILL
• Install if installation was included in your purchase. This will be
a separate appointment with a contractor. All attempts will be
made to have installation occur on the same day of your
delivery.
1
2

ELECTRIC COOKING RANGES
Please read all general guidelines on Page 2
Prior to reading specific appliance guidelines.
BEFORE DELIVERY
• Verify 240V grounded 50 AMP electrical service/outlet is
within 3 ft. of range location.
OUR DELIVERY TEAM WILL
• Review anti-tip installation and install the anti-tip
device.
• Provide appliance literature.
• Check 240V electrical outlet. Connect the range to the conforming
electrical service following local code and using a new 240V electrical
cord provided in the original packaging and not visibly damaged.
• Level the range, set grates and burners in place.
• Test the connected range power source by activating burners
and oven.
1
2

GAS COOKING RANGES
Please read all general guidelines on Page 2
Prior to reading specific appliance guidelines.
BEFORE DELIVERY
• Verify 3-prong grounded electrical outlet (110V) and gas supply line
with above floor shut-off valve is on the same floor level as range and preferably within 3 ft. of the range location.
• Delivery Team will connect to natural gas only – no liquid propane
connections. Note: In certain municipalities, local code may
require a plumber or gas technician to connect gas appliances.
OUR DELIVERY TEAM WILL
• Review anti-tip installation and install the anti-tip device.
• Provide appliance literature.
• Connect the range to the conforming natural gas supply following
local code and using a new stainless steel flexible gas connector.
• Level the range, set grates and burners in place.
• Test the connected range power source by activating burners
and oven.
• Check for gas leaks at the range connection.
1
2
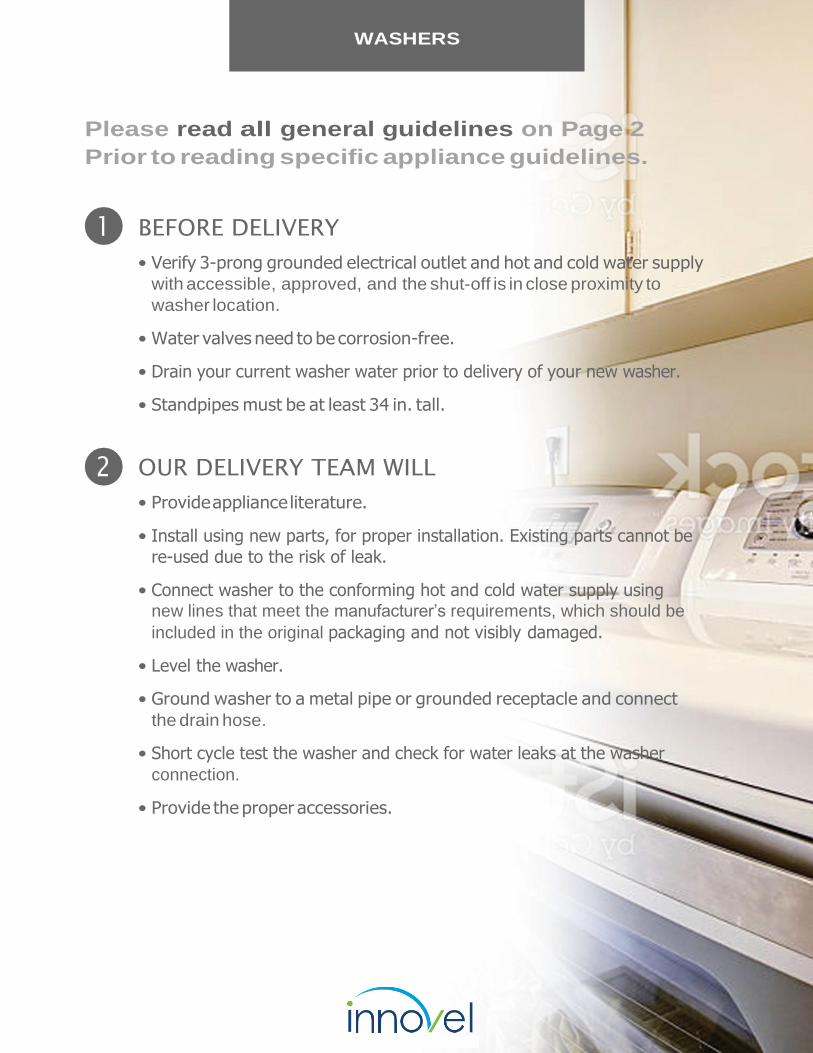
WASHERS
Please read all general guidelines on Page 2
Prior to reading specific appliance guidelines.
BEFORE DELIVERY
• Verify 3-prong grounded electrical outlet and hot and cold water supply
with accessible, approved, and the shut-off is in close proximity to
washer location.
• Water valves need to be corrosion-free.
• Drain your current washer water prior to delivery of your new washer.
• Standpipes must be at least 34 in. tall.
OUR DELIVERY TEAM WILL
• Provide appliance literature.
• Install using new parts, for proper installation. Existing parts cannot be
re-used due to the risk of leak.
• Connect washer to the conforming hot and cold water supply using new lines that meet the manufacturer’s requirements, which should be
included in the original packaging and not visibly damaged.
• Level the washer.
• Ground washer to a metal pipe or grounded receptacle and connect
the drain hose.
• Short cycle test the washer and check for water leaks at the washer
connection.
• Provide the proper accessories.
1
2

GAS DRYERS
Please read all general guidelines on Page 2
Prior to reading specific appliance guidelines.
BEFORE DELIVERY
• Verify 3-prong grounded electrical outlet for gas dryers and gas supply line, with an above floor shut-off valve, is on the same floor level as the dryer and within 3 ft. of the appliance location.
• Delivery Team will connect to natural gas only – no liquid propane connections. Note: In certain municipalities, local code may require a plumber or gas technician to connect gas appliances.
• Verify the dryer venting within the home is clean and clear.
OUR DELIVERY TEAM WILL
• Connect dryer to the conforming natural gas supply following local code and using a new stainless steel flexible gas connector.
• Attach venting using new components.
• Provide the customer with any unused venting parts from the connection kit.
• Level the dryer.
• Short cycle test the dryer and check for gas leaks at the dryer connection.
• Connect to natural gas only. Delivery Teams are prohibited from connecting to liquid propane (LP) connections.
Note: Local code may require a plumber or gas technician to connect
the gas range in certain municipalities, the delivery teams cannot connect to natural gas.
1
2

ELECTRIC DRYERS
Please read all general guidelines on Page 2
Prior to reading specific appliance guidelines.
BEFORE DELIVERY
• Verify 240V grounded 30 AMP electrical service/outlet within 3 ft. of dryer location, the dryer venting within the home is clean and clear, and vents outside to allow proper operation of the new dryer.
OUR DELIVERY TEAM WILL
• Provide appliance literature.
• Check 240V electrical outlet.
• Connect the dryer to the conforming electrical using a new 240V electrical cord in the original packaging and not visibly damaged.
• Attach venting using new components. Delivery Teams cannot use or connect to plastic venting, foil vent tubes or existing electrical cord.
• Provide the customer with any unused venting parts from the connection kit.
• Level the dryer.
• Short cycle test the electric dryer.
1
2

ALL-IN-ONE LAUNDRY APPLIANCES
Please read all general guidelines on Page 2
Prior to reading specific appliance guidelines.
BEFORE DELIVERY
• Verify 3- or 4-prong grounded electrical outlet and hot and cold
water supply with accessible shut-off on the same floor level as
the appliance and within 3 ft. of the appliance location.
• Verify 240V grounded 30 AMP electrical service/outlet or gas
supply line with an above shut-off valve is on the same floor as the
dryer and within 3 ft. of the appliance location.
• Verify the dryer venting within the home is clean and clear, and
vents outside to allow proper operation of the new dryer.
• See product page for delivery service and installation
requirements prior to delivery and installer team arrival.
OUR DELIVERY TEAM WILL
• Provide appliance literature.
• Attach venting using new components.
• Connect the appliance following local code and using a new
electrical cord or new gas connector.
• Not use plastic venting, foil vent tubes or existing electrical cord or
existing gas connector.
• Provide the customer with any unused venting parts from
the connection kit.
• Connect water, gas and electrical.
• Level the unit.
• Short cycle test the unit and check for gas/water leaks.
1
2