creating tables and lists lesson 9. skills matrix skill #matrix skill 4.2.1create tables and lists...
TRANSCRIPT
Creating Tables Creating Tables and Listsand Lists
Lesson 9
Skills MatrixSkills Matrix
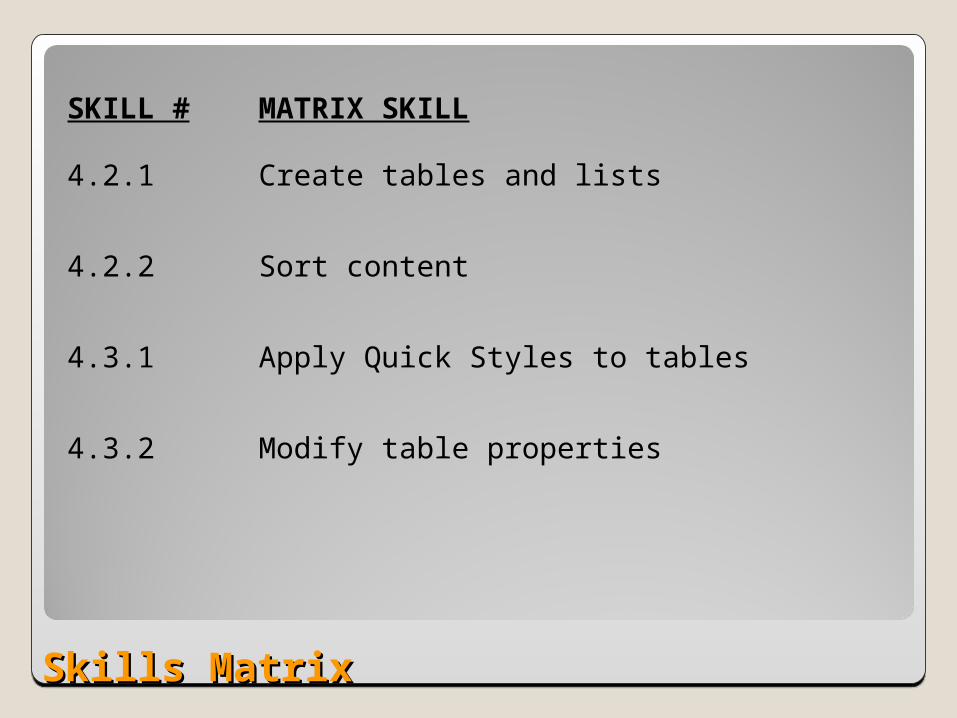
SKILL # MATRIX SKILL
4.2.1 Create tables and lists
4.2.2 Sort content
4.3.1 Apply Quick Styles to tables
4.3.2 Modify table properties
Skills Matrix Skills Matrix (continued)(continued)
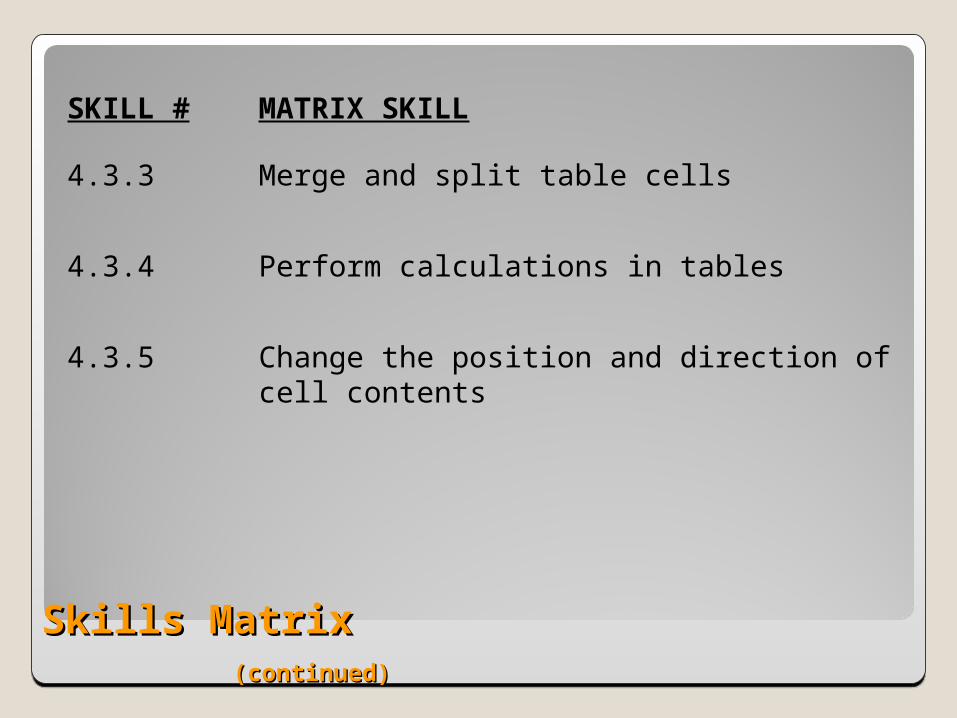
SKILL # MATRIX SKILL
4.3.3 Merge and split table cells
4.3.4 Perform calculations in tables
4.3.5 Change the position and direction of cell contents

Creating TablesCreating Tables
INSERT A TABLE BY DRAGGING
Table is arrangement of data in horizontal rows and vertical columns
Cells formed at rows/columns intersection
Creating Tables Creating Tables (continued)(continued)
INSERT A TABLE BY DRAGGING
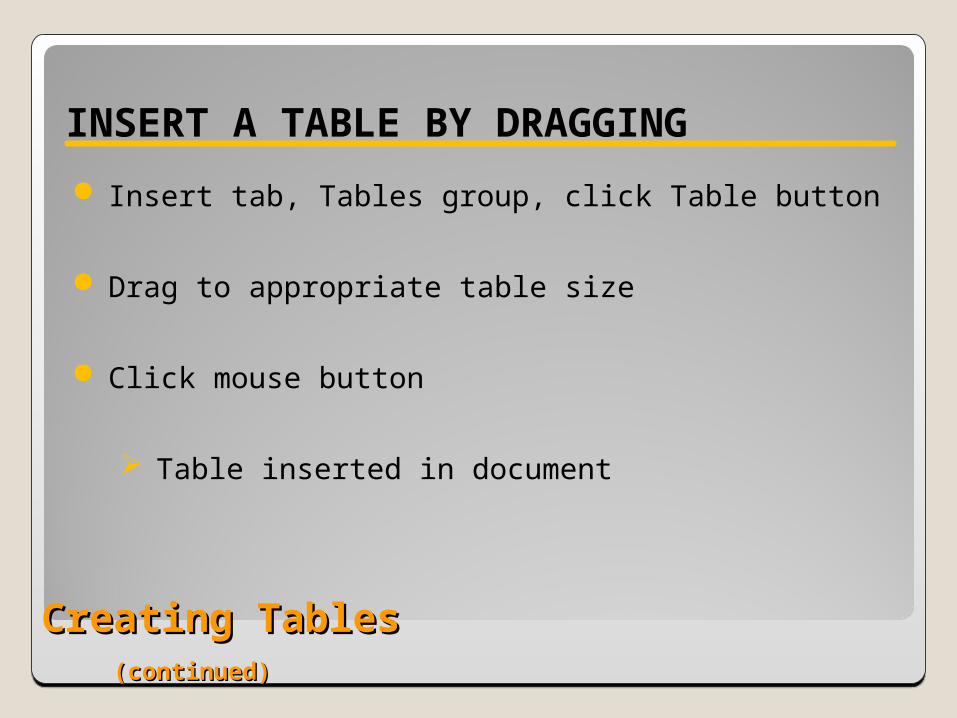
Insert tab, Tables group, click Table button
Drag to appropriate table size
Click mouse button
Table inserted in document
Creating Tables Creating Tables (continued)(continued)
USE THE INSERT TABLE DIALOG BOX
Specify up to 63 columns, thousands of rows
More table options than dragging method
Creating Tables Creating Tables (continued)(continued)
USE THE INSERT TABLE DIALOG BOX
Insert tab, Tables group, click Table button
Click Insert Table button
Creating Tables Creating Tables (continued)(continued)
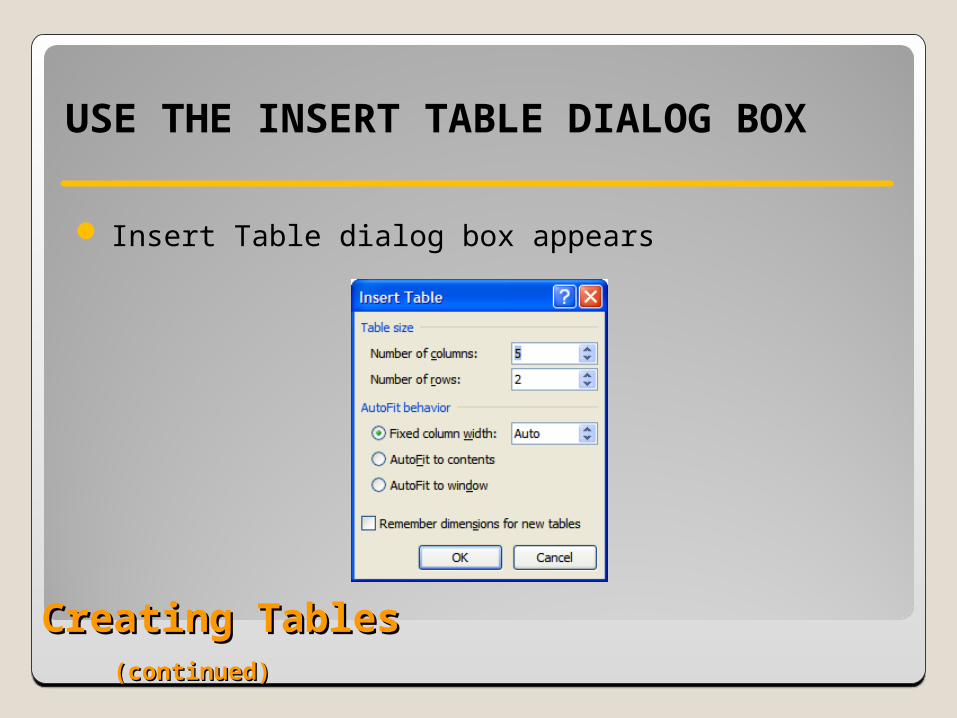
USE THE INSERT TABLE DIALOG BOX
Insert Table dialog box appears
Creating Tables Creating Tables (continued)(continued)
USE THE INSERT TABLE DIALOG BOX Set number of columns and rows
Click OK
Table inserted into document
Creating Tables Creating Tables (continued)(continued)
DRAW A TABLE
Insert tab, Tables group, click Table button
Click Draw Table button
Mouse arrow changes to pencil tool

Creating Tables Creating Tables (continued)(continued)
DRAW A TABLE
Draw more complex tables
Draw outline, add lines for rows/columns
Draw squares or rectangles for individual rows
Draw squares or rectangles for individual columns
Creating Tables Creating Tables (continued)(continued)
INSERT A QUICK TABLE
Quick Tables are built-in, preformatted tables
Calendars, tabular lists, etc.
May be edited to customize
Creating Tables Creating Tables (continued)(continued)
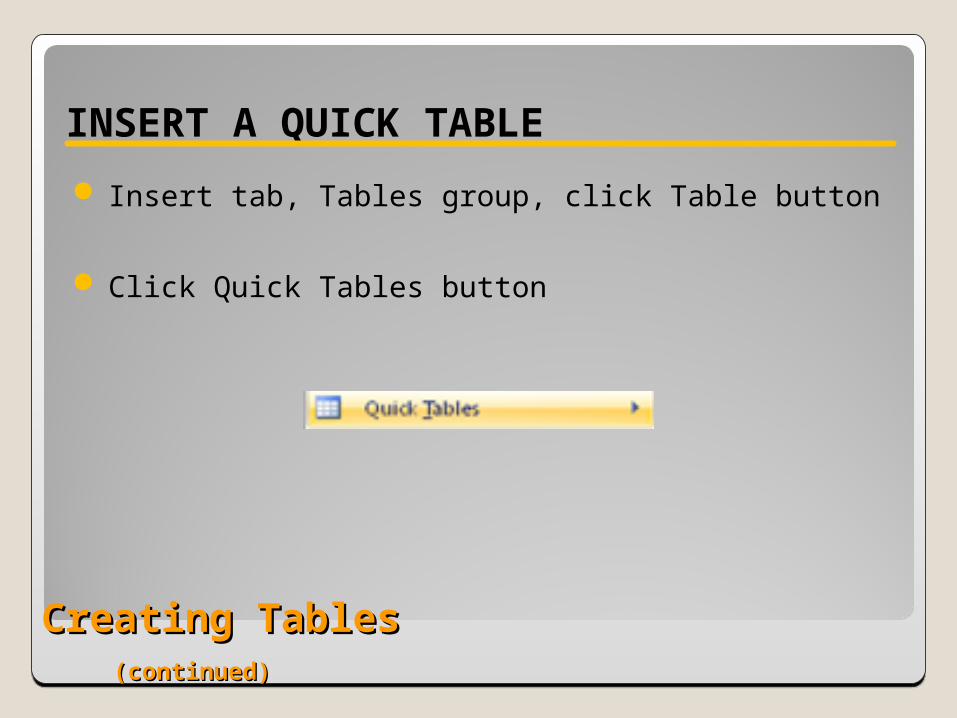
INSERT A QUICK TABLE
Insert tab, Tables group, click Table button
Click Quick Tables button
Creating Tables Creating Tables (continued)(continued)
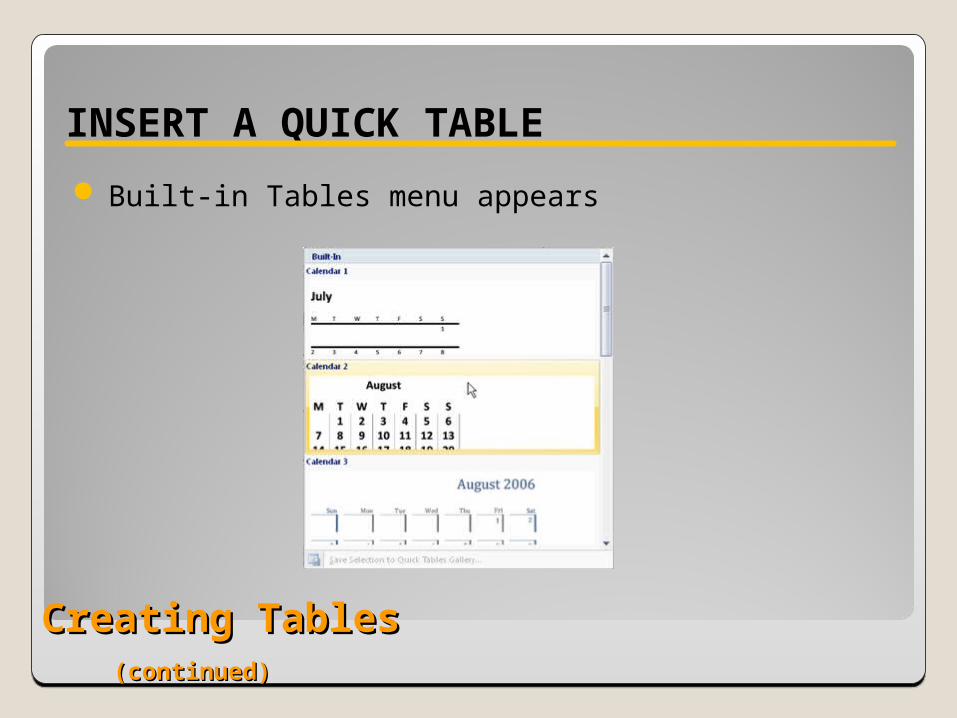
INSERT A QUICK TABLE
Built-in Tables menu appears

Creating Tables Creating Tables (continued)(continued)
INSERT A QUICK TABLE
Click desired table
Table inserted into document

Software OrientationSoftware Orientation
DESIGN TAB ON THE TABLE TOOLS RIBBON
Formatting a TableFormatting a Table
APPLY A QUICK STYLE TO A TABLE
Insert tab, Tables group, click Table button
Click More button
Formatting a Table Formatting a Table (continued)(continued)
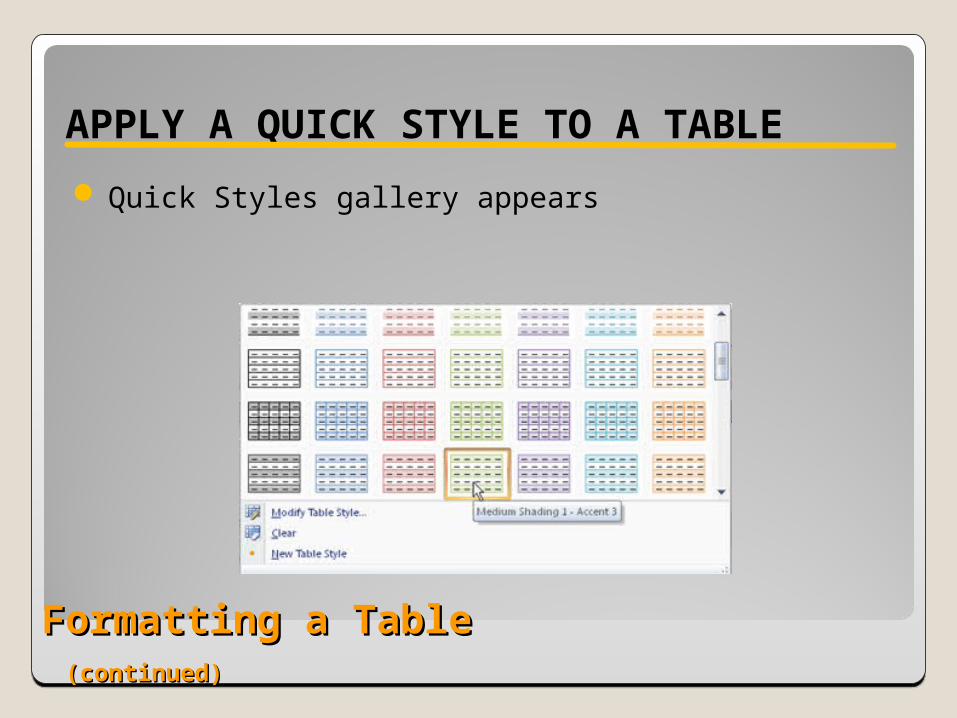
APPLY A QUICK STYLE TO A TABLE
Quick Styles gallery appears
Formatting a Table Formatting a Table (continued)(continued)
APPLY A QUICK STYLE TO A TABLE
Point to style
Style is previewed in table
• Click style
Style is applied to table
Formatting a Table Formatting a Table (continued)(continued)
TURN TABLE STYLE OPTIONS ON OR OFF
Table Style options used globally throughout table
Header Row, specially formatted
Total Row, specially formatted
Banded Row , even/odd rows specially formatted
Formatting a Table Formatting a Table (continued)(continued)
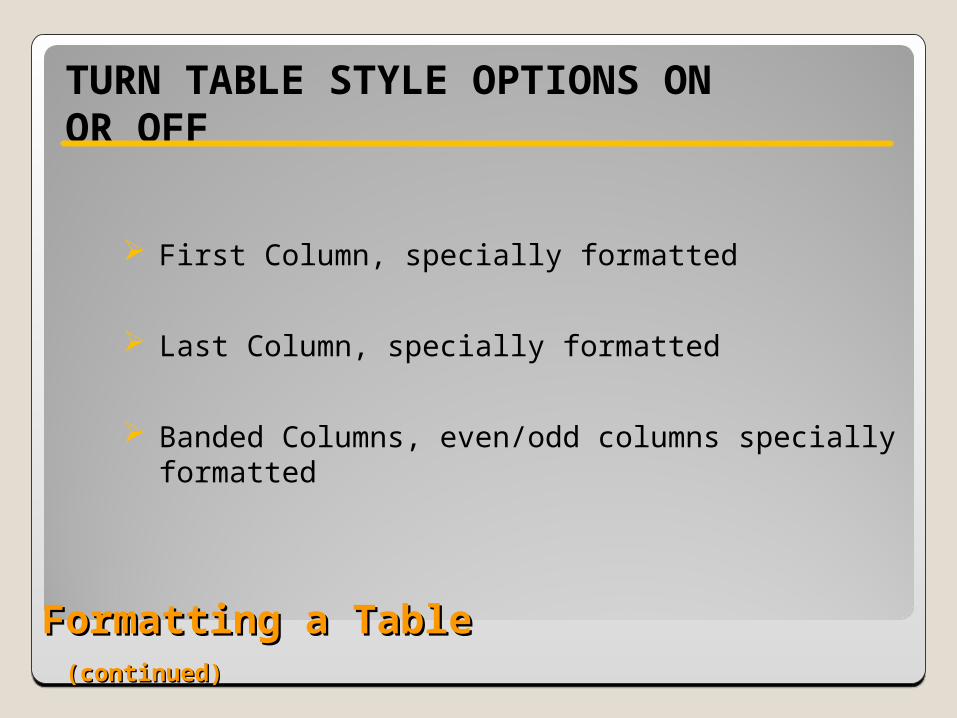
TURN TABLE STYLE OPTIONS ON OR OFF
First Column, specially formatted
Last Column, specially formatted
Banded Columns, even/odd columns specially formatted
Formatting a Table Formatting a Table (continued)(continued)
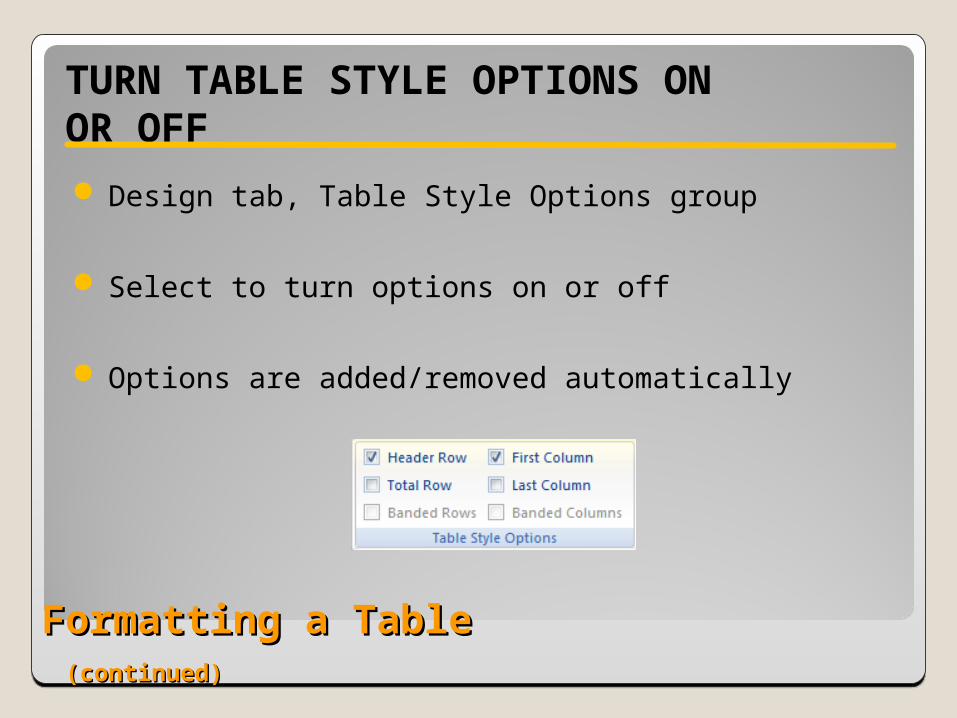
TURN TABLE STYLE OPTIONS ON OR OFF
Design tab, Table Style Options group
Select to turn options on or off
Options are added/removed automatically
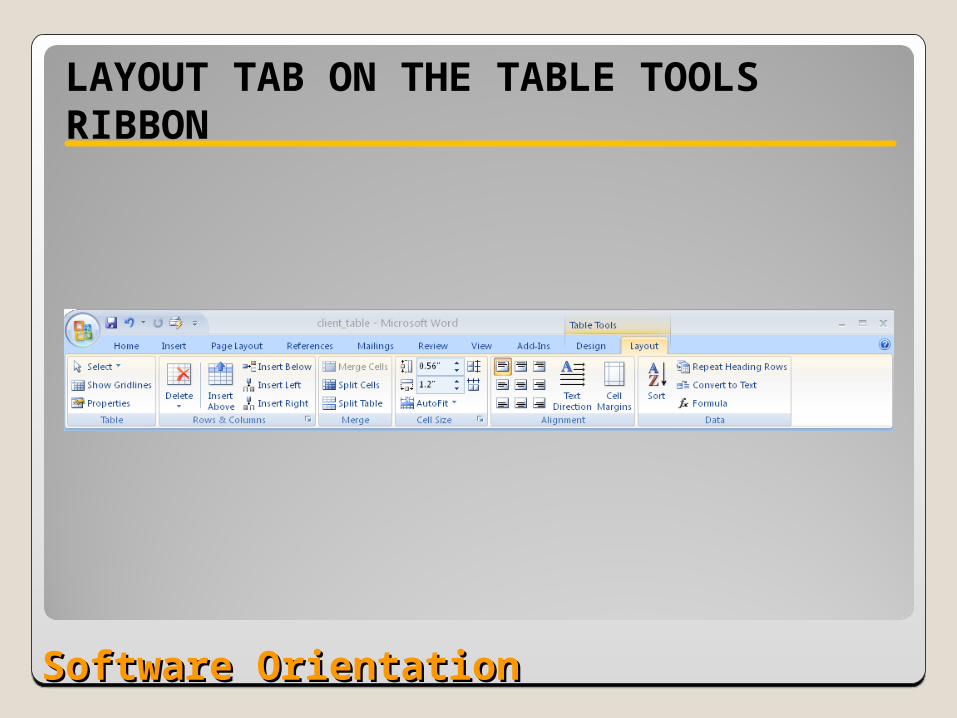
Software OrientationSoftware Orientation
LAYOUT TAB ON THE TABLE TOOLS RIBBON
Managing TablesManaging Tables
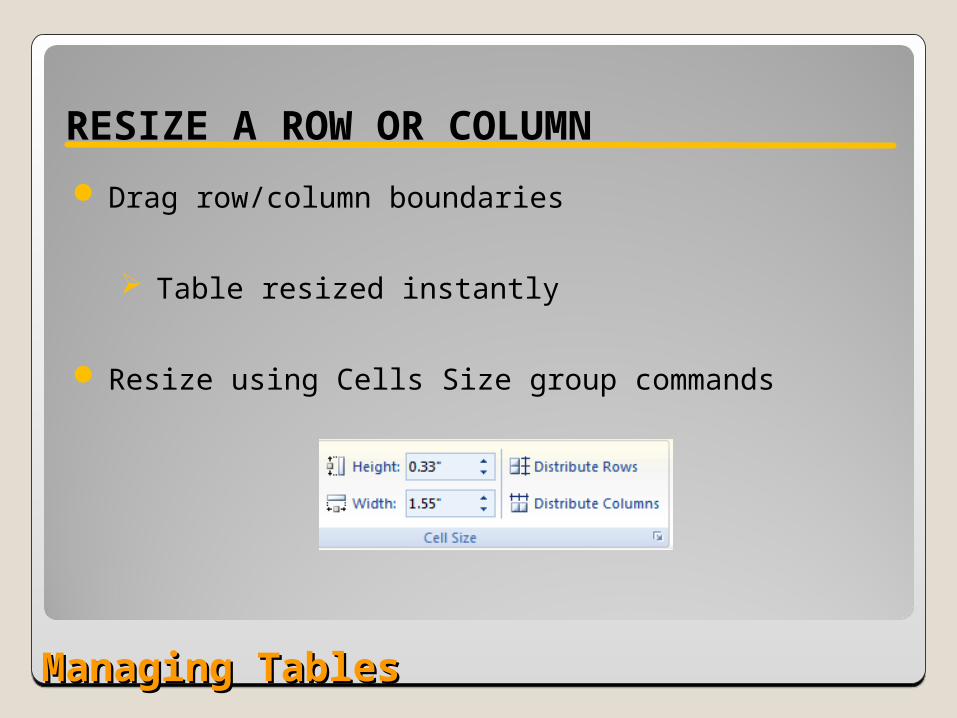
RESIZE A ROW OR COLUMN
Drag row/column boundaries
Table resized instantly
Resize using Cells Size group commands
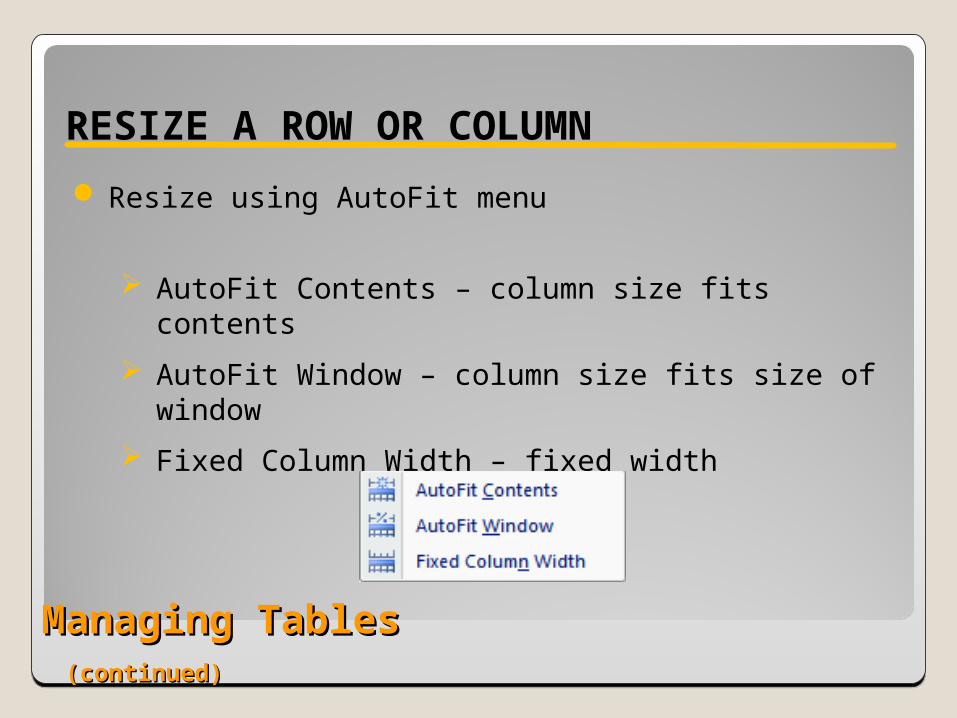
Managing Tables Managing Tables (continued)(continued)
RESIZE A ROW OR COLUMN
Resize using AutoFit menu
AutoFit Contents – column size fits contents
AutoFit Window – column size fits size of window
Fixed Column Width – fixed width
Managing Tables Managing Tables (continued)(continued)
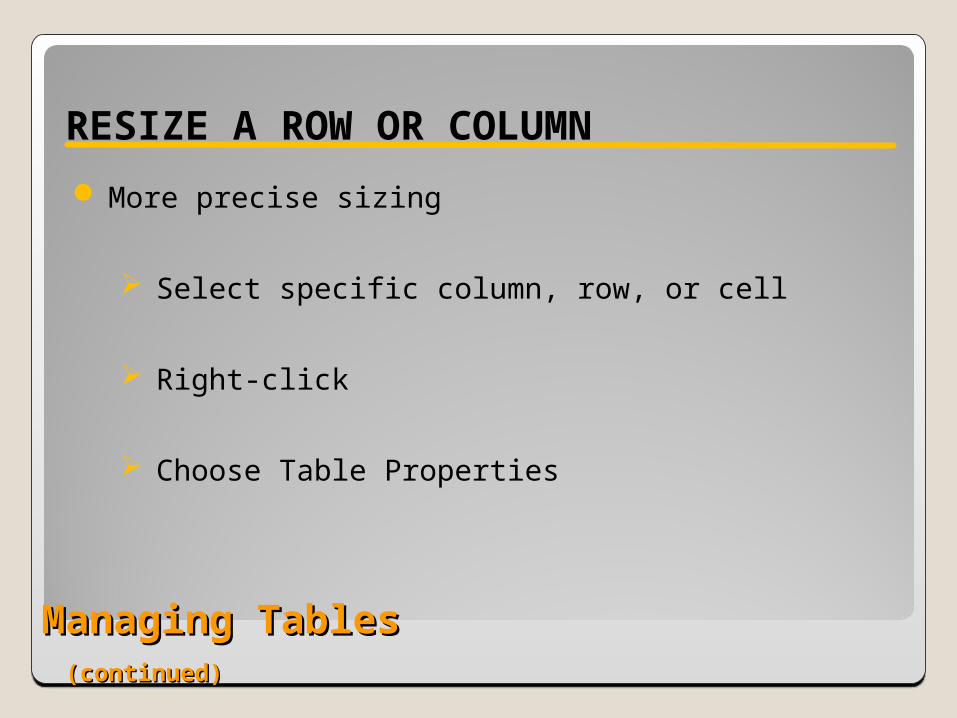
RESIZE A ROW OR COLUMN
More precise sizing
Select specific column, row, or cell
Right-click
Choose Table Properties
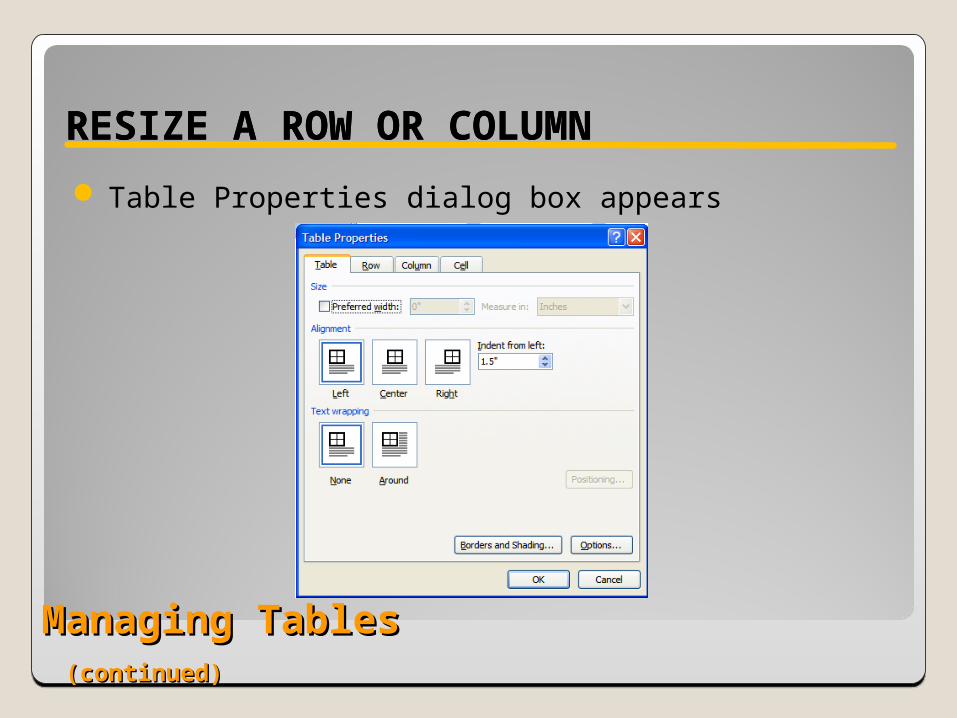
Managing Tables Managing Tables (continued)(continued)
RESIZE A ROW OR COLUMN
Table Properties dialog box appears
RESIZE A ROW OR COLUMN
Managing Tables Managing Tables (continued)(continued)
MOVE A ROW OR COLUMN
Drag-and-drop method
Select entire row or column
Click within selection and hold mouse button
Drag to new location and release mouse button
Managing Tables Managing Tables (continued)(continued)
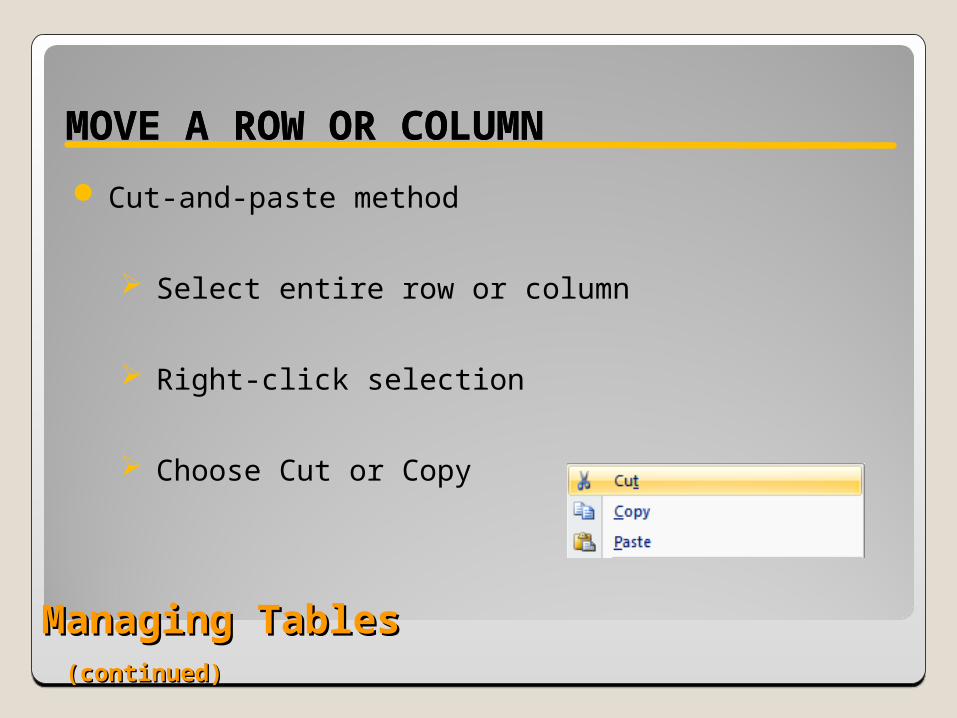
MOVE A ROW OR COLUMNMOVE A ROW OR COLUMN
Cut-and-paste method
Select entire row or column
Right-click selection
Choose Cut or Copy
Managing Tables Managing Tables (continued)(continued)
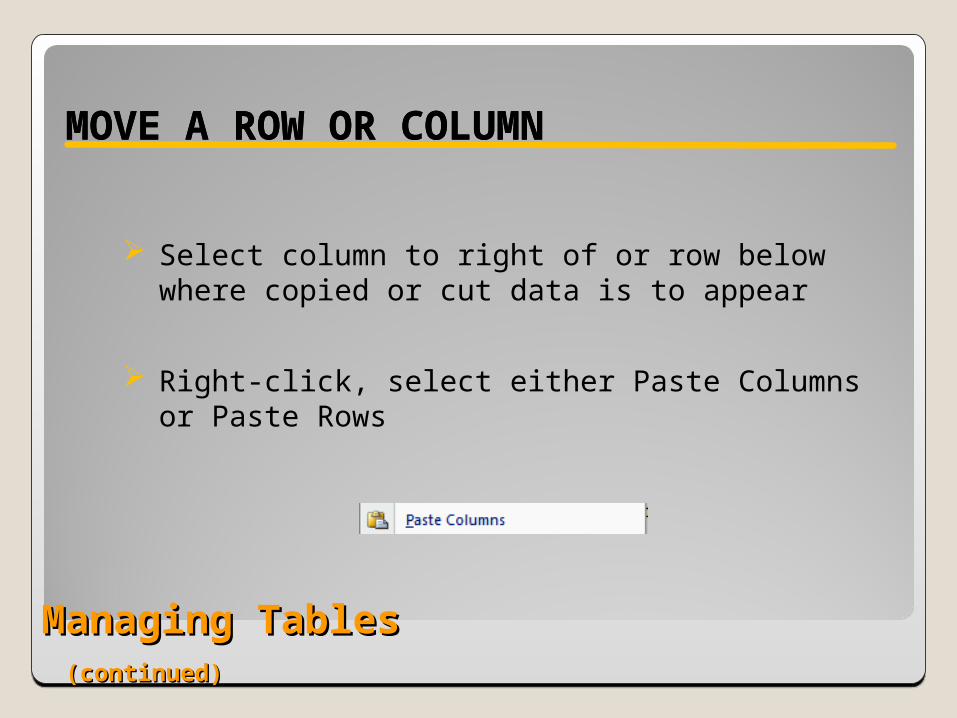
MOVE A ROW OR COLUMNMOVE A ROW OR COLUMN
Select column to right of or row below where copied or cut data is to appear
Right-click, select either Paste Columns or Paste Rows
Managing Tables Managing Tables (continued)(continued)
SET A TABLE’S HORIZONTAL ALIGNMENT
Horizontally align table
Left margin
Right margin
Center
Managing Tables Managing Tables (continued)(continued)
SET A TABLE’S HORIZONTAL ALIGNMENT
Position cursor within table
Layout tab, Table group, click Select button
Click Select Table option
Layout tab, Table group, click Properties button
Managing Tables Managing Tables (continued)(continued)
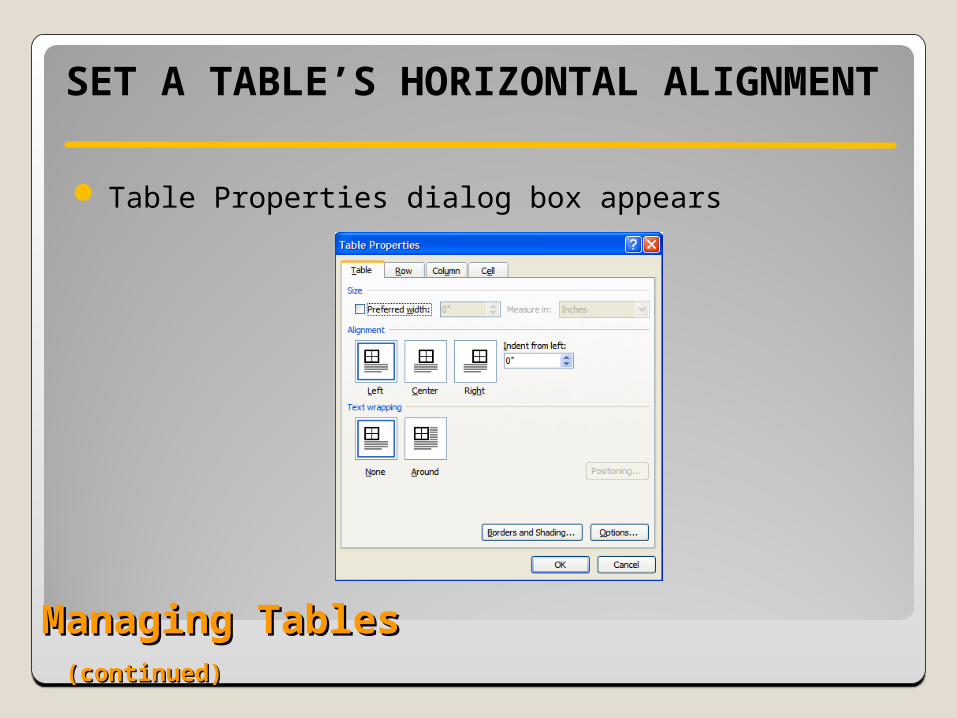
SET A TABLE’S HORIZONTAL ALIGNMENT
Table Properties dialog box appears
Managing Tables Managing Tables (continued)(continued)
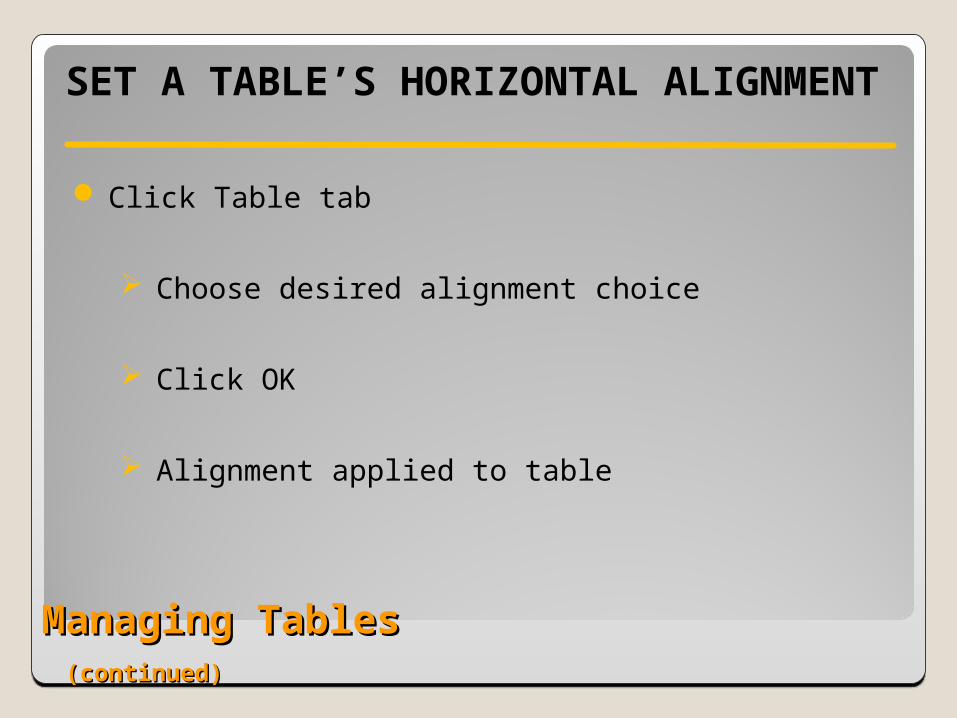
SET A TABLE’S HORIZONTAL ALIGNMENT
Click Table tab
Choose desired alignment choice
Click OK
Alignment applied to table
Managing Tables Managing Tables (continued)(continued)
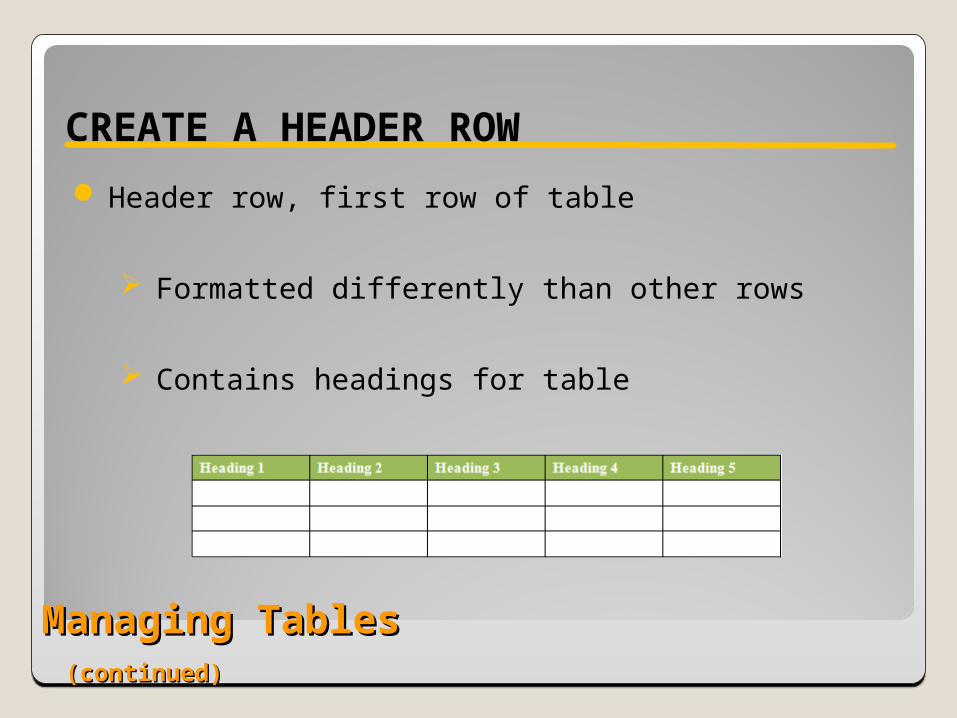
CREATE A HEADER ROW
Header row, first row of table
Formatted differently than other rows
Contains headings for table
Managing Tables Managing Tables (continued)(continued)
CREATE A HEADER ROW
Select first row of table
Layout tab, Rows & Columns group, click Insert Above
New, blank row is inserted
Managing Tables Managing Tables (continued)(continued)
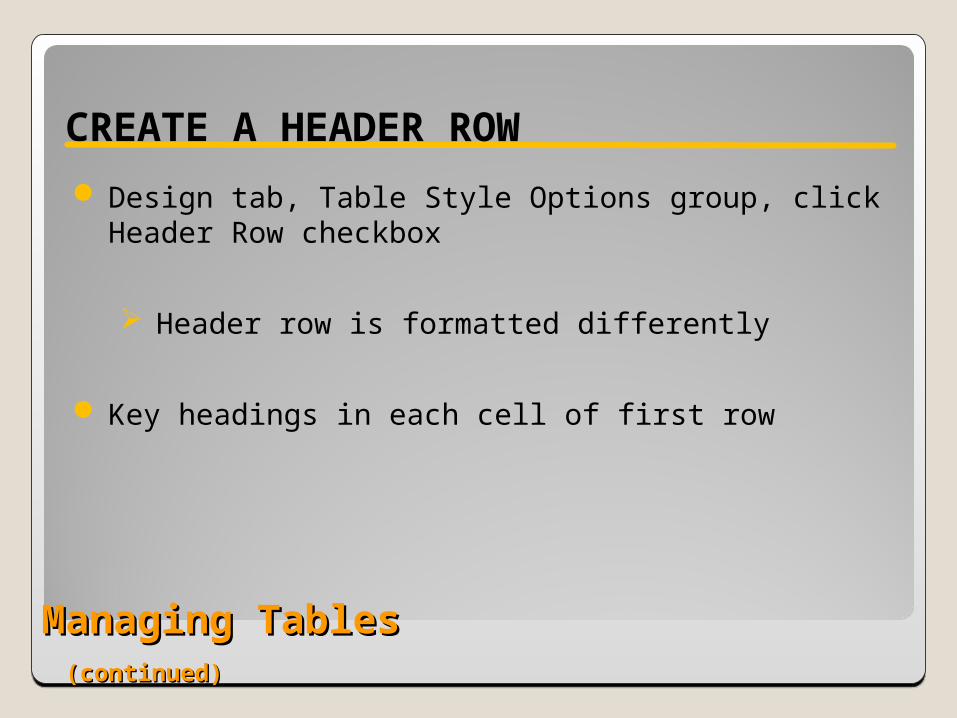
CREATE A HEADER ROW
Design tab, Table Style Options group, click Header Row checkbox
Header row is formatted differently
Key headings in each cell of first row
Managing Tables Managing Tables (continued)(continued)
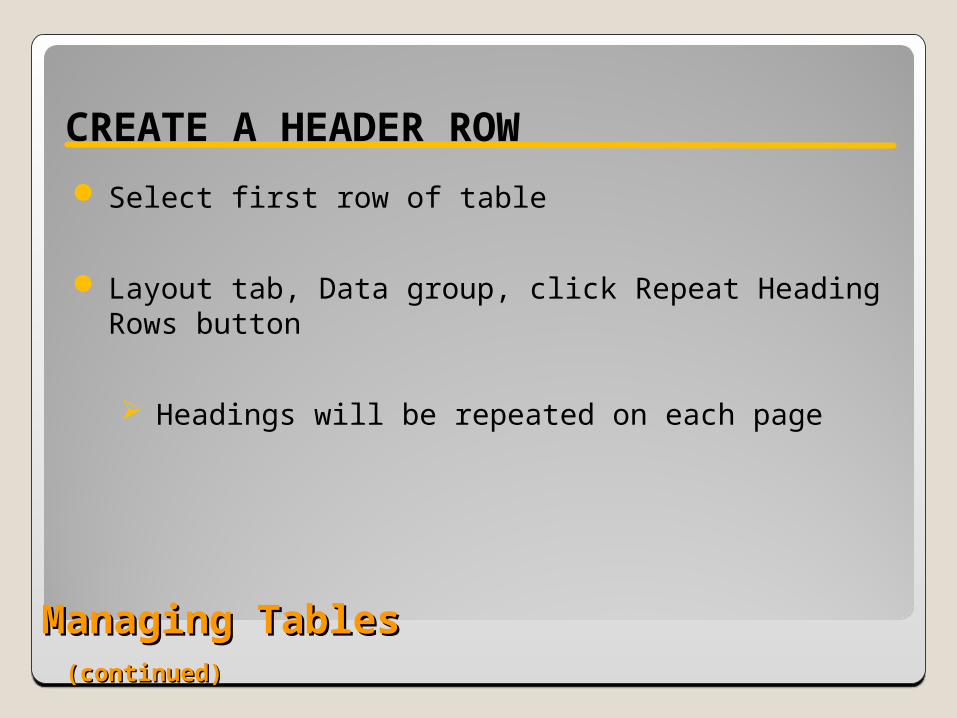
CREATE A HEADER ROW
Select first row of table
Layout tab, Data group, click Repeat Heading Rows button
Headings will be repeated on each page

Managing Tables Managing Tables (continued)(continued)
SORT A TABLE’S CONTENTS
Sort or arrange contents
Alphabetically
Numerically
Chronologically
Managing Tables Managing Tables (continued)(continued)
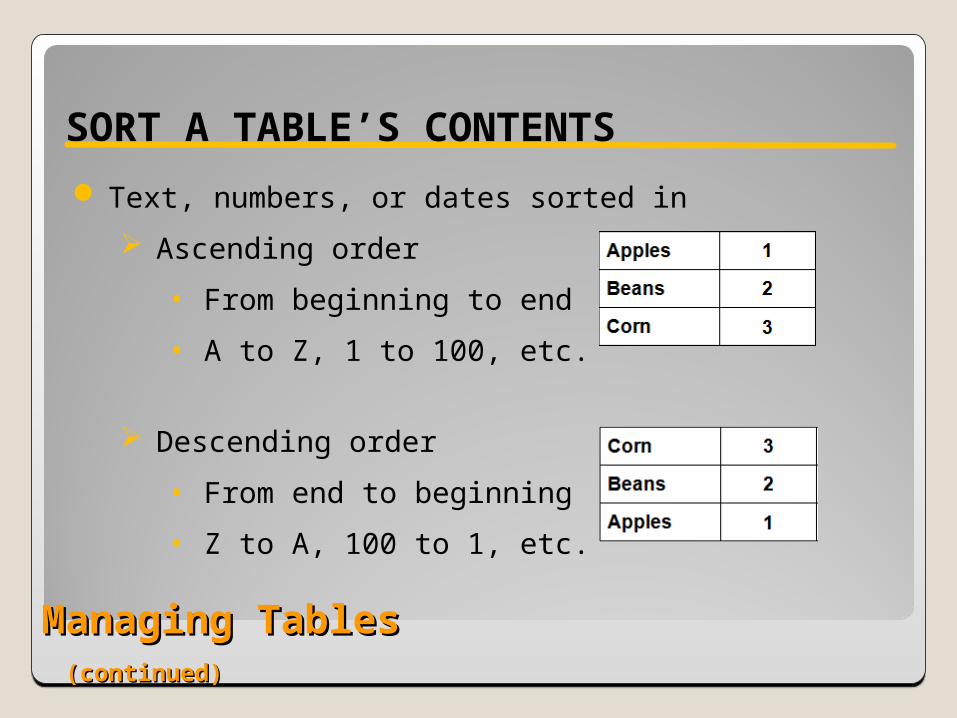
SORT A TABLE’S CONTENTS
Text, numbers, or dates sorted in
Ascending order
• From beginning to end
• A to Z, 1 to 100, etc.
Descending order
• From end to beginning
• Z to A, 100 to 1, etc.
Managing Tables Managing Tables (continued)(continued)
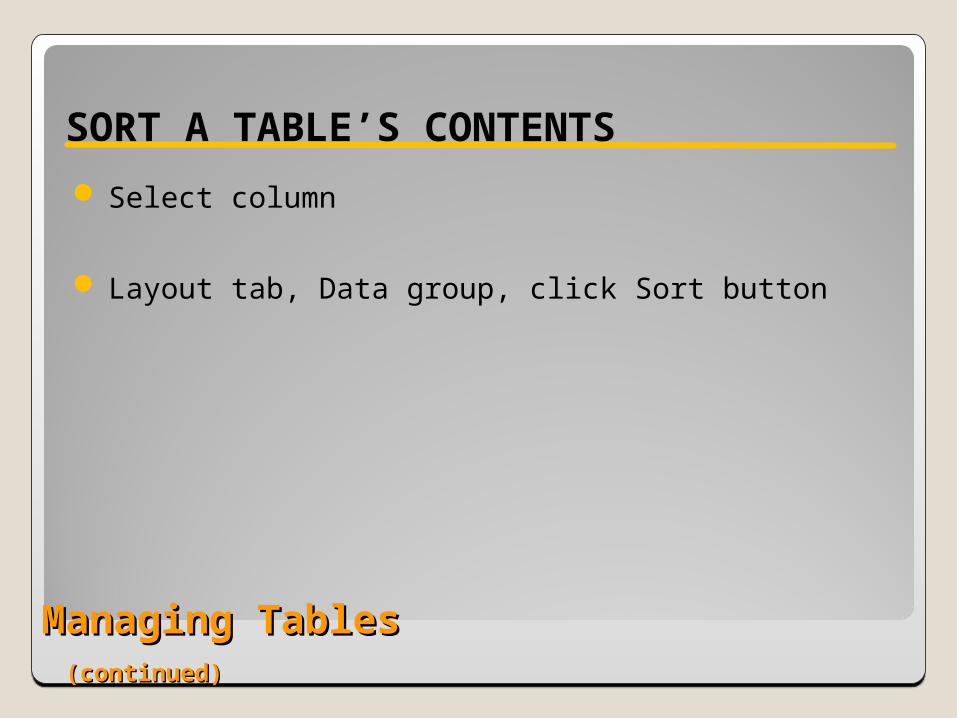
SORT A TABLE’S CONTENTS
Select column
Layout tab, Data group, click Sort button
Managing Tables Managing Tables (continued)(continued)
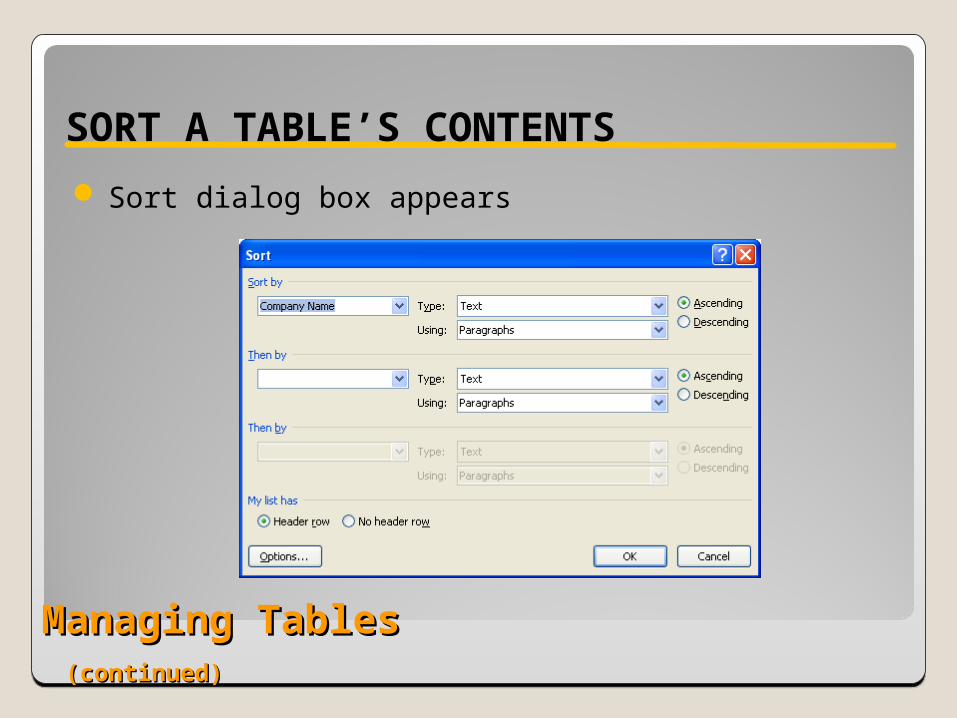
SORT A TABLE’S CONTENTS
Sort dialog box appears
Managing Tables Managing Tables (continued)(continued)
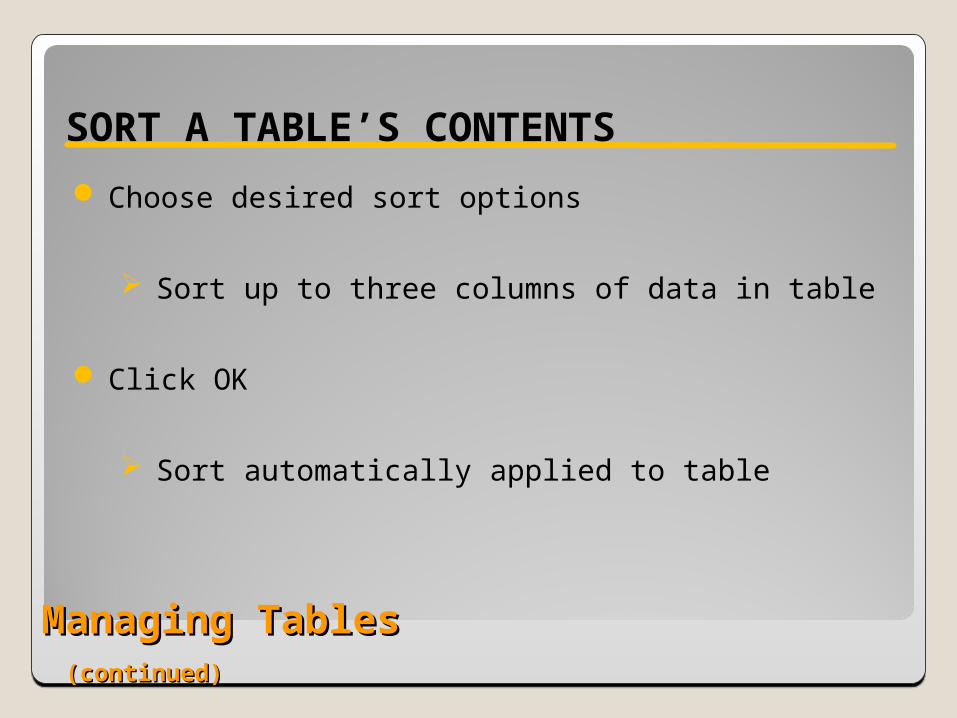
SORT A TABLE’S CONTENTS
Choose desired sort options
Sort up to three columns of data in table
Click OK
Sort automatically applied to table
Managing Tables Managing Tables (continued)(continued)
PERFORM CALCULATIONS IN TABLE CELLS
Formula is set of mathematical instructions used to perform calculations in table cells
Word provides basic formulas
Must begin with equal (=) sign
Key function in all caps or choose one of 18 predefined functions

Managing Tables Managing Tables (continued)(continued)
PERFORM CALCULATIONS IN TABLE CELLS
Functions include
SUM
AVERAGE
COUNT
Managing Tables Managing Tables (continued)(continued)
PERFORM CALCULATIONS IN TABLE CELLS
After function, in parentheses, key address of cells to be considered in calculation
ABOVE
LEFT
RIGHT
BELOW
Managing Tables Managing Tables (continued)(continued)
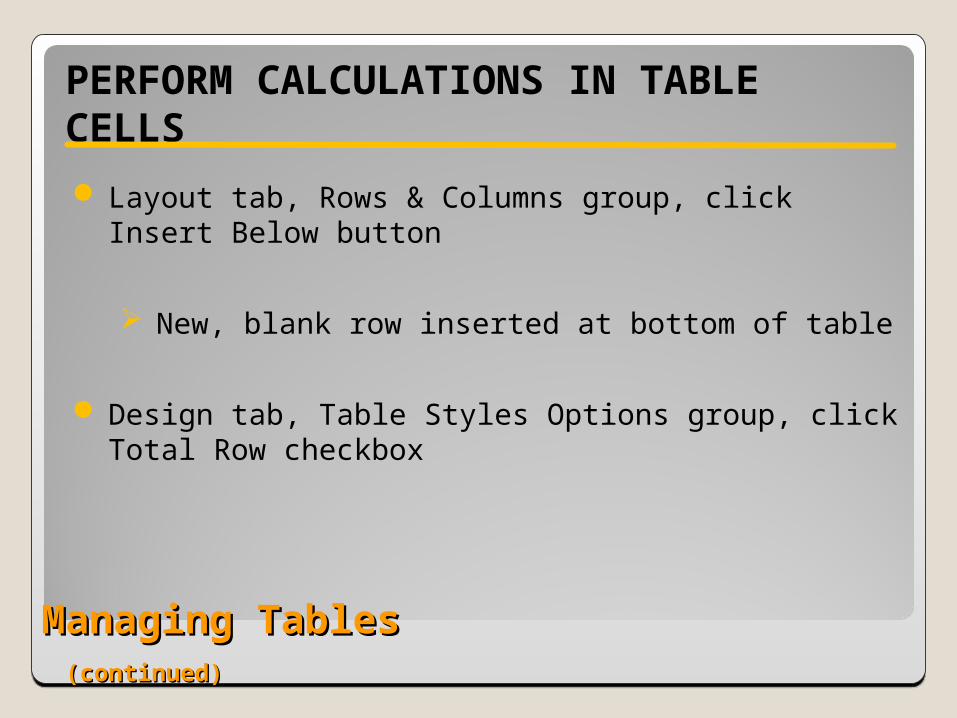
PERFORM CALCULATIONS IN TABLE CELLS
Layout tab, Rows & Columns group, click Insert Below button
New, blank row inserted at bottom of table
Design tab, Table Styles Options group, click Total Row checkbox
Managing Tables Managing Tables (continued)(continued)
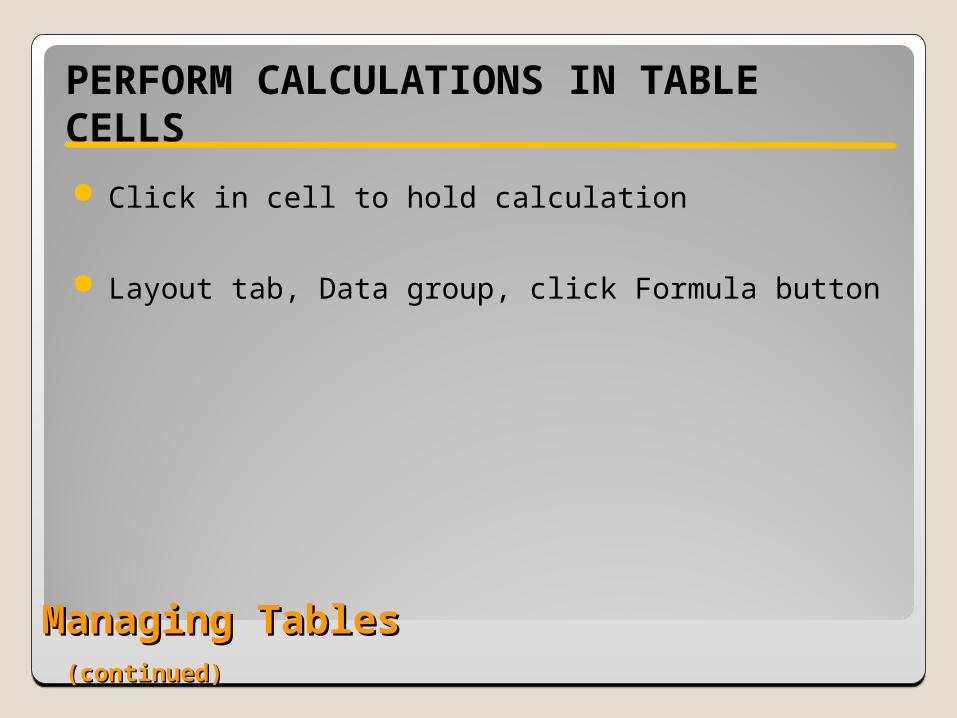
PERFORM CALCULATIONS IN TABLE CELLS
Click in cell to hold calculation
Layout tab, Data group, click Formula button
Managing Tables Managing Tables (continued)(continued)
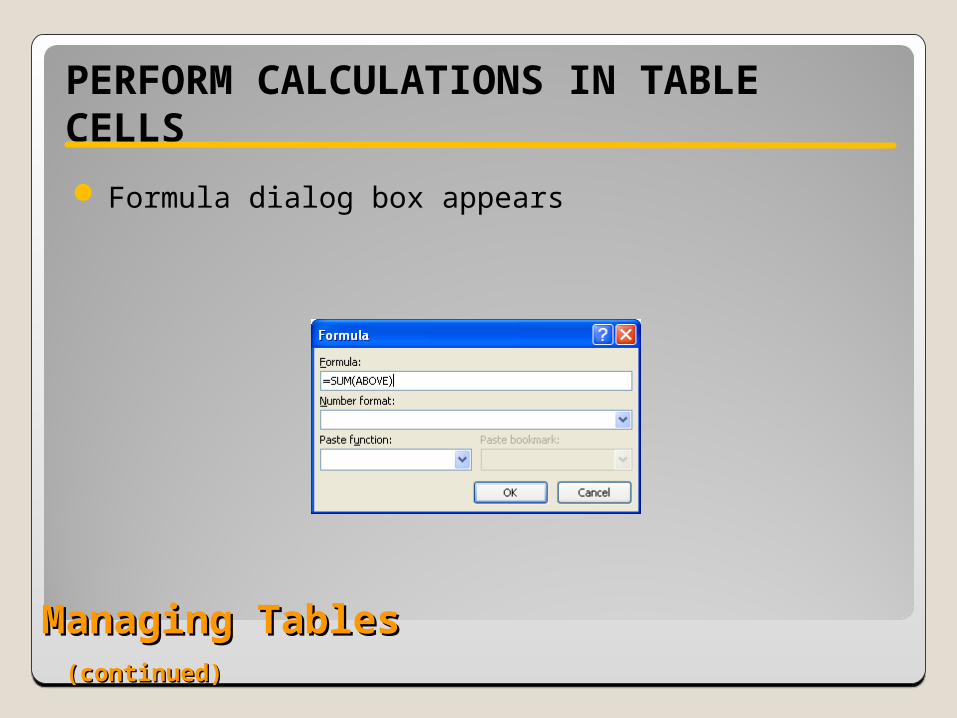
PERFORM CALCULATIONS IN TABLE CELLS
Formula dialog box appears
Managing Tables Managing Tables (continued)(continued)
PERFORM CALCULATIONS IN TABLE CELLS
Click OK to accept default formula settings
OR
Enter new formula settings, then click OK
Formula is added to table
Calculation is performed
Managing Tables Managing Tables (continued)(continued)
MERGE AND SPLIT TABLE CELLS
Merge, or combine two or more cells into one
Split, or divide one cell into two or more
Managing Tables Managing Tables (continued)(continued)
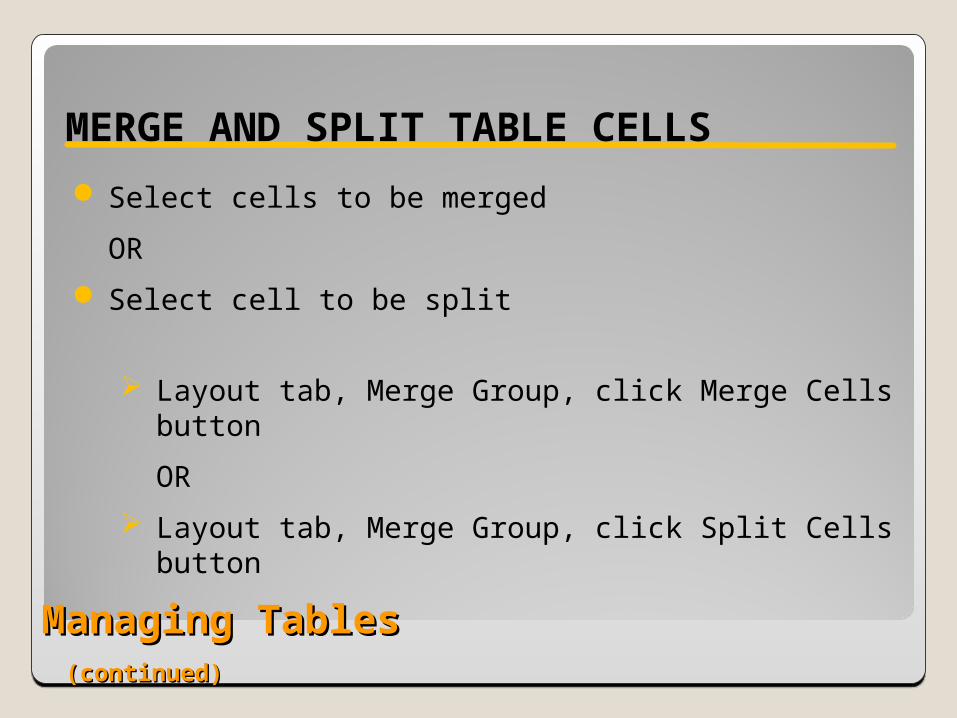
MERGE AND SPLIT TABLE CELLS
Select cells to be merged
OR
Select cell to be split
Layout tab, Merge Group, click Merge Cells button
OR
Layout tab, Merge Group, click Split Cells button
Managing Tables Managing Tables (continued)(continued)
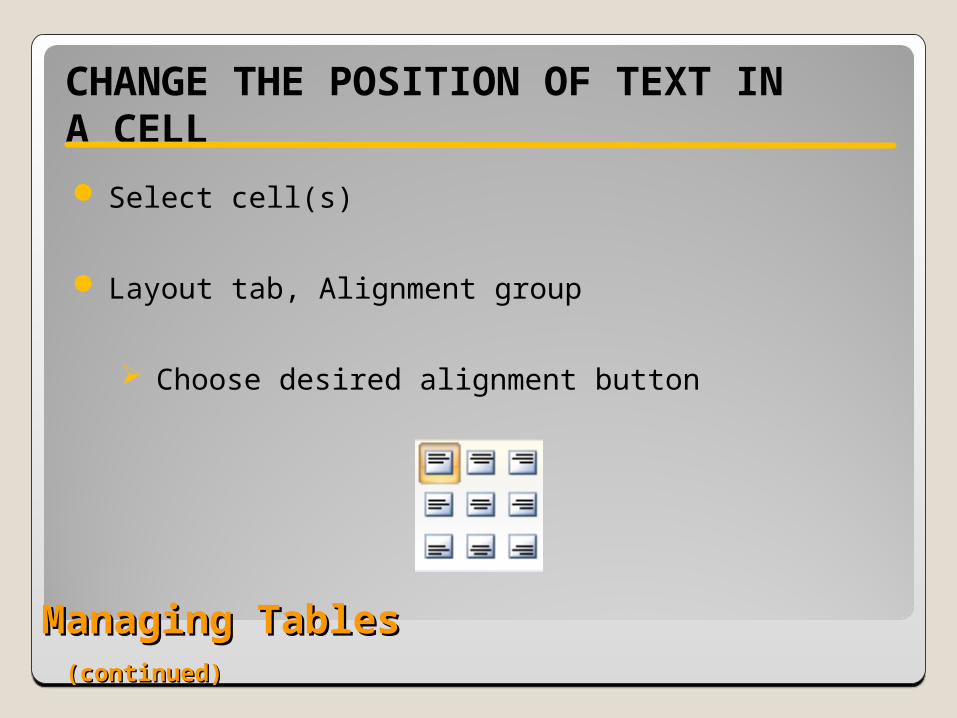
CHANGE THE POSITION OF TEXT IN A CELL
Select cell(s)
Layout tab, Alignment group
Choose desired alignment button
Managing Tables Managing Tables (continued)(continued)
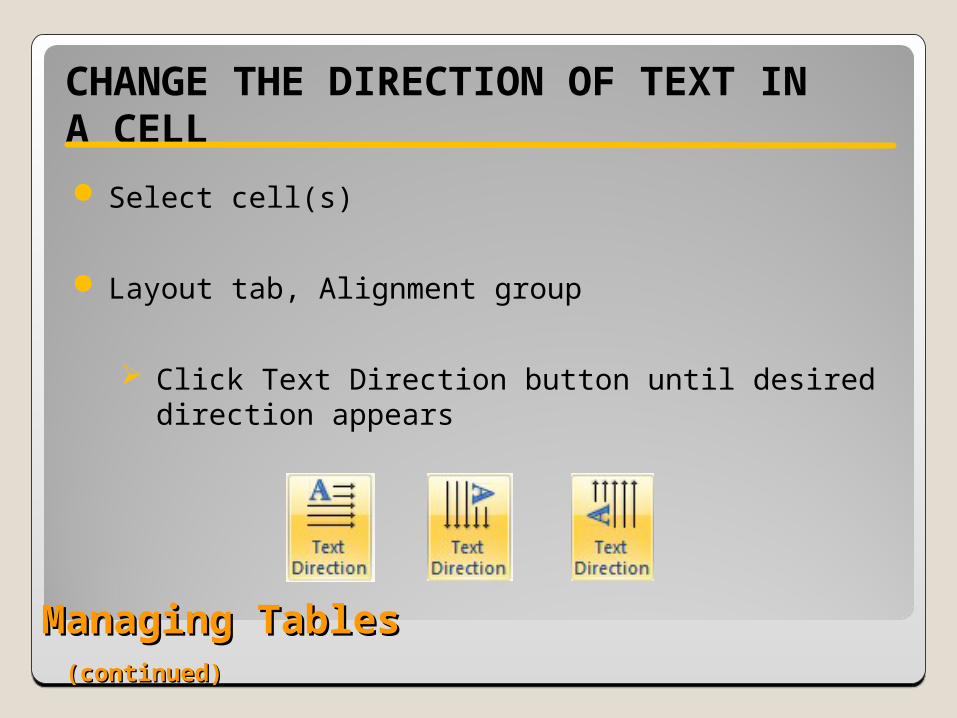
CHANGE THE DIRECTION OF TEXT IN A CELL
Select cell(s)
Layout tab, Alignment group
Click Text Direction button until desired direction appears
Working with ListsWorking with Lists
CREATE AN OUTLINE-STYLE LIST
Position cursor where list will begin
Home tab, Paragraph group, click Multilevel List button
Working with Lists Working with Lists (continued)(continued)
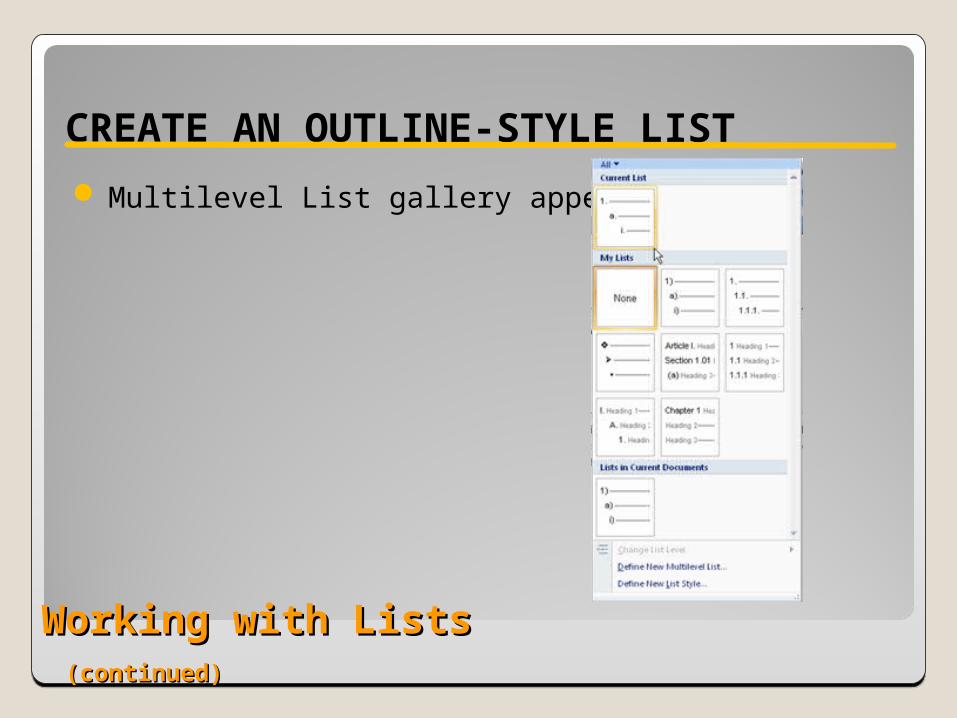
CREATE AN OUTLINE-STYLE LIST
Multilevel List gallery appears
Working with Lists Working with Lists (continued)(continued)
CREATE AN OUTLINE-STYLE LIST
Choose desired list style
Key list
Tab key or Shift + Tab keys move to different levels
Working with Lists Working with Lists (continued)(continued)
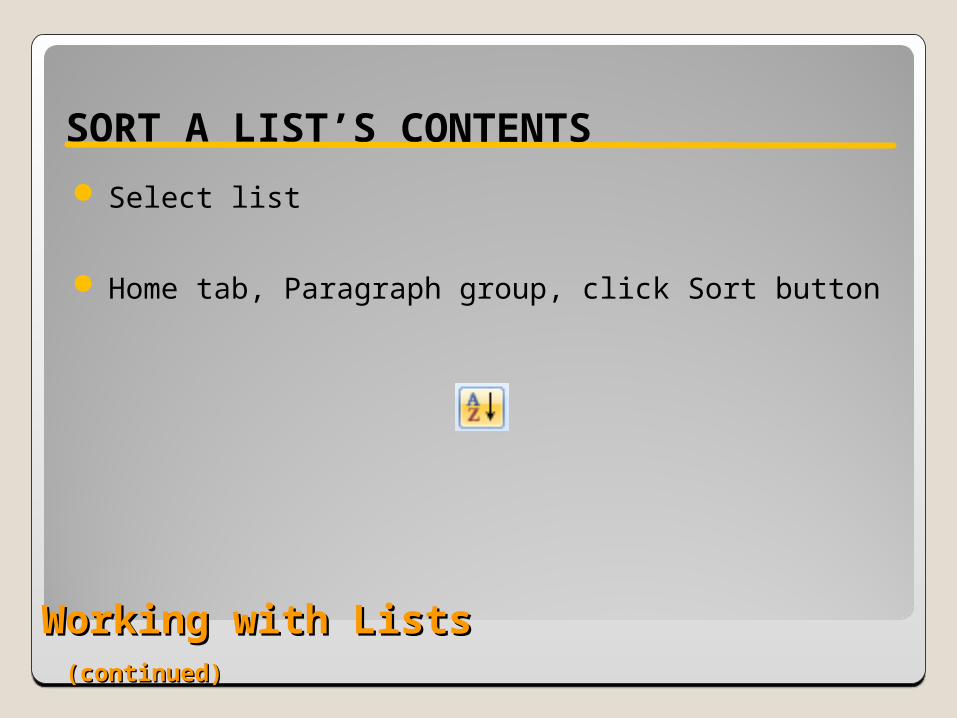
SORT A LIST’S CONTENTS
Select list
Home tab, Paragraph group, click Sort button
Working with Lists Working with Lists (continued)(continued)
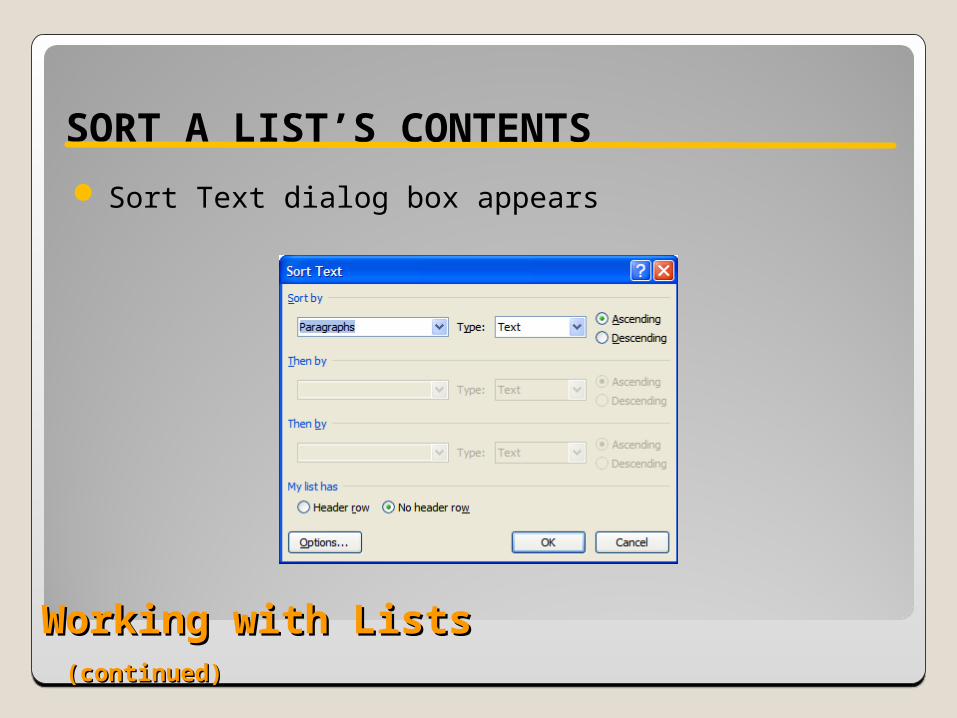
SORT A LIST’S CONTENTS
Sort Text dialog box appears
Working with Lists Working with Lists (continued)(continued)
SORT A LIST’S CONTENTS
Same sorting options as used with table sorting
Choose desired options
Click OK
List automatically sorted
Working with Lists Working with Lists (continued)(continued)
CHANGE A LIST’S FORMATTING
Select list
Home tab, Paragraph group, click downward-pointing arrow on Bullets button
Working with Lists Working with Lists (continued)(continued)
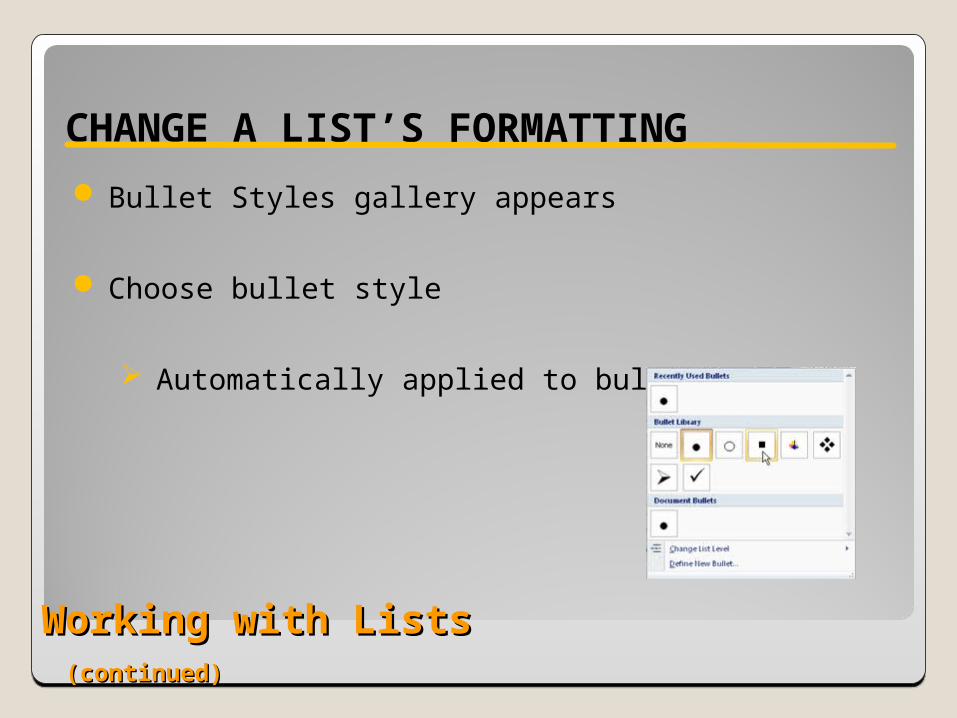
CHANGE A LIST’S FORMATTING
Bullet Styles gallery appears
Choose bullet style
Automatically applied to bullets
Working with Lists Working with Lists (continued)(continued)
CHANGE A LIST’S FORMATTING
Select list
Home tab, Paragraph group, click downward-pointing arrow on Multilevel List button
Working with Lists Working with Lists (continued)(continued)
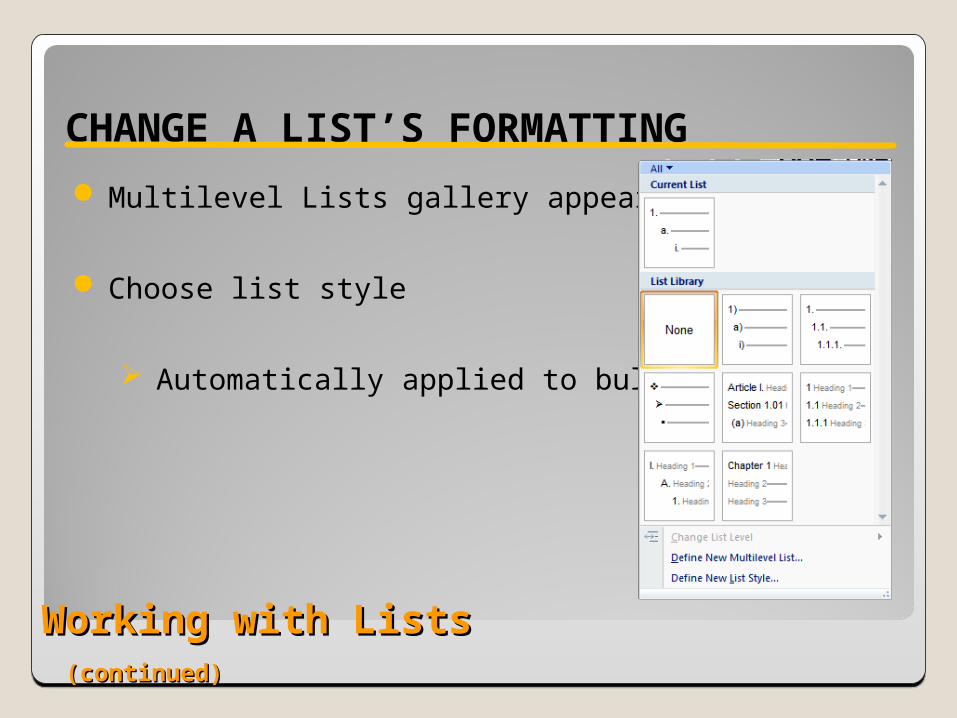
CHANGE A LIST’S FORMATTING
Multilevel Lists gallery appears
Choose list style
Automatically applied to bullets
YOU LEARNED HOW TO:
Insert a table by dragging
Use the Insert Table dialog box
Draw a table
Insert a Quick Table
SummarySummary
YOU LEARNED HOW TO:
Apply a Quick Style to a table
Turn Table Style Options on or off
Resize a row or column
Move a row or column
Summary Summary (continued)(continued)
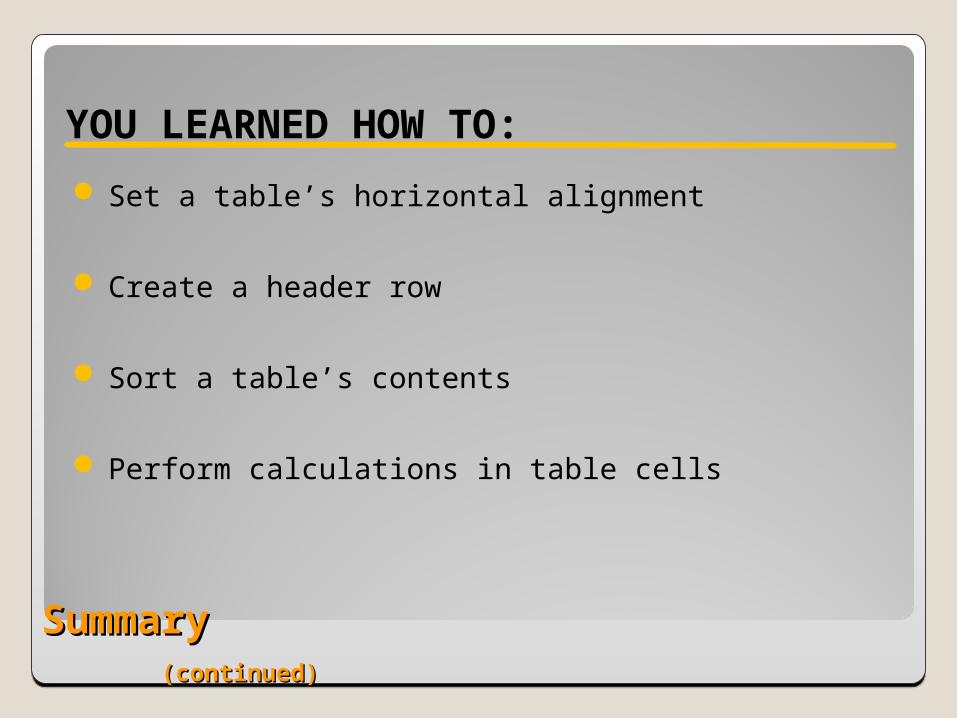
YOU LEARNED HOW TO:
Set a table’s horizontal alignment
Create a header row
Sort a table’s contents
Perform calculations in table cells
Summary Summary (continued)(continued)
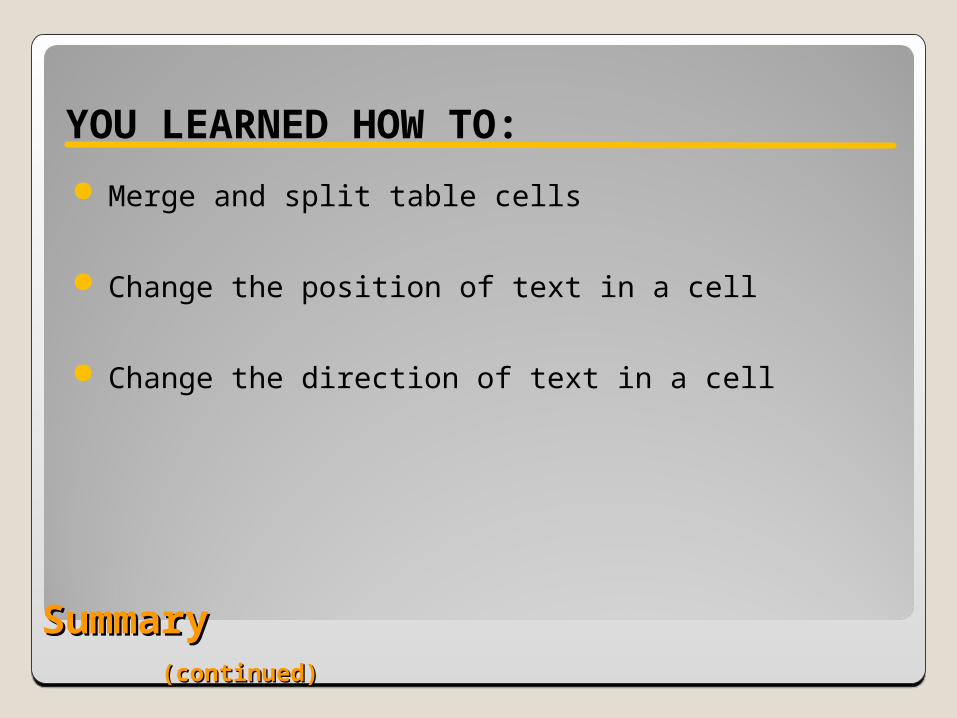
YOU LEARNED HOW TO:
Merge and split table cells
Change the position of text in a cell
Change the direction of text in a cell
Summary Summary (continued)(continued)
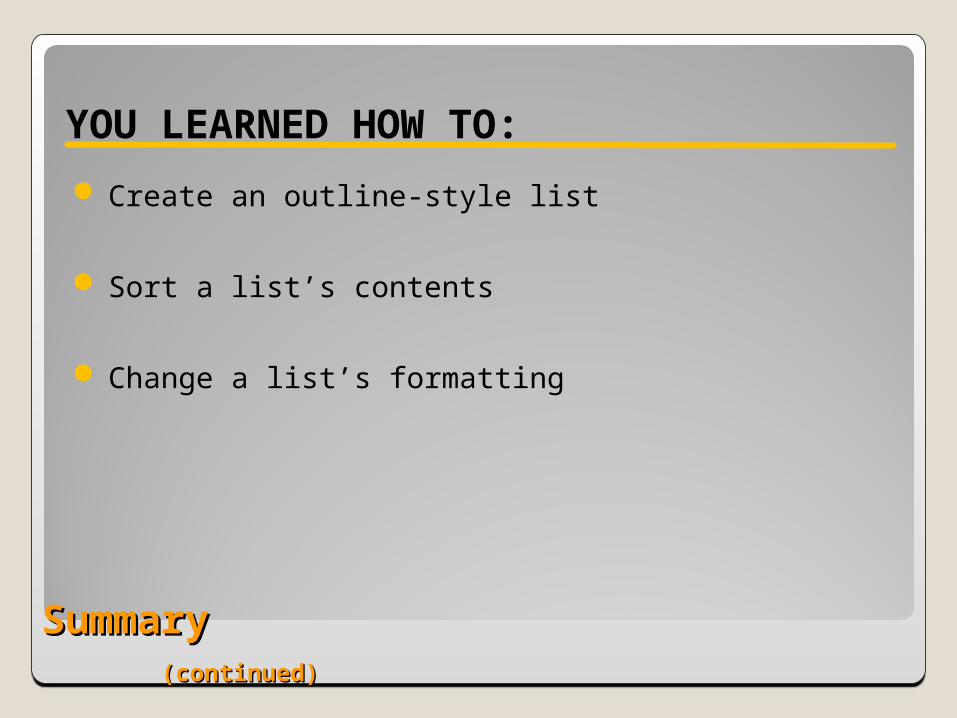
YOU LEARNED HOW TO:
Create an outline-style list
Sort a list’s contents
Change a list’s formatting
Summary Summary (continued)(continued)