copyright smarty arty 2012 planning/painting... · copyright smarty arty 2012 free choice painting...
TRANSCRIPT

Copyright Smarty Arty 2012

Copyright Smarty Arty 2012
Computer painting.
Seems a little off course, but with today's world being
a very digital world it is great to let children
experience the world that is graphic art.
Most computers will have simple programs like paint.
These are good for school age children, provided you
are happy with them using your computer, but there is
also online pages aimed at children in which they can
digitally paint their picture. I know there is also apps
available for devices like an ipad.
Here is some sites you may like to try. http://www.thecolor.com
http://www.coloring4all.com/
http://scrapcoloring.com/
http://www.myfreecolouringpages.com/
online_coloring.htm
Learning Outcomes: Children experience technol-
ogy in a creative form.
EYLF Outcome 4: Children resource their own
learning through connecting with technology and
exploring the world of online graphics.
Copyright Smarty Arty 2012
String Painting
Materials needed
Paper
String (wool works well) cut into 30cm lengths
Bowls of different coloured paint
Pegs
Instructions.
Fill the bowls with different coloured paint
Attach a peg to the end of the piece of string.
Dip string in the paint and drag across the paper.
The children may also like to press it on the paper
and when they get more confident they can swirl
the string around their paper.
Variants
Change the lengths and the thicknesses of the string
you use.
Add PVA glue to the paint and stick the string to
the paper. You will need lots and lots of cut pieces
for this one.
Children use fine motor skills, creativity and
experimentation when string painting.

Copyright Smarty Arty 2012
Tennis Ball Painting
Materials needed
Outdoor area, fairly flat.
An old tarp will help with the mess
Tennis balls, one for each colour you put out
Poster paint, you need fairly thick paint for this
one
Large paper or cardboard for each child. Weight or
tape down the edges
Instructions
First lay down your tarp (if using one).
Fill containers or bowls with poster paint and add a
tennis ball to each.
Tape down your paper to the tarp.
Let the children experiment with painting through
dabbing, rolling and bouncing the tennis balls on the
paper.
Variants
Try different size and weight balls.
Bumpy, spiky balls make great patterns.
Balls on elastic make great art, but it is messy and be
sure to wear old clothes.
Copyright Smarty Arty 2012
Raindrop Painting Materials needed
Plastic pipettes.
Paper, white, A4 size is fine
Paint, variety of colours
Paint pots, or plastic cups
Instructions
Put your paper down in front of each child
Have paint pots with the paint in them and the plastic
pipettes.
Vary the paint. Try water colours, young children learn
how to control the paint and how hard to squeeze. Paint can
run if it is too watery and you wont see the drops as clearly.
Thicker paint will come out more in drop form.
Raindrop painting style 2.
Let the children paint or colour with texta's some paper
towel. Let it dry over night.
Using the plastic pipettes let them drop water on their
picture and watch what happens.
Try dropping the drops from different heights and
see which drops are bigger.
EYLF Outcome 4: Children resource their own
learning through connecting and imitating nature
when experimenting with raindrop painting.

Copyright Smarty Arty 2012
Blow/Straw paintings
Materials needed
Containers with edges (optional)
A4 white paper
Long Straws, it doesn’t matter if they bend.
Paint, not too thick.
Note: make sure the children who are trying this
can blow through a straw not just suck up. Paint
doesn’t taste very nice.
Instructions
Put your paper in the container (new cat litter trays
work well, as do foil BBQ trays if you want a more
disposable option)
Put a few dobs of paint on the paper.
Children can use the straw to blow the paint in all
directions.
Variants
Try blow pens, for older children.
Try with different thickness of paints and children can
learn through experience that thinner paint will be
easier to blow compared to thicker paint.
Watch as the paint colours mix.
Copyright Smarty Arty 2012
Syringe Painting
Materials needed
A clear outdoor area, as this activity
can splatter.
Syringes (available from the chemist) 1 for each
child. (old medicine syringes, cleaned are fine)
Paint, medium thickness so kids can master the
syringe
Large paper or cardboard for each child. This can
be done with the paper on the ground, on an easel,
or table.
Instructions
Each child has 1 syringe.
Show them how to work it. Give them a little time to
practise, you might like to let them practise in water.
Have several different open topped containers of
paint, old yoghurt containers work well for this.
Let them go and have fun, old clothes are a must.
Note:
Children experience learning how to draw paint and
water up through a syringe, this is great for the small
muscles in their hands and fingers. For children who
can’t yet get it, you can draw the paint up and let
them squirt til their hearts content.
Copyright Smarty Arty 2012
Marble painting
Materials needed
A plastic edge container works best for this. (new
kitty litter trays, or slice trays as well.
Paint dobs, no need for paint pots.
Marbles, different sizes are great.
Paper or cardboard to fit inside the tray
Instructions
Each child will need their own plastic container or
they can take it in turns.
Put paper inside plastic container
Let them choose some colours they would like to dob
on their paper.
Add the marbles and let them roll them around by
tilting the tray.
Learning
Children learn control and direction as they
experiment with this style of painting.
They learn that for every one of their actions the
marbles react.
E.g. Lean the tray to the right, the marbles go right.
Slight lean means they roll slower, steeper lean means
they go faster.
Copyright Smarty Arty 2012
Free Choice painting
Materials needed
Paper
A variety of colours to choose from
A variety of materials to choose from.
Instructions
If you have a collage table, let the children choose
items off the collage table that they would like to
paint with. Some examples are pipe cleaners, feathers,
paddle pop sticks, string, straw, sponges.
Have open topped paint containers for children to
access. Let them create !!
Watch and learn This is a great activity to watch and learn more about the
children in your care. This is the time to let them go and
create, giving them no direction provides you with a great
opportunity to learn more about them.
Some children will choose what they feel comfortable with
which may just be a brush. Others will look for your
direction, give them encouragement, “You can do it” This
will help build self esteem.
Some children will go wild, experimenting and creating
with anything and everything they can, this helps you
realise their need for more out of the box creativity. Make
notes on what they choose and how you can extend, inspire
and encourage each of them.
Copyright Smarty Arty 2012
Crackle Painting
Materials needed
Paper, not too thick.
Crayons, lots of colours
Thin, watery black paint.
Paint brushes, medium size.
Instructions
Each child can draw any picture they like out of
crayons. Crayons should be easy to draw with so lots
of waxy crayon is on the paper.
When they are finished, let them crunch it all up. We
want lots of creases but not too bad that it rips of
destroys it.
Unfold and flatten back out, best you can.
Apply watery black paint and watch as it runs into the
creases, creating a crackle effect.
You may like to protect the painting a little more by
after it is all dry brushing it with a thin PVA clear
drying glue. This will stop any crayon from peeling.
Babies
Babies can still have a go at this. You, the educator/
parent draw the picture and let them have the fun of
scrunching it with you, help them apply the watery
paint.
Copyright Smarty Arty 2012
Roller painting
Materials needed
Paper, at least A4 but larger works better.
Rollers, different kinds and patterns are great too.
Paint, large plastic plates work great for this
activity.
Clips or tape to tape paper down.
Instructions
Each child has their own piece of paper.
Have one roller for each coloured paint.
Tape the paper to the table or easel.
Let the children have a go at roller painting.
Variations
If you have small children who want to paint but you
would like less mess. Let them roller paint with water.
This is great on wooden fences, and concrete, but not
on any surface which could become slippery.
Concrete will wear out your rollers fairy quickly.
Have a large piece of butchers paper and get the chil-
dren to roll the paint all over to cover the whole piece
of paper, just like painting a wall in a house. This can
be a group activity.

Copyright Smarty Arty 2012
Finger painting
Recipe
1/2 cup of cornflour
3 tbspns of sugar
1/2 teaspoon of salt
2 cups of cold water.
Add the dry ingredients to the water and stir with a
whisk over low to medium heat (approx 10min)
Take off heat when the mixture becomes thickened.
After cooling separate and add food colouring or your
choice, you won’t need much to colour it.
Instructions
Children will need somewhere to paint, paper or a
table with an old table cloth clipped or taped down.
Finger painting to me is about the texture, not the out-
come. Children learn about mixing colours, feeling
the texture through their fingers and swirling it with
their fingers. Because you make the mixture from all
non toxic materials it is safe for babies to experiment
with too.
A high chair tray is great for these types of art
experiences for young children. Painting started in my
house from as young as 6 months. It was messy but
they loved it. The hint is to make sure you have clean
up cloths ready for when they are finished.
Copyright Smarty Arty 2012
Brush Painting
Materials needed
Different thickness brushes
Different coloured paints
Paper, canvas or something to paint on
Instructions
Have different thickness brushes for children to paint
with. Allow them to learn through experience about
how to paint and manipulate a brush of different
thicknesses.
Learning
Children learn about size and thickness, straight and
curvy through painting with brushes. This is a basic
early math skill, that children can experience through
experimentation and conversation.
Extend language and knowledge of the written word
by adding their story to their painting as told by them
to you. Don’t alter it. It makes a great memory for the
children to read back in years to come and see how
far they have progressed.

Copyright Smarty Arty 2012
Bubble Painting
Materials needed
Plastic cups
Straws
Paint, water and liquid soap.
Paper
Instructions
Add a reasonable amount of paint in the bottom of a
cup, add one small pump of liquid hand wash or
something equivalent, add approx a desert spoon of
water. Mix altogether. Children can then blow
bubbles using a straw. When the bubbles burst out the
top, then can gentle put their paper on them leaving
behind a bubble print. Try this with different colours
to make a rainbow bubble page.
Variation:
You can do this to create an interesting piece of art-
work using white paint and black paper. You can also
sprinkle with glitter while the paint is still wet.
Copyright Smarty Arty 2012
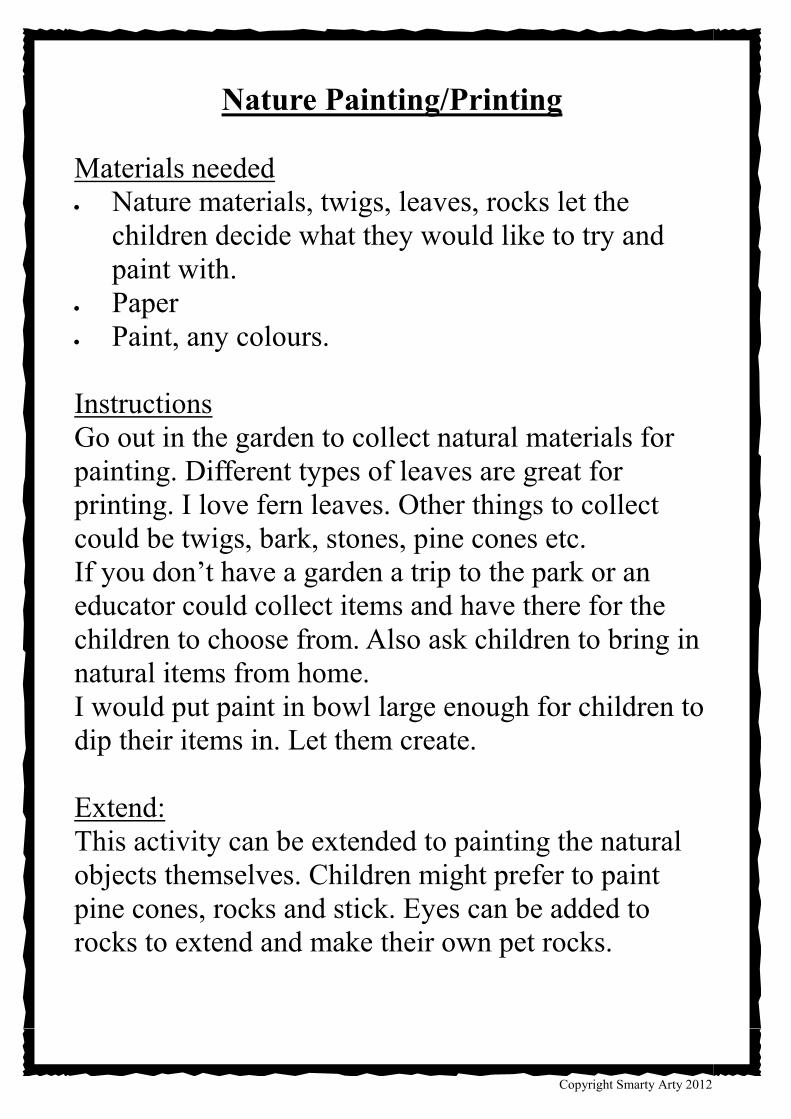
Nature Painting/Printing
Materials needed
Nature materials, twigs, leaves, rocks let the
children decide what they would like to try and
paint with.
Paper
Paint, any colours.
Instructions
Go out in the garden to collect natural materials for
painting. Different types of leaves are great for
printing. I love fern leaves. Other things to collect
could be twigs, bark, stones, pine cones etc.
If you don’t have a garden a trip to the park or an
educator could collect items and have there for the
children to choose from. Also ask children to bring in
natural items from home.
I would put paint in bowl large enough for children to
dip their items in. Let them create.
Extend:
This activity can be extended to painting the natural
objects themselves. Children might prefer to paint
pine cones, rocks and stick. Eyes can be added to
rocks to extend and make their own pet rocks.
Copyright Smarty Arty 2012
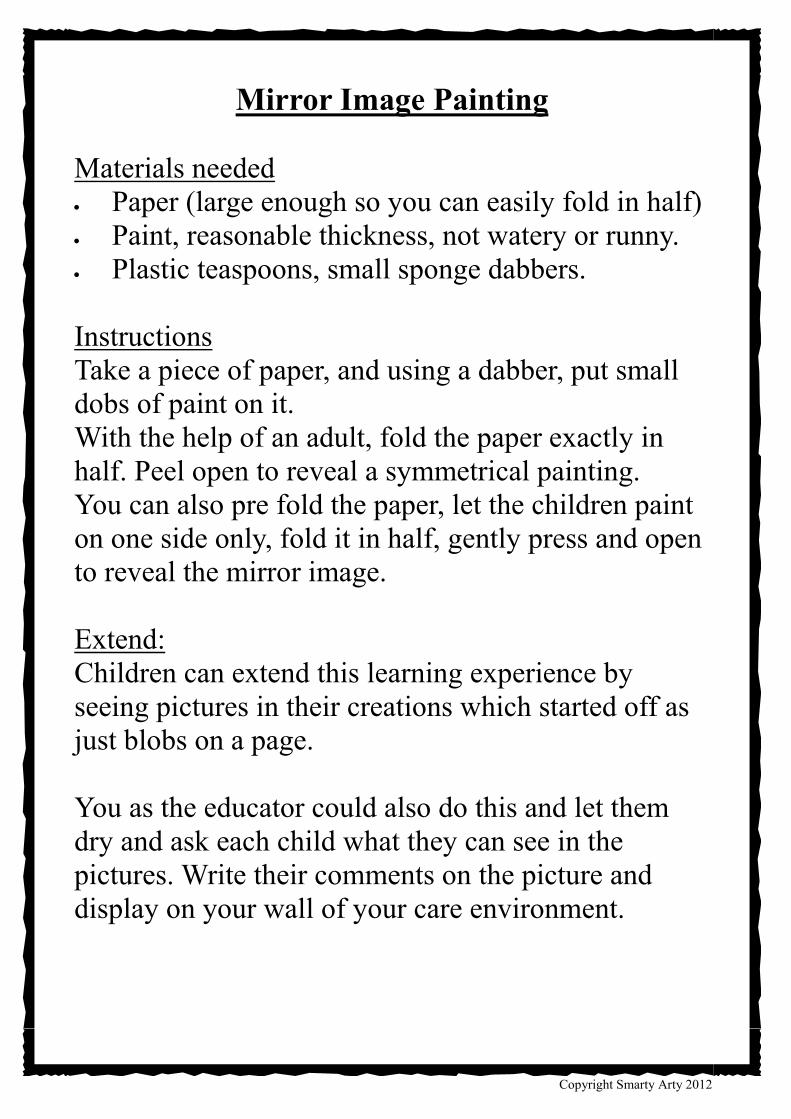
Mirror Image Painting
Materials needed
Paper (large enough so you can easily fold in half)
Paint, reasonable thickness, not watery or runny.
Plastic teaspoons, small sponge dabbers.
Instructions
Take a piece of paper, and using a dabber, put small
dobs of paint on it.
With the help of an adult, fold the paper exactly in
half. Peel open to reveal a symmetrical painting.
You can also pre fold the paper, let the children paint
on one side only, fold it in half, gently press and open
to reveal the mirror image.
Extend:
Children can extend this learning experience by
seeing pictures in their creations which started off as
just blobs on a page.
You as the educator could also do this and let them
dry and ask each child what they can see in the
pictures. Write their comments on the picture and
display on your wall of your care environment.
Copyright Smarty Arty 2012
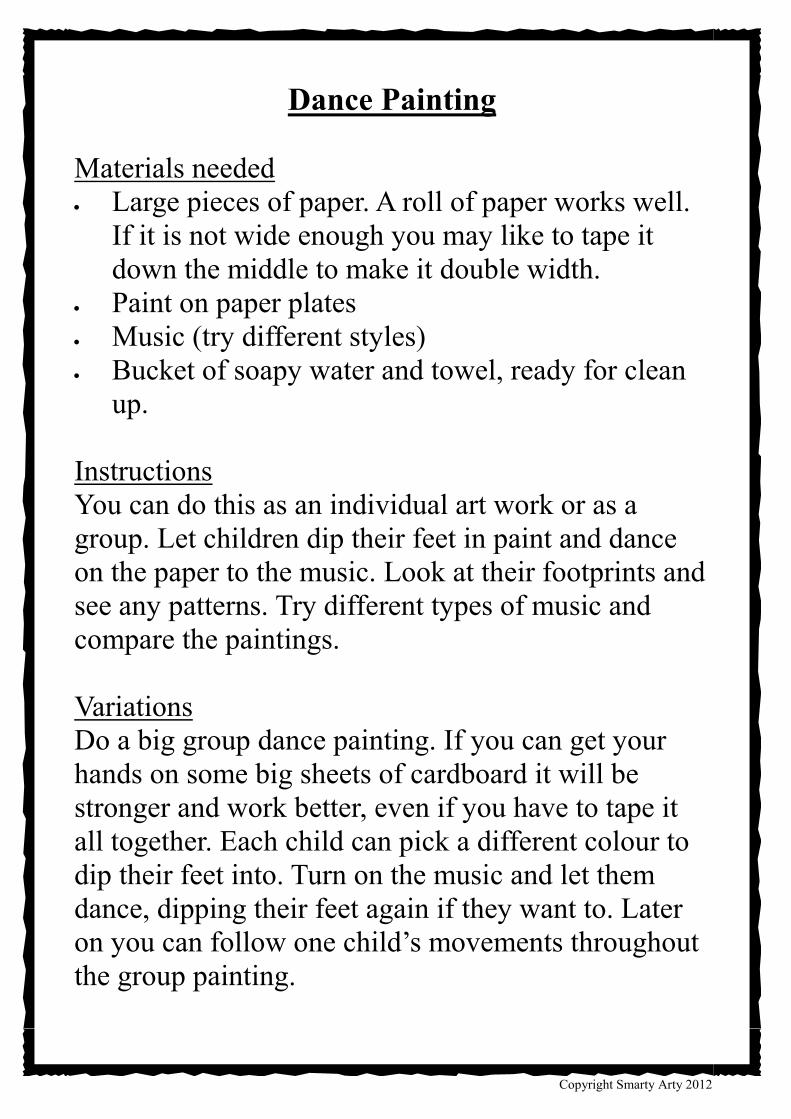
Dance Painting
Materials needed
Large pieces of paper. A roll of paper works well.
If it is not wide enough you may like to tape it
down the middle to make it double width.
Paint on paper plates
Music (try different styles)
Bucket of soapy water and towel, ready for clean
up.
Instructions
You can do this as an individual art work or as a
group. Let children dip their feet in paint and dance
on the paper to the music. Look at their footprints and
see any patterns. Try different types of music and
compare the paintings.
Variations
Do a big group dance painting. If you can get your
hands on some big sheets of cardboard it will be
stronger and work better, even if you have to tape it
all together. Each child can pick a different colour to
dip their feet into. Turn on the music and let them
dance, dipping their feet again if they want to. Later
on you can follow one child’s movements throughout
the group painting.
Copyright Smarty Arty 2012
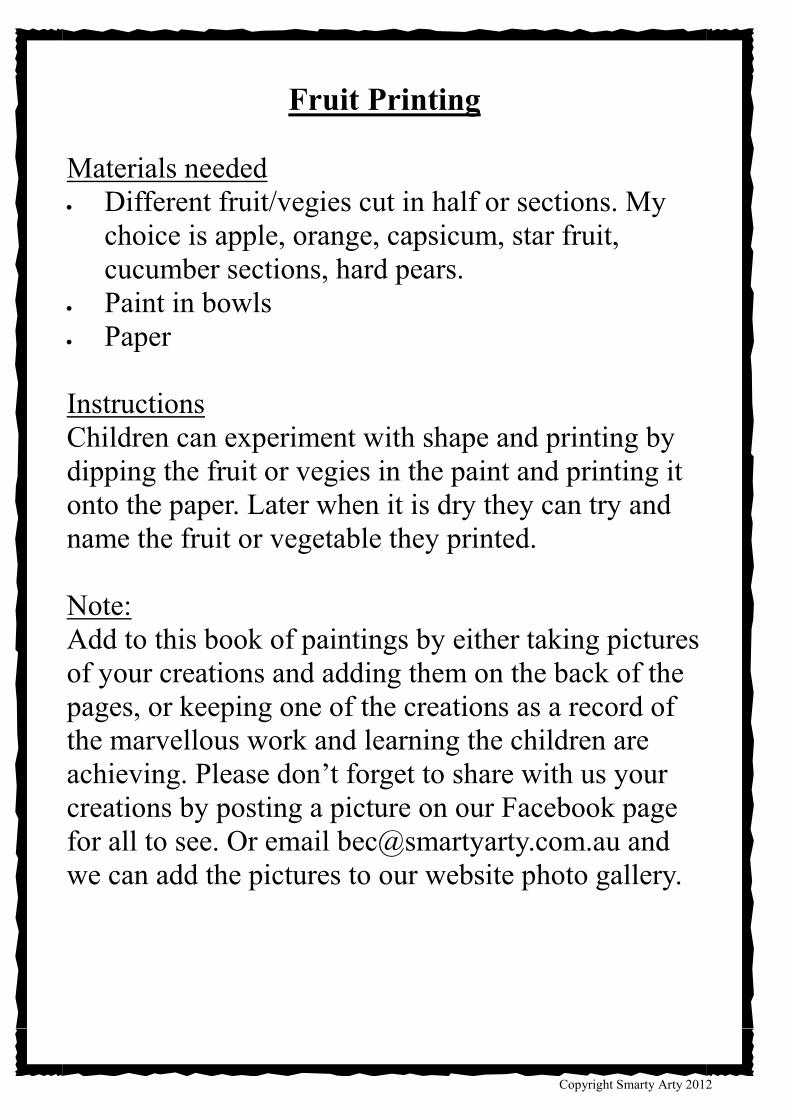
Fruit Printing
Materials needed
Different fruit/vegies cut in half or sections. My
choice is apple, orange, capsicum, star fruit,
cucumber sections, hard pears.
Paint in bowls
Paper
Instructions
Children can experiment with shape and printing by
dipping the fruit or vegies in the paint and printing it
onto the paper. Later when it is dry they can try and
name the fruit or vegetable they printed.
Note:
Add to this book of paintings by either taking pictures
of your creations and adding them on the back of the
pages, or keeping one of the creations as a record of
the marvellous work and learning the children are
achieving. Please don’t forget to share with us your
creations by posting a picture on our Facebook page
for all to see. Or email [email protected] and
we can add the pictures to our website photo gallery.

Copyright Smarty Arty 2012
Toy Car Painting
Materials needed
Cardboard. Any colour.
Black or white paint.
Toys cars of different sizes that can be washed
easily.
Instructions
Let the child dip their favourite cars in the paint and
make tyre tracks on their pages. If you only use one
colour of paint they can experiment with different
cars and widths of tyres dipping them in the paint and
seeing the different tracks they make on the paper.
Extension
Children can tape all their pieces together after they
dry to make a wonderful and very different play mat
to drive their cars on.
If you are game and have plenty of space. You could
even do this with large size Tonka trucks or even ride
on equipment outside.
If you don’t want to do it with paint and ride on
equipment, water also works well on concrete
surfaces.
Copyright Smarty Arty 2012
Salt Painting
Materials needed
PVA or a strong glue
Salt, a fair bit of it
Water paints
Cardboard would be the best base for this.
Paper to tip the excess salt on to.
Instructions
Let the child create squiggles of glue or pictures with
the glue. Sprinkle a reasonable amount of salt onto
their creation. When dry tip off the excess salt that
didn’t stick.
Using strong water colours drip them onto the salt
and watch as the colour spreads. Creating a fun and
colourful picture.
Variants
With smaller children you can simply get a tray of
rock salt and using a eye dropper drip in different
areas different water based paints and watch as the
colours grow and disperse, til they all join up.
Copyright Smarty Arty 2012
Tape Canvas Artwork
Materials needed
Medium sized canvas. 30x40cm work well.
Tape, coloured is good for children to be able to
see easily. (available in the electrical section at
Bunning's)
Instructions
Tape the canvas leaving blank sections in all random
directions.
Paint the sections in at least two different colours.
When the paint is nearly dry peel off the tape. An
adult might be able to help with the process.
Allow to fully dry and hang your original art work.
Variation
For older children, once the tape is peeled off and the
paint has dried they might like to add glitter to the
bare pieces or even something as simple as star
stickers can change the creation into a different work
of art.
Learning outcomes: Children learn spatial awareness,
shape, colour, direction, new language, art styles and
creativity.

Copyright Smarty Arty 2012
Hidden Paintings
Materials needed
White paper
White crayons
Coloured water paints
Instructions
Let the children draw or write a message in white
crayons on their white paper. It works well if you
push hard when writing to make sure you get enough
crayons on the paper.
Use coloured water paints to paint over the paper and
reveal the hidden writing or picture underneath.
Variation
You can also do this, not with paints but with colour
changing markers.
Use the white (colour change marker first) and colour
over with another colour to reveal a hidden message.
This is great to do with school aged children where
you can write them a secret praise message about
what is special about them.