conversions tracking with tracking software voluum · introduction exoclick gives you access to...
TRANSCRIPT

conversions tracking with
tracking software voluum
How to integrate Exoclick’s

Introduction
ExoClick gives you access to global traffic sources, targeting features, big data and statistical analytical tools to filter results and optimise your campaigns. This manual explains how to track conversions on the ExoClick network when you are using tracking software Voluum. In order to track your offer you need Voluum and ExoClick to ‘speak’ to each they do this through their APIs and this manual shows you how to set up API (server to server) conversion tracking with Voluum’s platform.

step 1create the code for a tracking id

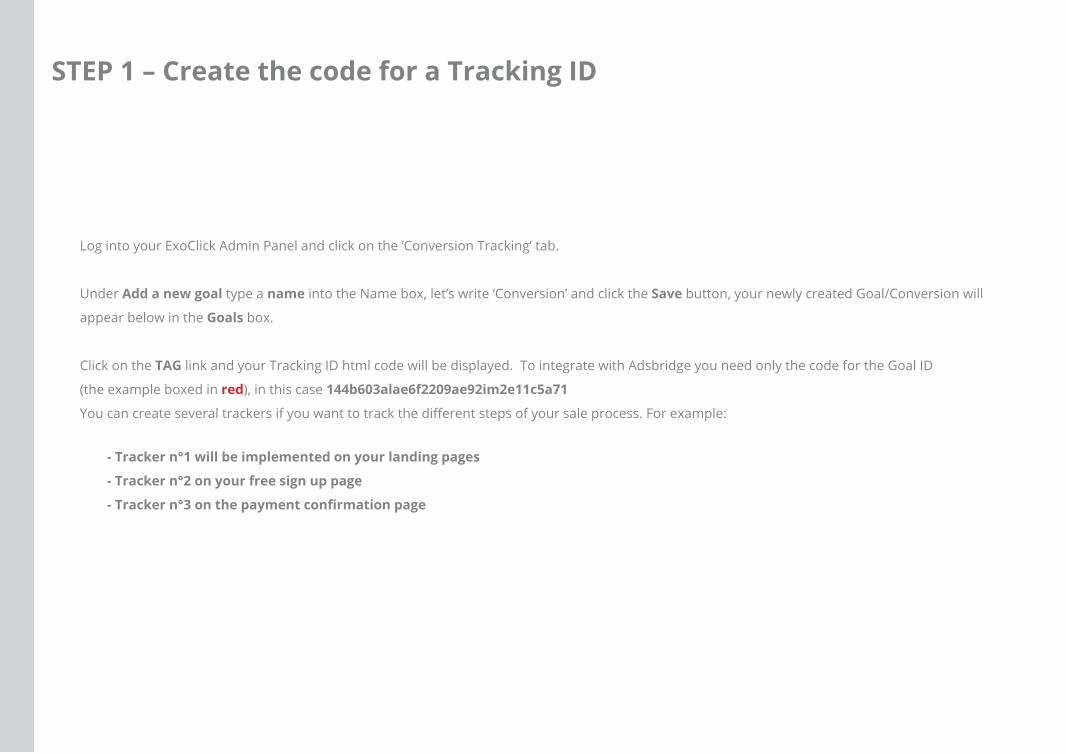
STEP 1 – Create the code for a Tracking ID
STEP 1 – Create the code for a Tracking ID
Log into your ExoClick Admin Panel and click on the ‘Conversion Tracking’ tab.
Under Add a new goal type a name into the Name box, let’s write ‘Conversion’ and click the Save button, your newly created Goal/Conversion will
appear below in the Goals box.
Click on the TAG link and your Tracking ID html code will be displayed. To integrate with Adsbridge you need only the code for the Goal ID
(the example boxed in red), in this case 144b603alae6f2209ae92im2e11c5a71
You can create several trackers if you want to track the different steps of your sale process. For example:
- Tracker n°1 will be implemented on your landing pages
- Tracker n°2 on your free sign up page
- Tracker n°3 on the payment confirmation page

step 2Add Exoclick as traffic source on Voluum
and configure the Postback

STEP 2 – Add Exoclick as traffic source on Voluum and configure the Postback
To track conversions on ExoClick you will need to add a
dynamic tracker to your campaign URL {conversions_tracking}
which identifies each click uniquely. You must store this tracker
on Voluum and get it to notify ExoClick’s API each time a user
generates a conversion.
This is done very simply on Voluum by configuring Exoclick as
the traffic source from the pre-defined template.
1) Log in to your Voluum account and click the Traffic sources
tab and then the New traffic source button. Click Traffic
Sources Templates and select ExoClick. Once you have selected
this pre-defined template for Exoclick, Voluum will pre-populate
the traffic source settings on the template.
2) In the Postback URL field replace the goal=REPLACE, with the
goal ID we generated in STEP 1. ex.-http://main.exoclick.com/
tag.php?goal=144b603ala e6f2209ae92im2e11c5a71&tag={
externalid}

STEP 2 – Add Exoclick as a traffic source on Voluum and configure the Postback
The only mandatory parameter to track conversions is the External ID, all others are optional. You can always find all the available tokens on
ExoClick’s website: www.exoclick.com/faq/dynamic-tokens-or-tags
Note: Cost parameters
{actual_cost} is defined as the cost for the actual CPM / CPC paid for each impression/click. Therefore, this parameter should be used for Banners CPC
and Popunders CPM and Smart CPM.
3) If you don’t want to add or modify any more parameters click Save, you can make any changes at any given moment by clicking the edit
button after selecting your traffic source from the list.

STEP 2 – Add Exoclick as a traffic source on Voluum and configure the Postback
1. TimeZone: There is an option in Voluum to choose a time zone for reports. It is suggested to use United States - New York time zone to match ExoClick’s server time zone
2. Currency: Voluum currently supports only USD currency. Exoclick supports USD and Euro.
Additional notes for account configuration:

step 3Generate the Postback URL
on Voluum

STEP 3 - Generate the Postback URL on Voluum
To setup the Postback URL you need to append a click ID. This can be done with in two different ways.
1) Append a click ID to the Affiliate Network
This option will automatically add {clickId} to the end of the offer URLs associated with that affiliate network. If you manually add {clickId} to an offer URL
associated with an affiliate network that has this option ticketed, the system will recognize this. It is safe practice to use this option to avoid manual input
errors.
To add an affiliate network, go to the Trusted affiliate networks tab and click the green New affiliate network button. Once you have added an affiliate
network, you can associate it with your offers.

STEP 3 - Generate the Postback URL on Voluum
Copy (clipboard) and then paste the postback URL to your affiliate network panel. Make sure to replace the tokens in REPLACE and OPTIONAL strings with
affiliate network specific tokens. If you have added an affiliate network from the template, then these tokens should be replaced automatically.
The unique click ID will be passed to your network in this parameter. If your network uses the CAKE platform, place s2 (s3, s4, s5) in the field. If it uses
HasOffers, place aff_sub2 (aff_sub3, aff_sub4, aff_sub5). If your network uses a custom platform, ask your account manager for the token.
The following is what your postback URL would look like on a HasOffers based network: xxxxx.trackvoluum.com/postback?cid={aff_sub}&payout={payout}
Just remember to add the {clickid} at the end of your offer URL.
Example URL:- http://mypage.com/?a=14030&c=64375&s2={clickid}
Copy (clipboard) and then paste the postback URL to your affiliate
network panel. Make sure to replace the tokens in REPLACE and
OPTIONAL strings with affiliate network specific tokens. Again, if
you associate this offer with an affiliate network, then these tokens
should be replaced automatically.
The following is what your postback URL would look like on a
HasOffers based network: xxxxx.trackvoluum.com/postback
?cid={aff_sub}&payout={payout}
2) Append a click ID to the Offer
Adding an offer in Voluum is easy, click on the Flows tab, Offers and then the New offer button.

step 4Set up the Campaign on Voluum

On Voluum under the Create Campaign tab click New Campaign and fill out the mandatory fields and select ExoClick as the traffic source and add
your offers/paths as the destination, then click Save.
From the highlighted field copy the Campaign URL, this is the URL that you will send your visitors to. The parameters are generated based on the
traffic source configuration.
Example URL:-http://xxxxxx.trackvoluum.com/fr45-1234-4edf-98bd-b92fa773f6c0?tag={conversions_tracking}&campid={campaign_id}
STEP 4 – Set up the Campaign on Voluum

step 5Set up the Campaign on ExoClick

STEP 5 - Set up the Campaign on ExoClick
Paste the campaign URL created on the previous STEP 4 “Your Campaign URL” into your ExoClick campaign under the tab Advertisers > New Campaign >
Marketing Material and click Save Campaign.
Ex.-http://xxxxxx.trackvoluum.com/fr45-1234-4edf-98bd-b92fa773f6c0?tag={conversions_tracking}&campid={campaign_id}
Now all three APIs are speaking to each other and you can track everything that is related to the affiliate offer you are promoting.

For more information visit the support sections: http://feedback.voluum.com/knowledgebase and
https://www.exoclick.com/faq/api-server-server-tracking/
ExoClick, a Barcelona-based company founded in 2006, has grown into one of the largest ad networks in the world, serving more than
125 billion geo-targeted ad views a month using EXADS™ ad-serving technology. ExoClick provides online advertising services to both
advertisers and publishers worldwide, for both desktop and mobile channels.
www.exoclick.com
For further information please email [email protected]