configuring the virtual center server
TRANSCRIPT

Configuring the VirtualCenter Server
Configuring the VirtualCenter Server This section describes how to configure VirtualCenter Server attributes and settings, and discusses the following topics:
[email protected] | Copyright © 2008 VMware, Inc. All rights reserved.
Configuring the VirtualCenter Server : Setting Custom Attributes
Setting Custom Attributes You can use custom attributes to associate your own information with the resources in VirtualCenter. After you create the attributes, set their values on each virtual machine or managed host, as appropriate. The values are stored with VirtualCenter. You can then use the new attributes to filter information about your virtual machines and managed hosts. If you no longer need the custom attribute, remove it. A custom attribute is always a string, even if it takes the form of a numeric value.
You can use this dialog box to create three types of attributes:
You can also edit virtual machine or host attributes from the Summary tab of the virtual machine or host. See Editing Custom Attributes and Annotations for a Virtual Machine or Host.
When you add an attribute column, the column is not unique to the particular list in which you create it. It also appears on the Hosts, Virtual Machines and Resource Allocation tabs for each of those objects, although you can assign a different value to the column on each of those tabs. The information persists until you edit it or until the column is deleted. Editing or deleting the column requires permission to edit custom attributes.
Conditions
To add a custom attribute
• Setting Custom Attributes
• Configuring Server Settings
• Virtual Machine – Apply only to virtual machine objects.
• Host – Apply only to host objects.
• Global – Can be applied to hosts and virtual machines.
VI Client must be connected to:
VirtualCenter Server
Minimum required privileges:
Global > Manage Custom Properties Global > Set Custom Properties
To reach this dialog box: Administration > Custom Attributes
1. In the Custom Attributes dialog box, click Add.
2. In the Name text box, type the name to assign to the attribute.
3. In the Type drop-down list, select the attribute type.
4. Click OK.
5. Enter the values for the custom attribute:
Page 1 of 12Configuring the VirtualCenter Server
6/25/2009file://D:\Documents and Settings\Administrator\Local Settings\Temp\~hh4377.htm

In the information panel, the new attribute is added to the header.
To remove a custom attribute
The attribute is removed from all hosts and virtual machines.
To show or hide a custom attribute in a panel, right-click the column headings and select or deselect the attribute.
[email protected] | Copyright © 2008 VMware, Inc. All rights reserved.
Configuring the VirtualCenter Server : Configuring Server Settings
Configuring Server Settings You can configure the following VirtualCenter settings:
[email protected] | Copyright © 2008 VMware, Inc. All rights reserved.
Configuring the VirtualCenter Server : Configuring Server Settings : Configuring License Settings
Configuring License Settings You must configure a license to use the VirtualCenter Server. This section introduces licensing configuration options.
Conditions
a. Select the object one level up the hierarchy that contains the objects to apply the attribute to. For example, to enter attribute values for managed hosts, select the datacenter and the Hosts tab for a list of hosts.
b. For each managed host or virtual machine, click the empty space below the new attribute's column heading.
c. Type the attribute value that is appropriate for each managed host or virtual machine.
1. Select an attribute from the list in the Custom Attributes dialog box.
2. Click Remove.
• Configuring License Settings
• Configuring Statistics Settings
• Configuring Runtime Settings
• Configuring Active Directory Settings
• Configuring Mail Sender Settings
• Configuring SNMP Settings
• Configuring Web Service Settings
• Configuring Timeout Settings
• Configuring Logging Options
• Configuring Database Settings
VI Client must be connected to:
VirtualCenter Server
Minimum required privileges:
Global > Settings
To reach this Administration > VirtualCenter
Page 2 of 12Configuring the VirtualCenter Server
6/25/2009file://D:\Documents and Settings\Administrator\Local Settings\Temp\~hh4377.htm
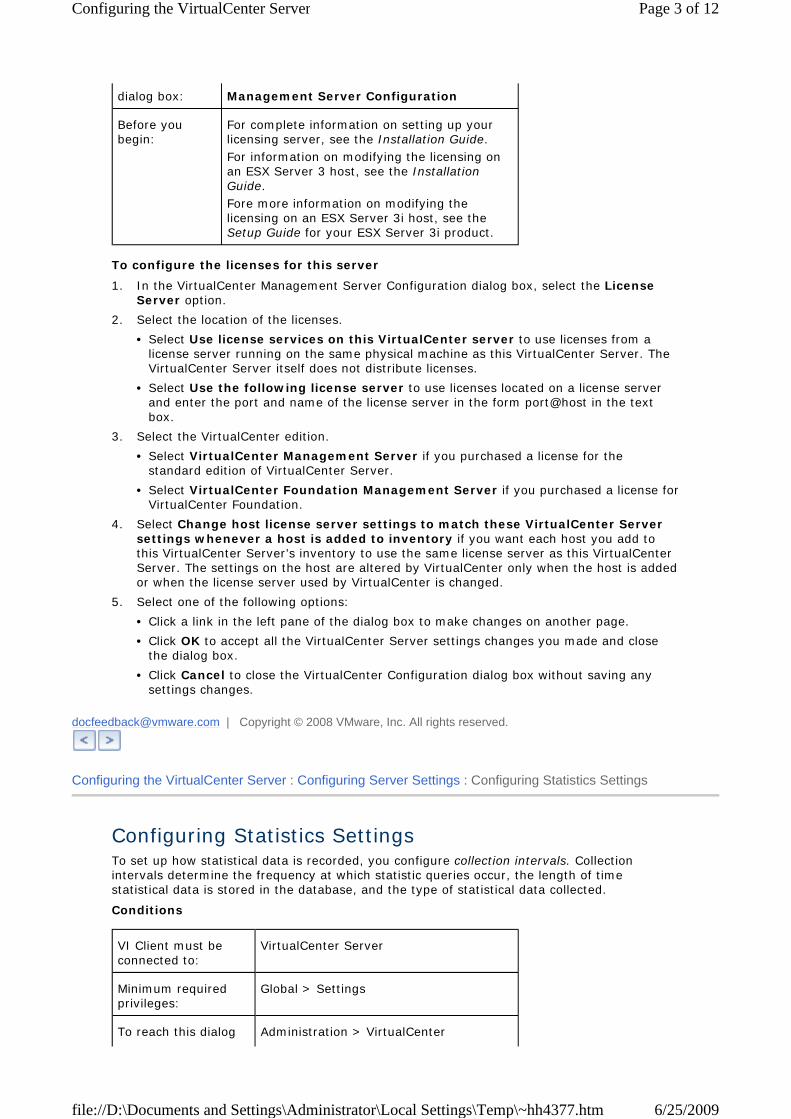
To configure the licenses for this server
[email protected] | Copyright © 2008 VMware, Inc. All rights reserved.
Configuring the VirtualCenter Server : Configuring Server Settings : Configuring Statistics Settings
Configuring Statistics Settings To set up how statistical data is recorded, you configure collection intervals. Collection intervals determine the frequency at which statistic queries occur, the length of time statistical data is stored in the database, and the type of statistical data collected.
Conditions
dialog box: Management Server Configuration
Before you begin:
For complete information on setting up your licensing server, see the Installation Guide. For information on modifying the licensing on an ESX Server 3 host, see the Installation Guide. Fore more information on modifying the licensing on an ESX Server 3i host, see the Setup Guide for your ESX Server 3i product.
1. In the VirtualCenter Management Server Configuration dialog box, select the License Server option.
2. Select the location of the licenses.
• Select Use license services on this VirtualCenter server to use licenses from a license server running on the same physical machine as this VirtualCenter Server. The VirtualCenter Server itself does not distribute licenses.
• Select Use the following license server to use licenses located on a license server and enter the port and name of the license server in the form port@host in the text box.
3. Select the VirtualCenter edition.
• Select VirtualCenter Management Server if you purchased a license for the standard edition of VirtualCenter Server.
• Select VirtualCenter Foundation Management Server if you purchased a license for VirtualCenter Foundation.
4. Select Change host license server settings to match these VirtualCenter Server settings whenever a host is added to inventory if you want each host you add to this VirtualCenter Server’s inventory to use the same license server as this VirtualCenter Server. The settings on the host are altered by VirtualCenter only when the host is added or when the license server used by VirtualCenter is changed.
5. Select one of the following options:
• Click a link in the left pane of the dialog box to make changes on another page.
• Click OK to accept all the VirtualCenter Server settings changes you made and close the dialog box.
• Click Cancel to close the VirtualCenter Configuration dialog box without saving any settings changes.
VI Client must be connected to:
VirtualCenter Server
Minimum required privileges:
Global > Settings
To reach this dialog Administration > VirtualCenter
Page 3 of 12Configuring the VirtualCenter Server
6/25/2009file://D:\Documents and Settings\Administrator\Local Settings\Temp\~hh4377.htm
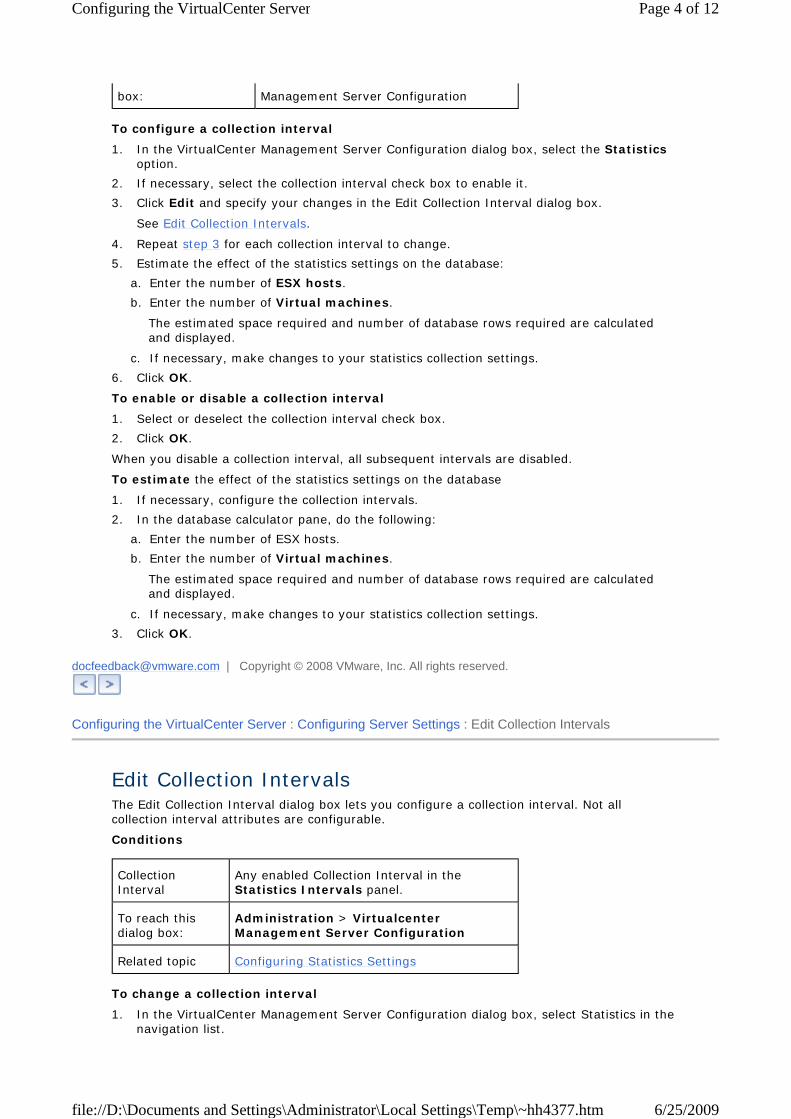
To configure a collection interval
See Edit Collection Intervals.
The estimated space required and number of database rows required are calculated and displayed.
To enable or disable a collection interval
When you disable a collection interval, all subsequent intervals are disabled.
To estimate the effect of the statistics settings on the database
The estimated space required and number of database rows required are calculated and displayed.
[email protected] | Copyright © 2008 VMware, Inc. All rights reserved.
Configuring the VirtualCenter Server : Configuring Server Settings : Edit Collection Intervals
Edit Collection Intervals The Edit Collection Interval dialog box lets you configure a collection interval. Not all collection interval attributes are configurable.
Conditions
To change a collection interval
box: Management Server Configuration
1. In the VirtualCenter Management Server Configuration dialog box, select the Statistics option.
2. If necessary, select the collection interval check box to enable it.
3. Click Edit and specify your changes in the Edit Collection Interval dialog box.
4. Repeat step 3 for each collection interval to change.
5. Estimate the effect of the statistics settings on the database:
a. Enter the number of ESX hosts.
b. Enter the number of Virtual machines.
c. If necessary, make changes to your statistics collection settings.
6. Click OK.
1. Select or deselect the collection interval check box.
2. Click OK.
1. If necessary, configure the collection intervals.
2. In the database calculator pane, do the following:
a. Enter the number of ESX hosts.
b. Enter the number of Virtual machines.
c. If necessary, make changes to your statistics collection settings.
3. Click OK.
Collection Interval
Any enabled Collection Interval in the Statistics Intervals panel.
To reach this dialog box:
Administration > Virtualcenter Management Server Configuration
Related topic Configuring Statistics Settings
1. In the VirtualCenter Management Server Configuration dialog box, select Statistics in the navigation list.
Page 4 of 12Configuring the VirtualCenter Server
6/25/2009file://D:\Documents and Settings\Administrator\Local Settings\Temp\~hh4377.htm

Level 4 uses the highest number of statistics counters. Use it only for debugging purposes.
The collection level value must be less than or equal to the collection level set for the preceeding collection interval. This is a VirtualCenter dependency.
[email protected] | Copyright © 2008 VMware, Inc. All rights reserved.
Configuring the VirtualCenter Server : Configuring Server Settings : Configuring Runtime Settings
Configuring Runtime Settings You can change the port number the server is using for communications. You can also change the VirtualCenter ID. and the VirtualCenter Managed IP address. Usually, you do not need to change these settings, but you might need to make changes if you run multiple VirtualCenter Servers in the same environment.
Conditions
To change the VirtualCenter ID or the port number
You can change this value to a number from 0 through 63 to uniquely identify each VirtualCenter Server running in a common environment. By default, an ID value is generated randomly.
The assigned default port number is 902. You rarely need to change this value.
[email protected] | Copyright © 2008 VMware, Inc. All rights reserved.
2. In Statistics Intervals, select the intervals to enable. Selecting a longer interval automatically enables all shorter intervals.
3. To change the collection level for an enabled Interval Duration, do the following:
a. Select the interval.
b. Click Edit.
c. In Statistics Level, choose a level.
d. For the Minute and Year intervals, you can change the collection frequency (Statistics Interval) and the length of time to keep the samples (Keep samples for). If necessary, choose the appropriate value for each option.
4. Click OK.
VI Client must be connected to:
VirtualCenter Server
Minimum required privileges:
Global > Settings
To reach this dialog box:
Administration > Virtualcenter Management Server Configuration
1. In the VirtualCenter Management Server Configuration dialog box, select the Runtime Settings option.
2. Enter a unique ID in the VirtualCenter Server Unique ID text box.
3. Enter the port number your client is using to communicate with the VirtualCenter Server in the VirtualCenter Server TCP/IP Port text box.
4. Enter the VirtualCenter Server IP address in the VirtualCenter Server Managed IP text box.
5. Click OK to save the changes you made and close the dialog box.
6. If you made changes to the VirtualCenter Server Unique ID or the VirtualCenter Server TCP/IP Port, you must restart the VirtualCenter Server for these changes to take effect.
Page 5 of 12Configuring the VirtualCenter Server
6/25/2009file://D:\Documents and Settings\Administrator\Local Settings\Temp\~hh4377.htm

Configuring the VirtualCenter Server : Configuring Server Settings : Configuring Active Directory Settings
Configuring Active Directory Settings You can configure some of the ways in which VirtualCenter interacts with the Active Directory server.
Conditions
To configure how VirtualCenter interacts with the Active Directory server
[email protected] | Copyright © 2008 VMware, Inc. All rights reserved.
Configuring the VirtualCenter Server : Configuring Server Settings : Configuring Mail Sender Settings
Configuring Mail Sender Settings To use email messages to send SMTP notification, you need to do the following:
Conditions
VI Client must be connected to:
VirtualCenter Server
Minimum required privileges:
Global > Settings
To reach this dialog box:
Administration > Virtualcenter Management Server Configuration
1. In the VirtualCenter Management Server Configuration dialog box, select the Active Directory option.
2. In the Active Directory Timeout field, enter the timeout interval in seconds for connecting to the Active Directory server.
3. To limit the number of users and groups displayed in the Add Permissions dialog box, select Enable Query Limit.
4. In the Users & Groups field, enter the maximum number of users and groups to display. If you enter 0 (zero), all users and groups appear.
5. To have VirtualCenter periodically check its known users and groups against the Active Directory server, select Enable Validation.
6. In the Validation Period field, enter the number of minutes between instances of synchronization.
7. Select one of the following options:
• Click a link in the left pane of the dialog box to make changes to another setting.
• Click OK to accept all the VirtualCenter Server settings changes you made and close the dialog box.
• Click Cancel to close the VirtualCenter Configuration dialog box without saving any settings changes.
• Define the SMTP and email message addressing information.
• Specify the email message addresses for the users to receive the notification when you create the alarm.
VI Client must be connected to:
VirtualCenter Server
Minimum required privileges:
Global > Settings
Page 6 of 12Configuring the VirtualCenter Server
6/25/2009file://D:\Documents and Settings\Administrator\Local Settings\Temp\~hh4377.htm
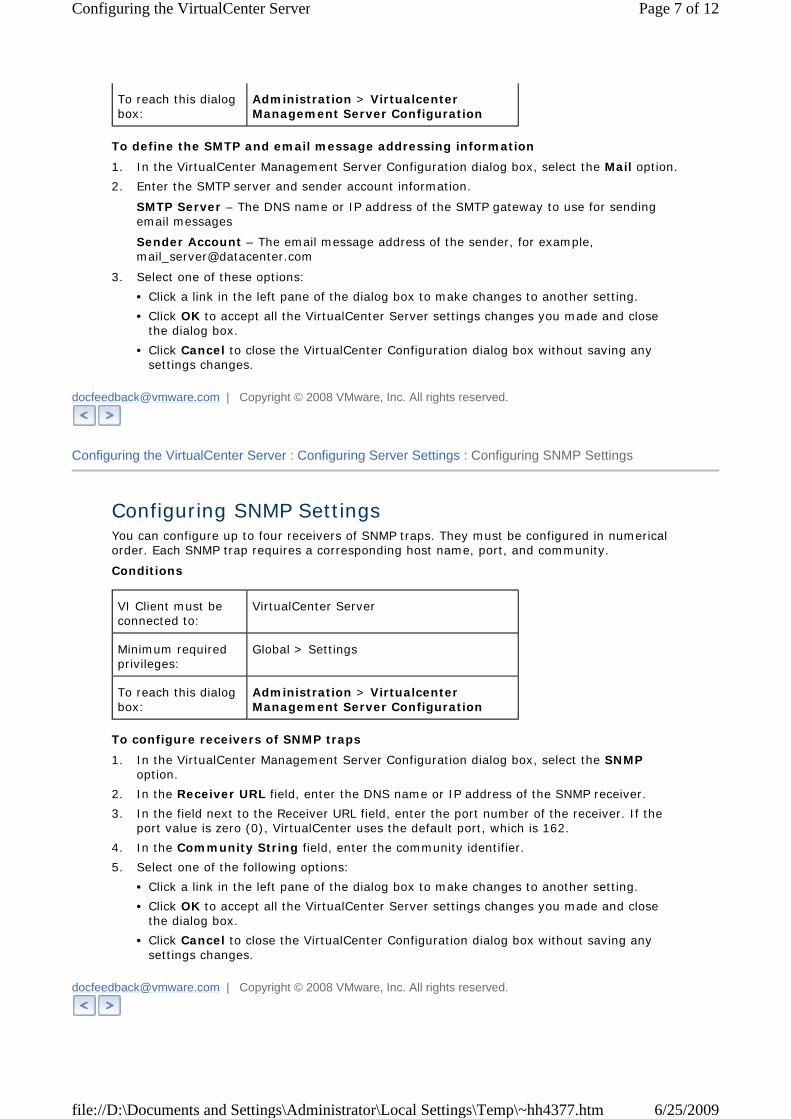
To define the SMTP and email message addressing information
SMTP Server – The DNS name or IP address of the SMTP gateway to use for sending email messages
Sender Account – The email message address of the sender, for example, [email protected]
[email protected] | Copyright © 2008 VMware, Inc. All rights reserved.
Configuring the VirtualCenter Server : Configuring Server Settings : Configuring SNMP Settings
Configuring SNMP Settings You can configure up to four receivers of SNMP traps. They must be configured in numerical order. Each SNMP trap requires a corresponding host name, port, and community.
Conditions
To configure receivers of SNMP traps
[email protected] | Copyright © 2008 VMware, Inc. All rights reserved.
To reach this dialog box:
Administration > Virtualcenter Management Server Configuration
1. In the VirtualCenter Management Server Configuration dialog box, select the Mail option.
2. Enter the SMTP server and sender account information.
3. Select one of these options:
• Click a link in the left pane of the dialog box to make changes to another setting.
• Click OK to accept all the VirtualCenter Server settings changes you made and close the dialog box.
• Click Cancel to close the VirtualCenter Configuration dialog box without saving any settings changes.
VI Client must be connected to:
VirtualCenter Server
Minimum required privileges:
Global > Settings
To reach this dialog box:
Administration > Virtualcenter Management Server Configuration
1. In the VirtualCenter Management Server Configuration dialog box, select the SNMP option.
2. In the Receiver URL field, enter the DNS name or IP address of the SNMP receiver.
3. In the field next to the Receiver URL field, enter the port number of the receiver. If the port value is zero (0), VirtualCenter uses the default port, which is 162.
4. In the Community String field, enter the community identifier.
5. Select one of the following options:
• Click a link in the left pane of the dialog box to make changes to another setting.
• Click OK to accept all the VirtualCenter Server settings changes you made and close the dialog box.
• Click Cancel to close the VirtualCenter Configuration dialog box without saving any settings changes.
Page 7 of 12Configuring the VirtualCenter Server
6/25/2009file://D:\Documents and Settings\Administrator\Local Settings\Temp\~hh4377.htm
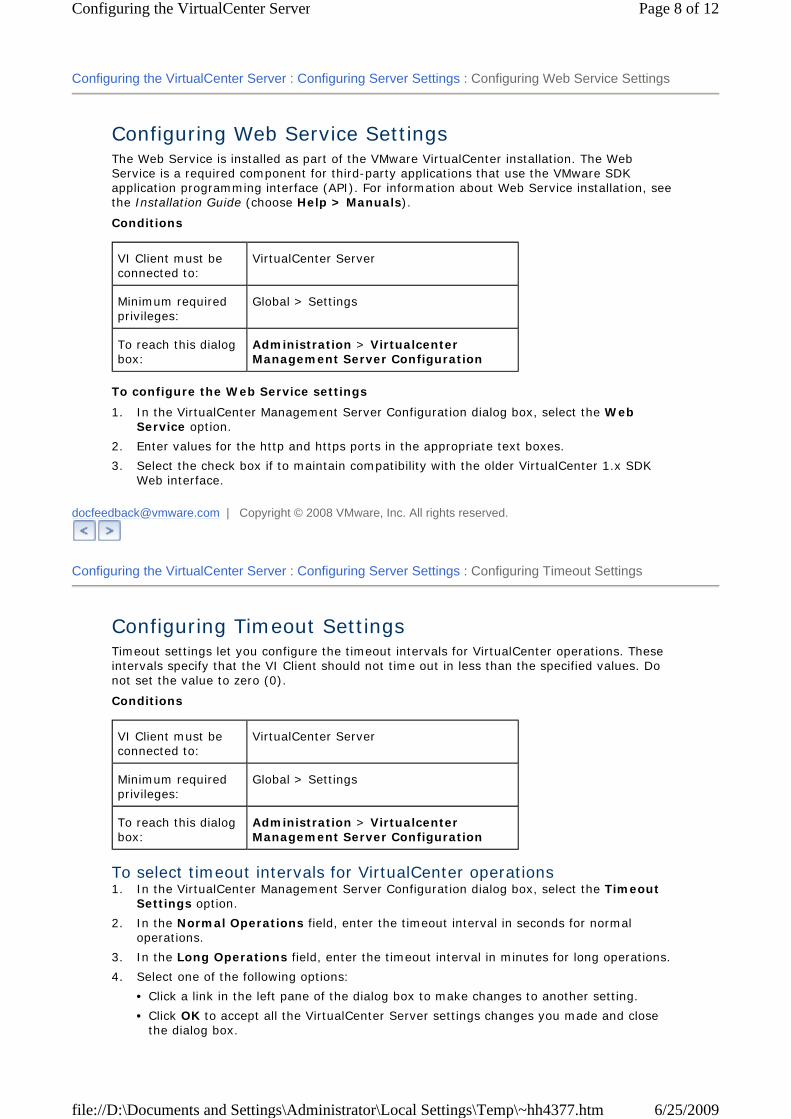
Configuring the VirtualCenter Server : Configuring Server Settings : Configuring Web Service Settings
Configuring Web Service Settings The Web Service is installed as part of the VMware VirtualCenter installation. The Web Service is a required component for third-party applications that use the VMware SDK application programming interface (API). For information about Web Service installation, see the Installation Guide (choose Help > Manuals).
Conditions
To configure the Web Service settings
[email protected] | Copyright © 2008 VMware, Inc. All rights reserved.
Configuring the VirtualCenter Server : Configuring Server Settings : Configuring Timeout Settings
Configuring Timeout Settings Timeout settings let you configure the timeout intervals for VirtualCenter operations. These intervals specify that the VI Client should not time out in less than the specified values. Do not set the value to zero (0).
Conditions
To select timeout intervals for VirtualCenter operations
VI Client must be connected to:
VirtualCenter Server
Minimum required privileges:
Global > Settings
To reach this dialog box:
Administration > Virtualcenter Management Server Configuration
1. In the VirtualCenter Management Server Configuration dialog box, select the Web Service option.
2. Enter values for the http and https ports in the appropriate text boxes.
3. Select the check box if to maintain compatibility with the older VirtualCenter 1.x SDK Web interface.
VI Client must be connected to:
VirtualCenter Server
Minimum required privileges:
Global > Settings
To reach this dialog box:
Administration > Virtualcenter Management Server Configuration
1. In the VirtualCenter Management Server Configuration dialog box, select the Timeout Settings option.
2. In the Normal Operations field, enter the timeout interval in seconds for normal operations.
3. In the Long Operations field, enter the timeout interval in minutes for long operations.
4. Select one of the following options:
• Click a link in the left pane of the dialog box to make changes to another setting.
• Click OK to accept all the VirtualCenter Server settings changes you made and close the dialog box.
Page 8 of 12Configuring the VirtualCenter Server
6/25/2009file://D:\Documents and Settings\Administrator\Local Settings\Temp\~hh4377.htm
[email protected] | Copyright © 2008 VMware, Inc. All rights reserved.
Configuring the VirtualCenter Server : Configuring Server Settings : Configuring Logging Options
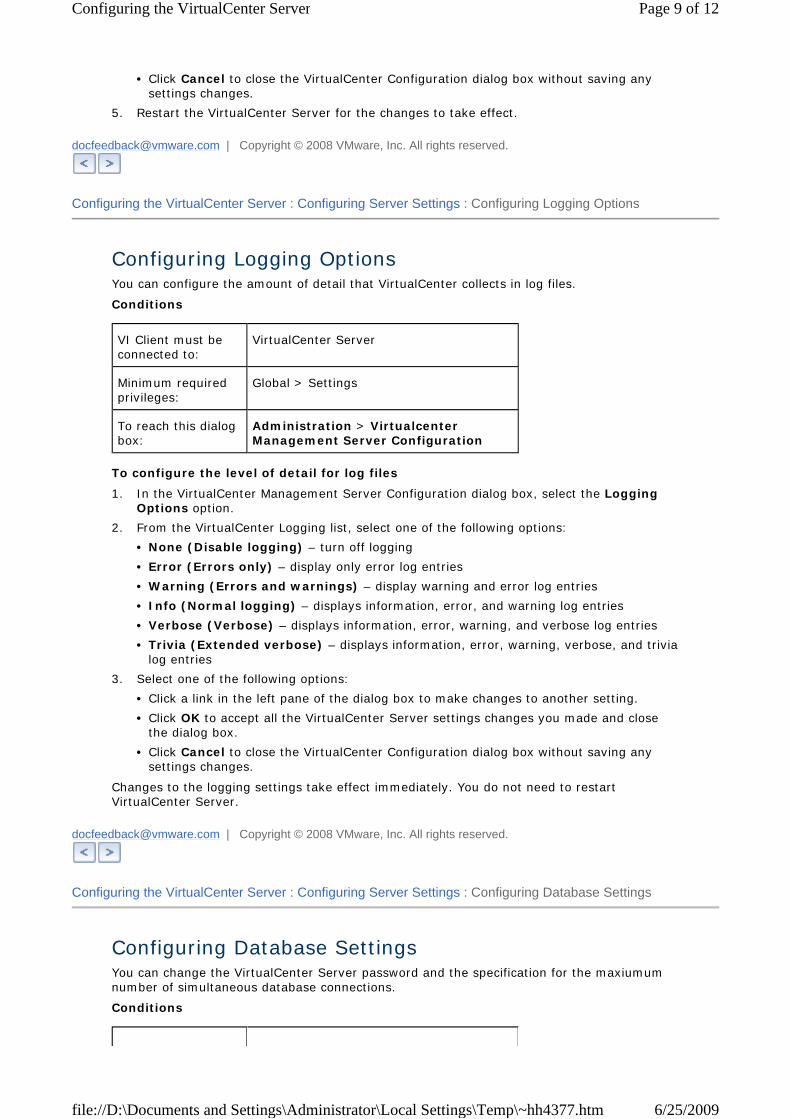
Configuring Logging Options You can configure the amount of detail that VirtualCenter collects in log files.
Conditions
To configure the level of detail for log files
Changes to the logging settings take effect immediately. You do not need to restart VirtualCenter Server.
[email protected] | Copyright © 2008 VMware, Inc. All rights reserved.
Configuring the VirtualCenter Server : Configuring Server Settings : Configuring Database Settings
Configuring Database Settings You can change the VirtualCenter Server password and the specification for the maxiumum number of simultaneous database connections.
Conditions
• Click Cancel to close the VirtualCenter Configuration dialog box without saving any settings changes.
5. Restart the VirtualCenter Server for the changes to take effect.
VI Client must be connected to:
VirtualCenter Server
Minimum required privileges:
Global > Settings
To reach this dialog box:
Administration > Virtualcenter Management Server Configuration
1. In the VirtualCenter Management Server Configuration dialog box, select the Logging Options option.
2. From the VirtualCenter Logging list, select one of the following options:
• None (Disable logging) – turn off logging
• Error (Errors only) – display only error log entries
• Warning (Errors and warnings) – display warning and error log entries
• Info (Normal logging) – displays information, error, and warning log entries
• Verbose (Verbose) – displays information, error, warning, and verbose log entries
• Trivia (Extended verbose) – displays information, error, warning, verbose, and trivia log entries
3. Select one of the following options:
• Click a link in the left pane of the dialog box to make changes to another setting.
• Click OK to accept all the VirtualCenter Server settings changes you made and close the dialog box.
• Click Cancel to close the VirtualCenter Configuration dialog box without saving any settings changes.
Page 9 of 12Configuring the VirtualCenter Server
6/25/2009file://D:\Documents and Settings\Administrator\Local Settings\Temp\~hh4377.htm

Before you make any changes to your database’s authentication setup, first change the password in the Database Settings dialog box.
To change the password VirtualCenter Server uses when connecting to the database
The VirtualCenter Server uses this password when creating connections to the database.
For details, see your database’s documentation.
On restarting, it connects using the new password.
Note: Not all database connection configurations require a password. This setting is significant only when password-based authentication for database connections is in use.
To change the maximum number of database connections to create
This value normally does not need to be changed. You might want to increase this number if your VirtualCenter Server frequently performs many operations and performance is critical. You might want to decrease this number, for example, if the database is shared and connections to the database are costly. VMware recommends that you not change this value unless one of these issues pertains to your system.
[email protected] | Copyright © 2008 VMware, Inc. All rights reserved.
Configuring the VirtualCenter Server : Configuring Server Settings : Configuring SSL Settings
Configuring SSL Settings You can configure VirtualCenter Server to check the SSL certificates of hosts it connects to. If you select this option, VirtualCenter Server, the VI Client, and Web Access clients check for valid SSL certificates before connecting to a host for such operations as adding a host or making a remote console connection to a virtual machine.
Conditions
VI Client must be connected to:
VirtualCenter Server
Minimum required privileges:
Global > Settings
To reach this dialog box:
Administration > Virtualcenter Management Server Configuration
1. In the VirtualCenter Management Server Configuration dialog box, select the Database option.
2. Type the new password in the Password text box and retype it in the second text box.
3. Click OK to accept all the VirtualCenter Server settings changes you made and close the dialog box.
4. Change your database’s authentication setup to use the password you entered.
5. Restart the VirtualCenter Server service.
1. Type the new number in the Maximum number text box.
2. Select one of these options:
• Click a link in the left pane of the dialog box to make changes to another setting.
• Click OK to accept all the VirtualCenter Server settings changes you made and close the dialog box.
• Click Cancel to close the VirtualCenter Configuration dialog box without saving any settings changes.
VI Client must be connected to:
VirtualCenter Server
Page 10 of 12Configuring the VirtualCenter Server
6/25/2009file://D:\Documents and Settings\Administrator\Local Settings\Temp\~hh4377.htm

To configure VirtualCenter SSL settings
[email protected] | Copyright © 2008 VMware, Inc. All rights reserved.
Configuring the VirtualCenter Server : Configuring Server Settings : Configuring Advanced Settings
Configuring Advanced Settings You can use the Advanced Settings page to modify the VirtualCenter Server configuration file, vpxd.cfg. This page can be used to add entries to the vpxd.cfg file, but not to edit or delete them. VMware recommends that you change these settings only when instructed to do so by VMware technical support or when you are following specific instructions in VMware documentation.
Conditions
To add configuration settings
Many advanced options changes require that the VirtualCenter Server be restarted before they take effect. Consult VMware technical support to determine if your changes require a restart.
Minimum required privileges:
Global > Settings
To reach this dialog box:
Administration > Virtualcenter Management Server Configuration
1. In the VirtualCenter Management Configuration dialog box, select the SSL Settings option.
2. Select the Check host certificates check box to check for valid SSL certificates before establishing SSL connections to hosts.
3. Select one of these options:
• Click a link in the left pane of the dialog box to make changes to another setting.
• Click OK to accept all the VirtualCenter Server settings changes you made and close the dialog box.
• Click Cancel to close the VirtualCenter Configuration dialog box without saving any settings changes.
VI Client must be connected to:
VirtualCenter Server
Minimum required privileges:
Global > Settings
To reach this dialog box:
Administration > VirtualCenter Management Server Configuration
1. In the VirtualCenter Management Server Configuration dialog box, select the Advanced Settings option.
1. Click Add Row to add a blank row to the settings table.
2. Enter a key and a value in the appropriate columns.
3. Select one of these options:
• Click a link in the left pane of the dialog box to make changes to another setting.
• Click OK to accept all the VirtualCenter Server settings changes you made and close the dialog box.
• Click Cancel to close the VirtualCenter Configuration dialog box without saving any settings changes.
Page 11 of 12Configuring the VirtualCenter Server
6/25/2009file://D:\Documents and Settings\Administrator\Local Settings\Temp\~hh4377.htm

[email protected] | Copyright © 2008 VMware, Inc. All rights reserved.
Page 12 of 12Configuring the VirtualCenter Server
6/25/2009file://D:\Documents and Settings\Administrator\Local Settings\Temp\~hh4377.htm