christmas cone tree on a mdf stand how to make a strictly ... · how to make a.... strictly dancing...
TRANSCRIPT

How to make a....
Strictly Dancing Tri Fold Box
Shopping List:- Grand Calibur™ Die Cutting Machine : WIZCAL Sue Wilson Austrian Collection Background Die ( Collection 2 ) : CED2201 Creative Expressions Singles Stamps ~ Salsa : UMS186 , American Smooth : UMS183 & Paso Doble : UMS184 Spellbinders All in One Tool : WIZTOOL Wrinkled Edged Champagne Ribbon :NK02 Foundations A4 Teal Card : 40985 A3 Card or Coconut A4 Card : 40980 Cosmic Shimmer Clear Glue : CSGLUE & Silicone Glue Grime Boss : GB30 & Cut `n` Dry Foam : FOAMCUT Creative Expressions Cameo Embellishment : CAMEO9 Non-Stick craft sheet: CRAFTSHEET Clear and Resist Ink Pad : CRPAD Cosmic Shimmer Viola Black Embossing Powder : CSEPVIOBLK
Shopping List:- 3D Classic Cupcake MDF Stand : PRONCUPCLAS Ornaments from the Creative Expressions 2 Part MDF Christmas Tree with Ornaments : CEMDFDECTREE set Oakwood Decoupage Papers : CCDECP084 & Full Range of Craft Consortium Decoupage Papers Cosmic Shimmer Gloss Glue, Seal & Glaze : CSGLOSGLUE or Cosmic Shimmer Matt Glue, Seal & Glaze : CSMATTGLUE Flat Paint Brush Section Sanding Block : CO723060 Ranger Glossy Accents : ACCENTGLOS Creative Expressions Pewter Gilding Wax : CSGWPEW Cosmic Shimmer Aurora Sparkle Texture Paste : CSPASTSPAUR Cosmic Shimmer Gesso Primer : CSGESWHI Creative Expressions Finishing Touches Scarlet Ribbon : CESRSCARLET Creative Expressions Pine Cone Embellishments : CEPINECONE Spellbinders All-in-One Tool : WIZTOOL Cosmic Shimmer Glitter Jewels ~ Iced Snow : CSGJICSNOW & Tim Holtz Distress Glitter ~ Clear Rock Candy : DGROCK Cosmic Shimmer Clear Glue : CSGLUE & Silicone Glue
How to make a.... Christmas Cone Tree on a MDF Stand

Step 1. This workshop will show you how to make Christmas pine cone tree completed on a cupcake classic MDF stand. For this you`ll need the Creative Expressions classic cupcake MDF stand along with some Craft Consortium decoupage papers and the Cosmic Shimmer matt glue, seal & glaze (oakwood design has been used for this project). Cosmic Shimmer gesso has been used to add white to the tips of the pine cones and the Creative Expressions pine cone embellishment is used on the tip of the Christmas tree. The project is completed with the use of the Creative Expressions scarlet red satin ribbon to make some lovely bows with.
Step 2. Place the MDF cupcake stand base pieces on a craft mat. Shake the glue / glaze bottle well before pouring some of the glue / glaze into an empty pot.
Step 3. Brush the Cosmic Shimmer matt glue, seal & glaze over both the MDF cup cake stand leg panels. Just on the front for now.
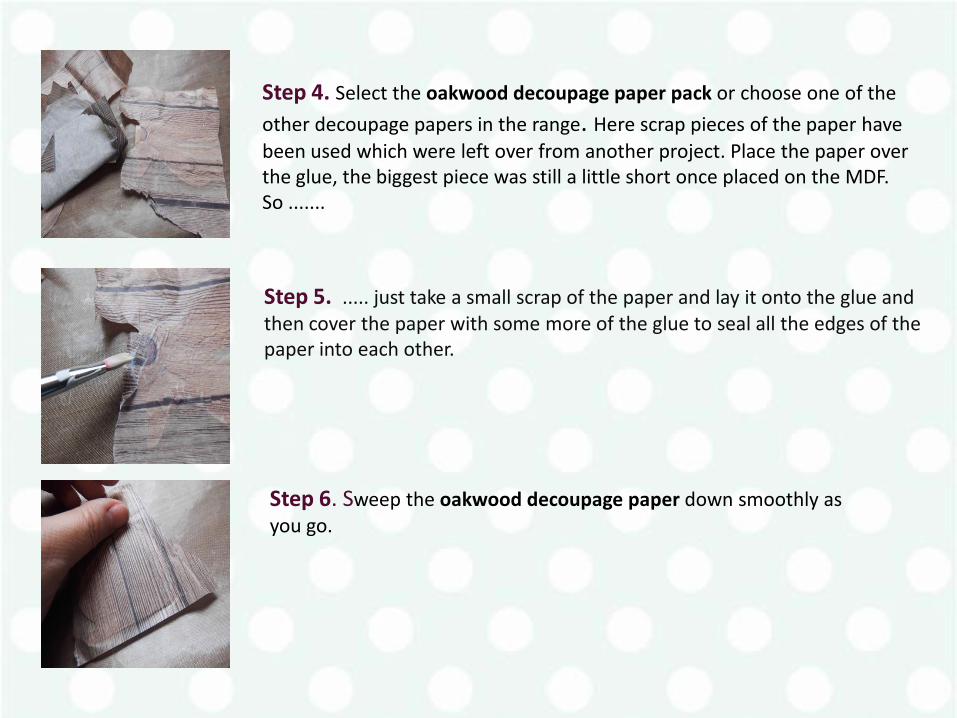
Step 4. Select the oakwood decoupage paper pack or choose one of the
other decoupage papers in the range. Here scrap pieces of the paper have
been used which were left over from another project. Place the paper over the glue, the biggest piece was still a little short once placed on the MDF. So .......
Step 5. ..... just take a small scrap of the paper and lay it onto the glue and then cover the paper with some more of the glue to seal all the edges of the paper into each other.
Step 6. Sweep the oakwood decoupage paper down smoothly as you go.

Step 7. Occasionally there might be an air bubble in between the paper and MDF. If so lift the decoupage paper back up.
Step 8. Then smooth it back down. This paper is great for this kind of handling . Press down right up to the edge so you know the paper is firmly stuck to the MDF.
Step 9. Take the sanding block and hold at 45 degree angle & sand downwards over the edge of the MDF to create the smooth finish to the edge of the MDF.

Step 10. Cut down the centre of the MDF leg where the 2 leg pieces will slot together.
Step 11. Make sure you work in all the small areas of the MDF. Here a nail file ( not a metal one ) is used to get to the small areas of the MDF pieces or you can use the replacement sheets for sanding blocks before they are mounted.
Step 12. Repeat the process on the 2nd cupcake stand piece.

Step 13. Now turn the MDF legs over and apply the same glue over the panels and also add glue on the cupcake stand top circle panel.
Step 14. Repeat the process and add the oakwood decoupage paper onto the glued area. I like to keep the wood effect going upwards as it gives a lovely feel to the end result. Repeat the sanding off process on the edges on the MDF pieces.
Step 15. Push the 2 leg panels together to create the base shape.

Step 16. Now place the legs into the base of the MDF circle top piece. It`s optional if you want to cover the underneath of the circle but sometimes it`s nice to show people you have actually made the project up from a piece of MDF !!!
Step 17. Use some Creative Expressions pewter gilding wax on your finger and swipe it along the edges of the stand legs and all around the circle top of the stand. You use a cut off a finger from a latex glove if you prefer not to get messy, doing this will mean you get 5 uses from one glove !!!
Step 18. Gather some large, medium & small pine cones along with some thin twigs. With your cones on a craft mat begin to paint the tips of the pine cones and twigs with some Cosmic Shimmer gesso primer.

Step 19. It is good to have a mix of size of cones as the smaller ones will give a lovely tip to the tree along with the Creative Expression pine come embellishment. It`s fun to and go gather the pine cones from a forest and if you struggle to find the small cones then e-bay have the small ones available. Thankfully we have lots of forests around us.
Step 20. You could go in and add some Cosmic Shimmer sparkle texture paste on the end of the pines cone or add some glue and some rock candy glitter for that sparkle feel. It`s up to you how you finish the look of your tree.
Step 21. Apply some glossy accents over the top of the cupcake stand.

Step 22. Lay a line of the thin twigs across the glue.
Step 23. Use the base of the gesso pot to push the twigs onto the glue. Don`t leave the pot on there to long else the glue might stick to the paper on the bottom of the gesso pot !!!
Step 24. Apply some 3d glue over the twigs so the base layer of pine cones will have a nice solid base to the structure to stick to.

Step 25. Add the first 2 large pine cones onto the stand allowing the tips of the cone to fall over the edge of the stand. Apply some 3d glue in between the 2 pine cones to strengthen / attach them together. Add a third cone on the other side of the stand.
Step 26. Use the medium but slightly larger size pine cones to fill in between the larger pine cones. Lift the pine cones up and add some glue under the cone and onto the cupcake stand.
Step 27. Add either a misshapen pine cone or a screwed up piece of paper and place it in the centre of the stand as this will fill the hole and give the cones something to adhere onto.

Step 28. Here is just a photo of the centre pine cone in place.
Step 29. Take another of the medium pine cones and add one on top of medium size pine cone below using 3d glue as you go. This will raise the pine cones up to the same level as the large pine cones and will give the basic shape of the pine cone tree a lovely solid base.
Step 30. Use a pokey tool to remove any excess glue as you go up the tree. Often it can just be poked back under some of the other pine cones.

Step 31. Here is a top view of the pine cones as the base is forming and remember to make sure when the shape forming it is not listing over to one side, if it does it will just continue to get worse as you go upwards. A gentle ease with your hands will help align the cones into position.
Step 32. Add another pine cone in the centre hole and add some glue to the surrounding pine cones so that they stick to this centre pine cone.
Step 33. Use some of the small twigs to break up and stick under the pines cones as this will only strengthen the tower forming. This is a great stage to walk away and go have a cup of tea / coffee whilst the glue starts to go off as this will just make sure the tree will solid when finished.

Step 34. Fill in the tree with some more of the medium but slightly smaller cones and then start to add the small cones as the tree shape is needed.
Step 35. Screw up a small piece of paper and add to the centre of the tree.
Step 36. Begin to just use the smaller pine cones and continue to work on the outer side of the pine cones and don`t be tempted to fill the centre of the tree as this will make the tip of the tree to thin. The paper will help create the top of the tree.
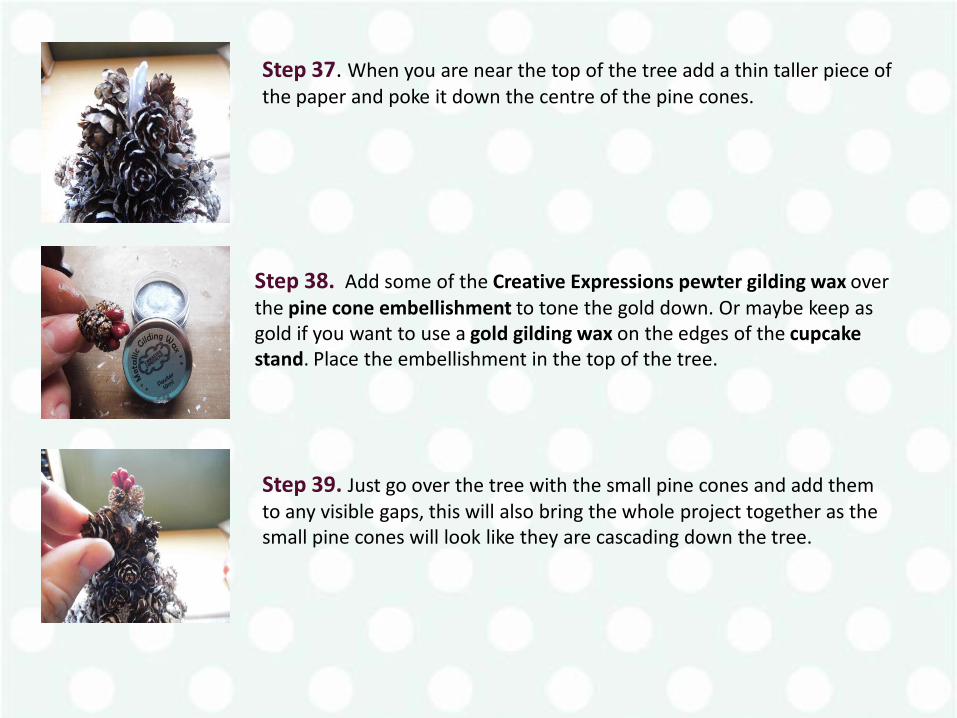
Step 37. When you are near the top of the tree add a thin taller piece of the paper and poke it down the centre of the pine cones.
Step 38. Add some of the Creative Expressions pewter gilding wax over the pine cone embellishment to tone the gold down. Or maybe keep as gold if you want to use a gold gilding wax on the edges of the cupcake stand. Place the embellishment in the top of the tree.
Step 39. Just go over the tree with the small pine cones and add them to any visible gaps, this will also bring the whole project together as the small pine cones will look like they are cascading down the tree.
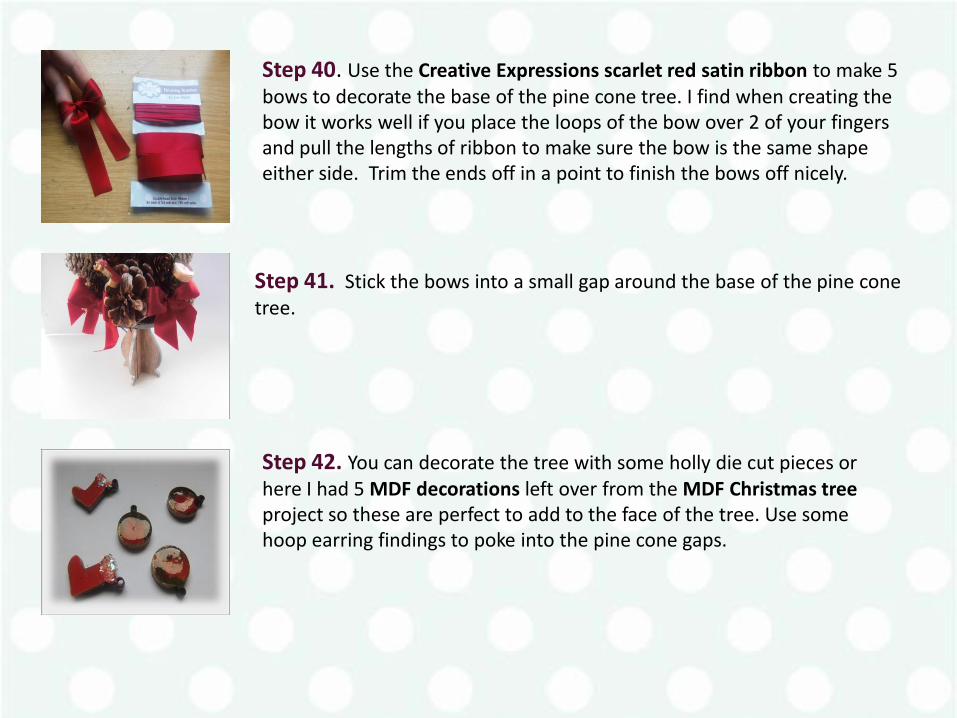
Step 40. Use the Creative Expressions scarlet red satin ribbon to make 5 bows to decorate the base of the pine cone tree. I find when creating the bow it works well if you place the loops of the bow over 2 of your fingers and pull the lengths of ribbon to make sure the bow is the same shape either side. Trim the ends off in a point to finish the bows off nicely.
Step 41. Stick the bows into a small gap around the base of the pine cone tree.
Step 42. You can decorate the tree with some holly die cut pieces or here I had 5 MDF decorations left over from the MDF Christmas tree project so these are perfect to add to the face of the tree. Use some hoop earring findings to poke into the pine cone gaps.

Step 43. Here is the completed Christmas tree project complete on it`s own MDF cupcake stand. Add some glitter, texture paste or stickles if you want more of a shimmer. I like just the white on the cones but it`s up to you how you finish the decorative tree.
Step 44. Here you can see a close up of the small pine cone and the pine cone embellishment that just completes the project off perfectly with the red berries on the top. Have fun when making this Christmas display piece.

Here is a larger photo of the finished Christmas
pine cone tree.
Happy Crafting