build an artist portfolio website with bluehost
TRANSCRIPT

Build your own online portfolio website in 7 minutes with Bluehost
artistmyth.com/bluehost
presents

Why do you need your own
self-hosted gallery website?
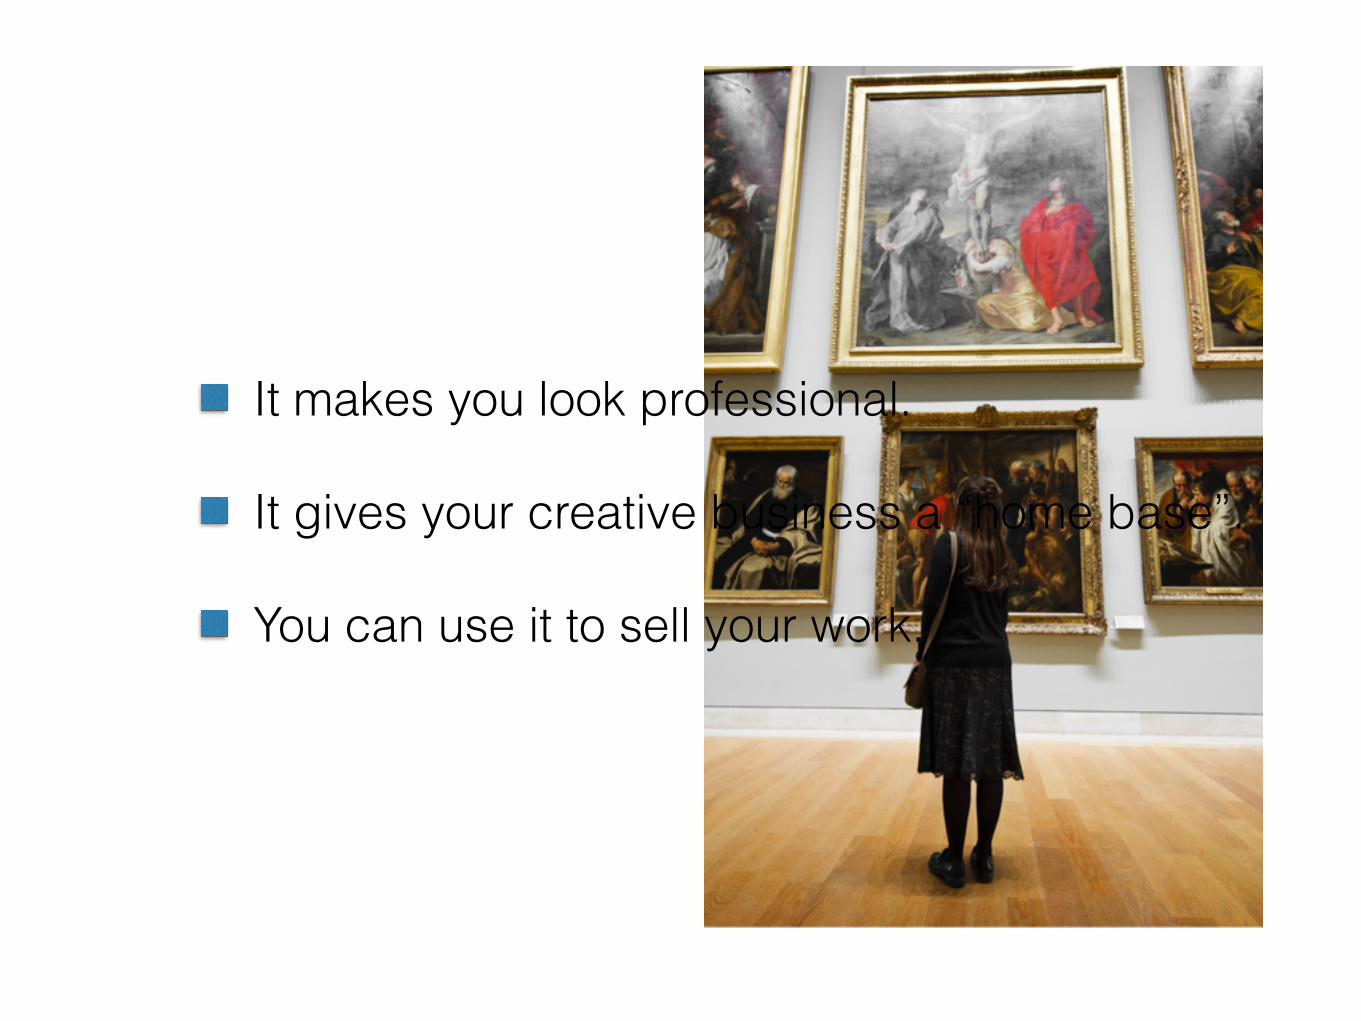
• It makes you look professional.
• It gives your creative business a “home base”.
• You can use it to sell your work.
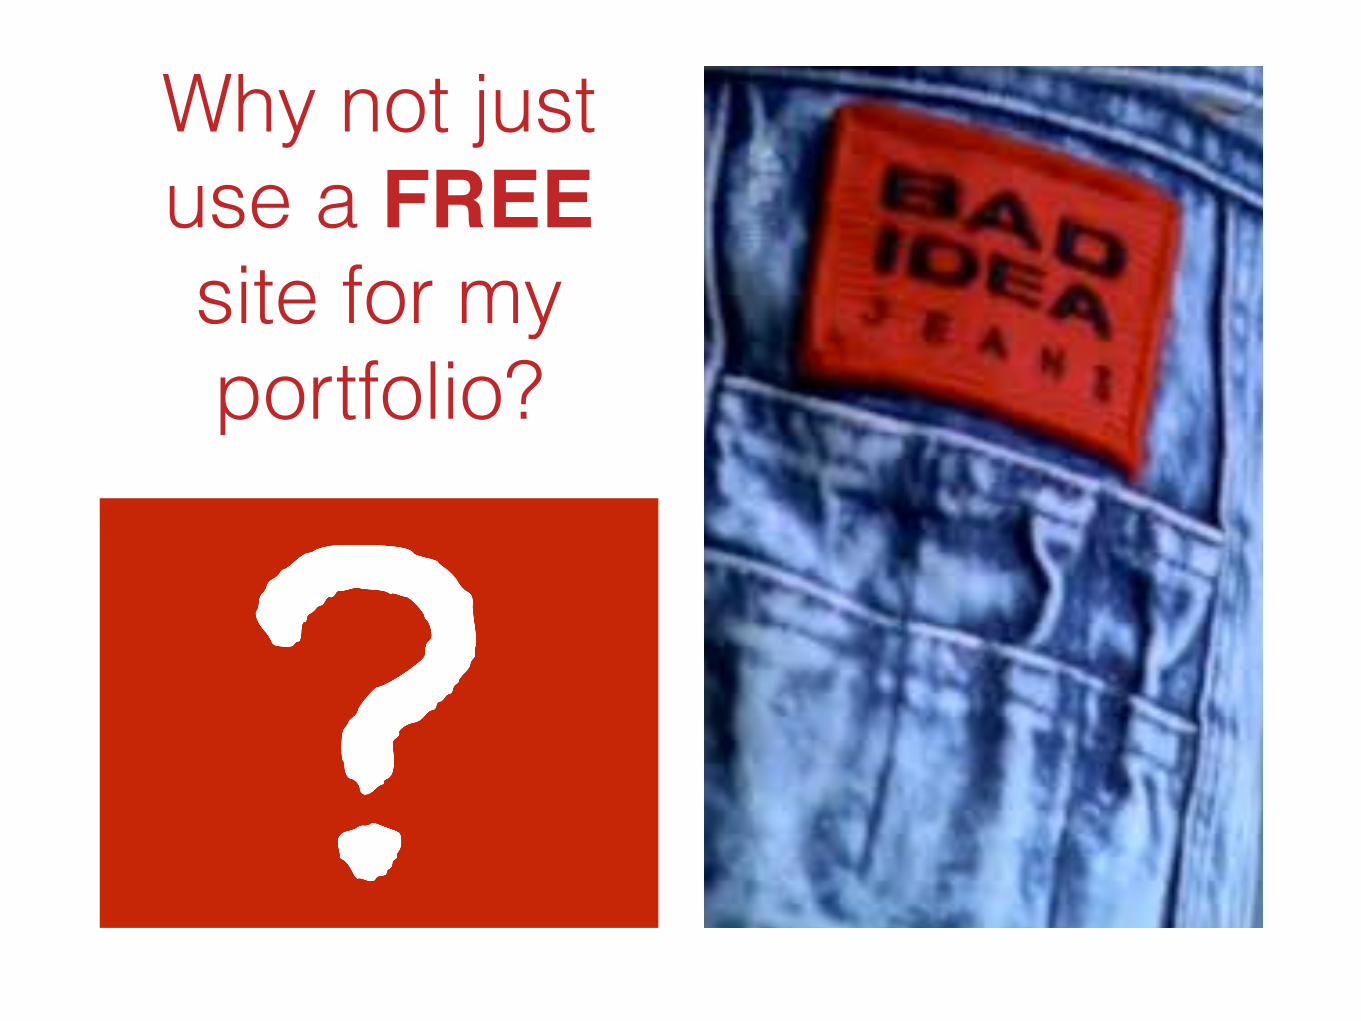
Why not just use a FREE site for my portfolio?
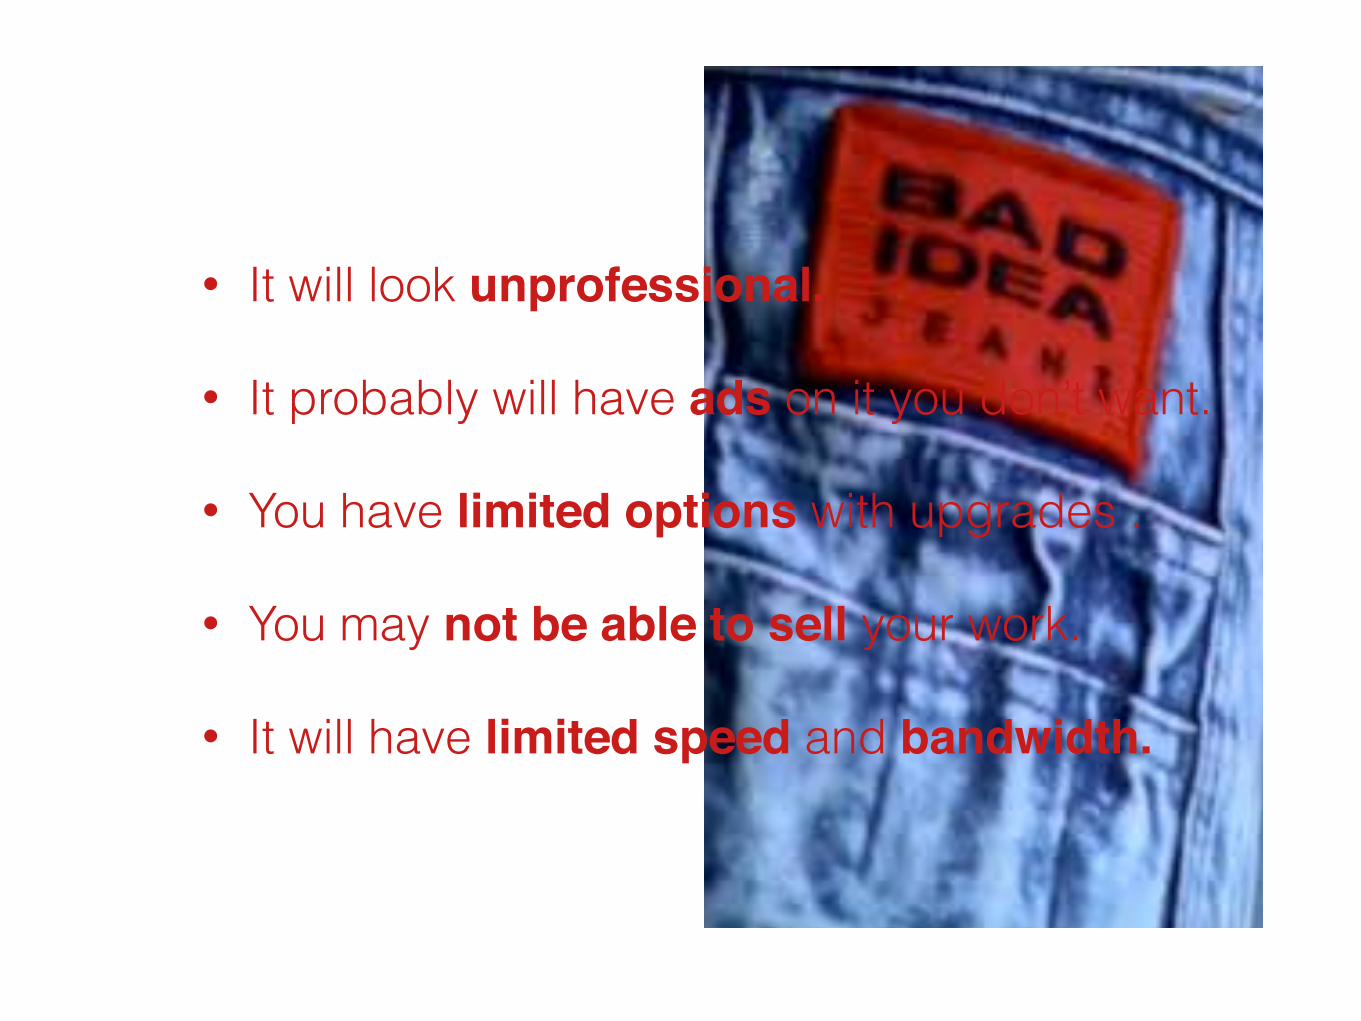
• It will look unprofessional.
• It probably will have ads on it you don’t want.
• You have limited options with upgrades .
• You may not be able to sell your work.
• It will have limited speed and bandwidth.
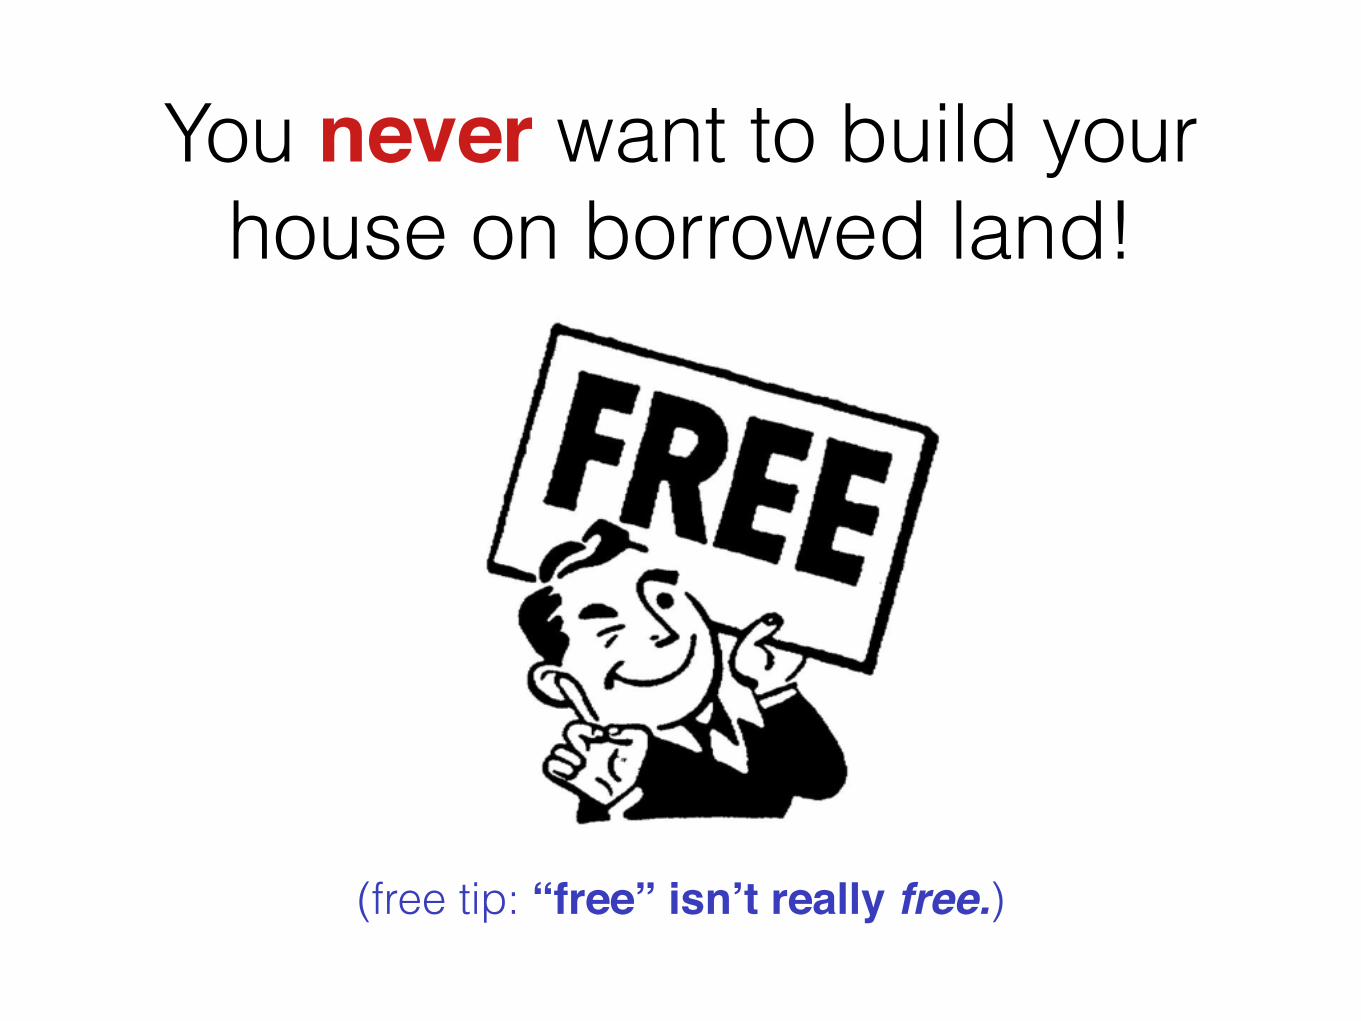
You never want to build your house on borrowed land!
(free tip: “free” isn’t really free.)
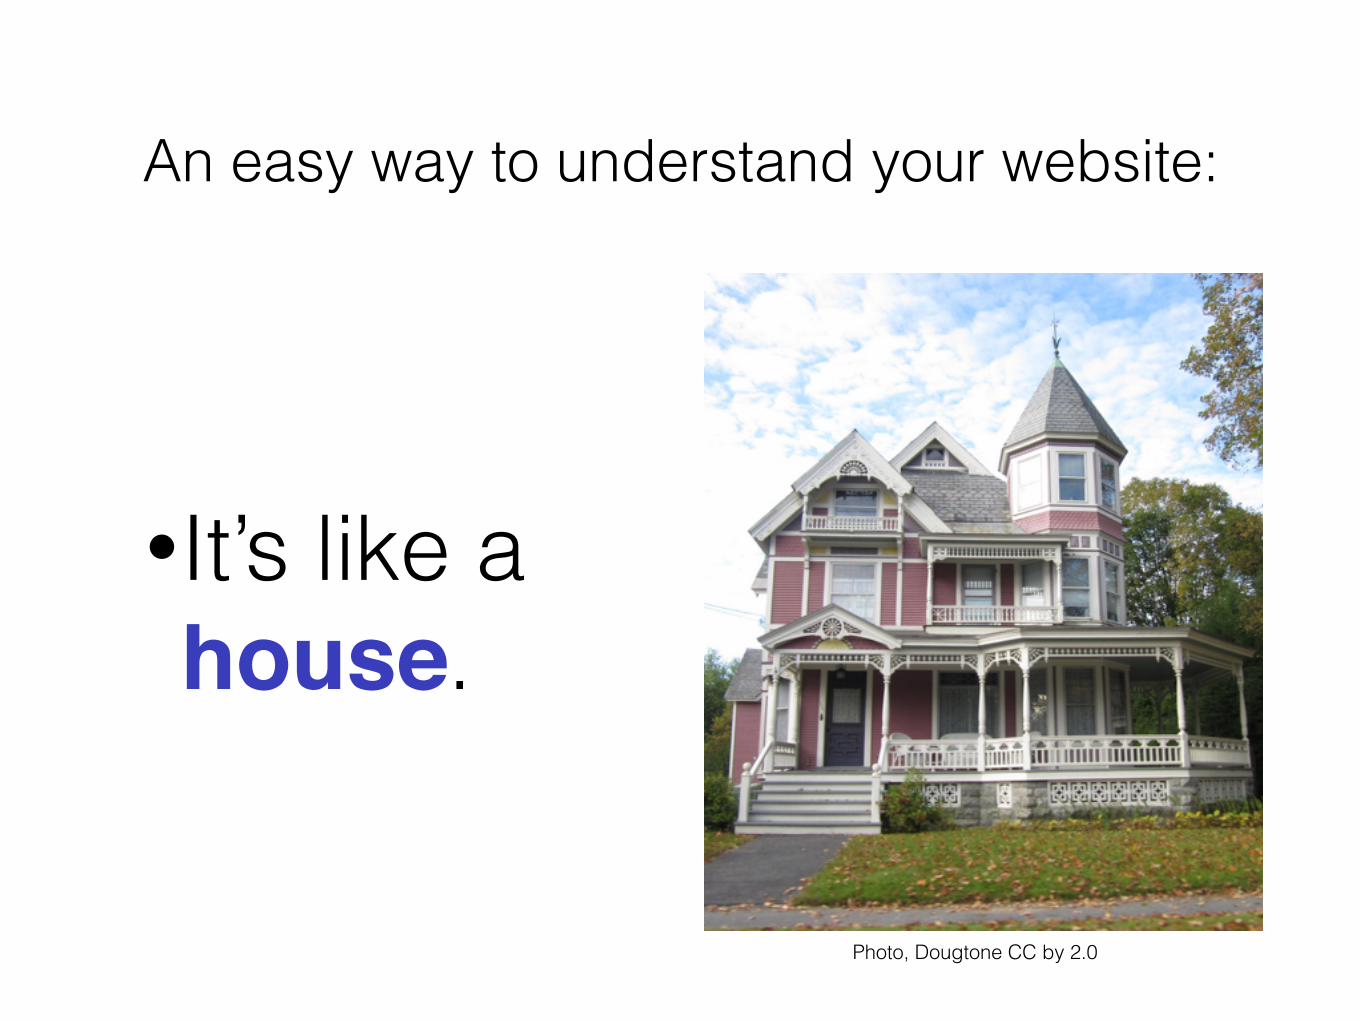
An easy way to understand your website:
•It’s like a house.
Photo, Dougtone CC by 2.0

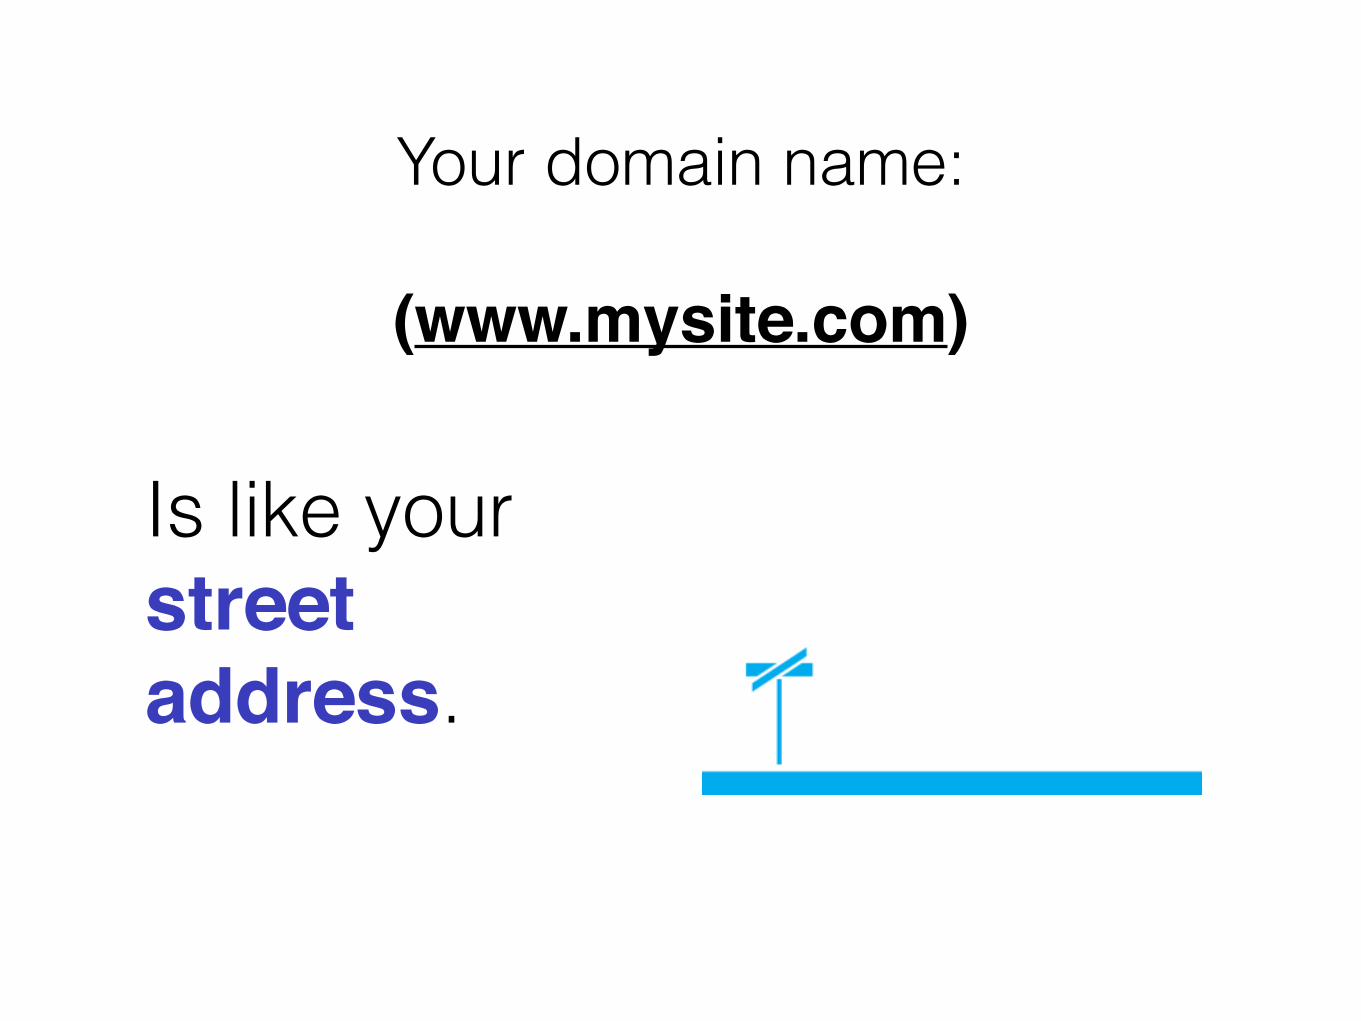
Your web host (like Bluehost):
Is like your location on the web.
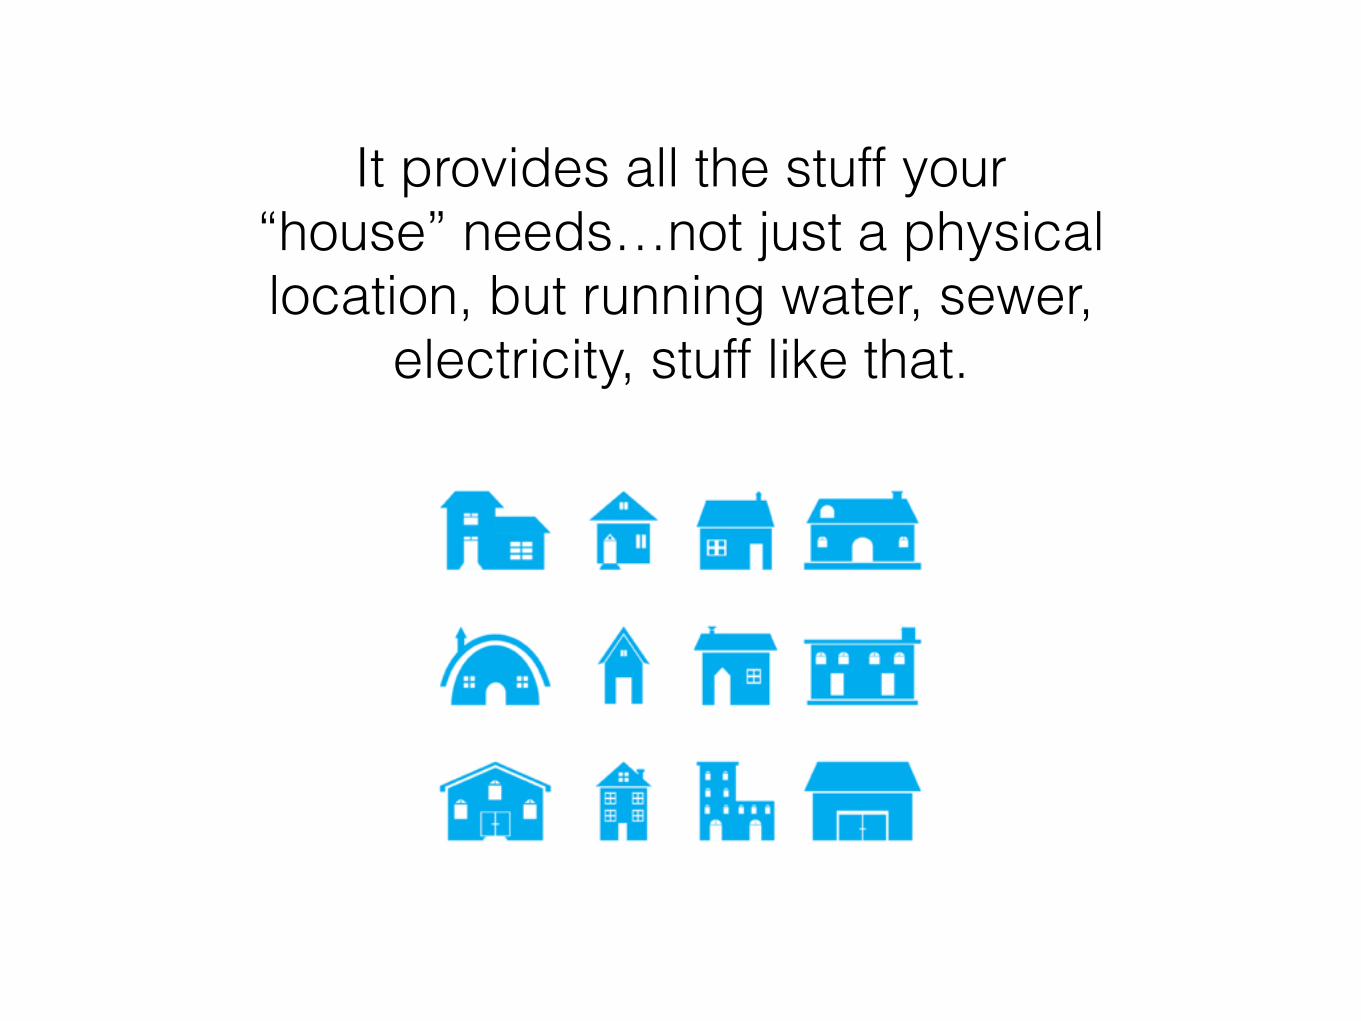
It provides all the stuff your “house” needs…not just a physical location, but running water, sewer,
electricity, stuff like that.
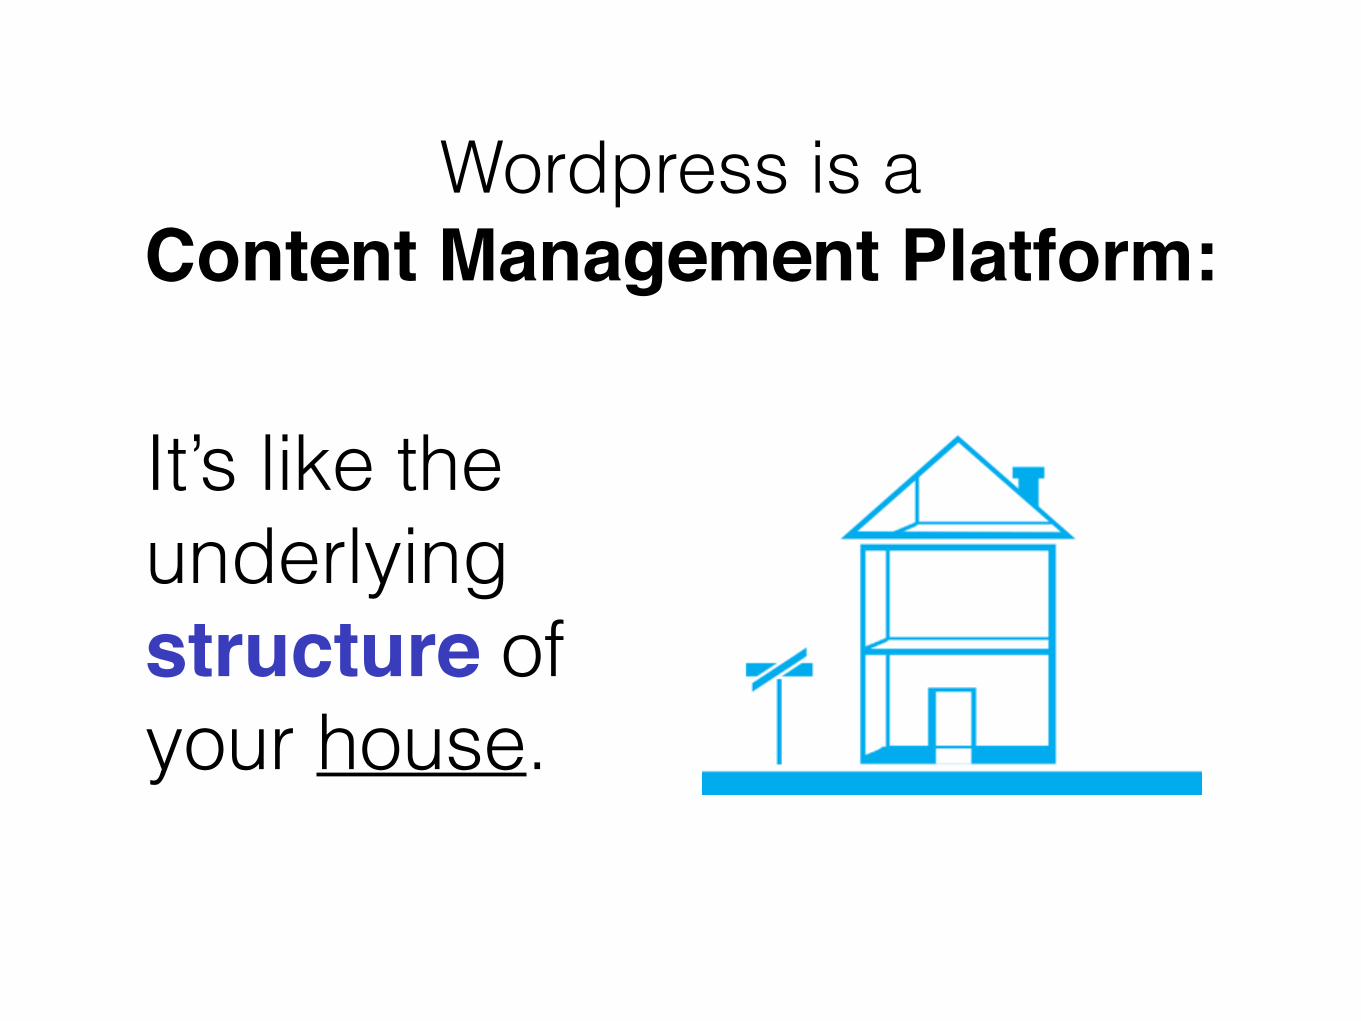
Wordpress is a Content Management Platform:
It’s like the underlying structure of your house.
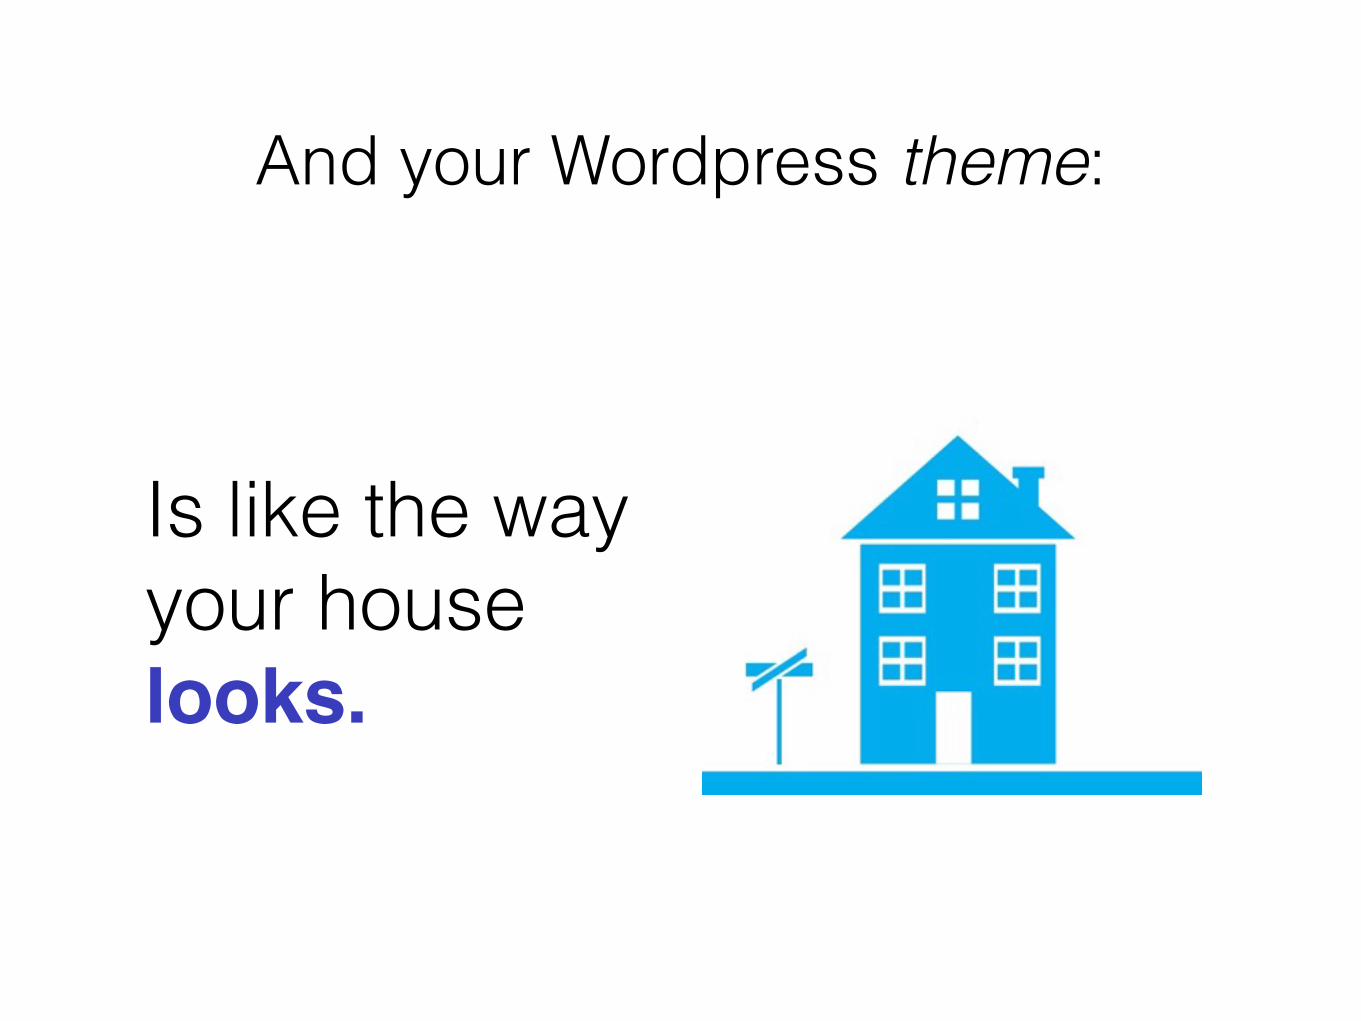
And your Wordpress theme:
Is like the way your house looks.
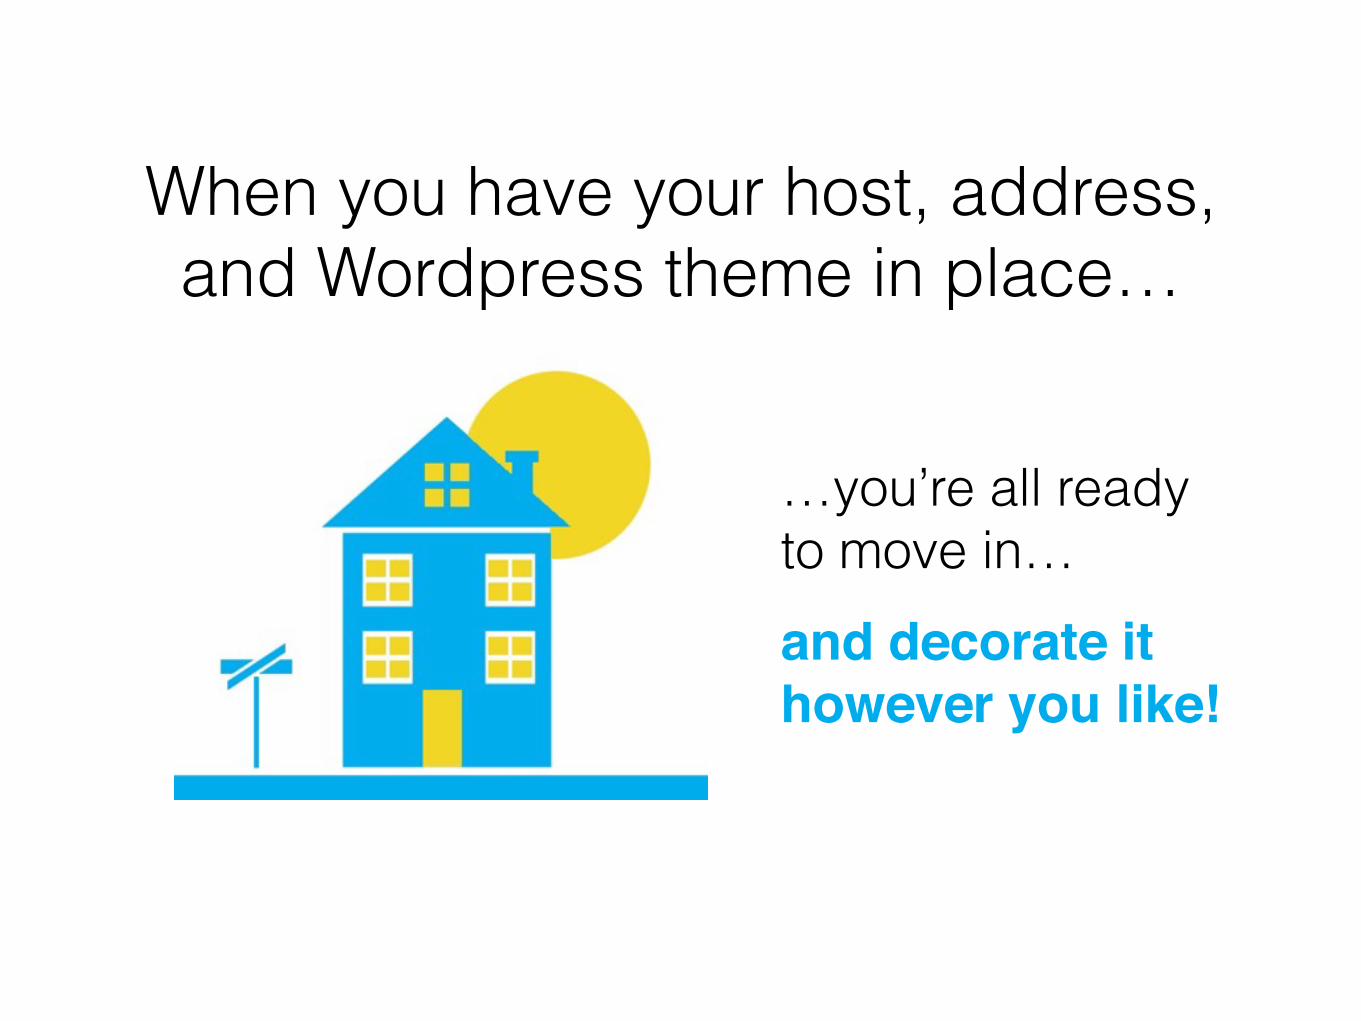
When you have your host, address, and Wordpress theme in place…
…you’re all ready to move in… and decorate it however you like!
(psst… would you like to know the best part?)
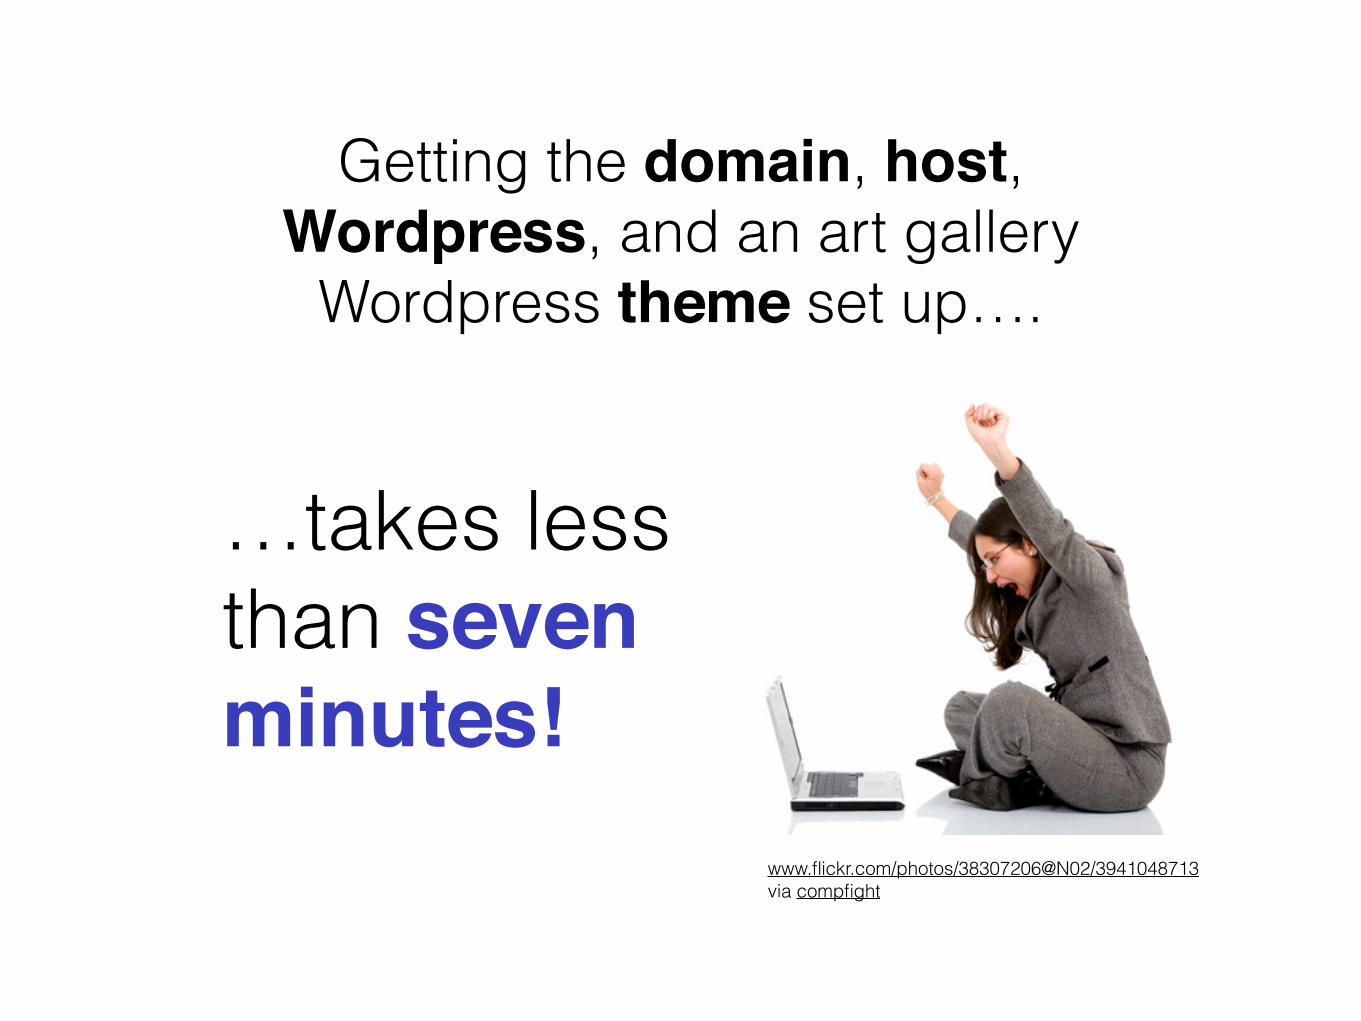
Getting the domain, host, Wordpress, and an art gallery
Wordpress theme set up….
…takes less than seven minutes!
www.flickr.com/photos/38307206@N02/3941048713via compfight
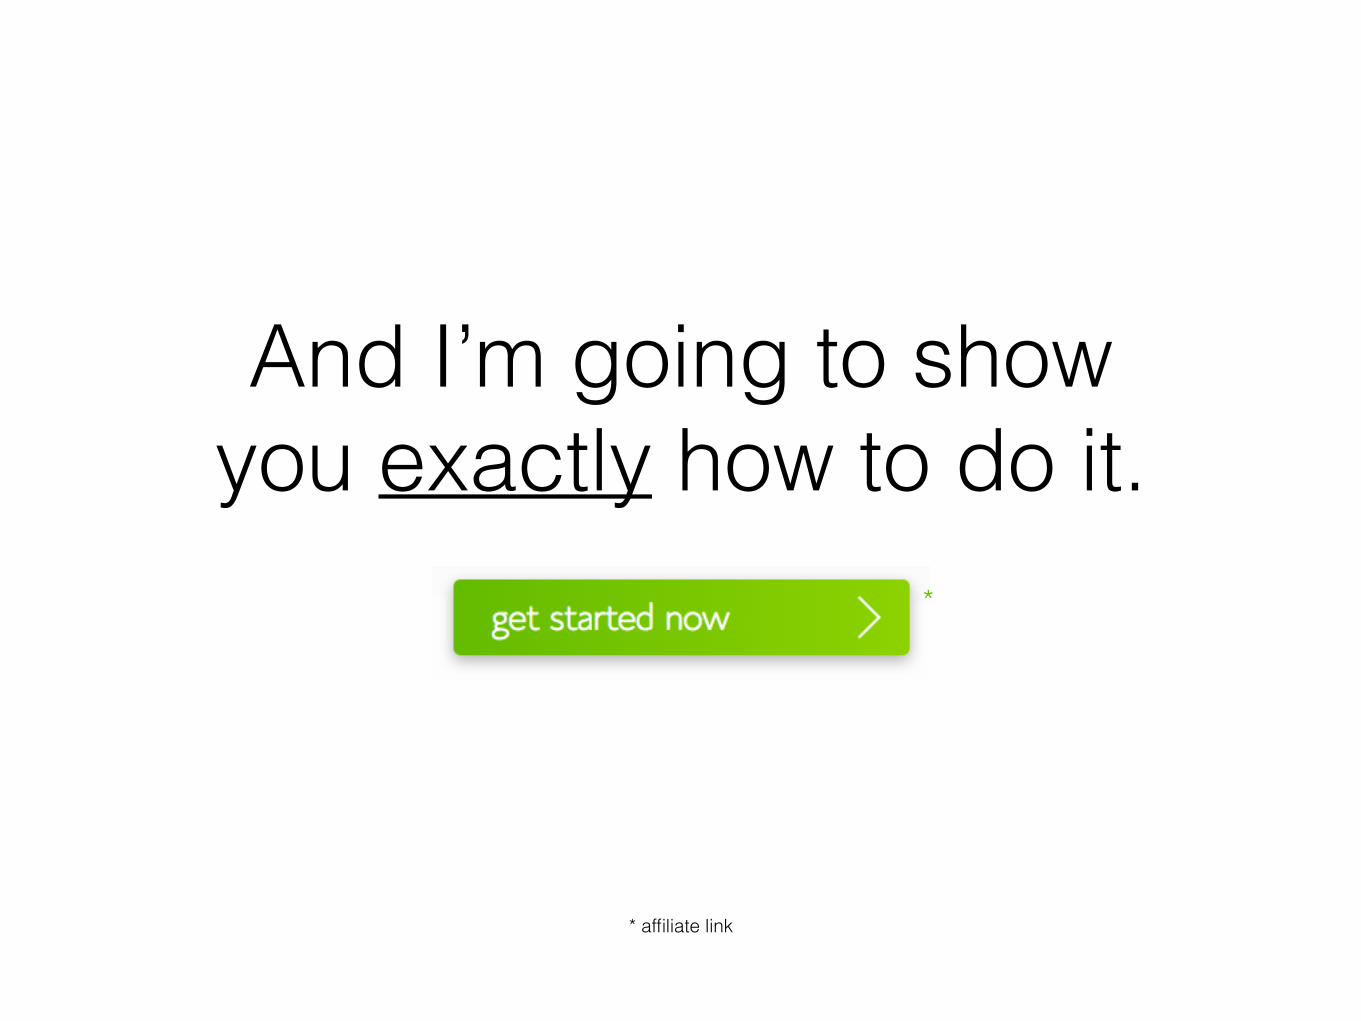
And I’m going to show you exactly how to do it.
*
* affiliate link
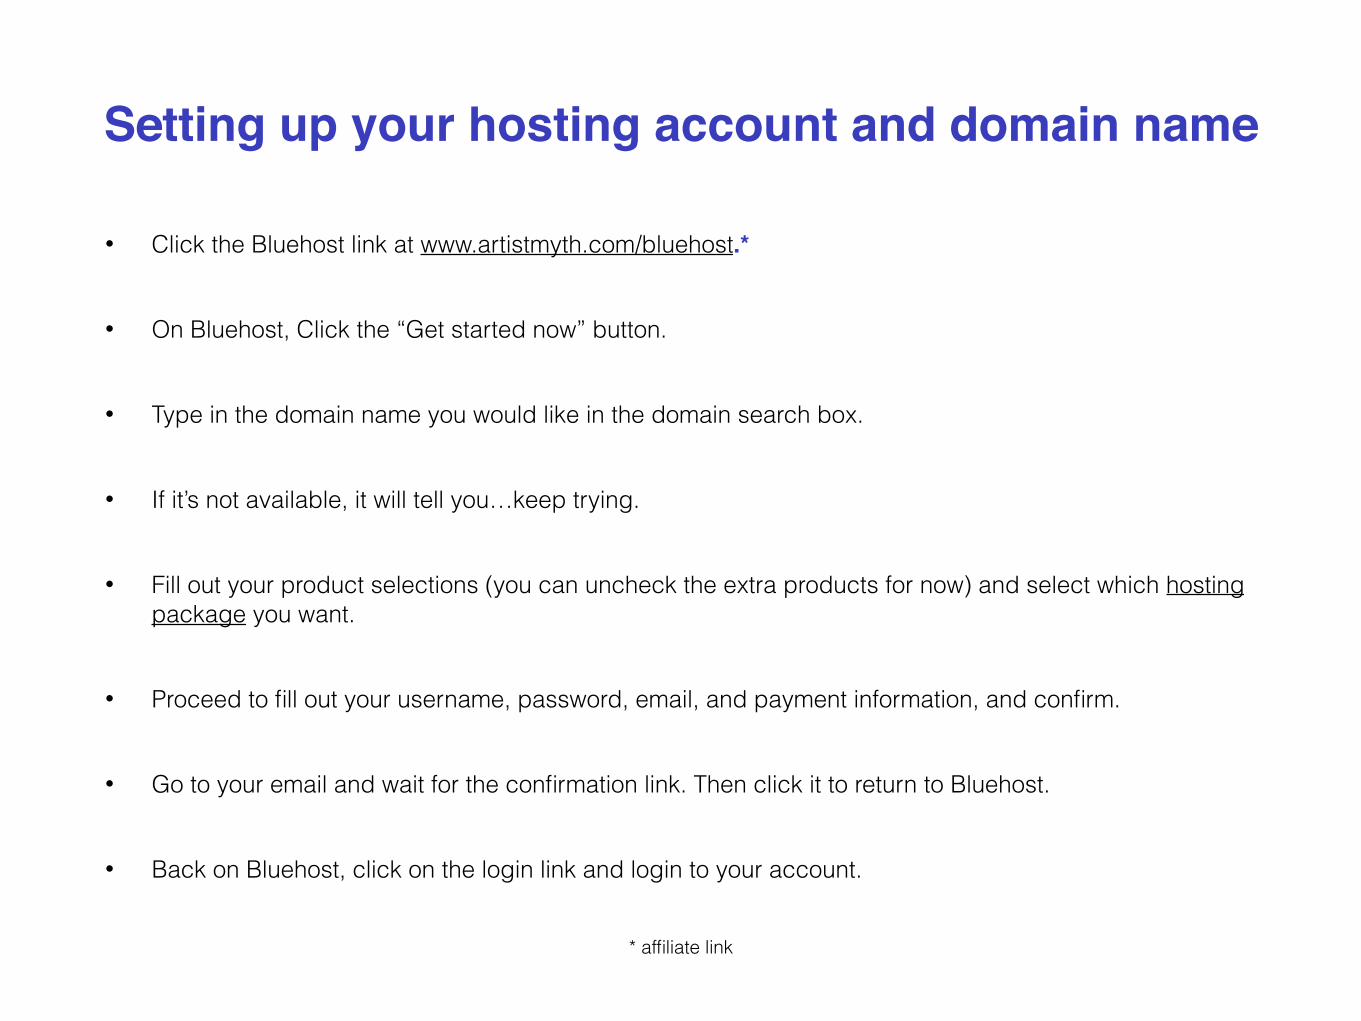
• Click the Bluehost link at www.artistmyth.com/bluehost.*
• On Bluehost, Click the “Get started now” button.
• Type in the domain name you would like in the domain search box.
• If it’s not available, it will tell you…keep trying.
• Fill out your product selections (you can uncheck the extra products for now) and select which hosting package you want.
• Proceed to fill out your username, password, email, and payment information, and confirm.
• Go to your email and wait for the confirmation link. Then click it to return to Bluehost.
• Back on Bluehost, click on the login link and login to your account.
Setting up your hosting account and domain name
* affiliate link
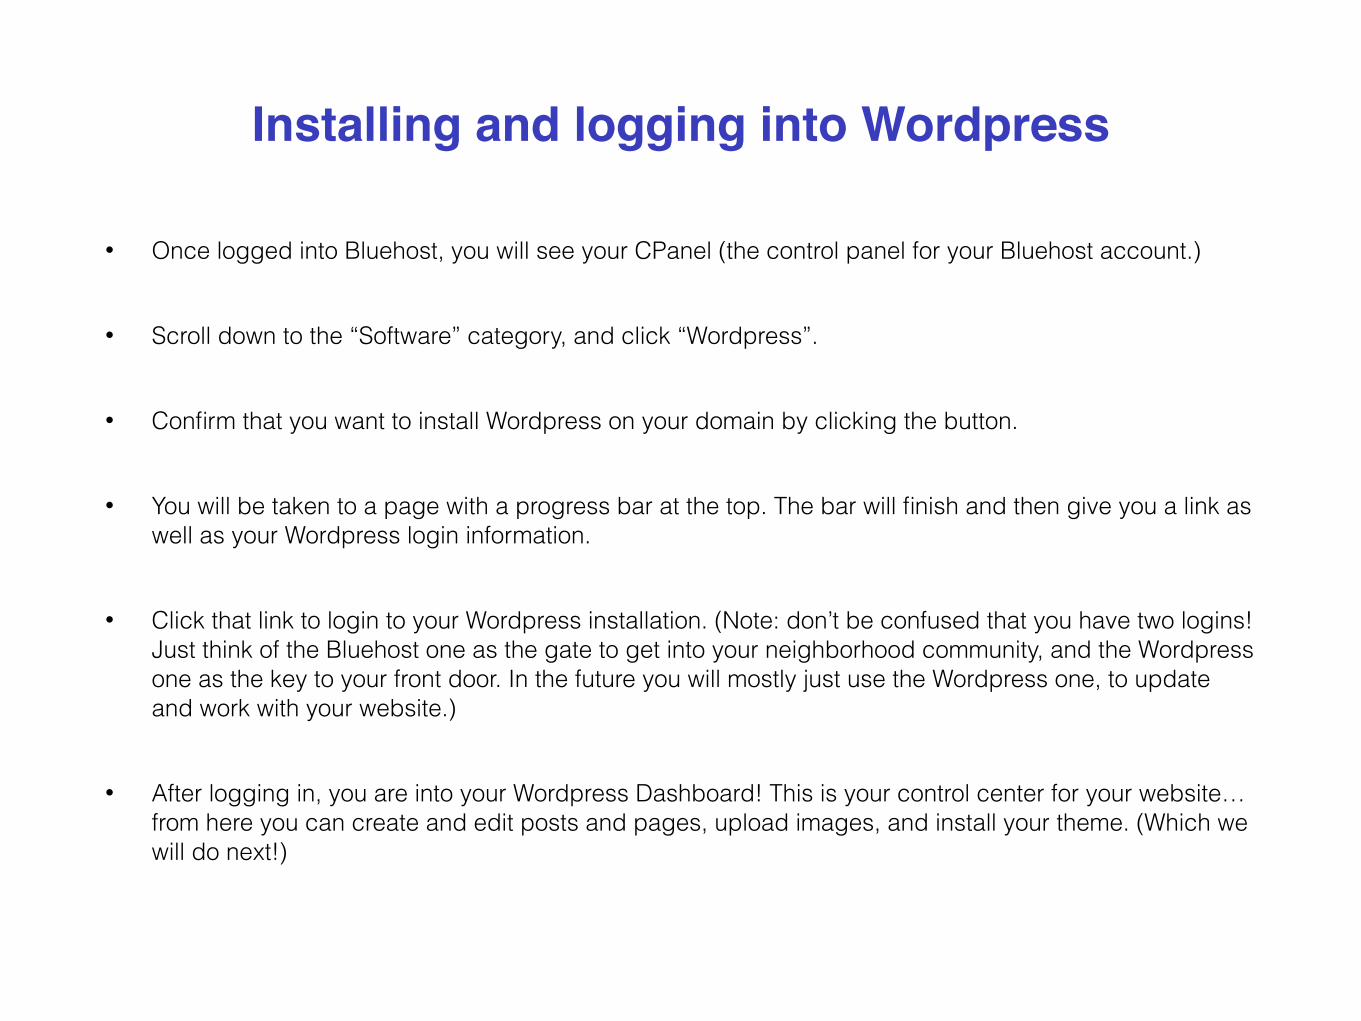
• Once logged into Bluehost, you will see your CPanel (the control panel for your Bluehost account.)
• Scroll down to the “Software” category, and click “Wordpress”.
• Confirm that you want to install Wordpress on your domain by clicking the button.
• You will be taken to a page with a progress bar at the top. The bar will finish and then give you a link as well as your Wordpress login information.
• Click that link to login to your Wordpress installation. (Note: don’t be confused that you have two logins! Just think of the Bluehost one as the gate to get into your neighborhood community, and the Wordpress one as the key to your front door. In the future you will mostly just use the Wordpress one, to update and work with your website.)
• After logging in, you are into your Wordpress Dashboard! This is your control center for your website… from here you can create and edit posts and pages, upload images, and install your theme. (Which we will do next!)
Installing and logging into Wordpress
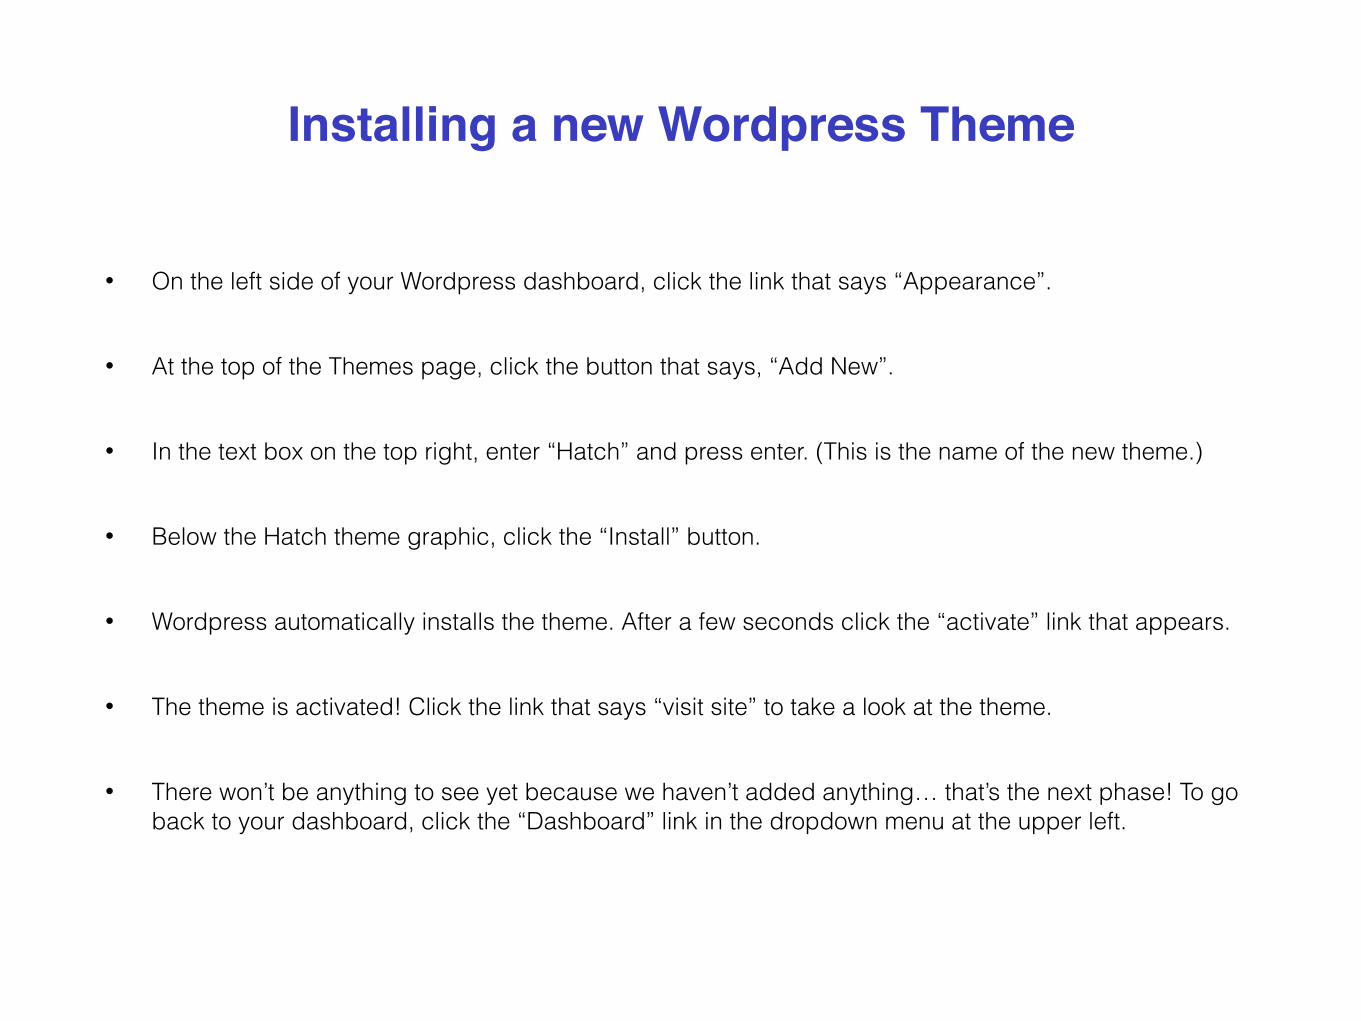
• On the left side of your Wordpress dashboard, click the link that says “Appearance”.
• At the top of the Themes page, click the button that says, “Add New”.
• In the text box on the top right, enter “Hatch” and press enter. (This is the name of the new theme.)
• Below the Hatch theme graphic, click the “Install” button.
• Wordpress automatically installs the theme. After a few seconds click the “activate” link that appears.
• The theme is activated! Click the link that says “visit site” to take a look at the theme.
• There won’t be anything to see yet because we haven’t added anything… that’s the next phase! To go back to your dashboard, click the “Dashboard” link in the dropdown menu at the upper left.
Installing a new Wordpress Theme
• To upload images to your site, click “Media”, then the “Add New” button.
• You can either click the “Select Files” button to browse and select the images, or you can drag and drop them from your operating system to the dotted box. After the images transfer from your computer to your Wordpress media library, you will see a little thumbnail image of them. (You can click these images to edit their information,)
• To see these images in your site, you will need to create a post for each one and add the image to it. To do this, click “Posts” in the left side of your dashboard, then click “Add New.” You are taken to a Post writing page, with the text “Add New Post” at the top.
• In the lower right (you may have to scroll your browser window down a bit to see it) click the link that says “Set featured image.” An image gallery will appear with thumbnails of all the images you just uploaded. Click one to add it to the post.
• Directly under the text at the top of the page that says “Add New Post”, enter the title of the artwork you just added.
• On the right side, click the blue “Publish” button. Congratulations! You just published your first post!Publish a post for each of the artwork images that you uploaded to your Wordpress media library.
Adding images and publishing posts
• Now let’s take a look at your site… in the far upper left corner of the page, hover over the little house icon and click the dropdown link that says “visit page”. This takes you to your home page.
• You should see all of the images as posts, neatly arranged on your home page. Wouldn’t it be nice to add a logo? We’ll also tweak a couple of other things, like the copyright info of your site.
• In the upper left dropdown menu you just visited, click “Dashboard” to return to your dashboard. Then click “Theme Settings” under the “Appearance” tab. This takes you to settings specific to the “Hatch” theme you installed.
• Click the “Upload” button beside the field that says “Logo”. Add your logo using the “Select Files” button, the dotted “drag n drop” box, or from your Media Library if you already uploaded it.
• At the bottom, in the “Footer Settings” field, type your name after the “Copyright ©” text you see. Then click the blue button that says “Update Settings” to update your changes to your theme settings.
• Now visit your home page again. You should see your logo in the upper left, as well as your name in the copyright information at the bottom.
Adding content to your Home Page
• Let’s make an “About” page so people can learn more about us. In the Dashboard, under Pages, click “Add New.”
• Where it says “Enter Title Here” at the top, type “About” to title your page.
• Now we’re going to add a picture of you… click the “Add Media” button right under the title area.
• If you haven’t yet, upload a picture of yourself to your media library or select it if you already have, then click the blue “Insert into page” button at the lower right.
• In the large text area, you will see the image you added. This text area works just like a word processor… hit “Enter” to put the cursor on a new line, and type some information about you.
• Hit the blue “Publish” button on the right. At the top you will see a message that says, “Page published. view page.” Click the “view page” text, which is a handy link that takes you right to your new page.
Add an “About” page to your site
• What good is your new page if people can’t get to it? Let’s add a navigation menu to your site so people can get around.
• Under the “Appearance” tab in your Dashboard, click “Menus.”
• You’ll see that a new menu is already there, waiting to be created with your Home and About pages already set in the “Menu Structure” area.
• In the “Menu Name” field, type “Top Navigation” to name the menu. Then Click the blue “Create Menu” button.
• A “Menu Settings” area appears at the bottom. Check the box next to the text that says “Automatically add new top-level pages to this menu”. This will auto-add new pages you create to the menu in the future. Then click the blue “Save Menu” button to save the menu.
• Visit your site, and now you see the menu in the top right with your two pages. Click the “About” link and you will be taken to your About page! From there, you can click “Home” (or your logo image) to get back to the home page.
Add a navigation menu to your site
• Under Settings / General, fill in your Site Title and Tagline in the appropriate fields.
• Under Settings / Permalinks, be sure to check “Post Name” in Common Settings. (This makes your pages and posts show a name in your browser instead of a weird-looking number code.)
• Update your posts with more information, such as medium, size, and any other data you would like to add.
• To prevent comment spam on your posts, either disable your comments by going to Settings / Discussion and unchecking “Allow people to post comments on new articles”, or go to Settings / Akismet and activate a free Akismet account that will filter out the spammy comments and allow you to keep valid ones.
• You can add a header to your homepage by going to Appearance / Header and adding the image there.
Further updates to your new artist website
get a downloadable version of this guide at
artistmyth.com/bluehost
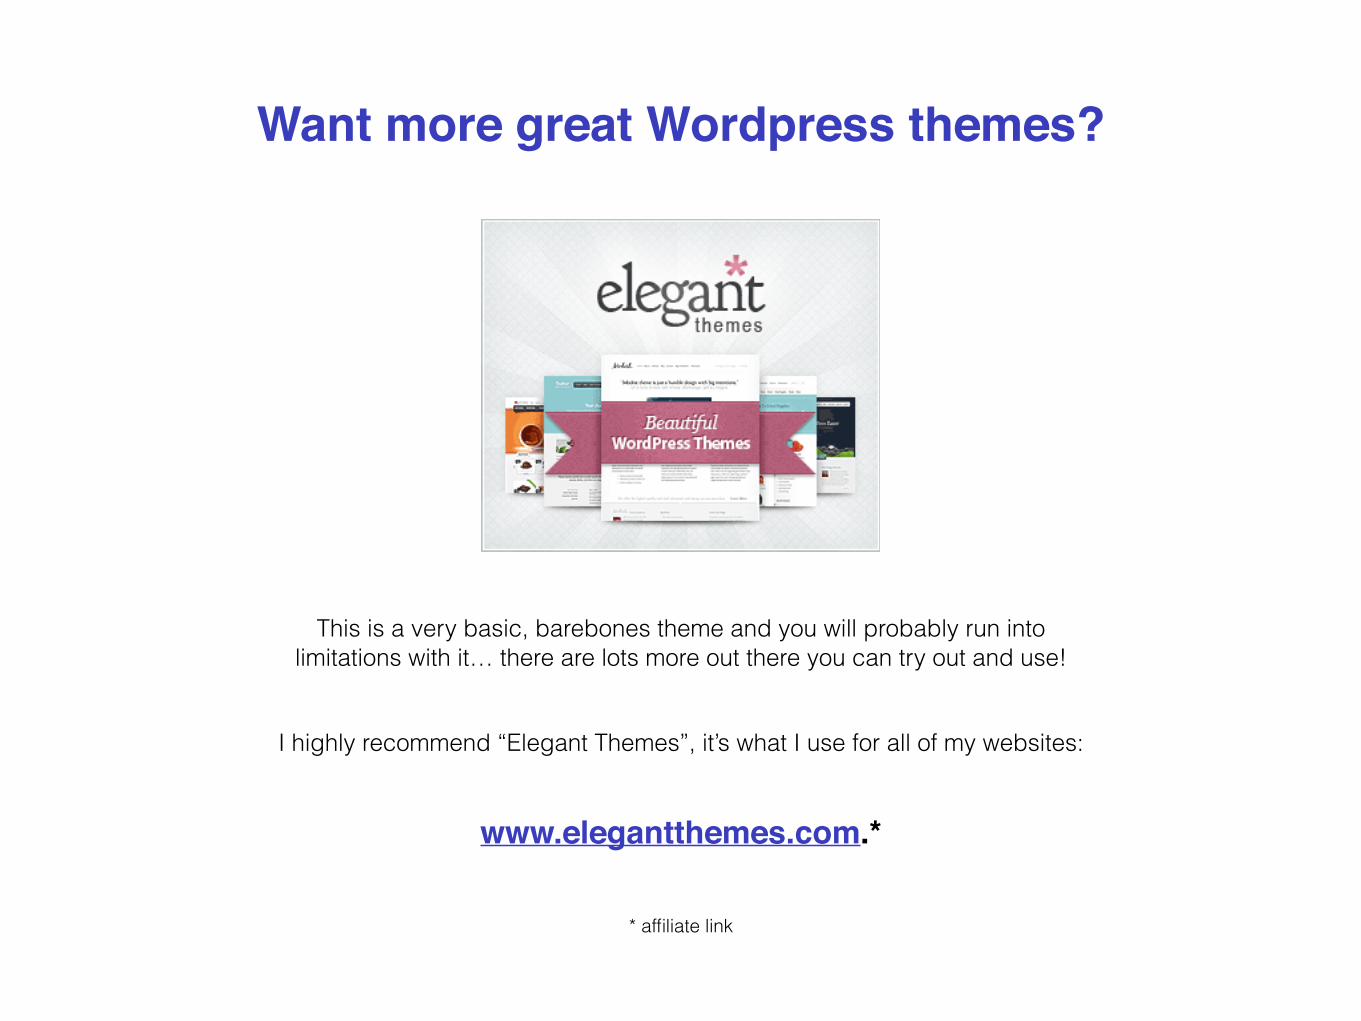
This is a very basic, barebones theme and you will probably run into limitations with it… there are lots more out there you can try out and use!
I highly recommend “Elegant Themes”, it’s what I use for all of my websites:
www.elegantthemes.com.*
Want more great Wordpress themes?
* affiliate link
After you finish setting up your Bluehost account, check out this special Artist Website
Resource Kit I put together just for you at:
artistmyth.com/bluehost
A SPECIAL BONUS for Artist Myth subscribers!
* affiliate link
**
Thanks for watching!
Mike Roy Founder, Artist Myth
* affiliate link
**