breathe in breath out: the medical applications of ... · msoe reu 2012 summary in these lessons,...
TRANSCRIPT

EEC-1062621 1
Grade Level: 8 (7-9) Time Required: 3 60-minute sessions
Keywords: biomedical engineering, anatomy, biology, airway, medical imaging, additive manufacturing
“Breathe In – Breath Out: The Medical Applications of Additive
Manufacturing to Pediatric Airways” Courtney E. Kodweis
MSOE REU 2012
Summary
In these lessons, students will learn about the pediatric airway and the difficulties doctors face with regard to its
assessment and treatment. Students will learn about medical imaging techniques currently being used to assess the
airway and gain an understanding of the benefits associated with three-dimensional modeling. Students will also be
introduced to engineering, as a creative problem solving method. Students will have the opportunity to apply the
knowledge gained of problem solving techniques and pediatric airway assessment through a challenge activity in
which they will be asked to develop a kid-friendly process for developing patient-specific airway models. Students
will also have the opportunity to enhance their oral and written communication skills through a short presentation
and the development of a professional proposal.
Learning Objectives
Following participation in this interactive lesson plan, students should be able to:
- Distinguish between textbook illustrations and realistic anatomy
- Convey an understanding of medical imaging techniques discussed
- Identify the airway and other important anatomical structures from medical images
- Explain the concept of rapid prototyping and create a list of associated medical applications
- Recognize the need for and apply creative-problem solving in various situations
- Work efficiently in a team environment
- Communicate ideas effectively through project proposal and presentation mediums (optional)
Lesson Plan
The lesson plan detailed below is divided into three 60-minute class sessions. Appropriate adjustments may be made
for the 90-minute lesson period. Each lesson includes a set of brief lecture notes, one or two interactive activities,
and a writing/discussion prompt. The dissection lab and presentation/written proposal are optional, but highly
recommended, supplemental components to this lesson plan. Only the first lesson, in this three-lesson series, has
been developed. Condensed versions of the other lessons have been included.
Lesson 1 – Introduction to Human Airway Anatomy and Medical Imaging
Lesson Pre-requisites: Students should have a preliminary understanding of the structure and function of
the respiratory system, prior to this lesson’s commencement.
A Note to the Instructor: This lesson is recommended for students who have completed or are currently
completing a life science or biology course, at the middle school level or above, that covers basic anatomy
of the human body. It is highly recommended that this lesson be accompanied by a dissection laboratory, in
which students are required to identify anatomy, and make investigative conclusions based on textbook
illustrations.
EEC-1062621 2
Activity 1: Airway Anatomy Review
Time Allotted: 15 minutes
Materials: Copy paper, markers, airway model, and anatomy textbook (or airway textbook illustration)
Preparation: None
Instructions: Place students into groups of two or three, providing each group with a sheet of 8 ½ x 11 in.
copy paper, three different colored markers, and an airway model. Request that each group choose a
member who will draw throughout the duration of the activity. Once groups have been formed, ask that
each group draw and label, in detail, the airway from the model provided. After 7 minutes, provide each
group with an anatomy textbook and ask that they verify their results. Two minutes should be sufficient for
this part of the activity. Invite the class to come back together, and begin a discussion, using the questions
below or your own, regarding the differences between textbook illustration and actual human anatomy,
emphasizing what is lost in creating 2-D illustrations and introducing the concept and advantages of three-
dimensional medical modeling.
Discussion Questions:
o What were some of the difficulties your group encountered in drawing the model? How did you
overcome these difficulties? Did you feel as if there was any part of the model that couldn’t be
captured in your drawing?
o How did your drawing compare to the illustrations shown in the textbook? Does the model
compare in the same way?
o What are the advantages to having a three-dimensional model available as opposed to the
drawings provided in textbooks? What might be some disadvantages?
Lecture Break: Introduction to Medical Imaging
Time Allotted: 20 minutes
Description: Students should be asked to identify how doctors are able to visualize internal structures of the
actual human body, particularly the airway. A list should be written on the board with space for writing
between each idea. Common answers may include surgery, cutting the body open or medical imaging.
Students may need prompting for medical imaging and instruction should focus on introducing them to
medical imaging techniques including x-ray, endoscopy, ultrasound, computed tomography, and magnetic
resonance imaging. Students should then be asked to identify, as a class, some of the pros and cons of each
method and come to an agreement within their group as to which imaging method is the most ideal when
looking at the airway. Each group should be given the opportunity to share and defend their choice, before
computed tomography is identified as being the most ideal. A maximum of twenty minutes should be spent
on this section of the lesson. More time can be allotted based on the instructor’s choice of emphasis. It may
be helpful to develop a short worksheet describing the imaging techniques for student reference and/or
notes. Students should be clear as to the slice-by-slice nature of computed tomography prior to beginning
the next activity.
Resources: The information required for this lecture can be found at: http://www.fda.gov/Radiation-
EmittingProducts/RadiationEmittingProductsandProcedures/MedicalImaging/default.htm
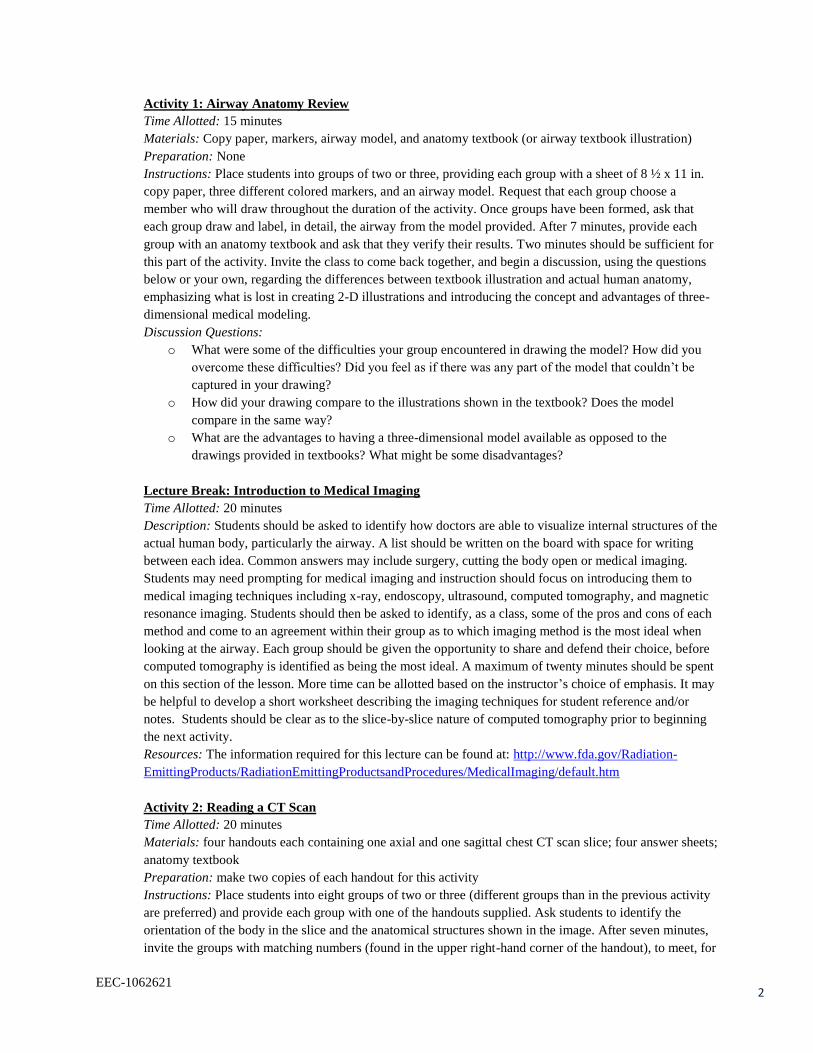
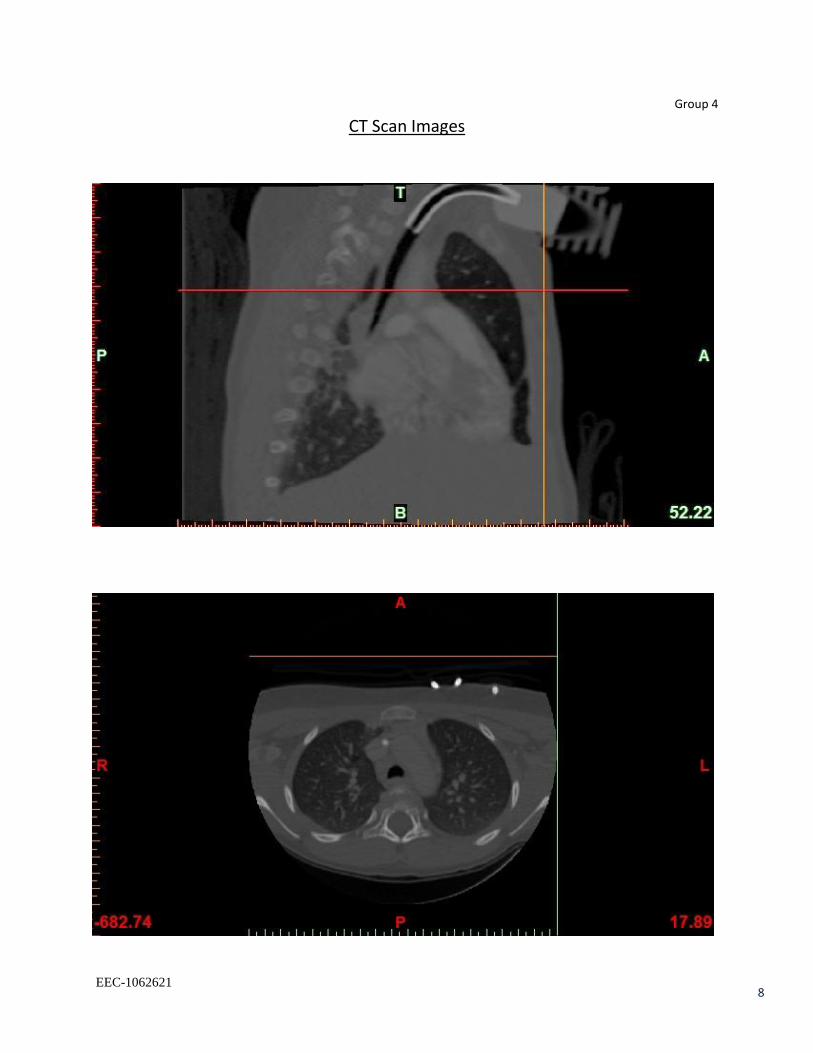
Activity 2: Reading a CT Scan
Time Allotted: 20 minutes
Materials: four handouts each containing one axial and one sagittal chest CT scan slice; four answer sheets;
anatomy textbook
Preparation: make two copies of each handout for this activity
Instructions: Place students into eight groups of two or three (different groups than in the previous activity
are preferred) and provide each group with one of the handouts supplied. Ask students to identify the
orientation of the body in the slice and the anatomical structures shown in the image. After seven minutes,
invite the groups with matching numbers (found in the upper right-hand corner of the handout), to meet, for

EEC-1062621 3
five minutes, to discuss their findings and ideas. After ample time has been left for discussion, provide each
group of students with the labeled answer sheet associated with the group’s data. Allow two minutes for the
groups to look at the correct assignments, and then invite the class to come back together. A discussion
should then be initiated regarding the students’ results and perspectives. The general line of questioning to
be followed is provided below. The conclusion of this discussion coincides with the conclusion of the
lesson.
Discussion Questions:
o How did everyone do? Did anyone find it difficult to identify the orientation of the body in their
slices? Once you had figured out the orientation of the body, was it easier to identify or understand
what the anatomical structures were?
o For students who were able to identify structures and orientation fairly easily: what sort of clues
did you use to determine which structure was which? Did you ever doubt your assignment or
conclusions?
o Following the above questions, the point should be made that doctors use similar, though
undoubtedly more complex, context clues to assess and diagnose diseases and defects in humans,
from medical images; particularly those diseases and defects of the pediatric airway.
o What could be some of the consequences of diagnosing or treating patients based on what is seen
in medical images? Can anyone think of a way doctors could make diagnosing patients a more
exact science? (Encourage all ideas here as no idea is incorrect and the goal of this component is
for students to think in a creative, problem-solving manner)
o The idea, but not the concept of, additive manufacturing should be introduced as one method that
could be chosen, after all ideas have been shared. An emphasis should be placed on the idea that
each student will have a different way of solving the problem and that each method is equally
possible.
A Note to the Instructor: The following two lessons have not yet been fully developed. Ideally, these lessons would
educate students on the rest of the “Three-dimensional modeling of pediatric airways” research project.
Lesson 2 – Introduction to Additive Manufacturing and Engineering Challenge
Lesson Pre-Requisites: Lesson 1
Activity 1: Build Me a Model
Time Allotted: 25 minutes (20 minutes to build with 5 minute discussion). Objective: Students will learn
about additive manufacturing by developing their own model in a way similar to that of additive
manufacturing machines. Description: Students will build a model using single sheets of cardstock
(available in most craft or office supply stores) cut to a given shape and pasted one directly on top of
another. Assigning shapes (such as cylinders, hearts, stars, cubes, etc.) to be modeled is highly
recommended due to the time-consuming nature of this activity.
Lecture Break: What is Additive Manufacturing?
Time Allotted: 15 minutes. Resources: http://additivemanufacturing.com/basics/ - Tutorial
http://www.rpc.msoe.edu/medical.php - Medical Applications
http://www.touchbriefings.com/pdf/3225/giesel.pdf - Medical Applications
Challenge Brainstorm
Time Allotted: 20 minutes. Objective: Students will assimilate all information learned in previous
discussions in a team effort to brainstorm ideas for creating a kid-friendly method for clinical modeling of
pediatric airways. Students will learn to assess the relevant factors as often considered in an engineering
design process. Description: Students will be presented with the challenge of creating a method for clinical

EEC-1062621 4
modeling of pediatric airways. Students will first be asked to list all the important factors that will affect
their project and need to be considered. Important factors include kid-friendliness, patient safety, parental
consent, physician acceptance of technology, time constraints, etc. Students will then brainstorm ideas for
how they will accommodate for such factors. The brainstorming session may need to be finished outside of
class due to time constraints. Instructors can opt to have students share their plans next class, informally, or
to have students develop a 5-minute oral presentation and/or written proposal, given a week-long
preparation period.
Lesson 3 – The Engineer in Me (Optional)
Lesson Pre-requisites: Lesson 2
Overview: Students will share their ideas from Lesson 2, either formally or informally as indicated in the
previous lesson. The instructor will then open up a discussion on engineering, by asking students how they
would define engineering and how many of them have considered engineering as a future career option.
Connections should then be made between engineering principles (teamwork, problem-solving, innovative
thinking, creativity, etc.) and the activities/discussions of previous lessons. The instructor should then
highlight some applications of engineering expertise that apply to the demographic of the students in the
classroom. Further discussion should commence, as appropriate.
Resources: http://www.pltw.org/students/innovation-zone;
http://www.futuresinengineering.com/what.php?id=2; http://www.discoverengineering.org/

EEC-1062621 5
Group 1
CT Scan Images

EEC-1062621 6
Group 2
CT Scan Images

EEC-1062621 7
Group 3
CT Scan Images
EEC-1062621 8
Group 4
CT Scan Images

EEC-1062621 9
ANSWER SHEET Group 1
CT Scan Images
Orientation: 1. Axial (Head-to-Toe); 2. Sagittal (Shoulder-to-Shoulder)
Heart
Bronchi
Spine Lungs
Skull Pharynx Nasal Cavity

EEC-1062621 10
ANSWER SHEET Group 2
CT Scan Images
Orientation: 1. Axial (Head-to-Toe); 2. Coronal (Front-to-Back)
Teeth Larynx
Spine
Lungs Trachea Heart

EEC-1062621 11
ANSWER SHEET Group 3
CT Scan Images
Orientation: 1. Coronal (Front-to-Back); 2. Axial (Head-to-Toe)
Pharynx Larynx
Bronchi Bone
Lungs
Trachea Heart

EEC-1062621 12
ANSWER SHEET Group 4
CT Scan Images
Orientation: 1. Sagittal (Shoulder-to-Shoulder); 2. Axial (Head-to-Toe)
Endotracheal Tube
Spine Lungs Trachea Heart