blender + zbrushcharactercreationseries.com/pdfs/partfour.pdf · 3 table of contents setting up...
TRANSCRIPT
1
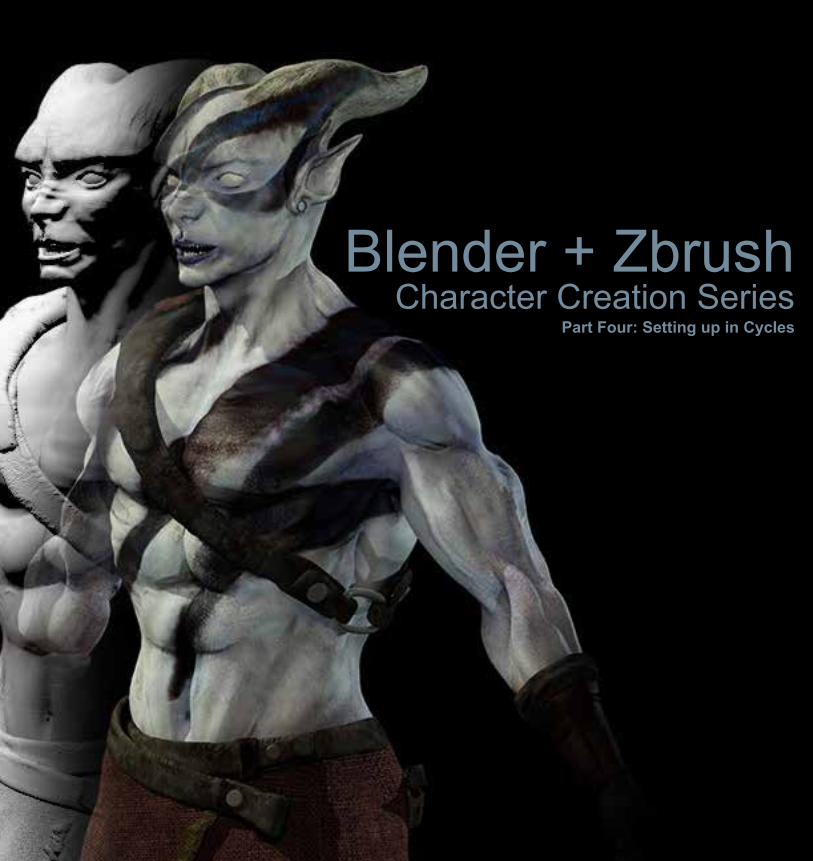
Blender + Zbrush Character Creation Series
Part Four: Setting up in Cycles
2
Table ofContents
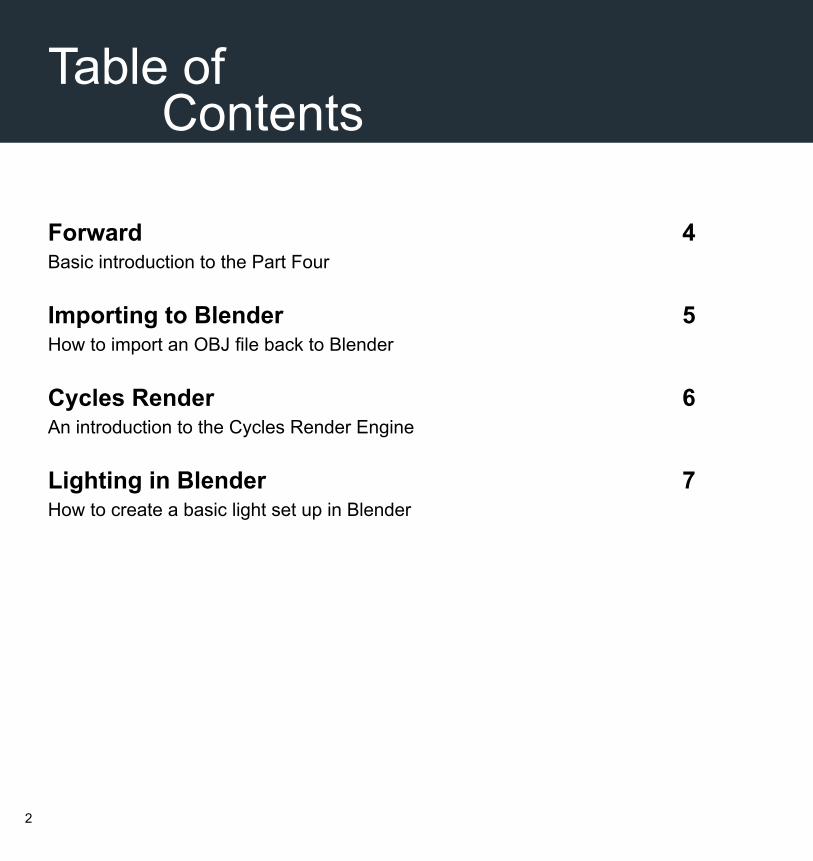
Forward 4 Basic introduction to the Part Four Importing to Blender 5 How to import an OBJ file back to Blender Cycles Render 6 An introduction to the Cycles Render Engine Lighting in Blender 7 How to create a basic light set up in Blender
3
Table ofContents
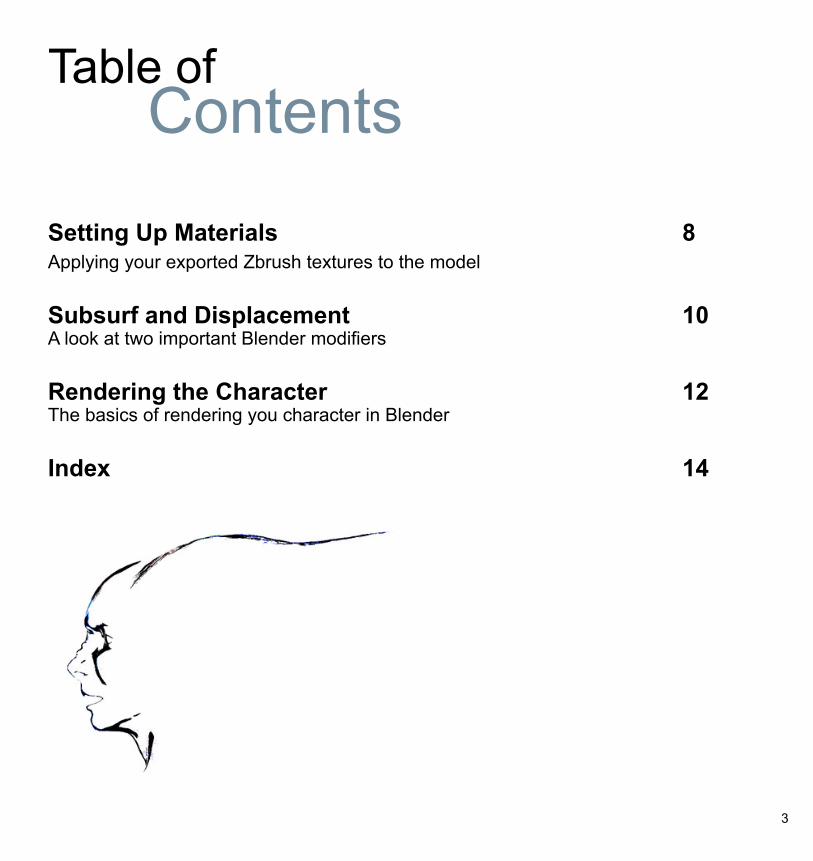
Setting Up Materials 8 Applying your exported Zbrush textures to the model Subsurf and Displacement 10 A look at two important Blender modifiers Rendering the Character 12 The basics of rendering you character in Blender Index 14
4
Part Four S
etting Up In C
ycles
Forward
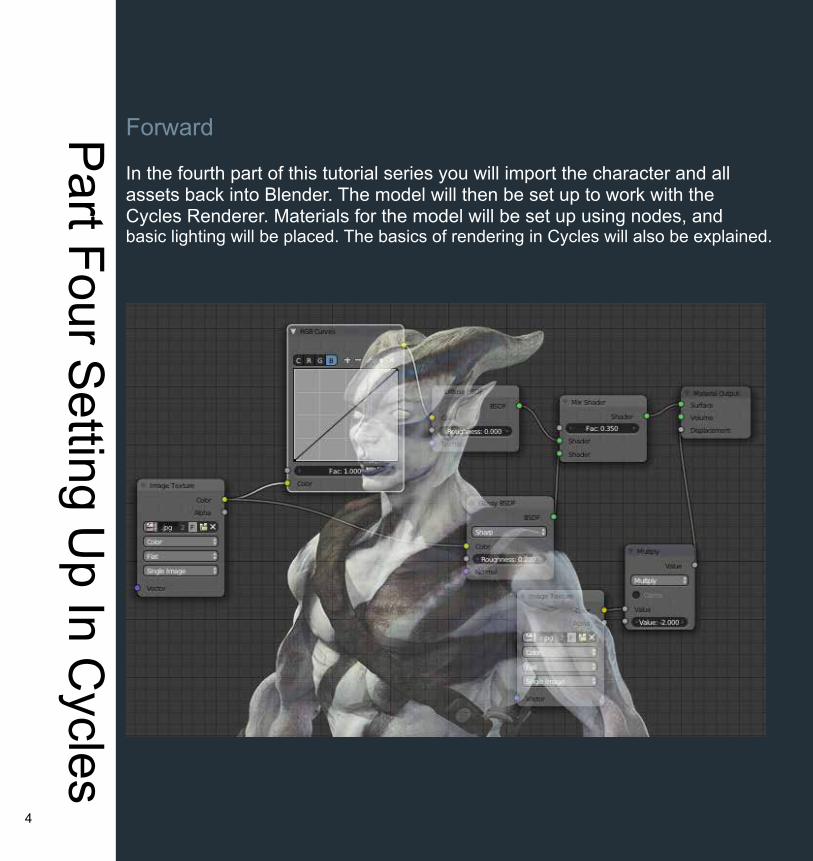
In the fourth part of this tutorial series you will import the character and all assets back into Blender. The model will then be set up to work with the Cycles Renderer. Materials for the model will be set up using nodes, and basic lighting will be placed. The basics of rendering in Cycles will also be explained.
5
Importing ToBlender
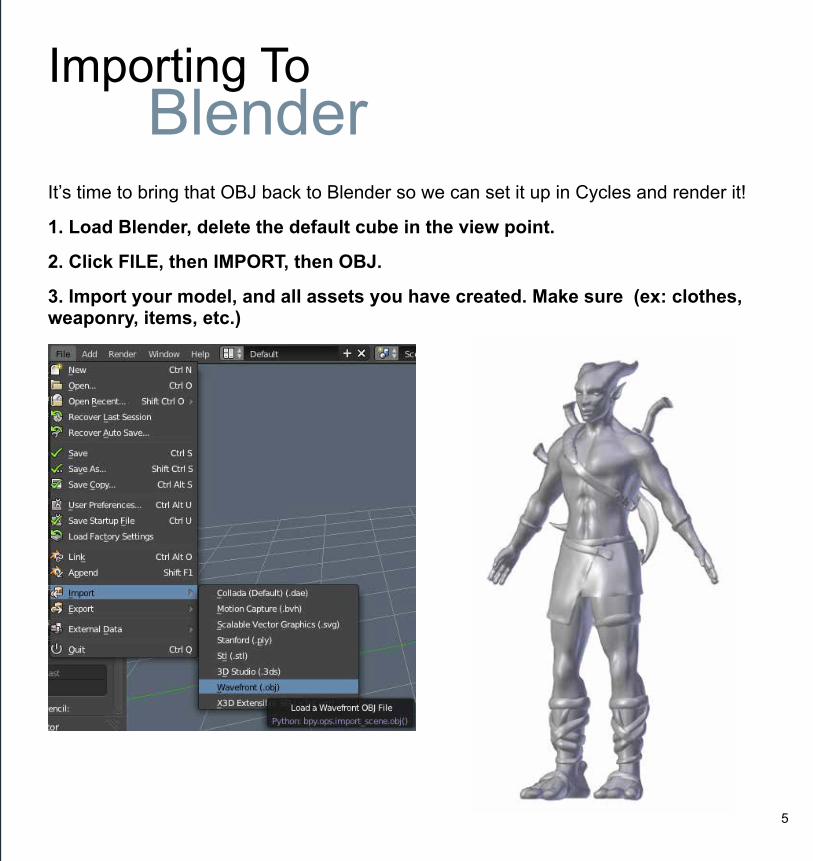
It’s time to bring that OBJ back to Blender so we can set it up in Cycles and render it!
1. Load Blender, delete the default cube in the view point.
2. Click FILE, then IMPORT, then OBJ.
3. Import your model, and all assets you have created. Make sure (ex: clothes, weaponry, items, etc.)
6
CyclesRender
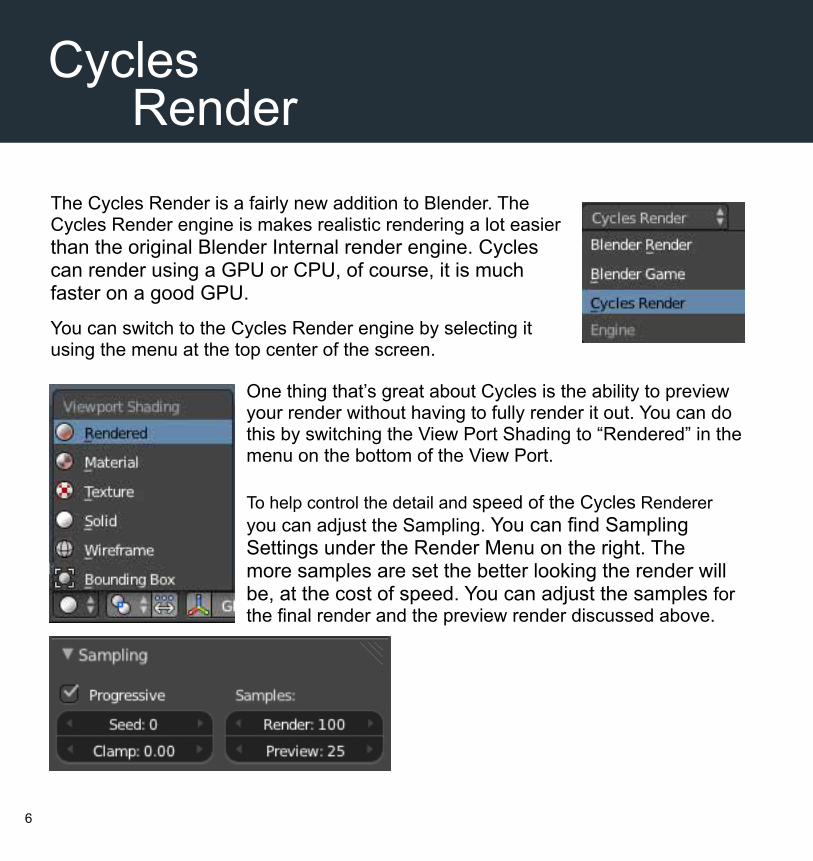
The Cycles Render is a fairly new addition to Blender. The Cycles Render engine is makes realistic rendering a lot easier than the original Blender Internal render engine. Cycles can render using a GPU or CPU, of course, it is much faster on a good GPU.
You can switch to the Cycles Render engine by selecting it using the menu at the top center of the screen.
One thing that’s great about Cycles is the ability to preview your render without having to fully render it out. You can do this by switching the View Port Shading to “Rendered” in the menu on the bottom of the View Port.
To help control the detail and speed of the Cycles Renderer you can adjust the Sampling. You can find Sampling Settings under the Render Menu on the right. The more samples are set the better looking the render will be, at the cost of speed. You can adjust the samples for the final render and the preview render discussed above.
7
Lighting inBlender
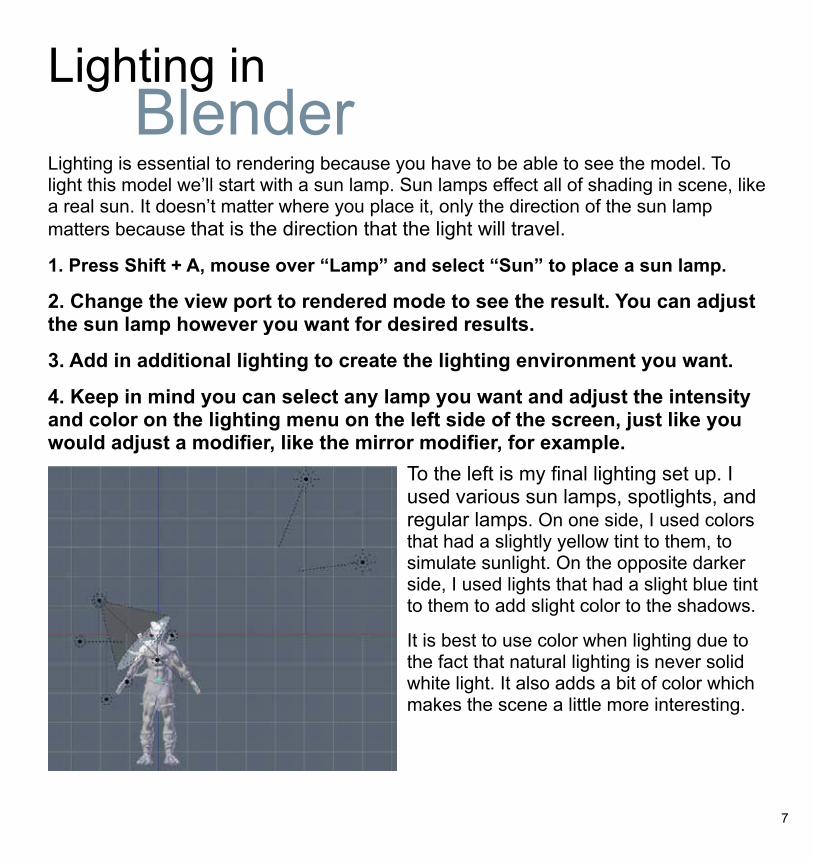
Lighting is essential to rendering because you have to be able to see the model. To light this model we’ll start with a sun lamp. Sun lamps effect all of shading in scene, like a real sun. It doesn’t matter where you place it, only the direction of the sun lamp matters because that is the direction that the light will travel.
1. Press Shift + A, mouse over “Lamp” and select “Sun” to place a sun lamp.
2. Change the view port to rendered mode to see the result. You can adjust the sun lamp however you want for desired results.
3. Add in additional lighting to create the lighting environment you want.
4. Keep in mind you can select any lamp you want and adjust the intensity and color on the lighting menu on the left side of the screen, just like you would adjust a modifier, like the mirror modifier, for example.
To the left is my final lighting set up. I used various sun lamps, spotlights, and regular lamps. On one side, I used colors that had a slightly yellow tint to them, to simulate sunlight. On the opposite darker side, I used lights that had a slight blue tint to them to add slight color to the shadows.
It is best to use color when lighting due to the fact that natural lighting is never solid white light. It also adds a bit of color which makes the scene a little more interesting.
jh
8
Setting UpMaterials
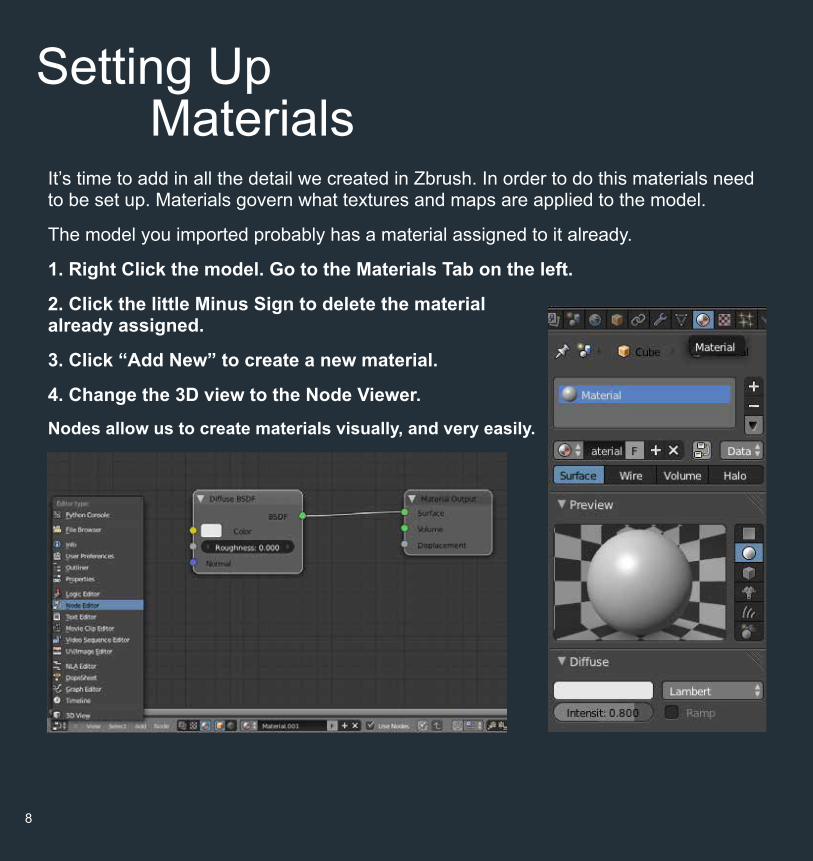
It’s time to add in all the detail we created in Zbrush. In order to do this materials need to be set up. Materials govern what textures and maps are applied to the model.
The model you imported probably has a material assigned to it already.
1. Right Click the model. Go to the Materials Tab on the left.
2. Click the little Minus Sign to delete the material already assigned.
3. Click “Add New” to create a new material.
4. Change the 3D view to the Node Viewer.
Nodes allow us to create materials visually, and very easily.
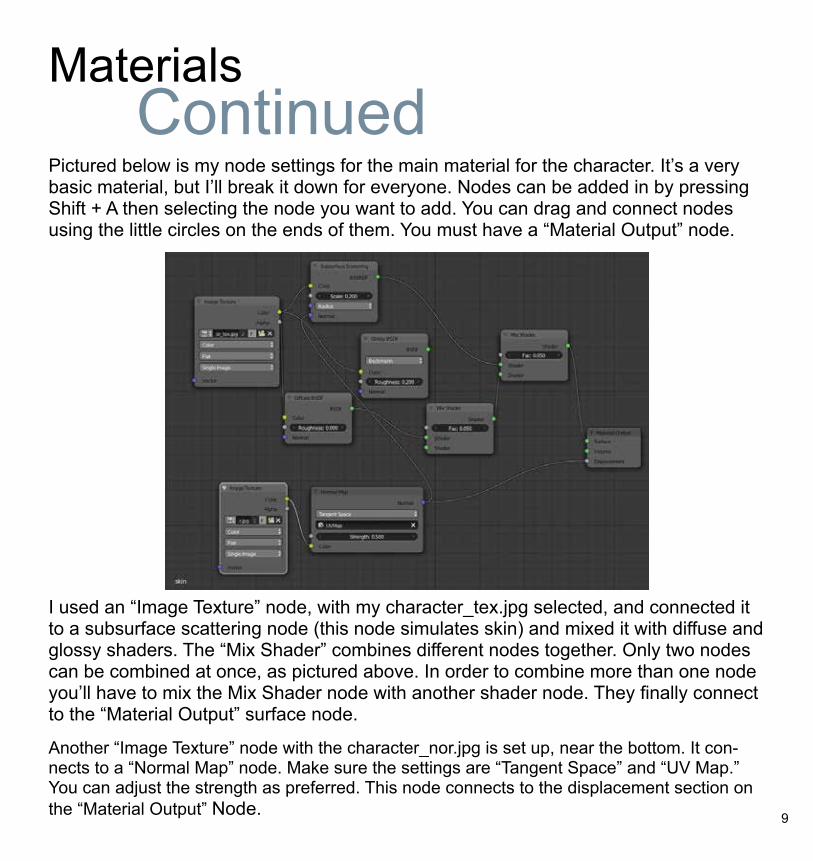
Pictured below is my node settings for the main material for the character. It’s a very basic material, but I’ll break it down for everyone. Nodes can be added in by pressing Shift + A then selecting the node you want to add. You can drag and connect nodes using the little circles on the ends of them. You must have a “Material Output” node.
I used an “Image Texture” node, with my character_tex.jpg selected, and connected it to a subsurface scattering node (this node simulates skin) and mixed it with diffuse and glossy shaders. The “Mix Shader” combines different nodes together. Only two nodes can be combined at once, as pictured above. In order to combine more than one node you’ll have to mix the Mix Shader node with another shader node. They finally connect to the “Material Output” surface node.
Another “Image Texture” node with the character_nor.jpg is set up, near the bottom. It con-nects to a “Normal Map” node. Make sure the settings are “Tangent Space” and “UV Map.” You can adjust the strength as preferred. This node connects to the displacement section on the “Material Output” Node.
jh
9
MaterialsContinued
10
Subsurf andDisplacement
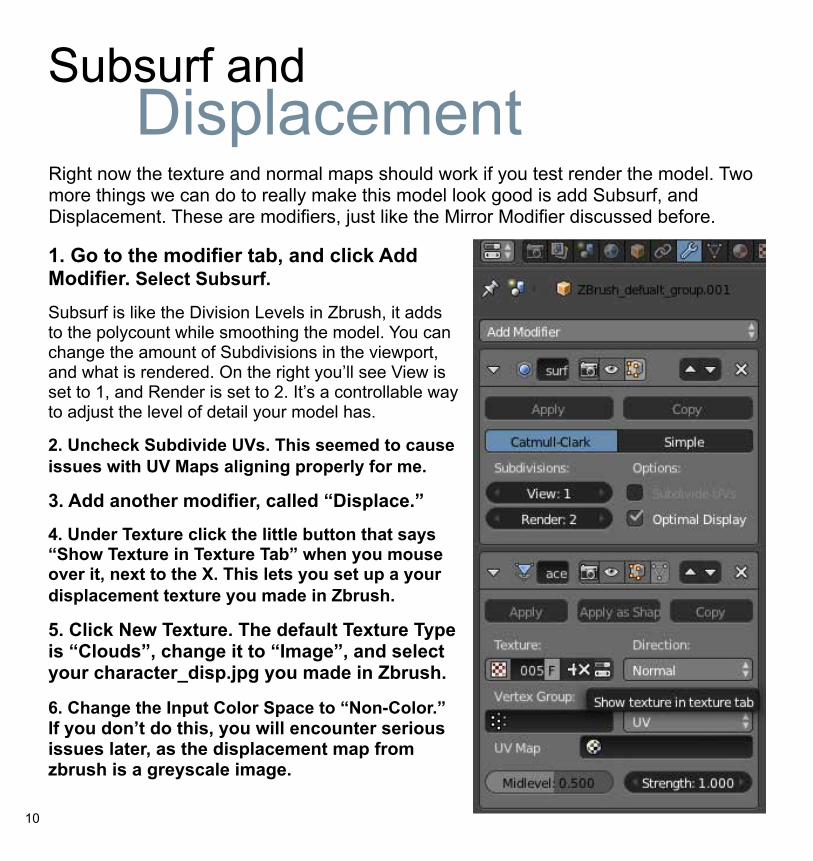
Right now the texture and normal maps should work if you test render the model. Two more things we can do to really make this model look good is add Subsurf, and Displacement. These are modifiers, just like the Mirror Modifier discussed before.
1. Go to the modifier tab, and click Add Modifier. Select Subsurf.
Subsurf is like the Division Levels in Zbrush, it adds to the polycount while smoothing the model. You can change the amount of Subdivisions in the viewport, and what is rendered. On the right you’ll see View is set to 1, and Render is set to 2. It’s a controllable way to adjust the level of detail your model has.
2. Uncheck Subdivide UVs. This seemed to cause issues with UV Maps aligning properly for me.
3. Add another modifier, called “Displace.”
4. Under Texture click the little button that says “Show Texture in Texture Tab” when you mouse over it, next to the X. This lets you set up a your displacement texture you made in Zbrush.
5. Click New Texture. The default Texture Type is “Clouds”, change it to “Image”, and select your character_disp.jpg you made in Zbrush.
6. Change the Input Color Space to “Non-Color.” If you don’t do this, you will encounter serious issues later, as the displacement map from zbrush is a greyscale image.

11
Subsurf and Displacement Continued
7. Go back to the Modifier tab. Under Displacement change the Texture Coordinates to UV. You can adjust the Strength and Midlevel however you like.
The image on the top left shows the model without Subsurf, and without Displacement. On the right, both are activated. There is a drastic difference between the two. The one on the right is much closer to the shape we had in Zbrush, and it doesn’t total up to millions of polygons.
8. Make sure you create materials for all parts of the model including clothing, weaponry, eyes, etc.
The process is the same for all of them, in terms of setting up texture maps, displace-ment maps, and normal maps. Most won’t require a subsurface scattering node, as that is for skin only, so you can skip that when making the rest of the materials. Cycles has various shader nodes, pick shaders that best describe what surface you have made.
12
Rendering the Character
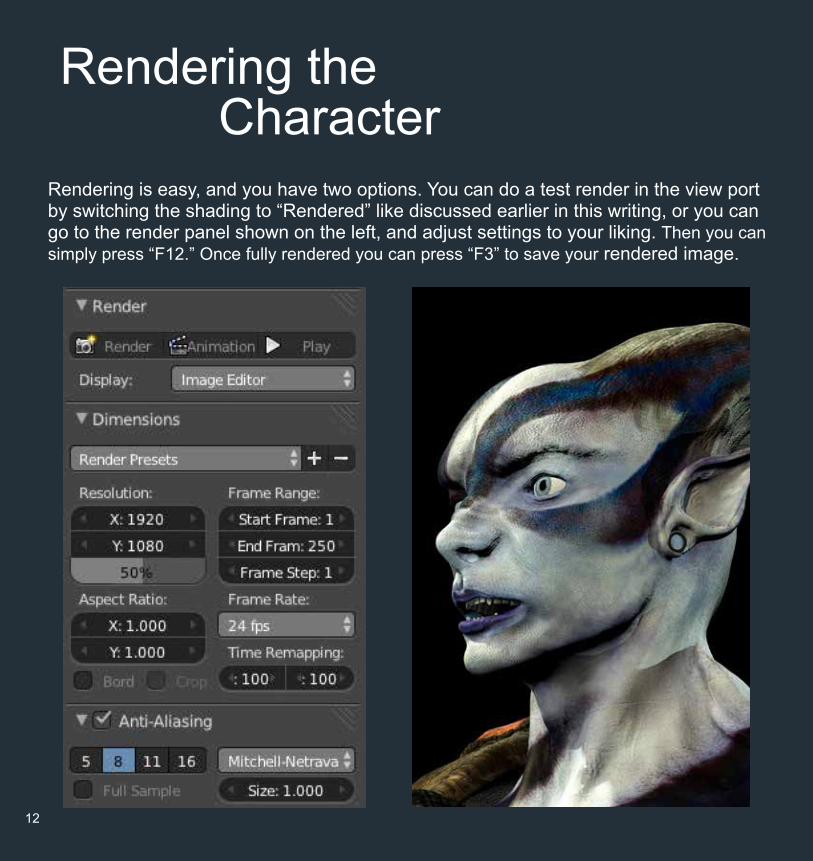
Rendering is easy, and you have two options. You can do a test render in the view port by switching the shading to “Rendered” like discussed earlier in this writing, or you can go to the render panel shown on the left, and adjust settings to your liking. Then you can simply press “F12.” Once fully rendered you can press “F3” to save your rendered image.
13
To beContinued...
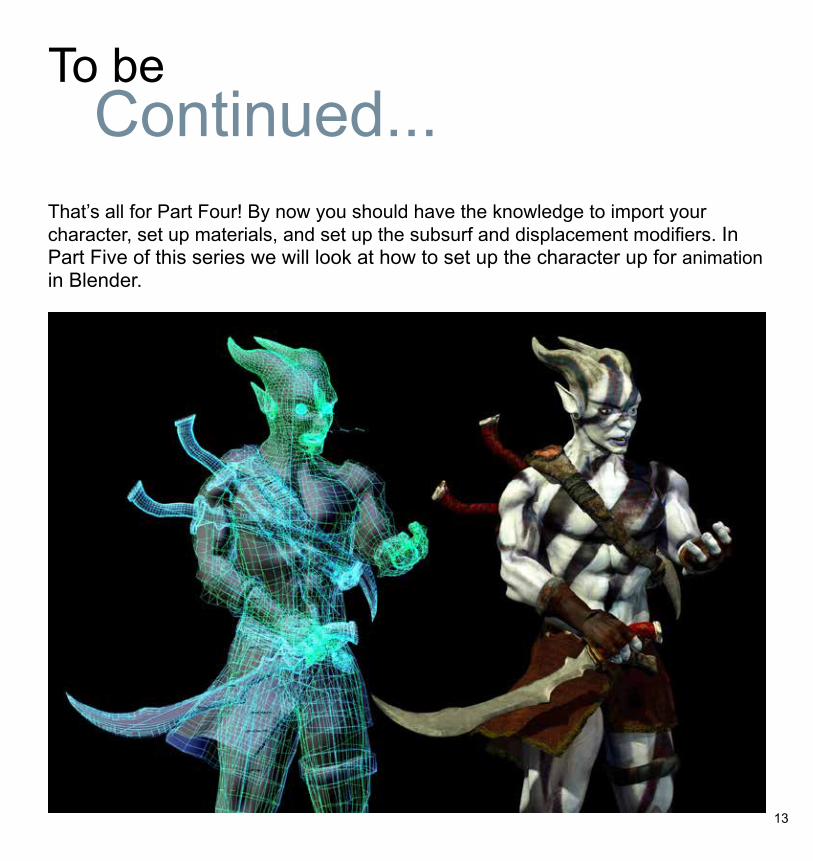
That’s all for Part Four! By now you should have the knowledge to import your character, set up materials, and set up the subsurf and displacement modifiers. In Part Five of this series we will look at how to set up the character up for animation in Blender.
14
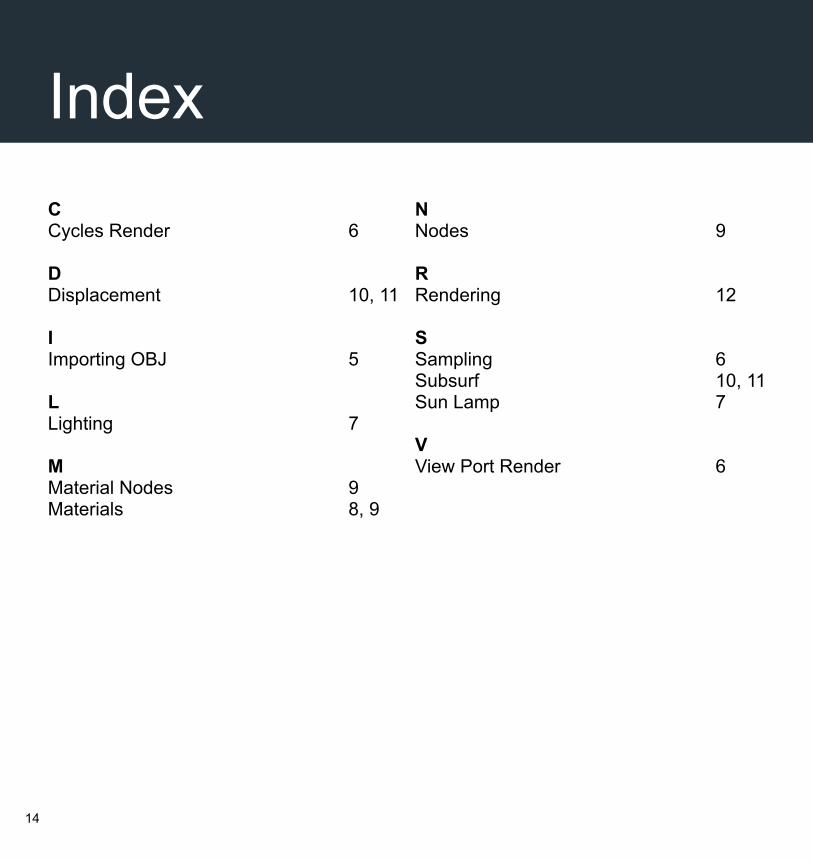
C Cycles Render 6 D Displacement 10, 11 I Importing OBJ 5 L Lighting 7 M Material Nodes 9 Materials 8, 9
N Nodes 9 R Rendering 12 S Sampling 6 Subsurf 10, 11 Sun Lamp 7 V View Port Render 6
Index