beginner's guide to periscope
TRANSCRIPT
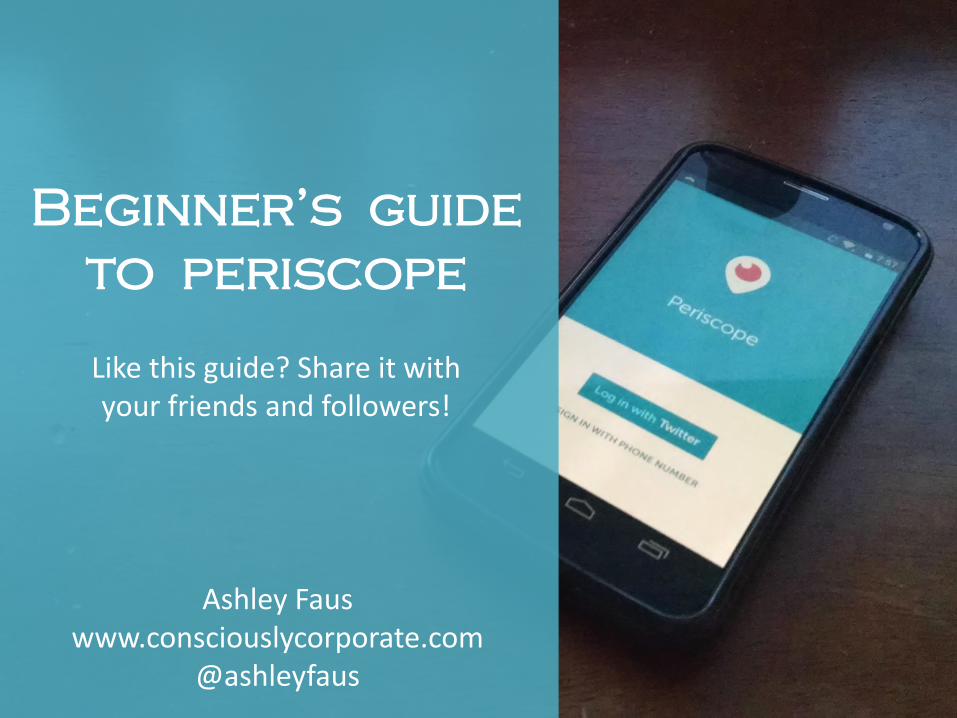
Beginner’s guide
to periscope
Ashley Faus www.consciouslycorporate.com
@ashleyfaus
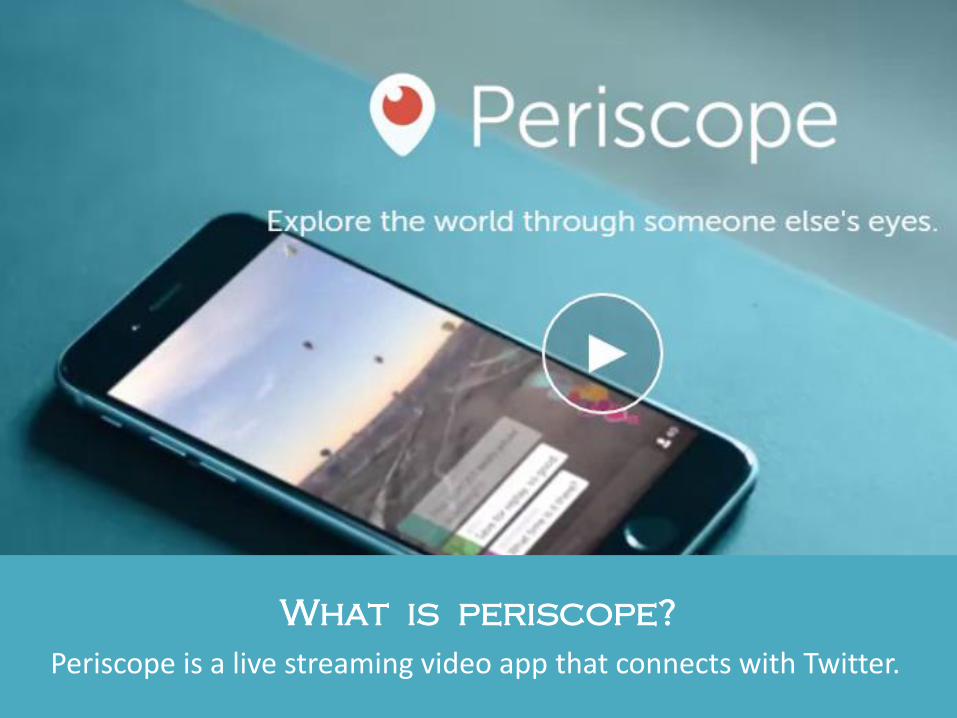
What is periscope?
Periscope is a live streaming video app that connects with Twitter.
How can I share
my broadcasts?
When you start broadcasting, a link will be automatically
shared to your Twitter feed. You can retweet the link to invite
others to the live viewing, and you can copy and paste this link to share the Periscope broadcast
with other platforms for both live viewing and replays.
Handy Tip: Make sure the "auto-tweet" is on to automatically share your broadcast on your Twitter feed when you go live!
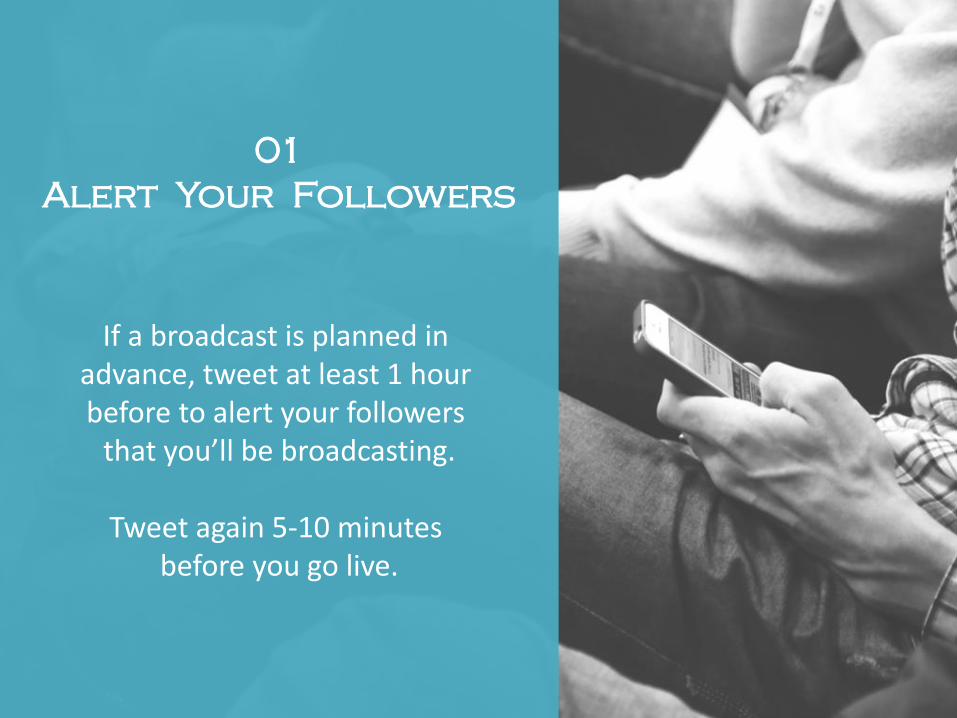
01
Alert Your Followers
If a broadcast is planned in advance, tweet at least 1 hour before to alert your followers
that you’ll be broadcasting.
Tweet again 5-10 minutes before you go live.
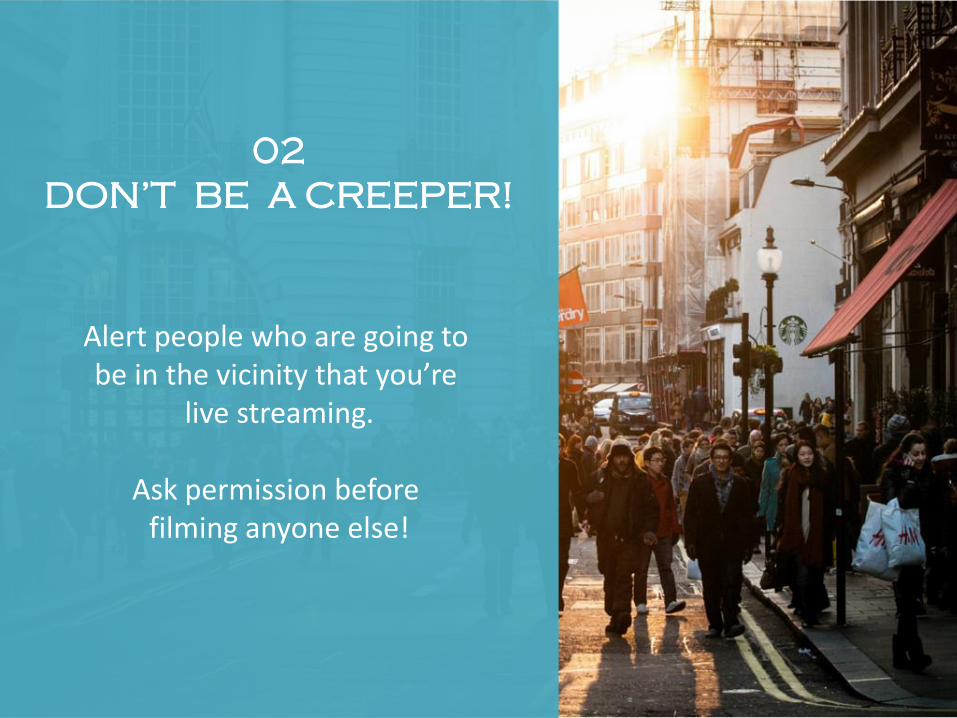
02
DON’T BE A CREEPER!
Alert people who are going to be in the vicinity that you’re
live streaming.
Ask permission before filming anyone else!
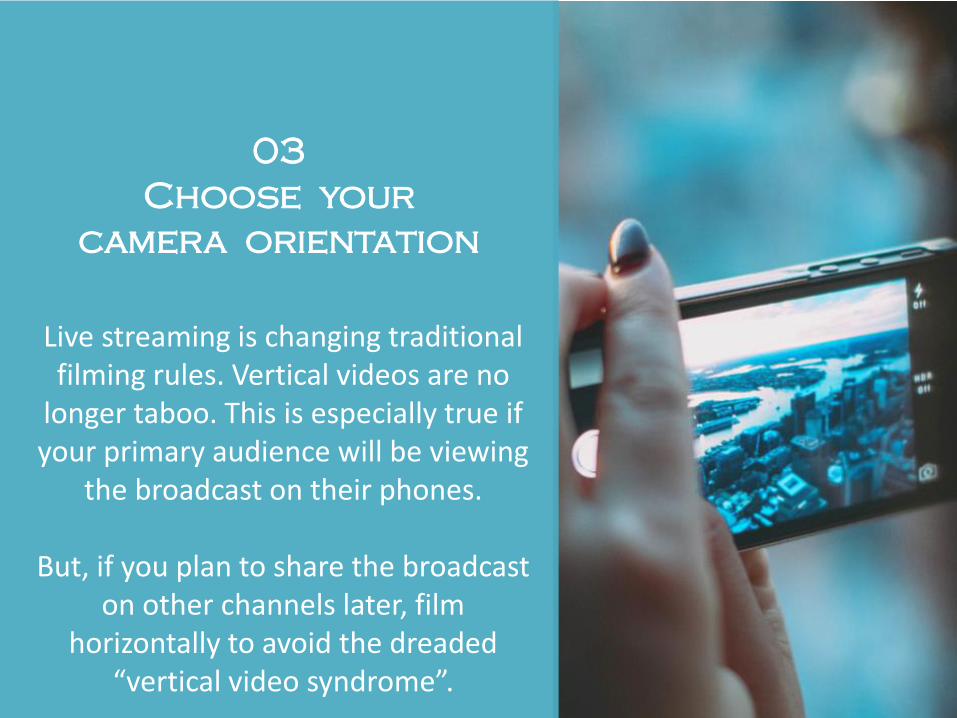
03
Choose your
camera orientation
Live streaming is changing traditional filming rules. Vertical videos are no
longer taboo. This is especially true if your primary audience will be viewing
the broadcast on their phones.
But, if you plan to share the broadcast on other channels later, film
horizontally to avoid the dreaded “vertical video syndrome”.
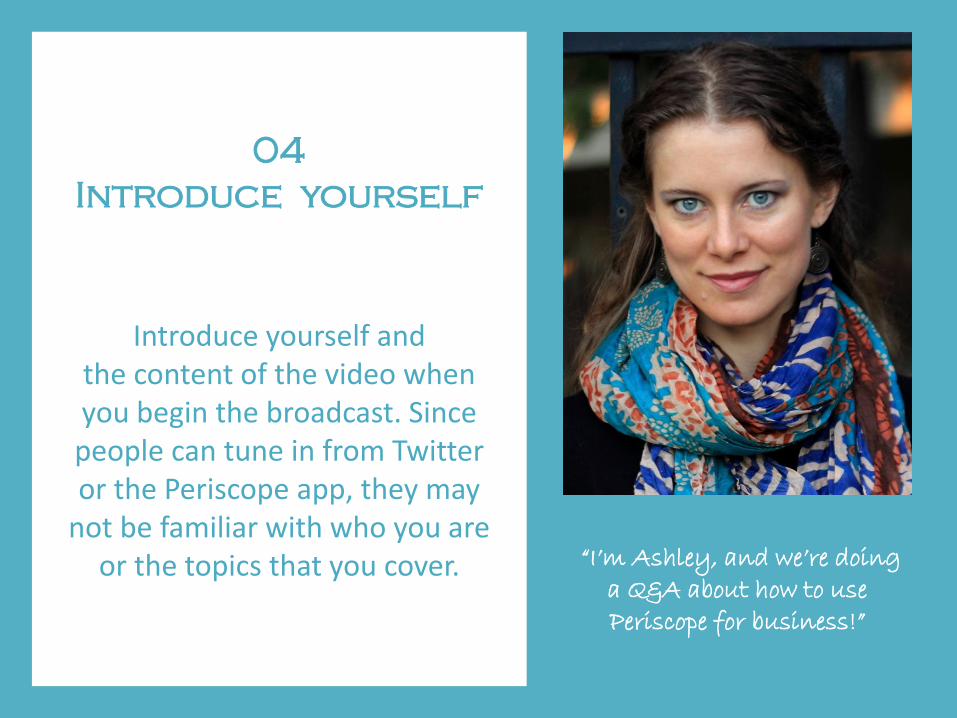
04
Introduce yourself
Introduce yourself and the content of the video when you begin the broadcast. Since people can tune in from Twitter or the Periscope app, they may
not be familiar with who you are or the topics that you cover. “I’m Ashley, and we’re doing
a Q&A about how to use Periscope for business!”
05
WAIT FOR PEOPLE
TO JOIN
Allow 15-30 seconds for people to join the broadcast. Don’t give away the most important information in the first 5 seconds without repeating it again.
06
keep giving
context
If your broadcast will be longer than 10 minutes, repeat who you are and what you’re talking about every so often, particularly if you see notifications that a bunch of
new people are joining the broadcast. They need a little
context, so help them out!
Examples: I’m having a great time on this behind-the-scenes look at a photoshoot for [product]! Thanks for joining me at this photoshoot for [product]!
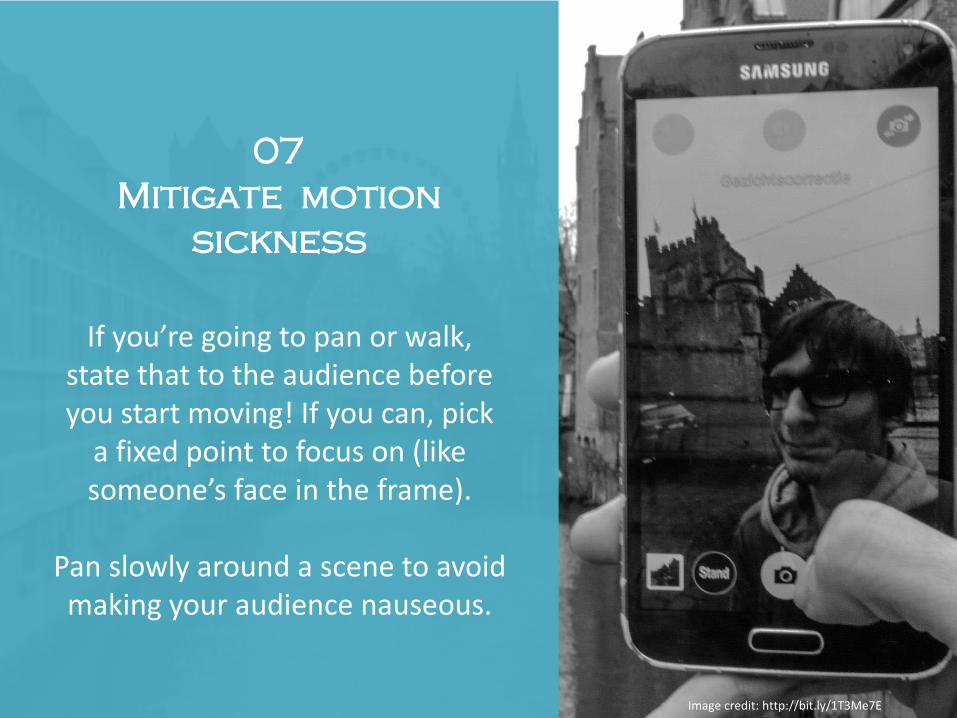
07
Mitigate motion
sickness
If you’re going to pan or walk, state that to the audience before you start moving! If you can, pick
a fixed point to focus on (like someone’s face in the frame).
Pan slowly around a scene to avoid making your audience nauseous.
Image credit: http://bit.ly/1T3Me7E
08
acknowledge
comments
Comments show up in the lower left of the screen, and they come
in unfiltered (including the inappropriate ones!).
If it makes sense to answer questions or acknowledge
commenters during the broadcast, do so in the most appropriate way.
Example: If a viewer asks, “When will the product be available?” You should answer, “The product will be on sale on [date] at [locations]!”
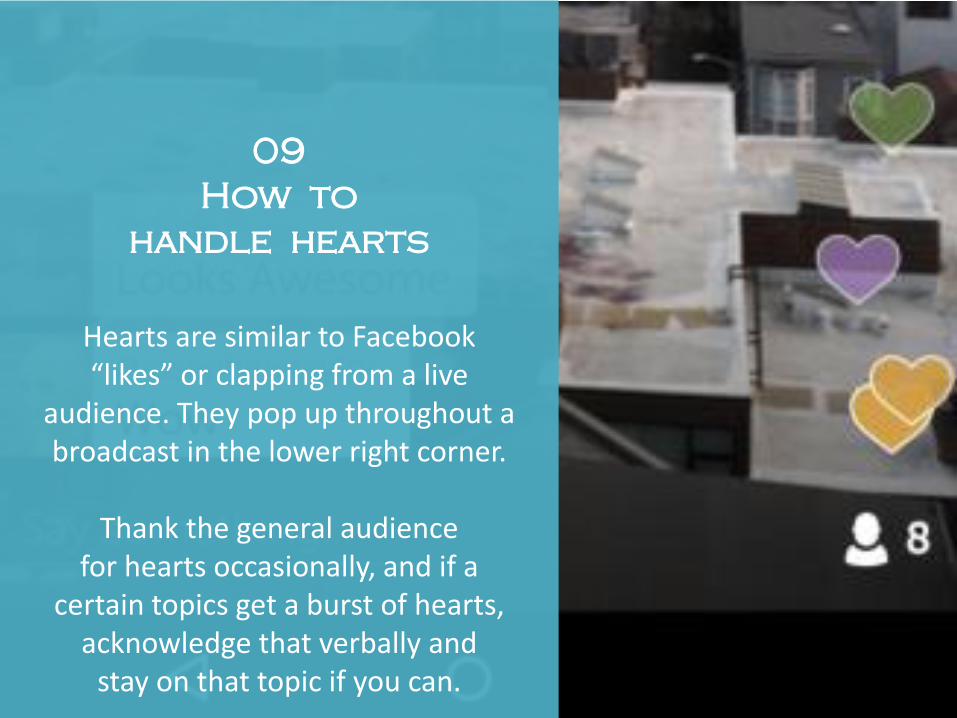
09
How to
handle hearts
Hearts are similar to Facebook “likes” or clapping from a live
audience. They pop up throughout a broadcast in the lower right corner.
Thank the general audience
for hearts occasionally, and if a certain topics get a burst of hearts,
acknowledge that verbally and stay on that topic if you can.
10
Block the bullies
Don’t let rude or offensive commenters ruin your broadcast! You can block users from commenting by tapping on their name when the comment appears and choosing “block”.
If you’re unable to manage users while you’re streaming, you can block users by searching for them and choosing
“block user” after the broadcast concludes.
11
Sign off with a cta
Sign off with a call to action, like visiting a unique URL related to the broadcast, following on you Twitter,
or sharing the replay of the broadcast with their followers.
Beginner’s guide
to periscope
Ashley Faus www.consciouslycorporate.com
@ashleyfaus
Like this guide? Share it with your friends and followers!