beauty clash summit class
TRANSCRIPT


Step 1
Section the hair in 5 areas, except for the nape area.
Use the highest point of the head as the central
starting point for all partings.

Step 2
Project the hair in the nape area vertically and cut with a high graduation by
using a mobile-design line.

Step 3
The sides are cut with the comb-control technique in a solid form to avoid
tension on the hair.

Step 4
Connect the sides with the upper back area in a high graduation and a notching
technique, use a mobile design line while cutting the sides and the back.

Step 5
The triangle at the front is distributed with pivotal partings and projected to the
crown area. For a soft result use a pointcutting technique.
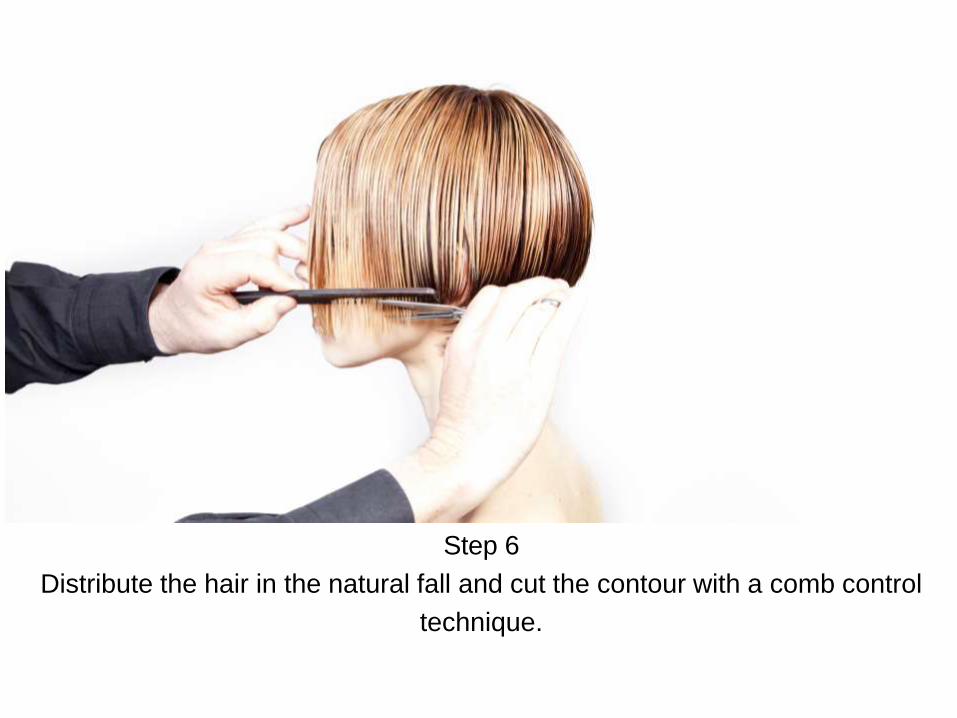
Step 6
Distribute the hair in the natural fall and cut the contour with a comb control
technique.

Step 7
The top and fringe are distributed towards the sides and cut with a razor for
maximum softness.

Step 1
Color the base with CHI Ionic Permanent Shine Hair Color 5CG 1:1 with 10
Volume CHI Color Generator. Place a diagonally forward and a diagonally
backward parting above the highest point of the ear.

Step 2
Apply on one section CHI Ionic Permanent Shine Hair Color 6RR 1:1 with 10
Volume CHI Color Generator. On the next section CHI Ionic Permanent Shine
Hair Color 7C 1:1 with 10 Volume CHI Color Generator.

Step 3
Alternate these colors to create a multitude of color.


Step 1
Create from the crown area forward 3 triangular shaped sections.

Step 2
Cut the sides with a scissors-over-comb technique diagonally to the back.

Step 3
The lower contour line in the nape area is cut in a high gradation and connected
to the sides.

Step 4
Use an perpendicular distribution and a low projection in the triangle areas in
front of the ears.

Step 5
The large triangle in the front is pointcut with the tip of the shears. Position your
fingers parallel to the diagonal parting.

Step 6
The sides are blend cut with a razor in a diagonal forward line.

Step 7
The layers of the interior of the scalp are cut with a razor to create a
disconnection in the ends.

Step 1
Apply the CHI Ionic Permanent Shine Hair Color 6C from roots to ends with 10
Volume CHI Color Generator 1:1.

Step 2
Section an square at the top of the head. Place a foil in a thin slice and apply
CHI Infra Highlift GB 1:1 20 Volume CHI Color Generator.

Step 3
Fill this square by placing the foils and leave hair out in between.


Step 1
Start in the center nape area with a horizontal scissors-over-comb technique.
Move your comb horizontally.

Step 2
Connect the sides with the back, positioning your comb parallel to the curved
parting.

Step 3
Cut a clean contour line around the ear with the tip of the shears avoiding the
sideburn.

Step 4
The top of the interior is distributed perpendicularly and slightly disconnected
from the sides.

Step 5
Razor-over-comb technique is used to create a short, uniform layered crown
area.

Step 6
Distribute the hair towards the crown and slice the ends for a short and soft
texture.

Step 7
The fringe is pointcut in a vertical form.

Step 1
The natural level 7 is ligthened to a light blonde with 2 ounces CHI Blondest Blonde, 1
ounce CHI Infra Highlift BB 1:1 with 20 Volume CHI Color Generator.
Mix 1 ounce of 10B CHI Ionic Permanent Shine Hair Color and ¼ ounce of Blue Additive
CHI Ionic Permanent Shine Hair Color 1:1 and 10 Volume CHI Color Generator.

Step 2
Generously apply the color on the sides and the back.

Step 3
Create a regrowth on top and use the tip of the application brush to blend the
color from base to ends.

