ballistic recovery systems, …documents.flightdesignusa.com/sw install manual.pdf · brs doc.:...
TRANSCRIPT

Ballistic Recovery Systems, Inc.
300 Airport Rd South Saint Paul MN 55075-3551 USA
www.BRSparachutes.com Voice: 651-457-7491 FAX: 651-457-8651
PARACHUTE INSTALLATION MANUAL BRS 1350 HS
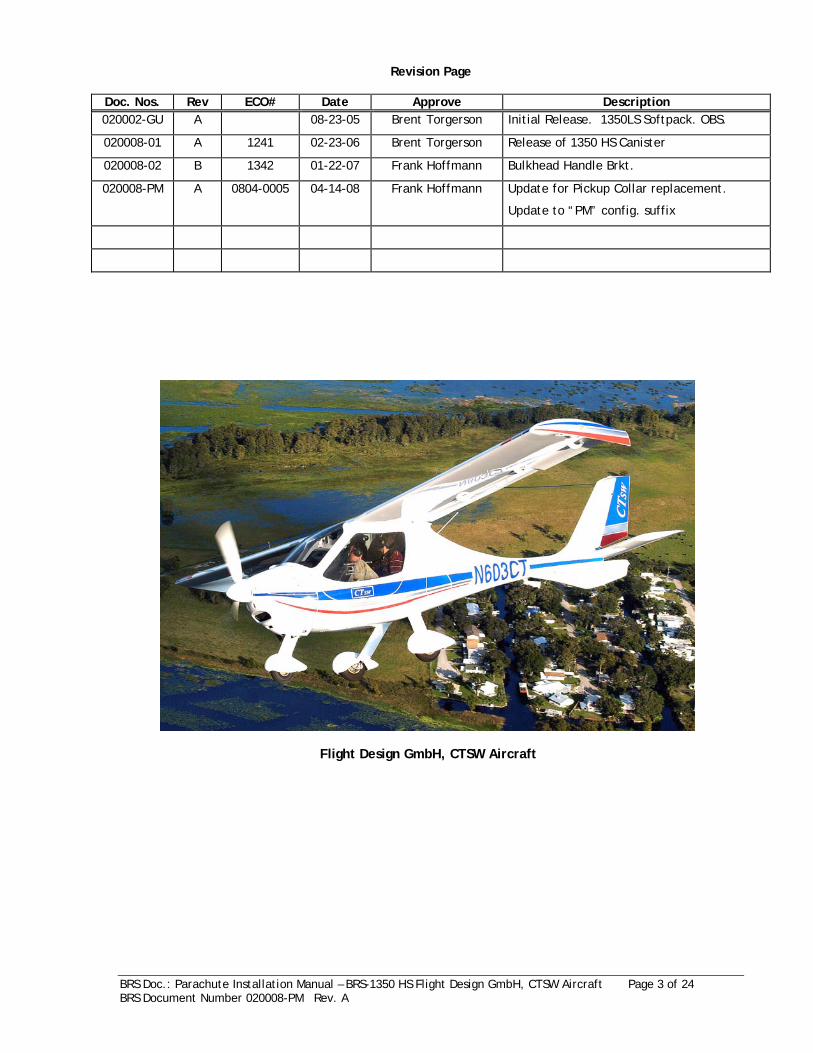
Flight Design GmbH, CTSW Aircraft
BRS Document Number: 020008-PM
Revision: A Date: April 14, 2008
Abstract
These installation instructions were created in cooperation with Flight Design GmbH. This Parachute Installation Manual (PIM) complies with ASTM F 2316, “Standard Specification for Airframe Emergency Parachutes for Light Sport Aircraft”. These instructions supplement the "BRS Owner's Manual" and the "BRS General Installation Guide". It provides additional direction relating specifically to the BRS-1350 HS parachute system installed in the CTSW Aircraft manufactured by Flight Design GmbH.
Proprietary Notice
The information contained in or disclosed by this document is considered proprietary to Ballistic Recovery Systems, Inc. This document and the items and information contained or disclosed within shall not be used, copied, or reproduced in whole or in part, nor shall the contents be revealed in any manner to any person unless written permission is obtained from Ballistic Recovery Systems, Inc.

BRS Doc.: Parachute Installation Manual – BRS-1350 HS Flight Design GmbH, CTSW Aircraft Page 3 of 24 BRS Document Number 020008-PM Rev. A
Revision Page
Doc. Nos. Rev ECO# Date Approve Description 020002-GU A 08-23-05 Brent Torgerson Initial Release. 1350LS Softpack. OBS.
020008-01 A 1241 02-23-06 Brent Torgerson Release of 1350 HS Canister
020008-02 B 1342 01-22-07 Frank Hoffmann Bulkhead Handle Brkt.
020008-PM A 0804-0005 04-14-08 Frank Hoffmann Update for Pickup Collar replacement.
Update to “PM” config. suffix
Flight Design GmbH, CTSW Aircraft

BRS Doc.: Parachute Installation Manual – BRS-1350 HS Flight Design GmbH, CTSW Aircraft Page 4 of 24 BRS Document Number 020008-PM Rev. A
TABLE OF CONTENTS ______________________________________________________________________________________________________
BRS PARACHUTE INSTALLATION CHECK LIST . . . . . . . . . . . . . . . . . . . . . 5 PARTS – ROCKET AND ACTIVATION ASSEMBLY . . . . . . . . . . . . . . . . . . . . . 6 CTSW BRS-6 PARACHUTE 1350 HS ASSEMBLY . . . . . . . . . . . . . . . . . . . . . 7 HARNESS DIAGRAM OVER-VIEW . . . . . . . . . . . . . . . . . . . . . . . . . . . . . 8 HARNESS GEOMETRY IN DESCENT CONDITION . . . . . . . . . . . . . . . . . . . . . 9 PART LIST- CTSW AIRCRAFT 1350 HS PARACHUTE . . . . . . . . . . . . . . . . . . 10 1. ROCKET ASSEMBLY AND PARACHUTE INSTALLATION . . . . . . . . . . . . . . . 11 2. FRONT HARNESSES INSTALLATION . . . . . . . . . . . . . . . . . . . . . . . . . . 15 3. REAR HARNESS INSTALLATION . . . . . . . . . . . . . . . . . . . . . . . . . . . . . 16 4. ACTIVATION HANDLE AND HOUSING INSTALLATION . . . . . . . . . . . . . . . 18 5. CONNECTING ACTIVATION CABLE TO THE ROCKET . . . . . . . . . . . . . . . . 20 6. PLACARD PLACEMENT . . . . . . . . . . . . . . . . . . . . . . . . . . . . . . . . . . 23

BRS Doc.: Parachute Installation Manual – BRS-1350 HS Flight Design GmbH, CTSW Aircraft Page 5 of 24 BRS Document Number 020008-PM Rev. A
TWO FRONT AND ONE REAR HARNESSES installed as per INSTALLATION MANUAL.
ROCKET assembled as per Dwg. 020012-01 (Instructions shipped with rocket fuel box.)
ROCKET installed into LAUNCH TUBE (item 1) secured with NYLON SCREWS (item 5)
ROCKET connected to ROCKET MOUNT. LOCTITE on SCREWS (Item 15)
Parachute unit installed and checked for security.
All THREE KEVLAR HARNESSES attached to LINK (Item 17) on CANISTER. Gate closed.
ACTIVATION HANDLE ASSEMBLY installed as per INSTALLATION MANUAL.
ACTIVATION HANDLE HOUSING ASSEMBLY connected to ROCKET as per BRS Drwg. 610 –A.
Ensure SAFETY PIN WITH FLAG installed into ACTIVATION ASSEMBLY.
ACTIVATION HANDLE HOUSING ASSEMBLY mounted securely and routed with no tight bend radiuses along routing path.
PLACARDS applied to aircraft as per INSTALLATION MANUAL.
BRS Owners Manual (BRS # 020000) and Installation Guide (#020001) delivered with aircraft.
BRS PARACHUTE INSTALLATION CHECKLIST
Flight Design GmbH, CTSW Aircraft
This checklist must be completed and signed by installing mechanic or certified aircraft assembly technician. Detach and return signed copy to BRS Inc. along with required installation photos for registration and quality control purposes. Note: If parachute assembly and rocket are installed in separate locations, the first installers should sign and make copy for themselves. Send the uncompleted Installation Checklist along to the final installers, who will make the final signatures, make a copy and send to BRS. BRS Unit Serial Number:_____________________
Aircraft N # :_____________________________ Acft. Serial Number__________________________
Parachute /Harness installed by:_____________________________________ Date:______________
Rocket install completed by: ________________________________________ Date: _____________

BRS Doc.: Parachute Installation Manual – BRS-1350 HS Flight Design GmbH, CTSW Aircraft Page 6 of 24 BRS Document Number 020008-PM Rev. A
PARTS – ROCKET AND ACTIVATION ASSEMBLY

BRS Doc.: Parachute Installation Manual – BRS-1350 HS Flight Design GmbH, CTSW Aircraft Page 7 of 24 BRS Document Number 020008-PM Rev. A
CTSW BRS-6 PARACHUTE 1350 HS ASSEMBLY

BRS Doc.: Parachute Installation Manual – BRS-1350 HS Flight Design GmbH, CTSW Aircraft Page 8 of 24 BRS Document Number 020008-PM Rev. A
HARNESS DIAGRAM OVER VIEW

BRS Doc.: Parachute Installation Manual – BRS-1350 HS Flight Design GmbH, CTSW Aircraft Page 9 of 24 BRS Document Number 020008-PM Rev. A
HARNESS GEOMETRY IN DESCENT CONDITION

BRS Doc.: Parachute Installation Manual – BRS-1350 HS Flight Design GmbH, CTSW Aircraft Page 10 of 24 BRS Document Number 020008-PM Rev. A
PARTS LIST – CTSW AIRCRAFT 1350 HS PARACHUTE
ITEM QTY. PART NO. DESCRIPTION
1 1 008408-01 RKT.BASE/TUBE/ IGN. ASSY BRS 600
2 3 005033-01 PLUG, CAP, SMALL
3 1 004035-01 SCREW, 10-24 X 5/8
4 1 004055-01 WASHER, EXT. TOOTH, #10 S.S.
5 3 17100 SCREW, NYLON 10-32 X 3/4”
6 2 17004 SCREW, 10-24 X 3/8”
7 1 002586-01 O-RING, BASE
8 1 009205-01 RKT. AFT BULKHD ASSY.
9 2 008399-01 FUEL ASSY, BRS 600
10 1 14112 O-RING, SPACER
11 1 14113 ORTMAN LOCK KEY
12 1 002102-01 CASE, MOTOR BRS-600
13 1 14104 COLLAR ASSY, PICK-UP
14 2 017104-01 SCREW, 8-32 x ¾ SPECIAL
15 4+3 004042-01 SCREW ¼-20 X ¾”
16 1 008939-01 1350 HS CAN SHORT MOUNT
17 1 005061-01 LINK, QUICK ½” SS
18 4 004025-01 CABLE TIE, PLASTIC 4”
19 22 004000-01 CABLE TIE, PLASTIC, 10 ¾”
20 1 008040-05 30” ACTIVATION ASSY
21 1 5204 CONE, ROCKET
22 11+3 004001-01 NUT, NYLOCK ¼-20
23 20+6 004010-01 WASHER, ¼”
24 2 007395-17 KEVLAR FRONT HARNESS (B157/132C)
25 1 006230-01 LABEL “STAY CLEAR, DANGER”
26 3 006231-01 LABEL “BALLISTIC WARNING”
27 1 006206-11 LABEL, BRS 6 LOGO
28 1 007395-15 KEVLAR REAR HARNESS (B145/120C)
29 1 003193-01 BRACKET, HANDLE MOUNT, BULKHEAD

BRS Doc.: Parachute Installation Manual – BRS-1350 HS Flight Design GmbH, CTSW Aircraft Page 11 of 24 BRS Document Number 020008-PM Rev. A
1. ROCKET ASSEMBLY AND PARACHUTE INSTALLATION. 1.1 Assemble Rocket as per Rocket
Assembly Instruction set. Attach Rocket to Canister prior to installing unit into airplane. Note the hole pattern on bottom of Rocket Launch Base. It’s unsymmetrical – it only fits on the Rocket Mount one way.
1.2 Position Rocket on Mount.
Apply small amount of blue 242 LOCTITE on three Screws (item 15) thread.

BRS Doc.: Parachute Installation Manual – BRS-1350 HS Flight Design GmbH, CTSW Aircraft Page 12 of 24 BRS Document Number 020008-PM Rev. A
1.3 Attach Rocket to the Rocket Mount.
1.4 Remove Aluminum Screws (item
14) installed at the top of the Launch Tube. Slide Pick-up Collar over Rocket and onto Launch Tube. IMPORTANT: ENSURE THAT CABLE LOOP IS PLACED TO SIDE OF THE ROCKET – NOT OVER THE TOP. DANGER! CABLE ROUTED OVER TOP WILL CAUSE DEPLOYMENT FAILURE, POSSIBLY RESULTING IN DEATH OR SERIOUS INJURY!
1.5 With Pick-up Collar positioned
properly, secure Collar by replacing Aluminum Screws (item 14). USE 242 LOCTITE ON THESE SCREWS. DO NOT OVER TIGHTEN. Not more than 5 in/lbs of torque. ENSURE ROCKET LANYARDS ARE NOT ROUTED OVER TOP OF THE ROCKET!

BRS Doc.: Parachute Installation Manual – BRS-1350 HS Flight Design GmbH, CTSW Aircraft Page 13 of 24 BRS Document Number 020008-PM Rev. A
1.6 Rotate (do not pull) Actuator on
bottom end of Rocket until larger, unthreaded hole is facing away from Canister.
1.7 Install Rocket Cone with larger
access hole also facing away from Canister, to facilitate installation of Handle Assembly later. Apply Loc-tite 242 (blue) to thread of two Screws (item 6) and secure.
1.8 Install BRS Canister unit to aircraft
parachute frame.

BRS Doc.: Parachute Installation Manual – BRS-1350 HS Flight Design GmbH, CTSW Aircraft Page 14 of 24 BRS Document Number 020008-PM Rev. A
1.9 Use 6 Nylon Lock Nuts (unit 22) and 6 Washers (unit 23) to secure.
1.10 Check alignment of Canister and
Rocket with egress hole when installing. Use washers between mounting bracket to shim parachute for better alignment, if necessary.

BRS Doc.: Parachute Installation Manual – BRS-1350 HS Flight Design GmbH, CTSW Aircraft Page 15 of 24 BRS Document Number 020008-PM Rev. A
2. FRONT HARNESSES INSTALLATION. 2.1 Verify correct installation of
Kevlar® Front Harnesses (Item 24). There should be one harness looped around each side of the upper engine mount tube, using a “Lark’s Head” knot. They are routed up the door posts and across the cabin (just under the top skin) to the luggage/parachute compartment. These harnesses are supplied by BRS to the Flight Design factory for installation during production.
2.2 Inspect Front Harness attach
points to ensure for proper installation. Harnesses should be connected via “Larks-head” Knot to forward firewall cross member, situated between bolts with lower plate installed. Left side shown.
Right side of firewall.

BRS Doc.: Parachute Installation Manual – BRS-1350 HS Flight Design GmbH, CTSW Aircraft Page 16 of 24 BRS Document Number 020008-PM Rev. A
3. REAR HARNESS INSTALLATION. 3.1 Connect Rear Harness (item 28) to
right side landing gear leg using a “Lark’s Head” knot. Pass free end through large loop – pull up tight.
3.2 Route Harness strait up towards
aircraft ceiling and locate along the edge of back wall right hand side opening.
3.3 S-fold majority of Rear Harness,
apply three Cable Tie (item 19) and secure. To keep stowed Harness from moving around apply one more Cable Tie (item 19) and attach S-folded Rear Harness to parachute frame in position A.

BRS Doc.: Parachute Installation Manual – BRS-1350 HS Flight Design GmbH, CTSW Aircraft Page 17 of 24 BRS Document Number 020008-PM Rev. A
3.4 Attach both Front Harnesses (item 24) and one Rear Harness (item 28) to the Link (item 17) mounted on the top of the canister. Use blue 242 LOCTITE on Link threads and close the gate. S-fold majority of both Front Harnesses apply two Cable Tie (item 19) and secure.

BRS Doc.: Parachute Installation Manual – BRS-1350 HS Flight Design GmbH, CTSW Aircraft Page 18 of 24 BRS Document Number 020008-PM Rev. A
4. ACTIVATION HANDLE AND HOUSING INSTALLATION. 4.1 Slide Activation Housing through
the hole in aircraft back wall. Install Bracket Handle Mount Bulkhead (item 29) onto aircraft back wall using BRS supplied parts: 3 Screws (item 15), 6 Washers (item 23) and 3 Lock Nuts (item 22).
4.2 Attach Activation Handle to the
Bracket Handle Mount Bulkhead (item 29) using one Screw (item 15), two Washers (item 23) and one Lock Nut (item 22).
4.3 Install boot around Handle
Assembly.

BRS Doc.: Parachute Installation Manual – BRS-1350 HS Flight Design GmbH, CTSW Aircraft Page 19 of 24 BRS Document Number 020008-PM Rev. A
4.4 Route Activation Housing aft and
over the landing gear tube. Follow the red arrows on picture to see position of the Activation Housing.
4.5 Bring Activation Housing up to the
Rocket for connection. Activation Housing is located behind Lexan Screen on the left hand side of the aircraft. Read detail instruction on the next page how to connect Activation Cable to the Rocket.

BRS Doc.: Parachute Installation Manual – BRS-1350 HS Flight Design GmbH, CTSW Aircraft Page 20 of 24 BRS Document Number 020008-PM Rev. A
5. CONNECTING ACTIVATION CABLE TO THE ROCKET. WARNING: Make sure to insert Safety Pin with Flag into Activation handle before Connecting Activation Cable to the Rocket.

BRS Doc.: Parachute Installation Manual – BRS-1350 HS Flight Design GmbH, CTSW Aircraft Page 21 of 24 BRS Document Number 020008-PM Rev. A
5.1 Grasp the Activation Cable close to the Cone Adapter and insert loop into slot at aft end of Rocket Actuator.
5.2 Insert loop into slot at aft end of
Rocket Actuator. Make sure that cable loop is visible through hole in Actuator. (May need to use the flash light to see this).
5.3 When cable loop is visible through
the hole in Actuator, secure Activation Cable with Screw (item 3) and Lock Washer (item 4).

BRS Doc.: Parachute Installation Manual – BRS-1350 HS Flight Design GmbH, CTSW Aircraft Page 22 of 24 BRS Document Number 020008-PM Rev. A
5.4 Apply 242 LOCTITE to threads on Rocket Cone.
5.5 Screw Cone Adapter to Rocket
Cone.
5.6 Install Plastic Cap (item 2) to
access holes. Review this installation.

BRS Doc.: Parachute Installation Manual – BRS-1350 HS Flight Design GmbH, CTSW Aircraft Page 23 of 24 BRS Document Number 020008-PM Rev. A
6. PLACARD PLACEMENT. 6.1 Place “DANGER” sticker (item 25)
centered on egress panel on top of aircraft. Points towards front of aircraft.
6.2 Place “WARNING” sticker (item 26)
on left hand side of aircraft at upper aft corner of the door.
6.3 Place “WARNING” sticker (item 26)
on right hand side of aircraft at upper aft corner of the door.

BRS Doc.: Parachute Installation Manual – BRS-1350 HS Flight Design GmbH, CTSW Aircraft Page 24 of 24 BRS Document Number 020008-PM Rev. A
6.4 Place “WARNING” sticker (item 26) on pedestal under Activation Handle.
DANGER: REMOVE SAFETY PIN WITH FLAG FROM ACTIVATION HANDLE BEFORE FLIGHT !