art 384: introduction to 3d animationmcdo/384/384_l02.pdf · art 384: introduction to 3d animation...
TRANSCRIPT
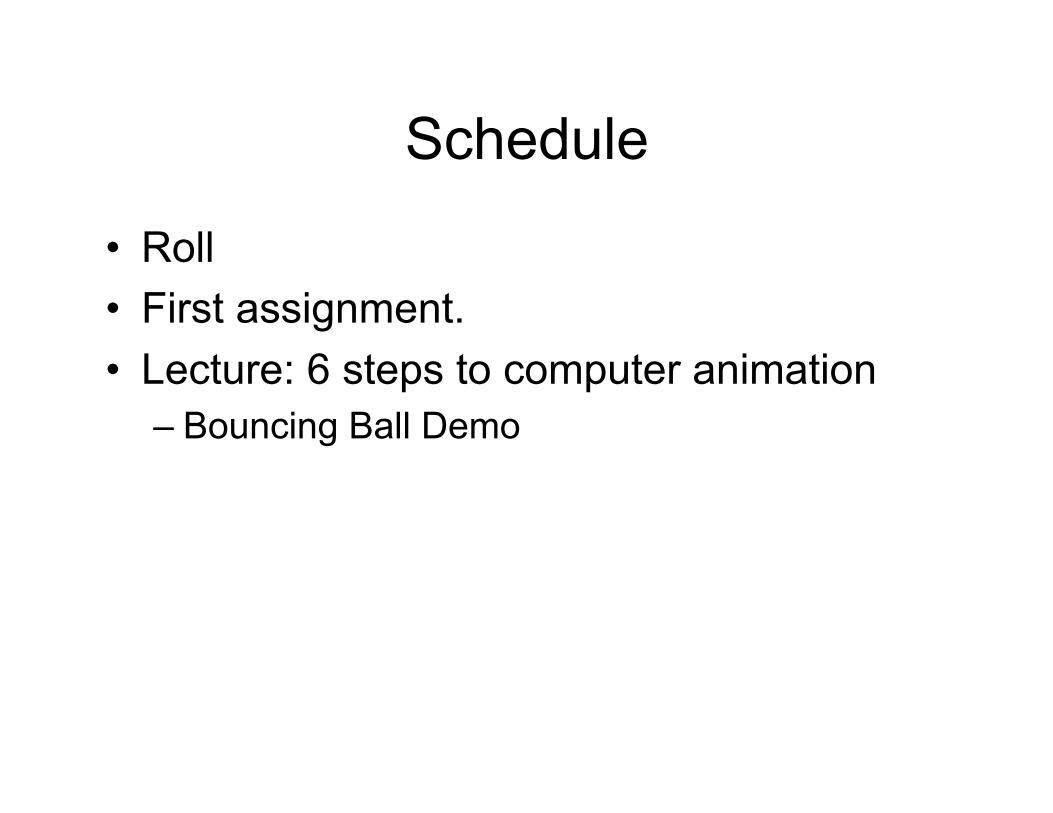
Schedule
• Roll • First assignment. • Lecture: 6 steps to computer animation
– Bouncing Ball Demo
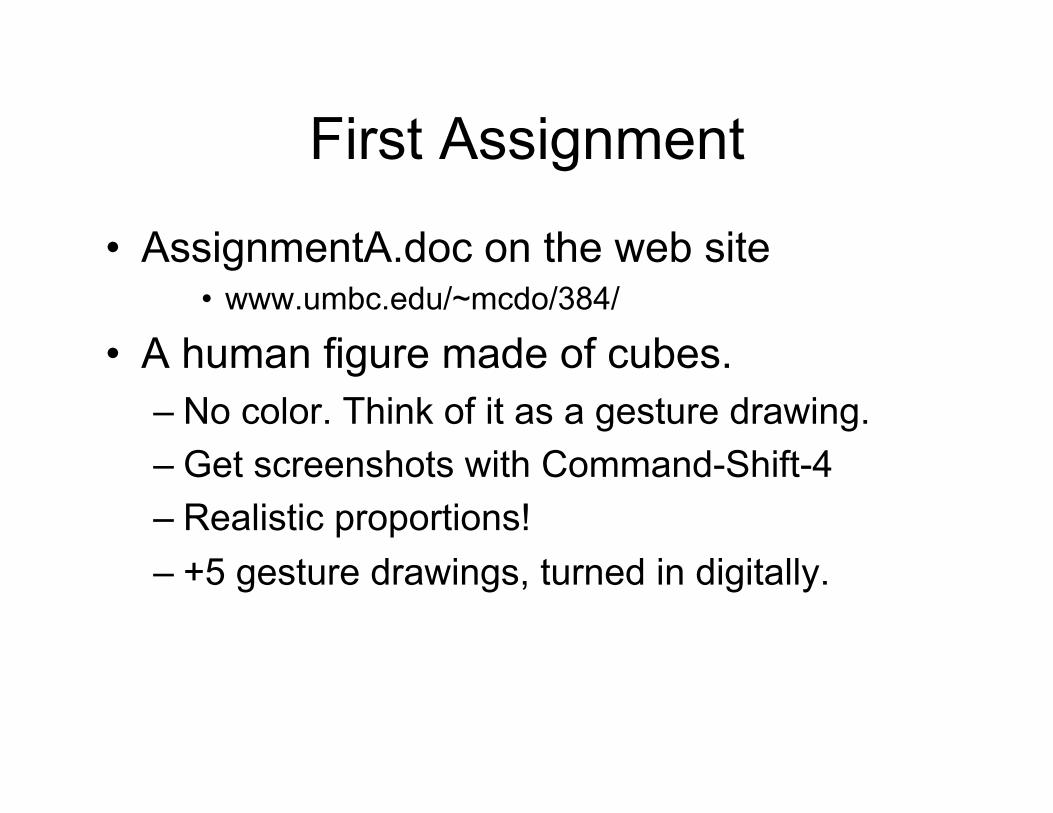
First Assignment
• AssignmentA.doc on the web site • www.umbc.edu/~mcdo/384/
• A human figure made of cubes. – No color. Think of it as a gesture drawing. – Get screenshots with Command-Shift-4 – Realistic proportions! – +5 gesture drawings, turned in digitally.
Review from last time
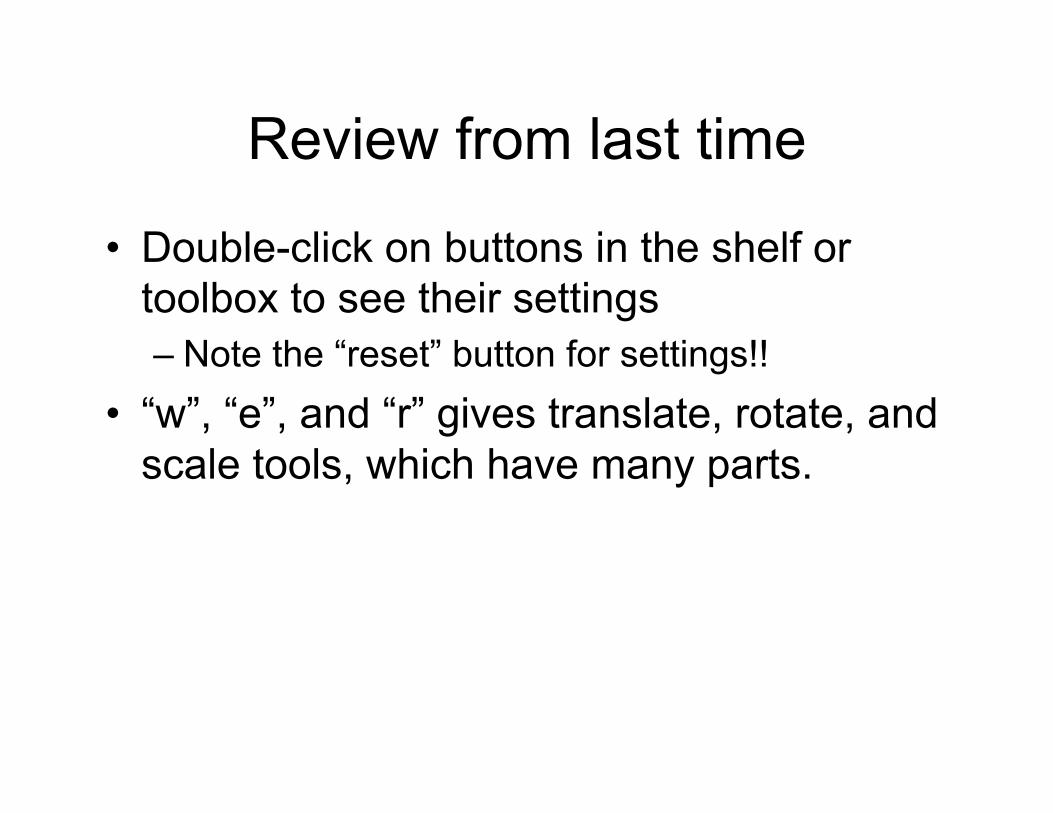
• Double-click on buttons in the shelf or toolbox to see their settings – Note the “reset” button for settings!!
• “w”, “e”, and “r” gives translate, rotate, and scale tools, which have many parts.
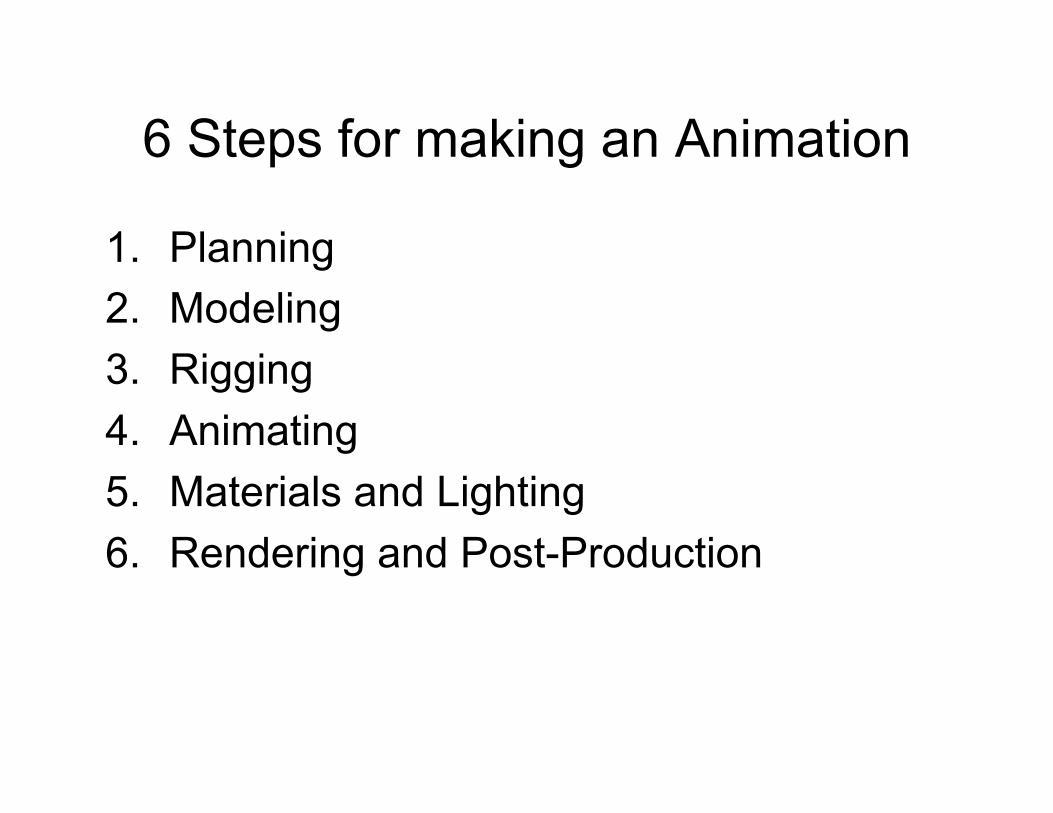
6 Steps for making an Animation
1. Planning 2. Modeling 3. Rigging 4. Animating 5. Materials and Lighting 6. Rendering and Post-Production

1. Planning
• Making a CG film is of comparable complexity to building a skyscraper.
• Business management is crucial, or you waste all your money.
• Storyboards give camera angles, shot contents, and intention
• Model plans give specifics • Art direction coordinates all content.
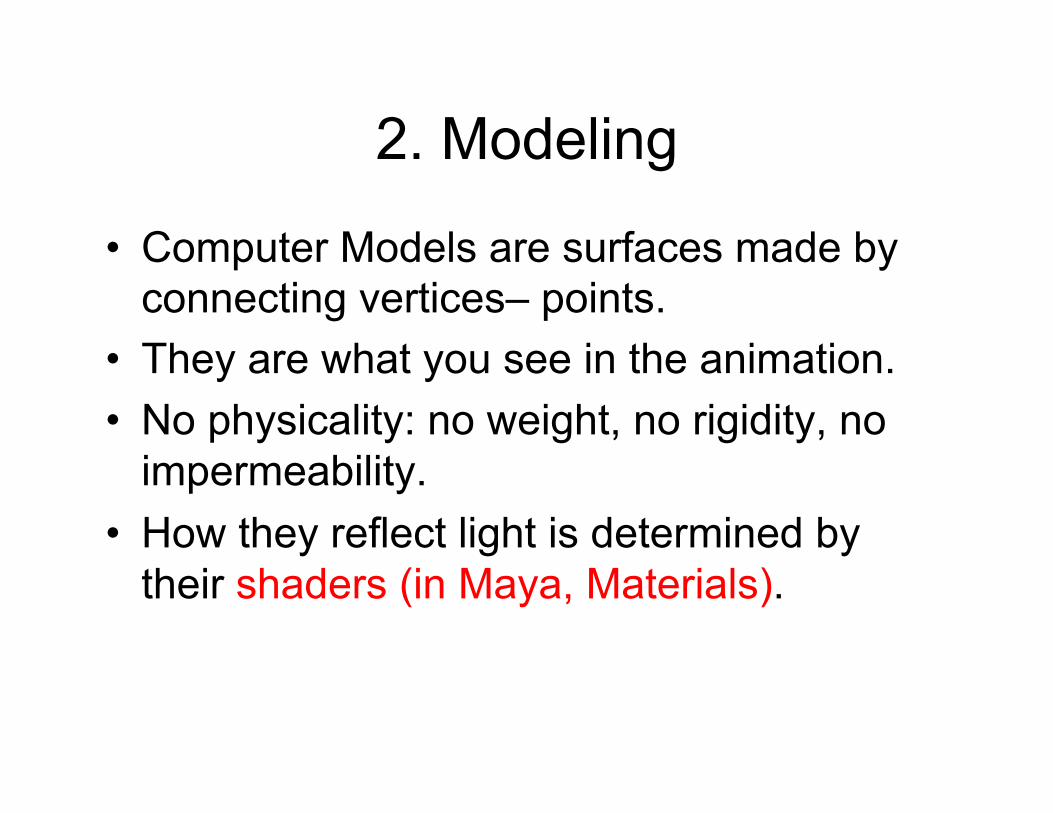
2. Modeling
• Computer Models are surfaces made by connecting vertices– points.
• They are what you see in the animation. • No physicality: no weight, no rigidity, no
impermeability. • How they reflect light is determined by
their shaders (in Maya, Materials).
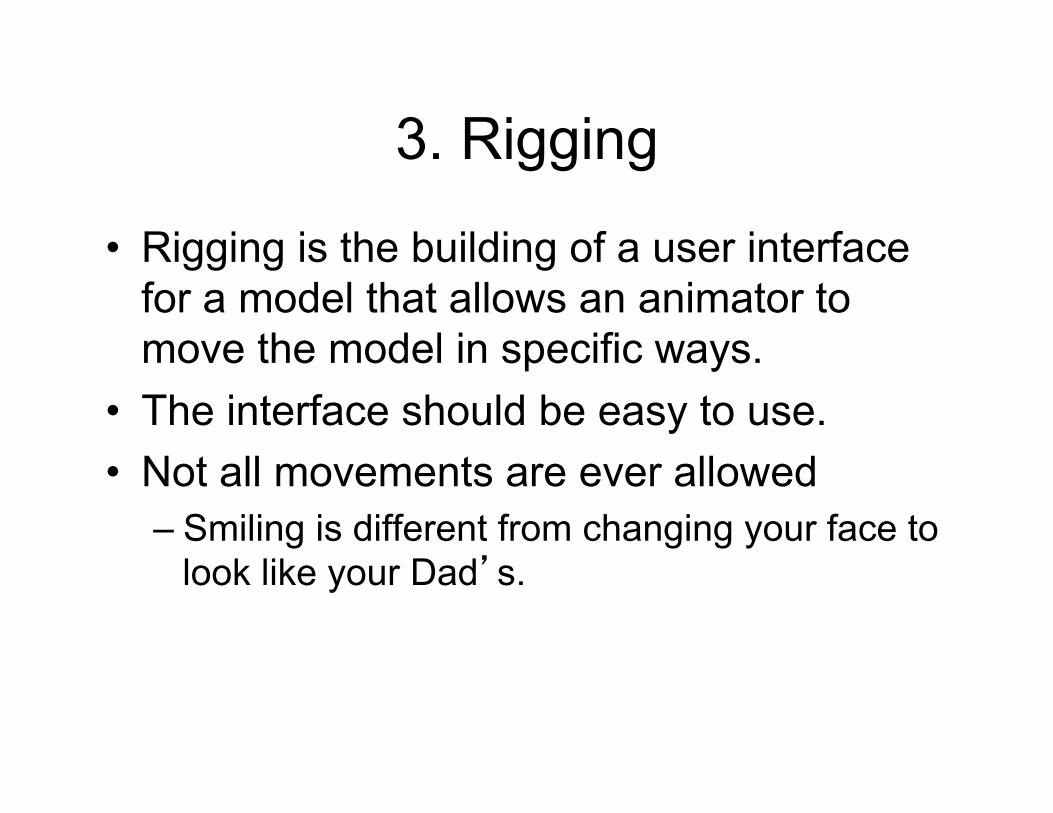
3. Rigging
• Rigging is the building of a user interface for a model that allows an animator to move the model in specific ways.
• The interface should be easy to use. • Not all movements are ever allowed
– Smiling is different from changing your face to look like your Dad’s.
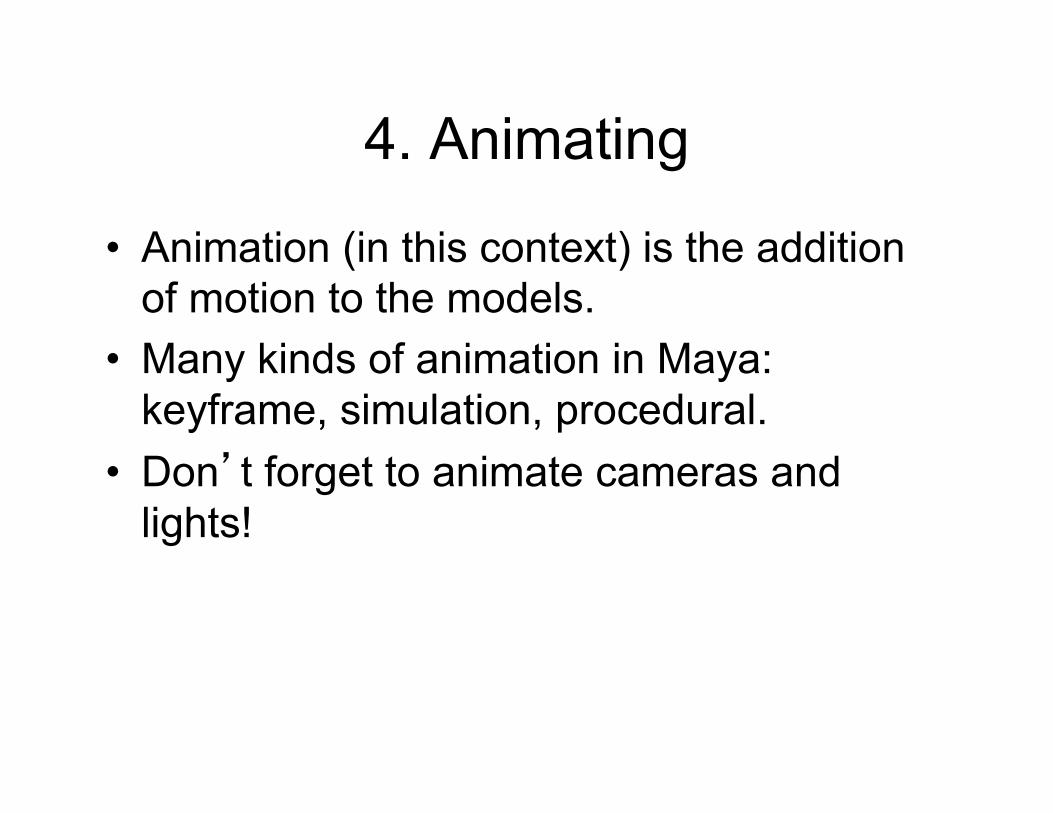
4. Animating
• Animation (in this context) is the addition of motion to the models.
• Many kinds of animation in Maya: keyframe, simulation, procedural.
• Don’t forget to animate cameras and lights!
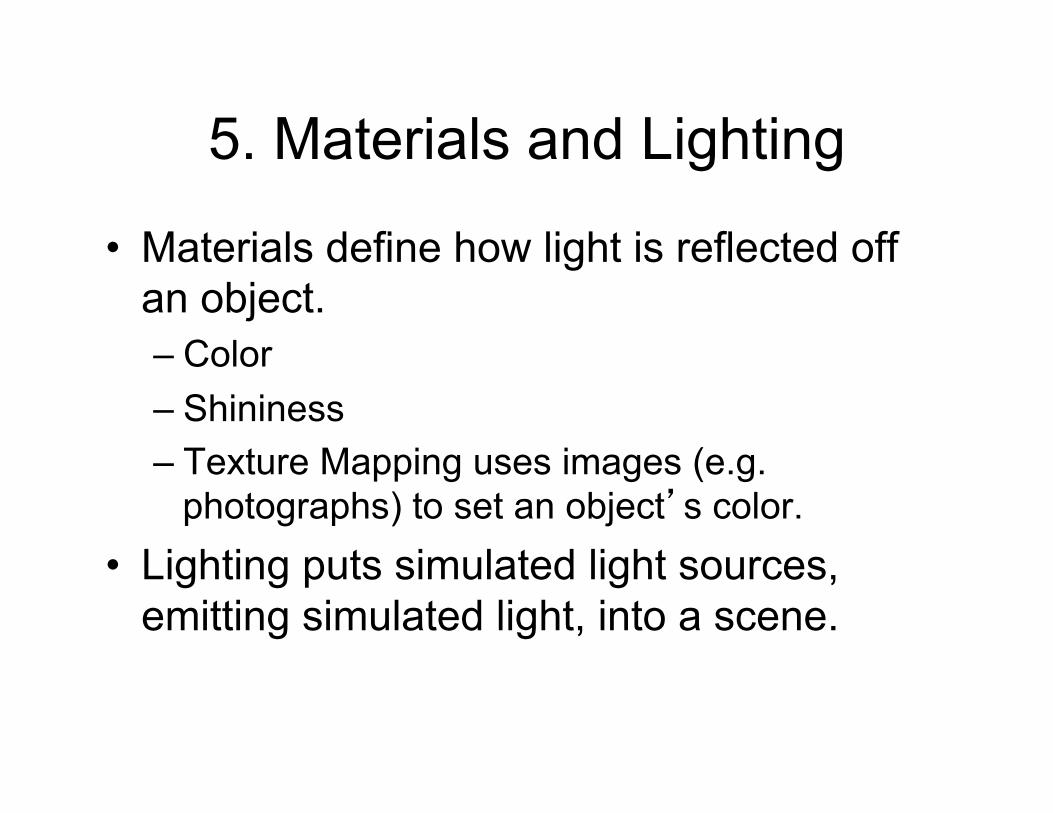
5. Materials and Lighting
• Materials define how light is reflected off an object. – Color – Shininess – Texture Mapping uses images (e.g.
photographs) to set an object’s color. • Lighting puts simulated light sources,
emitting simulated light, into a scene.
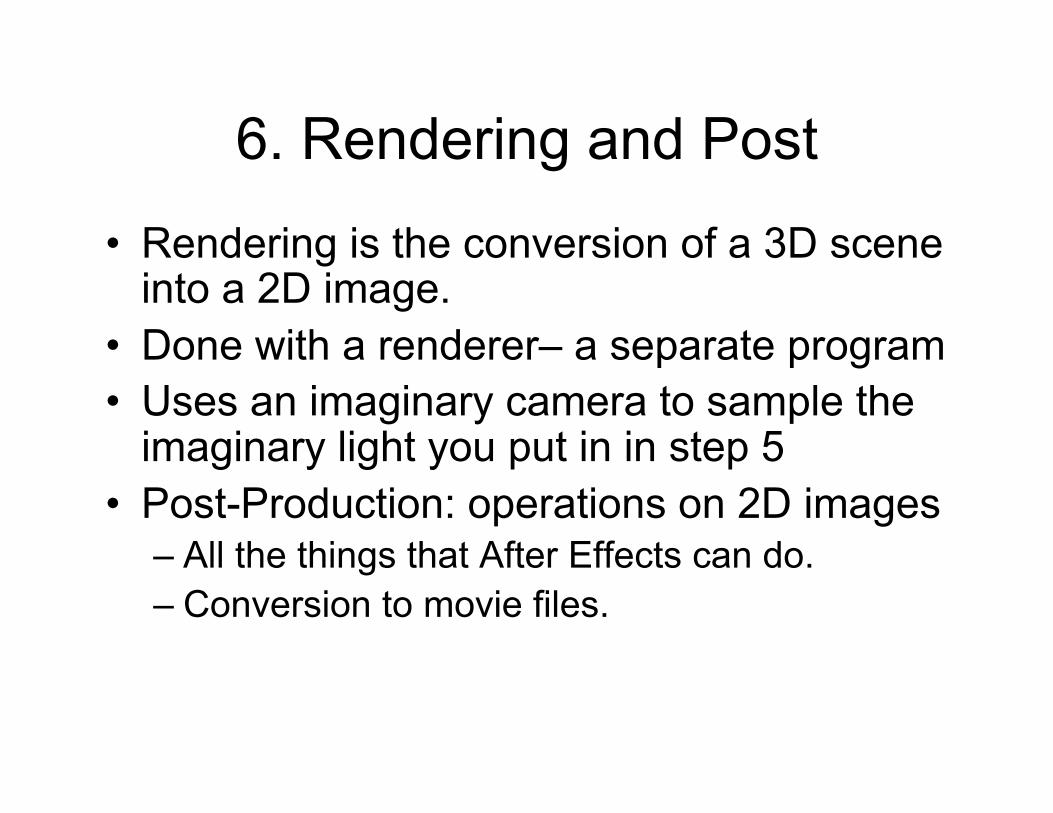
6. Rendering and Post
• Rendering is the conversion of a 3D scene into a 2D image.
• Done with a renderer– a separate program • Uses an imaginary camera to sample the
imaginary light you put in in step 5 • Post-Production: operations on 2D images
– All the things that After Effects can do. – Conversion to movie files.
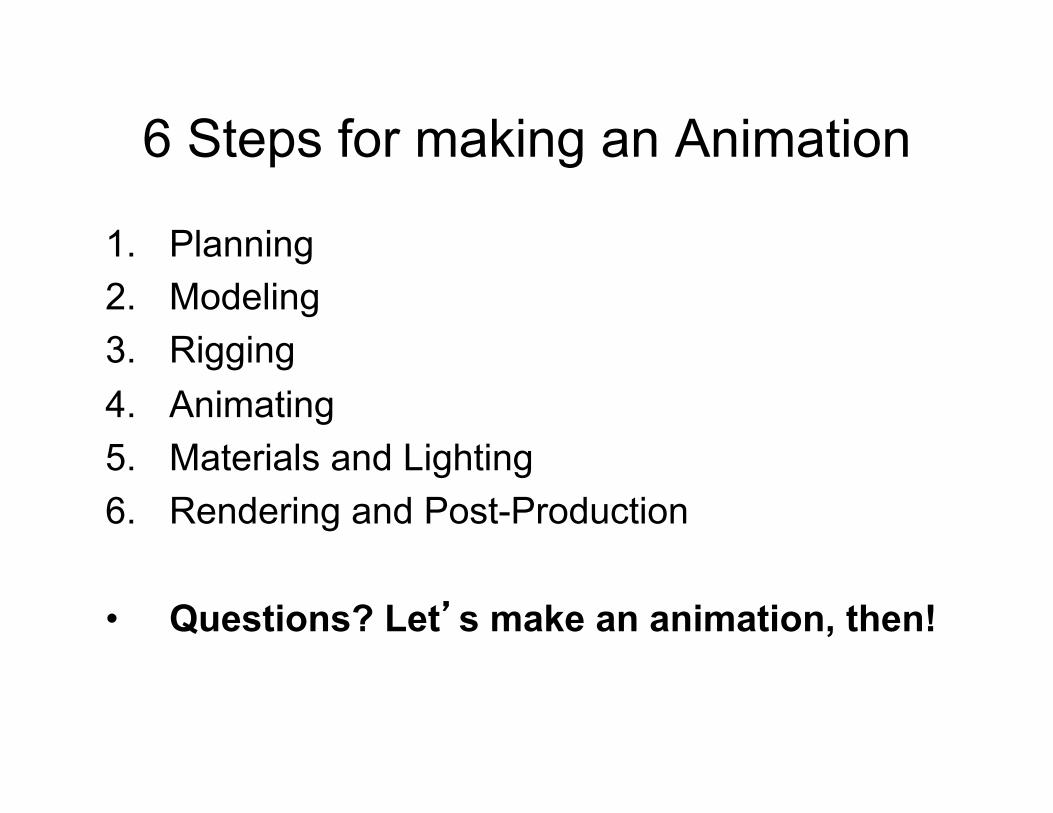
6 Steps for making an Animation
1. Planning 2. Modeling 3. Rigging 4. Animating 5. Materials and Lighting 6. Rendering and Post-Production
• Questions? Let’s make an animation, then!
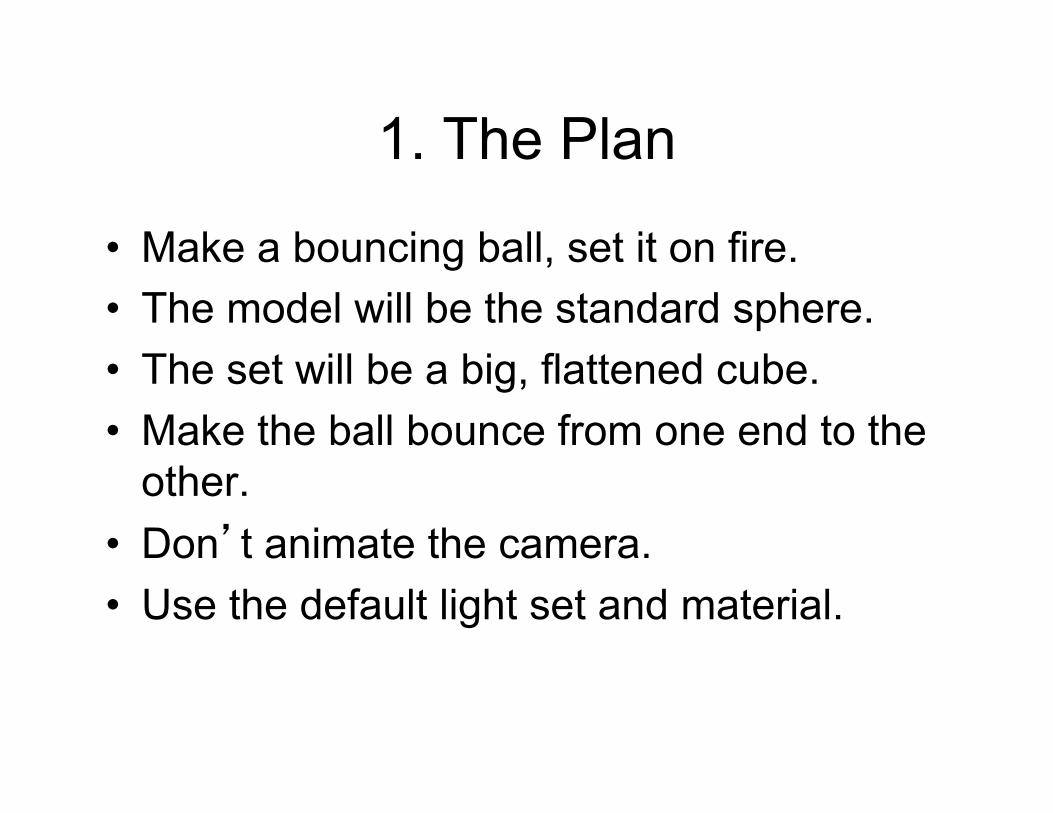
1. The Plan
• Make a bouncing ball, set it on fire. • The model will be the standard sphere. • The set will be a big, flattened cube. • Make the ball bounce from one end to the
other. • Don’t animate the camera. • Use the default light set and material.
Maya Review
• Starting up • Moving camera, switching views. • Recovering UI windows • Making spheres, cubes, etc. • Translate, Rotate, Scale, Duplicate • Projects
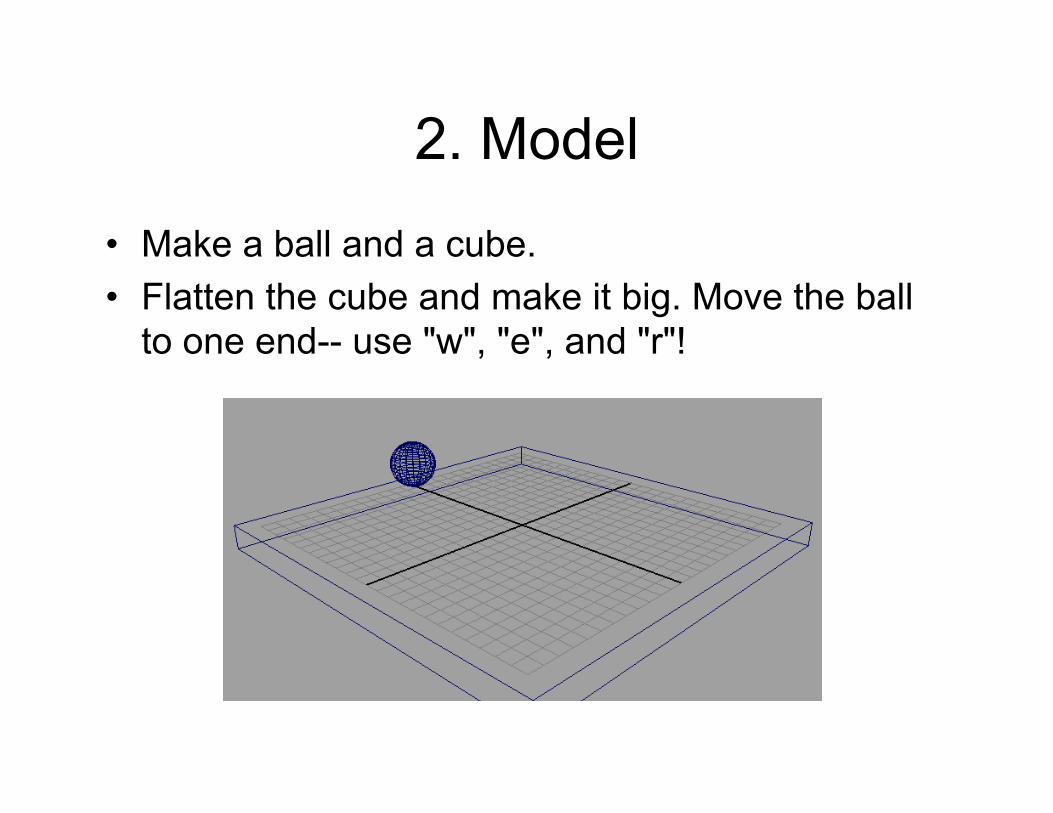
2. Model
• Make a ball and a cube. • Flatten the cube and make it big. Move the ball
to one end-- use "w", "e", and "r"!
3&4. Rig and Animate
• No rig. • We will make a keyframed animation • Keyframe animations are a set of poses that are
interpolated.
• 3 Steps to make a keyframe: – Set the frame number by dragging in the timeline. – Set the scene to be how you want it – Press the ‘s’ key.

Keyframe set! Make sure that your time slider is on frame one, then press ‘s’. The red line that appears in the timeline indicates that you have set a keyframe. Repeat the process: Slide to the last frame, Move the sphere to the other side of the table, Press ‘s’.
Troubleshooting
• Is the sphere selected when you press ‘s’? If it’s not, Maya doesn’t know what object the keyframe should move.
• Is caps-lock on? If it is, you’re not pressing ‘s’.
• Did you move the ball before you moved the time slider? If you did, the ball moves back when you move the slider.
Further Animation
• Add a keyframe at frame 12 that moves the ball up
• Change the scale at frames 1, 12 and 24, so that the ball is fat when it hits the ground and thin at the top of the arc
• Make the ball bounce 3 times by adding keyframes at 4,8,16 and 20.
5: Materials and Lighting
• We'll use all defaults-- this time.
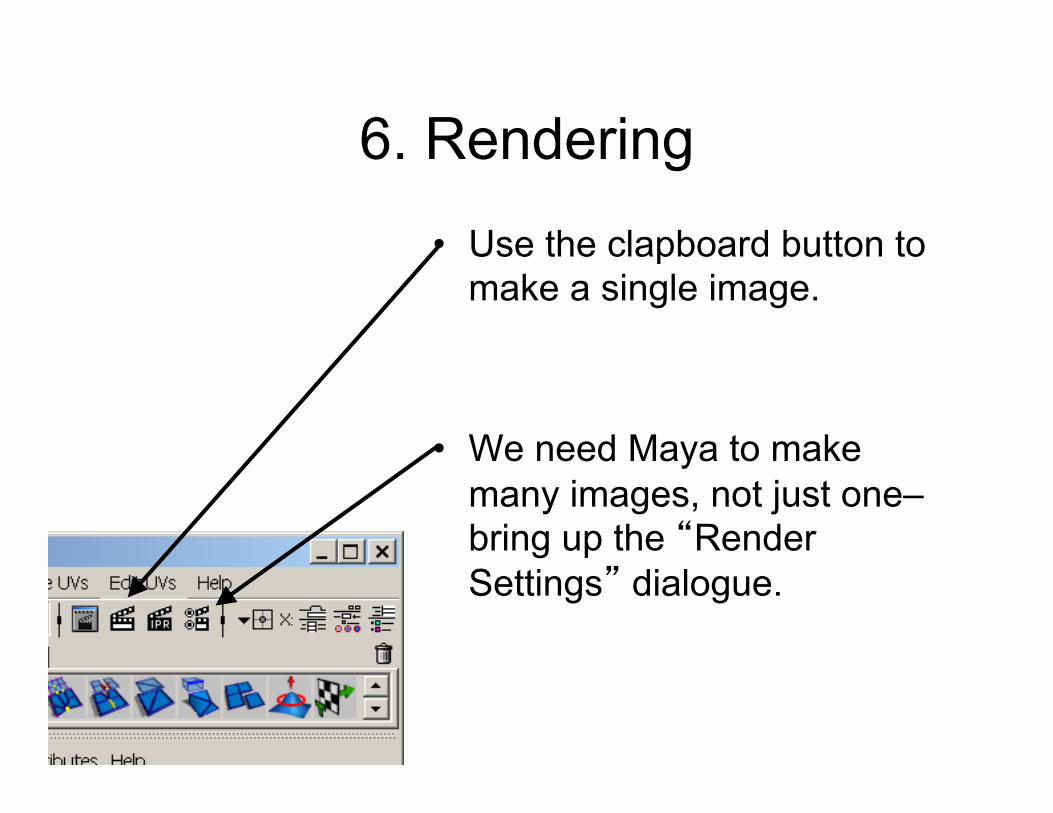
6. Rendering
• Use the clapboard button to make a single image.
• We need Maya to make many images, not just one– bring up the “Render Settings” dialogue.
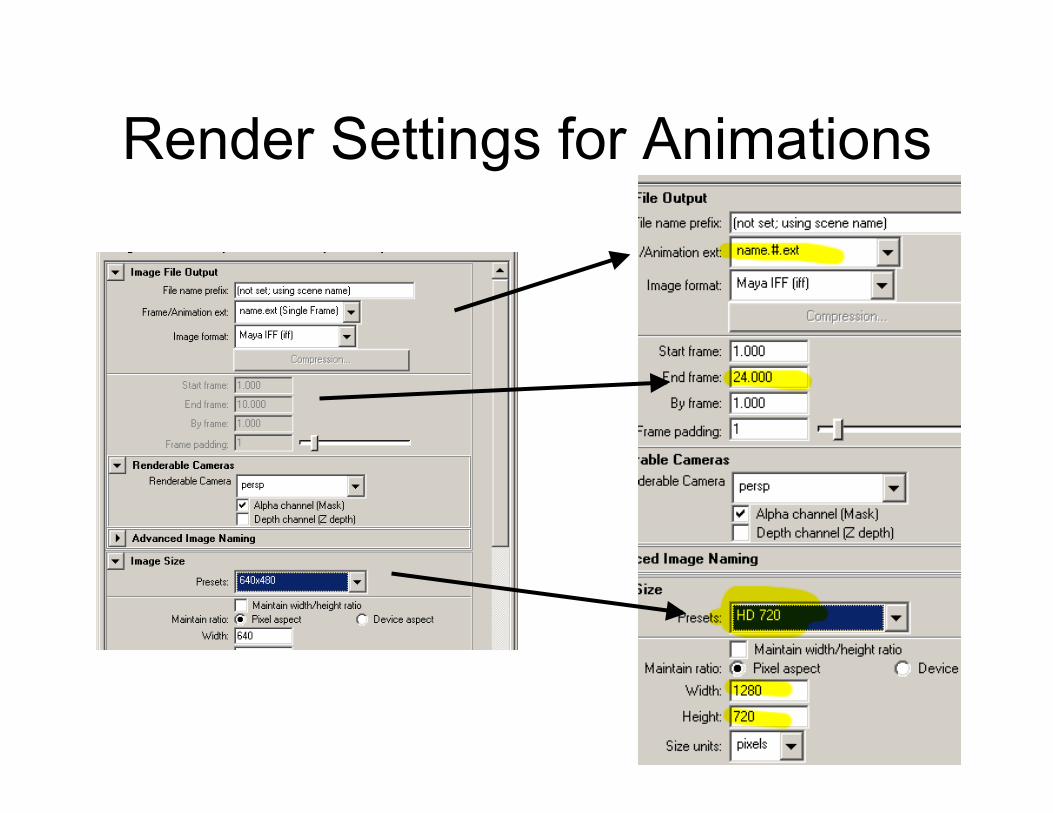
Render Settings for Animations
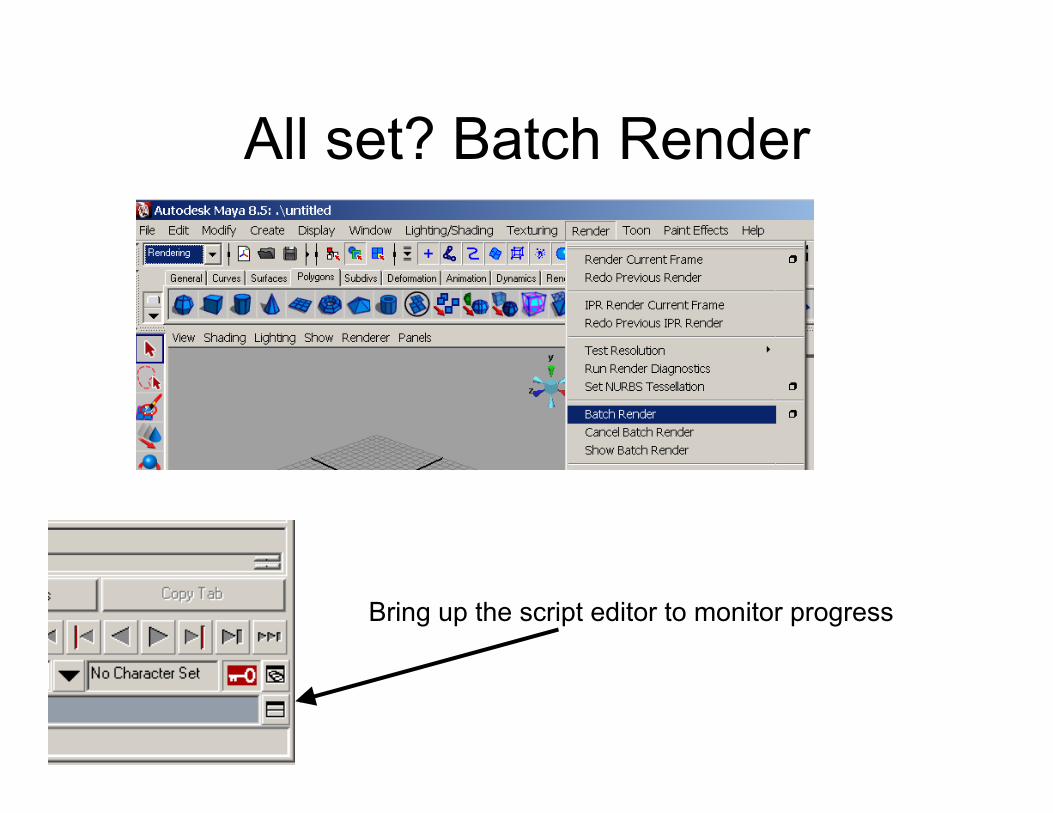
All set? Batch Render
Bring up the script editor to monitor progress

Great! Where?
There should now be 24 frames in your project directory. My what? What is that?
View in FCheck or AfterEffects.
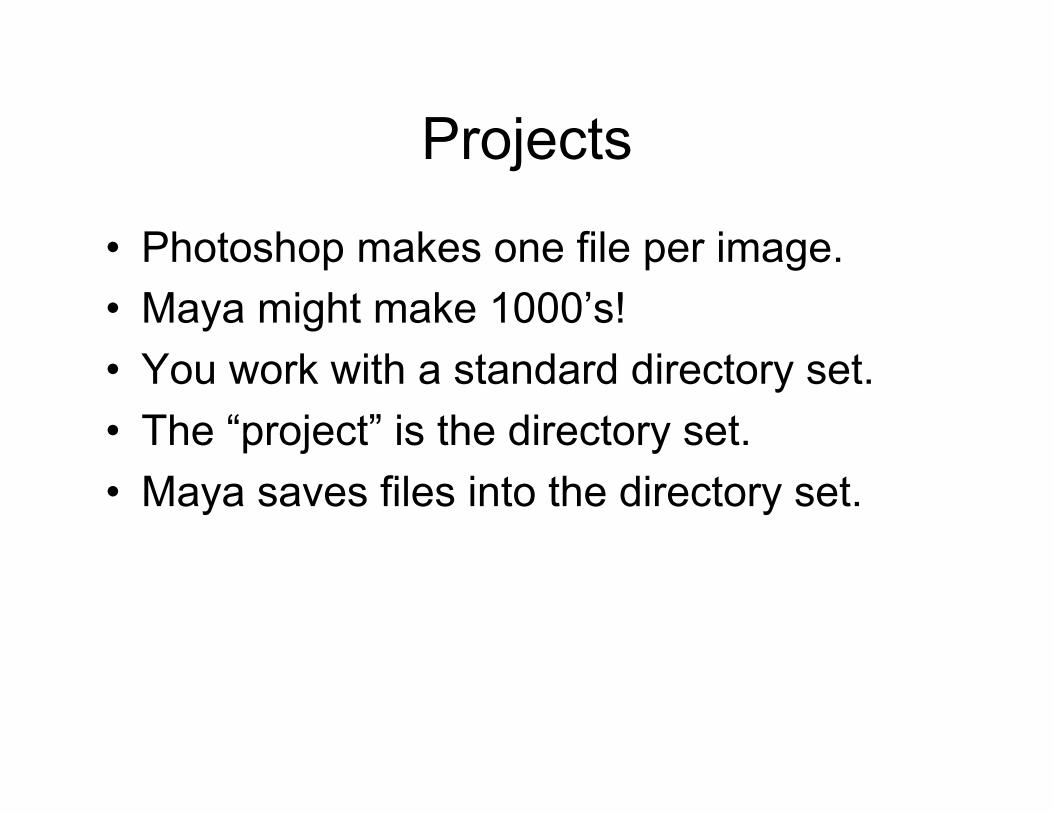
Projects
• Photoshop makes one file per image. • Maya might make 1000’s! • You work with a standard directory set. • The “project” is the directory set. • Maya saves files into the directory set.
Project Gotchas
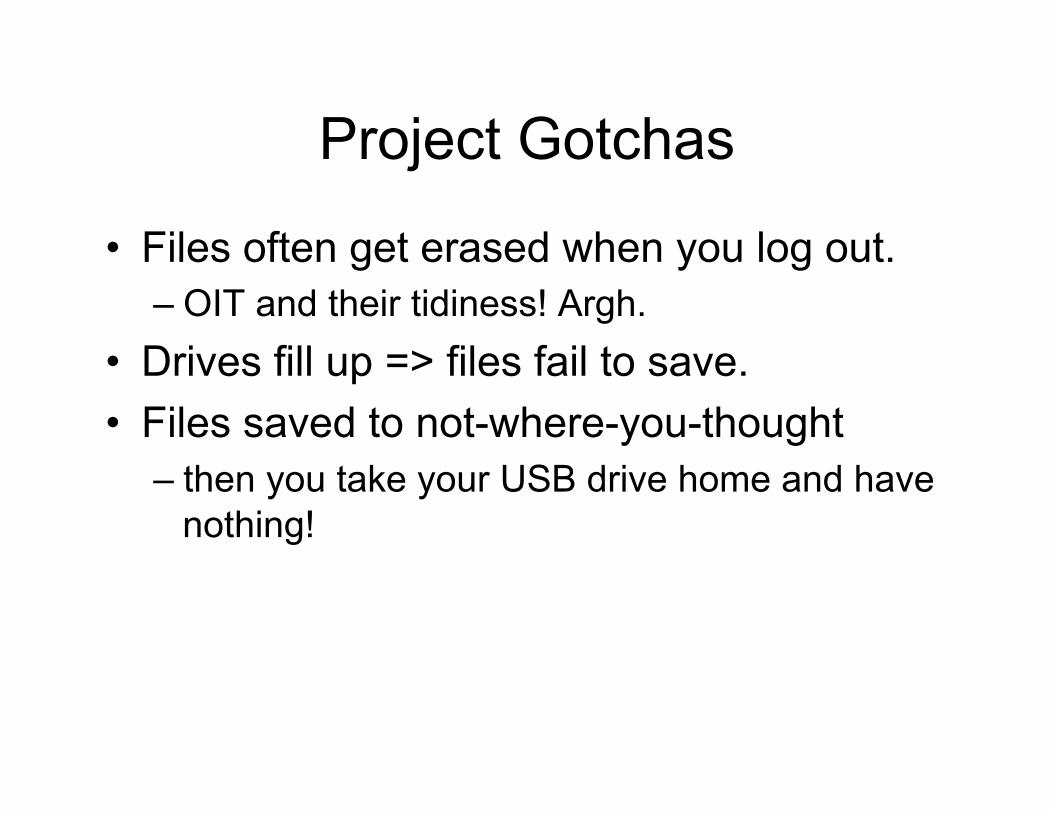
• Files often get erased when you log out. – OIT and their tidiness! Argh.
• Drives fill up => files fail to save. • Files saved to not-where-you-thought
– then you take your USB drive home and have nothing!
Setting Projects!
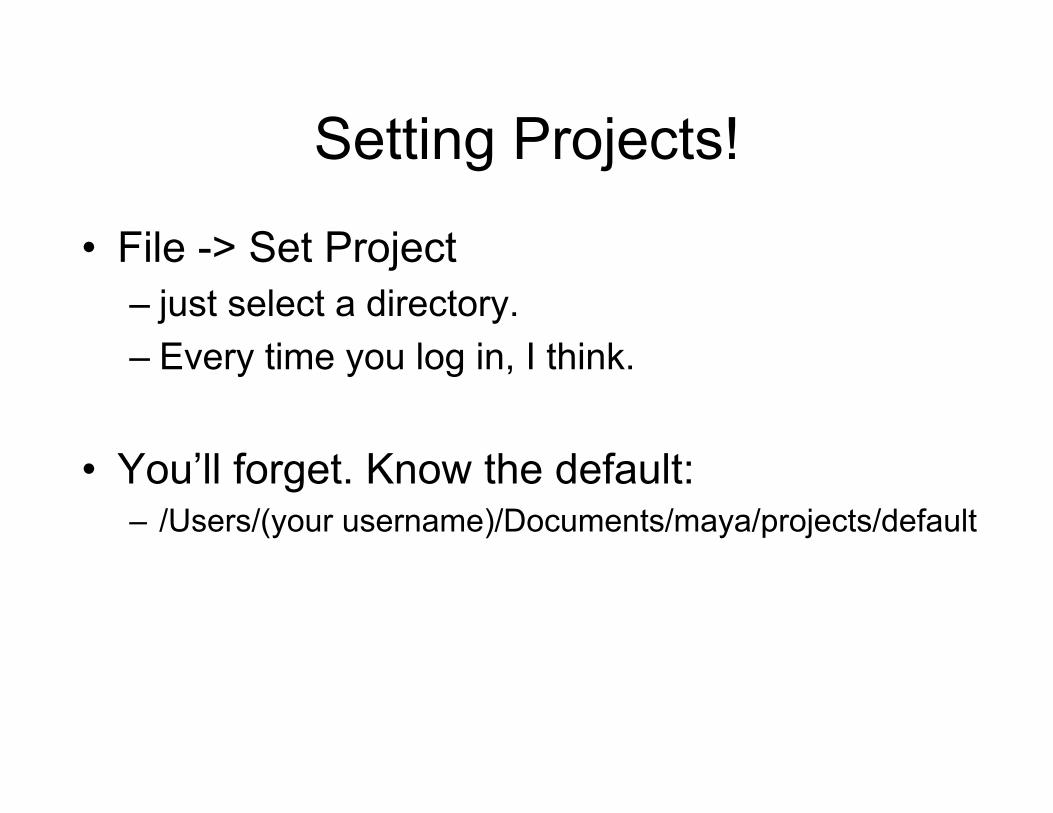
• File -> Set Project – just select a directory. – Every time you log in, I think.
• You’ll forget. Know the default: – /Users/(your username)/Documents/maya/projects/default
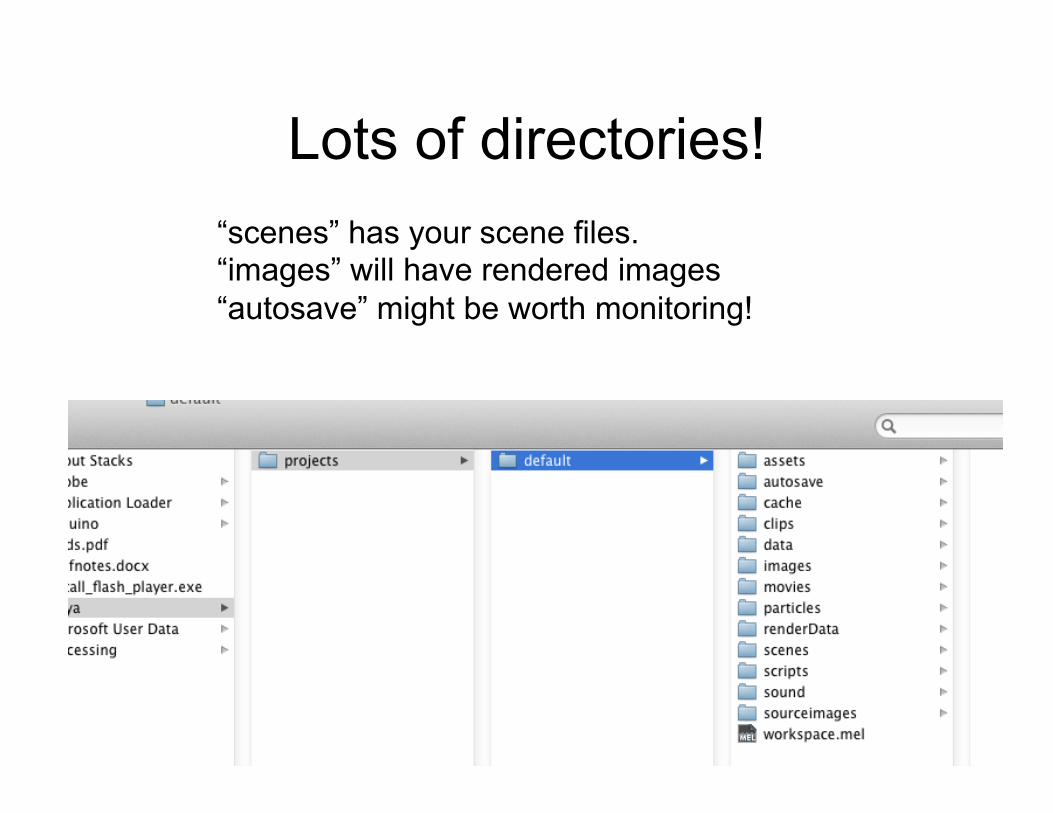
Lots of directories! “scenes” has your scene files. “images” will have rendered images “autosave” might be worth monitoring!
Maya scene files
• Files of type “.mb” or “.ma” • Contain models, animations, lights
– For now, all you need to turn in.
• Do not contain “rendered animations” – Rendering makes a series of image files. – They go into the “images” direcotry
The next assignment
• Not assigned yet.. • Implement this shot:
– A cube sits in a room – Another cube comes in – The first cube responds to the second one. – The second cube responds to the first. – The second cube leaves.
• Storyboard, animate, render, and convert to Quicktime.