applications of explicit early-z cullingearly z...
TRANSCRIPT

Applications of Explicit Early-Z Culling
Applications of Explicit Applications of Explicit EarlyEarly--Z CullingZ Culling
Jason MitchellATI Research

OutlineOutlineOutline• Architecture
– Hardware depth culling• Applications
– Volume Ray Casting– Skin Shading– Fluid Flow– Deferred Shading

Early-ZEarlyEarly--ZZ
• In past years, we’ve discussed the details of shading algorithms– Car paint– NPR– Motion Blur– HDR– Procedural shading
• Wood, überlight
• This year, we’ll discuss clever ways of using hardware designed to avoid shading

Hardware Depth CullingHardware Depth CullingHardware Depth Culling
• Culling mechanisms built into hardware– Visibility Query– Hierarchical Z– Early-Z
Visibility QueriesVisibility QueriesVisibility Queries
• Asynchronous method for determining whether some geometry would be visible
• Can be used to avoid expensive vertex processing
• Requires application-level intervention through explicit API usage
• Somewhat problematic since results are really only useful within current frame
Hierarchical ZHierarchical ZHierarchical Z
• Compressed low-resolution version of the z buffer is stored on-chip
• After vertex processing, primitives are compared with the on-chip buffer using conservative tests
• Can avoid processing of whole blocks of pixels

Early-ZEarlyEarly--ZZ
• For pixels which pass Hierarchical Z, a test against the actual z buffer is done prior to execution of the pixel shader
• Can avoid execution of pixel shader• On current ATI chips, if the pixel shader
computes and writes z then Hi-Z and Early-Z are disabled– Of course, they are available again on
subsequent passes

Being Clever with Early-ZBeing Clever with EarlyBeing Clever with Early--ZZ
• Some applications don’t need z for hidden surface removal– Volume Raycasting– Image-space skin lighting– Fluid flow simulation
• Some other applications don’t need z after a certain point– Deferred shading
• Hence, you can think of z as a control code which can be used to control processing– You’ll sometimes see this called a Computation Mask
Ray-CastingRayRay--CastingCasting
• In their IEEE Vis 2003 paper “Acceleration Techniques for GPU-based Volume Rendering,” Jens Krüger and Rüdiger Westermann made explicit use of Early-Z to optimize ray-casting
• Their rendering operations semantically render the right picture in the absence of Early-Z hardware, but are designed specifically for the case where Early-Z hardware is really there

MotivationMotivationMotivation
• Volume datasets are often sparse or opaque• Would like to be able to shade only those fragments that are visible
and skip the rest– Early ray termination– Empty space skipping
onlyonly 2% of all 2% of all fragmentsfragments visiblevisible
SBVR vs. RaycasterSBVR vs. RaycasterSBVR vs. Raycaster
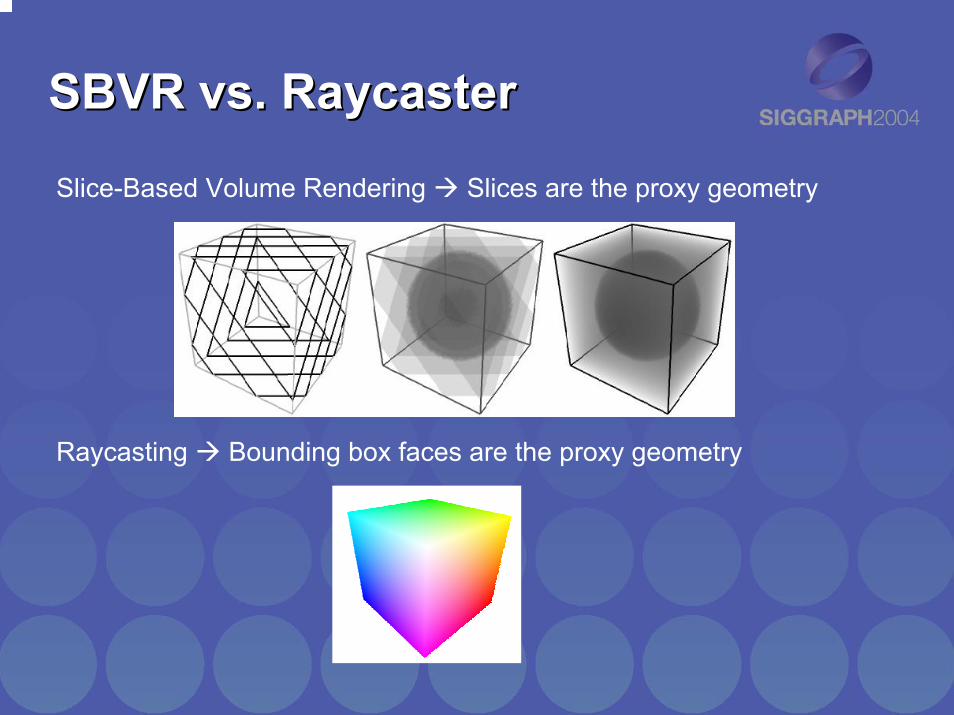
Slice-Based Volume Rendering Slices are the proxy geometry
Raycasting Bounding box faces are the proxy geometry

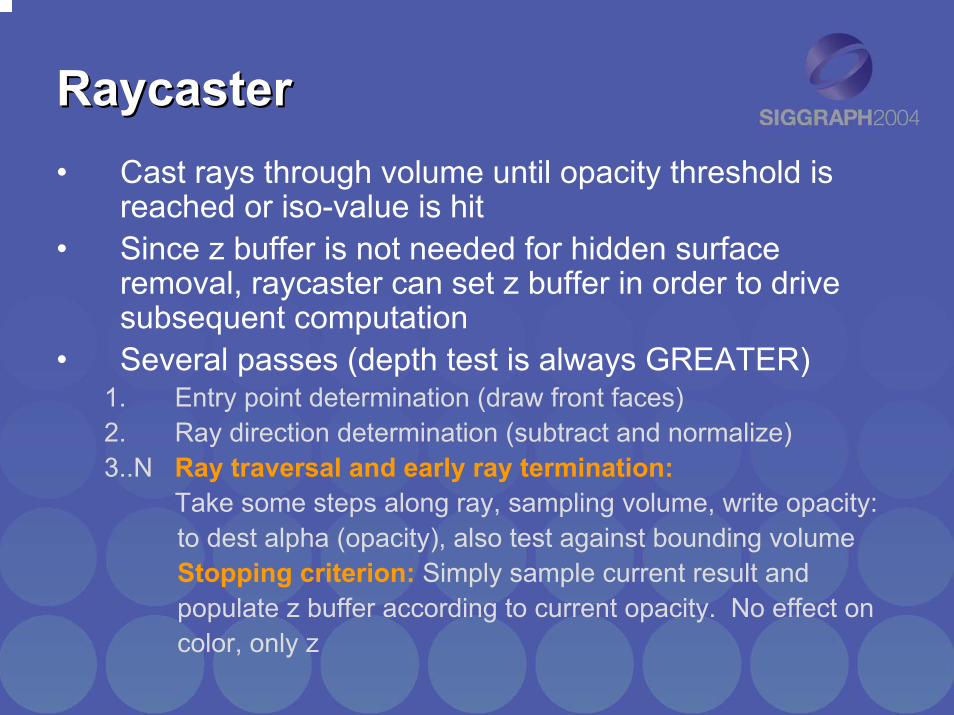
RaycasterRaycasterRaycaster• Cast rays through volume until opacity threshold is
reached or iso-value is hit• Since z buffer is not needed for hidden surface
removal, raycaster can set z buffer in order to drive subsequent computation
• Several passes (depth test is always GREATER)1. Entry point determination (draw front faces)2. Ray direction determination (subtract and normalize)3..N Ray traversal and early ray termination:
Take some steps along ray, sampling volume, write opacity:to dest alpha (opacity), also test against bounding volumeStopping criterion: Simply sample current result andpopulate z buffer according to current opacity. No effect oncolor, only z
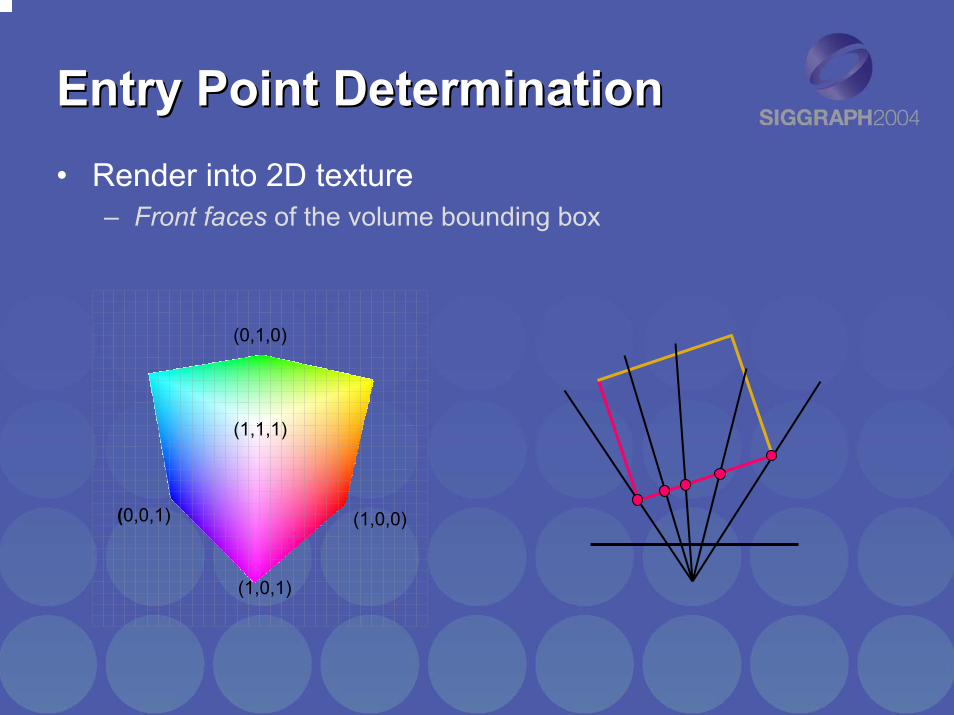
Entry Point DeterminationEntry Point DeterminationEntry Point Determination• Render into 2D texture
– Front faces of the volume bounding box
(1,1,1)
(0,1,0)
(0,0,1)
(1,0,1)
(1,0,0)

Ray Direction DeterminationRay Direction DeterminationRay Direction Determination• Render into 2D texture
– Back faces of the volume bounding box– Subtract from entry point texture to get ray direction
(0,1,0)
(1,0,1)
(0,0,1)
(0,0,0)
(1,0,0)
(1,1,1)
(0,1,0)
(0,0,1)
(1,0,1)
(1,0,0)
subtractsubtract
RaycasterRaycasterRaycaster• Cast rays through volume until opacity threshold is
reached or iso-value is hit• Since z buffer is not needed for hidden surface
removal, raycaster can set z buffer in order to drive subsequent computation
• Several passes (depth test is always GREATER)1. Entry point determination (draw front faces)2. Ray direction determination (subtract and normalize)3..N Ray traversal and early ray termination:
Take some steps along ray, sampling volume, write opacity:to dest alpha (opacity), also test against bounding volumeStopping criterion: Simply sample current result andpopulate z buffer according to current opacity. No effect oncolor, only z

Raycaster ResultsRaycaster ResultsRaycaster Results
• Gains up to 3x• Can also suspend and restart rays using a
coarse volume • Please refer to the paper for more details

Skin ShadingSkin ShadingSkin Shading
• Most lighting comes from sub-surface scattering
• Traditional Lambertian lighting model is designed for hard surfaces with no sub-surface scattering so it doesn’t work well for skin

Previous workPrevious workPrevious work
• From Realistic Human Face Rendering for “The Matrix Reloaded” @ SIGGRAPH 2003:
• Our results:
From Matrix: Reloaded sketch
Current skin in Real Time
Basic ApproachBasic ApproachBasic Approach
• SIGGRAPH 2003 sketch Realistic Human Face Rendering for “The Matrix Reloaded”by George Borshukov and J. P. Lewis
• Rendered a 2D light map• Approximate subsurface diffusion in image
domain (different for each color component)
• Used traditional ray tracing for areas where light can pass all the way through (e.g. ears)

Texture Space LightingTexture Space LightingTexture Space Lighting
• Render diffuse lighting into an off-screen texture, unwrapping the character’s head
• Blur the off-screen diffuse lighting• Read the texture back and add specular
lighting in subsequent pass• We only used bump map for the specular
lighting pass

Standard Lighting ModelStandard Lighting ModelStandard Lighting Model

Blurred Lighting ModelBlurred Lighting ModelBlurred Lighting Model

Using Early-Z for CullingUsing EarlyUsing Early--Z for CullingZ for Culling
• This texture-space operation doesn’t need the z buffer for hidden surface removal
• Can use Early-Z to cull computations– Back face culling– Distance and frustum culling
• Set z buffer on lighting pass according to distance from viewer and facing-ness of polygons
• Reduces cost of image-space blurs in regions that don’t need it

Back Face CullingBack Face CullingBack Face Culling
Back facing pixels culled using early-zBack facing pixels culled using early-z
Over the shoulder view of RubyOver the shoulder view of Ruby

More Skin Shading DetailsMore Skin Shading DetailsMore Skin Shading Details
• See the GPU2 Sketch session on Thursday @ 3:45 in Petree Hall C for more details on this real-time technique– Shadow mapping– Spatially-varying blur

Fluid FlowFluid FlowFluid Flow
• Fluid flow and other kinds of simulation are now possible on the GPU
• We can use Early-Z to cull computations in some cases, since the z buffer is not needed for traditional hidden surface removal
• Fluid flow can be sparse, making it a candidate for Early-Z optimizations
• Can reduce computation in areas of low pressure to achieve faster / better simulation results

Fluid Simulation StepsFluid Simulation StepsFluid Simulation Steps
1. Insert flow into density buffer2. Insert flow into velocity buffer3. Advect density4. Advect velocity5. Projection step (up to 30 passes)

Flow Density and PressureFlow Density and PressureFlow Density and PressureDensity Pressure

Flow Density and PressureFlow Density and PressureFlow Density and Pressure
PressureDensity
Fluid Simulation StepsFluid Simulation StepsFluid Simulation Steps
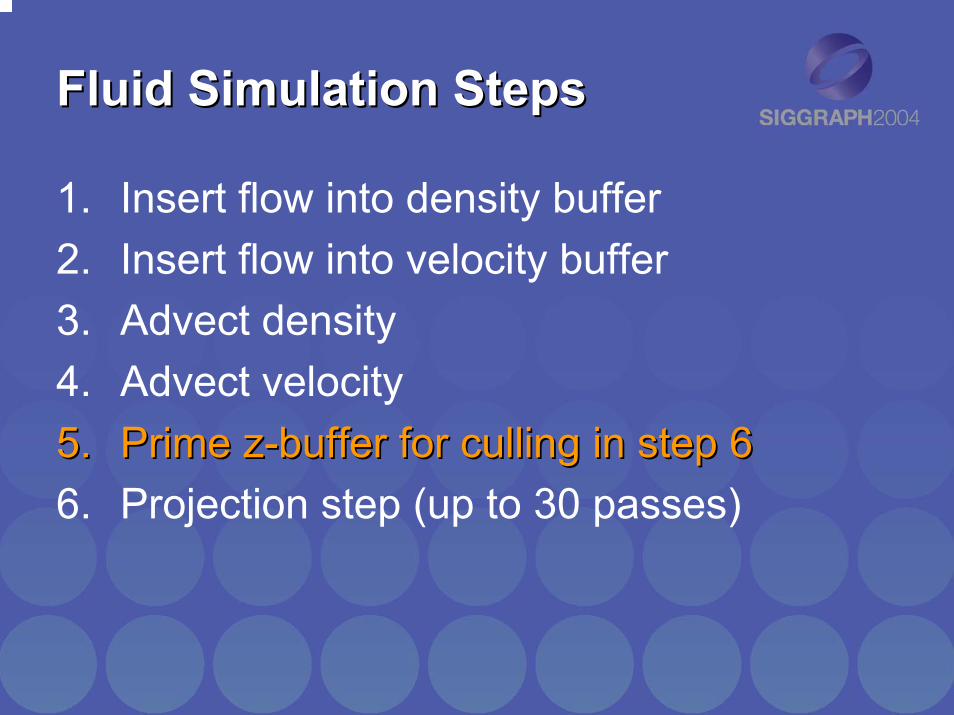
1. Insert flow into density buffer2. Insert flow into velocity buffer3. Advect density4. Advect velocity5.5. Prime zPrime z--buffer for culling in step 6buffer for culling in step 66. Projection step (up to 30 passes)
Iterations Vary With PressureIterations Vary With PressureIterations Vary With Pressure
• Assume that low-pressure regions need fewer iterations
• Set z buffer according to pressure buffer• Draw 30 full screen quads in projection step
– Vary the z from quad to quad so that the number of iterations varies with pressure
• Up to 3x performance improvement
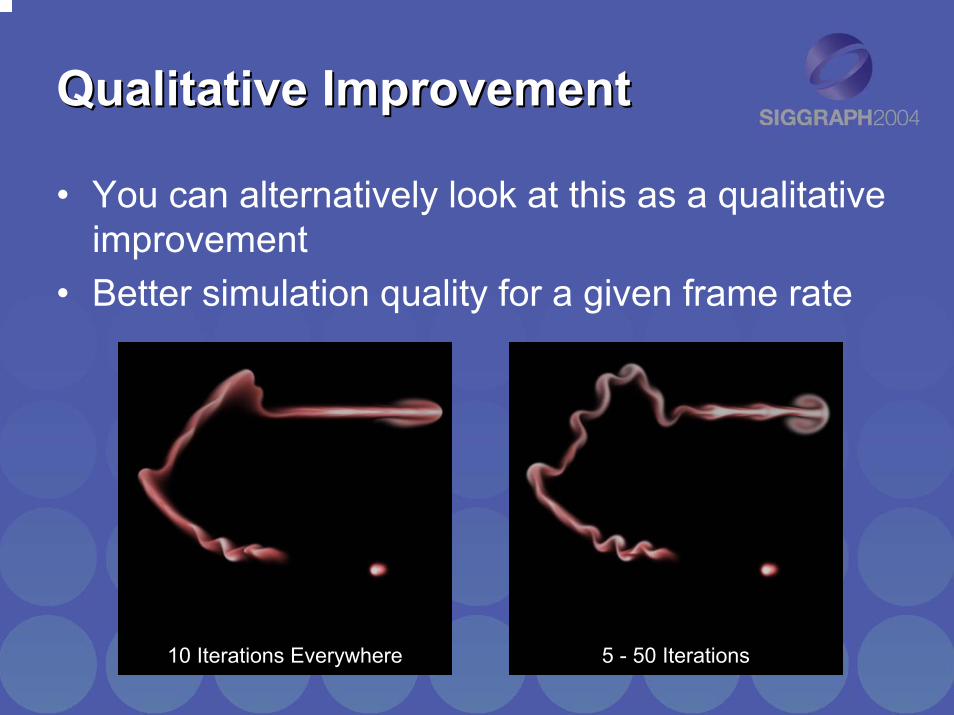
Qualitative ImprovementQualitative ImprovementQualitative Improvement
• You can alternatively look at this as a qualitative improvement
• Better simulation quality for a given frame rate
10 Iterations Everywhere 5 - 50 Iterations
Deferred ShadingDeferred ShadingDeferred Shading
• “Deferred Shading” has a number of meanings• Here, we define it as an app-level technique:
1. Render scene’s properties to set of buffers (hopefully simultaneously using MRTs)
2. Subsequently perform all lighting in image space, accumulating contributions of different lights
• We can employ Early-Z during this second step to avoid shading pixels based upon various criteria
– Light attenuation, material type and others

Simple Test SceneSimple Test SceneSimple Test Scene
13 Moving point lights Two materials:1. Diffuse2. Diffuse + Specular
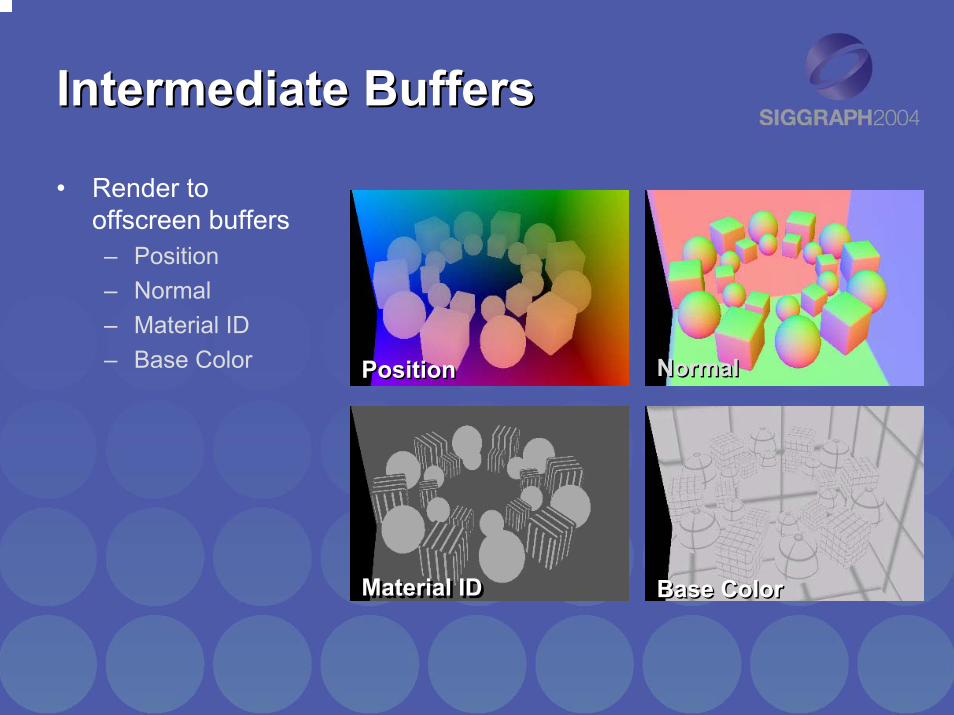
Intermediate BuffersIntermediate BuffersIntermediate Buffers
• Render to offscreen buffers– Position– Normal– Material ID– Base Color PositionPosition NormalNormal
Material IDMaterial ID Base ColorBase Color

Pros & Cons of Deferred ShadingPros & Cons of Deferred ShadingPros & Cons of Deferred Shading
• Elegant– Reduces engine
complexity– Reduces shader
permutations
• Only shade visible pixels• Lots of cheap lights at
low geometry cost• Easy integration of
decals (bullet dings etc)
• Heavy bandwidth on initial pass
• Lots of memory required for intermediate buffers
• Alpha-blending is problematic
• Interacts poorly w/ MSAA• Scenes tend to have a
homogeneous look• Doesn’t scale down to
old hardware
ProsProsPros ConsConsCons
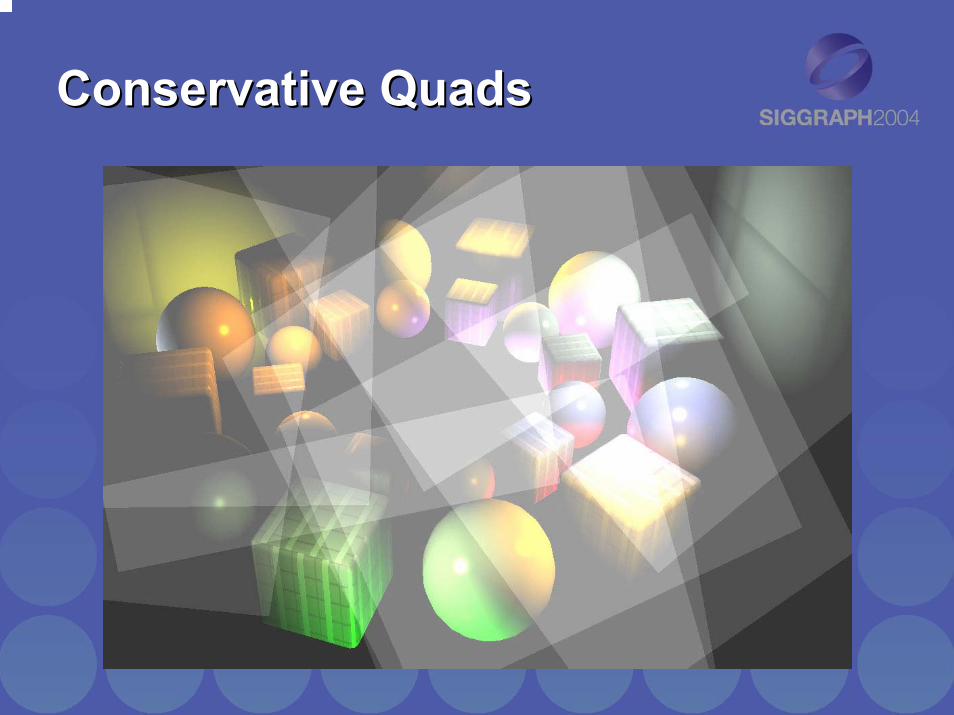
Conservative QuadsConservative QuadsConservative Quads
Optimizing with Early-ZOptimizing with EarlyOptimizing with Early--ZZ
• We can cull computation on many pixels– Based upon material ID (not all pixels need
specular)– Based upon distance to the light– …
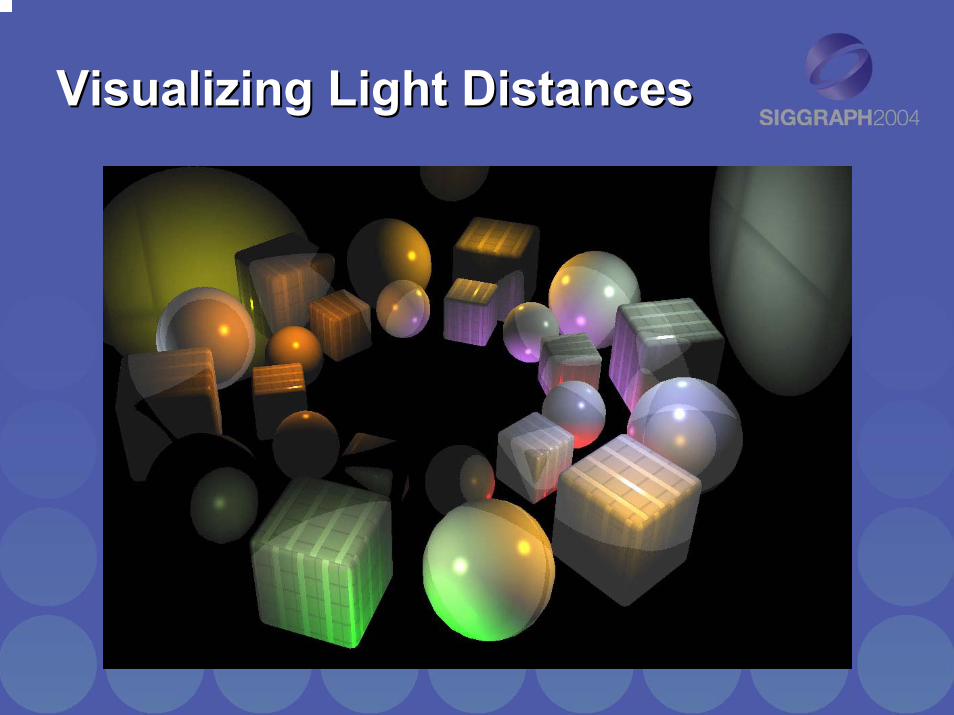
Visualizing Light DistancesVisualizing Light DistancesVisualizing Light Distances

CodeCodeCode
PsOutput LightCullIDtoZ (PsInput i, int iLightID){
PsOutput Out = (PsOutput) 0;float3 pos = tex2D(tgGeometry, i.texCoord).xyz;pos = TexCoordRange(pos); //Scale-bias position to texCoord range
if(length(pos - vLightPos[iLightID]) < fLightRadius[iLightID]){
//store material id in depth bufferOut.depth = tex2D(tgNormal, i.texCoord).w;
}else{
//too far from light: Cull pixelOut.depth = PIXEL_CULL_CODE;
}
return Out;}

Test Scene PerformanceTest Scene PerformanceTest Scene Performance
53 fpsDeferred shading with material ID and distance optimizations
43 fpsDeferred shading with material ID optimization
16 fpsRegular non-deferred shading of 13 lights
Frame rate
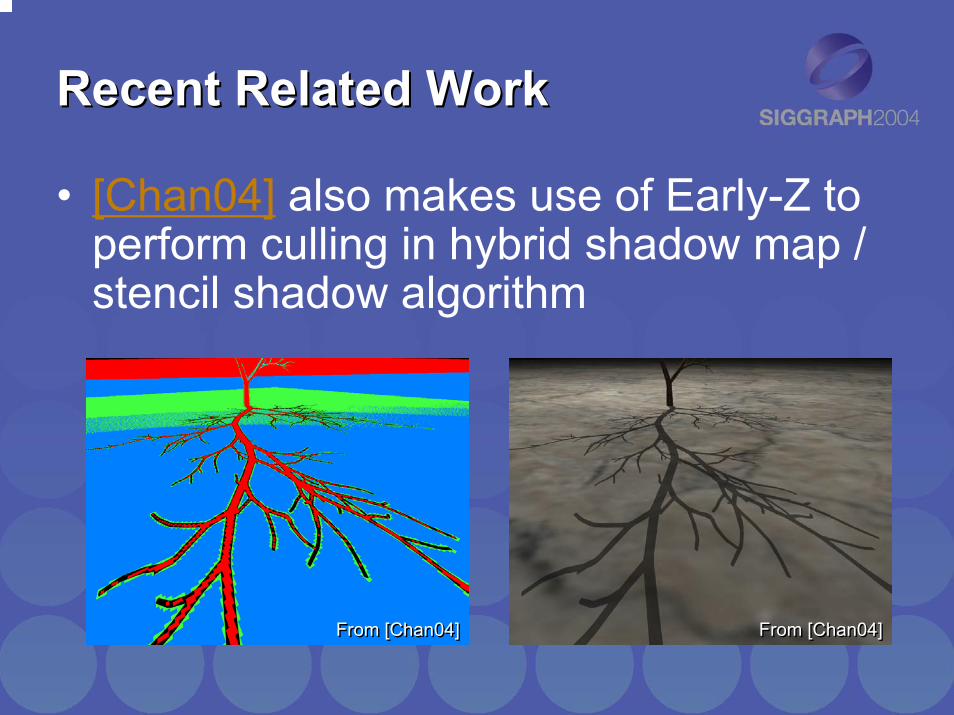
Recent Related WorkRecent Related WorkRecent Related Work
• [Chan04] also makes use of Early-Z to perform culling in hybrid shadow map / stencil shadow algorithm
From [Chan04]From [Chan04] From [Chan04]From [Chan04]

SummarySummarySummary• Architecture
– Hardware depth culling• Applications
– Volume Ray Casting– Skin Shading– Fluid Flow– Deferred Shading

AcknowledgementsAcknowledgementsAcknowledgements
• Thanks to Jens Krüger and Rüdiger Westermann for use of their ray-caster demo app and IEEE Vis slides
• Thanks also to Pedro Sander, Natasha Tatarchuk and Eli Turner for help with the skin, flow and deferred shading demos

ReferencesReferencesReferences• [Borshukov03] George Borshukov and J. P. Lewis, Realistic Human
Face Rendering for “The Matrix Reloaded” Technical Sketches, SIGGRAPH 2003.
• [Chan04] Eric Chan and Frédo Durand, “An Efficient Hybrid Shadow Rendering Algorithm,” Proceedings of the Eurographics Symposium on Rendering 2004.
• [Krüger03] Jens Krüger and Rüdiger Westermann, “Acceleration Techniques for GPU-based Volume Rendering” IEEE Visualization 2003.
• [Sander04] Pedro V. Sander, David Gosselin and Jason L. Mitchell, “Real-Time Skin Rendering on Graphics Hardware” SIGGRAPH Sketch 2004
• [Sander04] Pedro V. Sander, Natalya Tatarchuk and Jason L. Mitchell, “Explicit Early-Z Culling for Efficient Fluid Flow Simulation and Rendering” ATI Tech Report 2004-1