anderson marin matozinhos guilherme...
TRANSCRIPT

Anderson Marin Matozinhos MTCNA, MTCWE, MTCRE, MTCTCE
Guilherme Ramires MTCNA, MTCWE, MTCRE, MTCTCE, MTCINE, MTCUME, Mikrotik Trainer
RoboTik
Creating your robot with Mikrotik Router OS
People who works in technology knows that electronics constantly slows down for several reasons: high temperatures or too low, CPU usage, etc. ...
And in most cases these devices are placed in hard places to reach. Often it takes time to get to the site simply to do a reset.
So, the situation is: A base station on top of the mountain, with multiple routers. One hangs for any reason. If we consider the total time from the moment that the problem is detected by the technician that will trigger the scene, plus travel time, at the end we will have a strike of at least 2 to 3 hours on the network due to a simple physical reset.
And what if we could solve this incident in 5 minutes or less?
With the RoboTik is possible!
RoboTik
Creating your robot with Mikrotik Router OS
• Connect or disconnect any device via SMS.
• It can also be used as residential alarm warning of invasion via SMS.
• Reboot router via SMS.
RoboTik
Creating your robot with Mikrotik Router OS

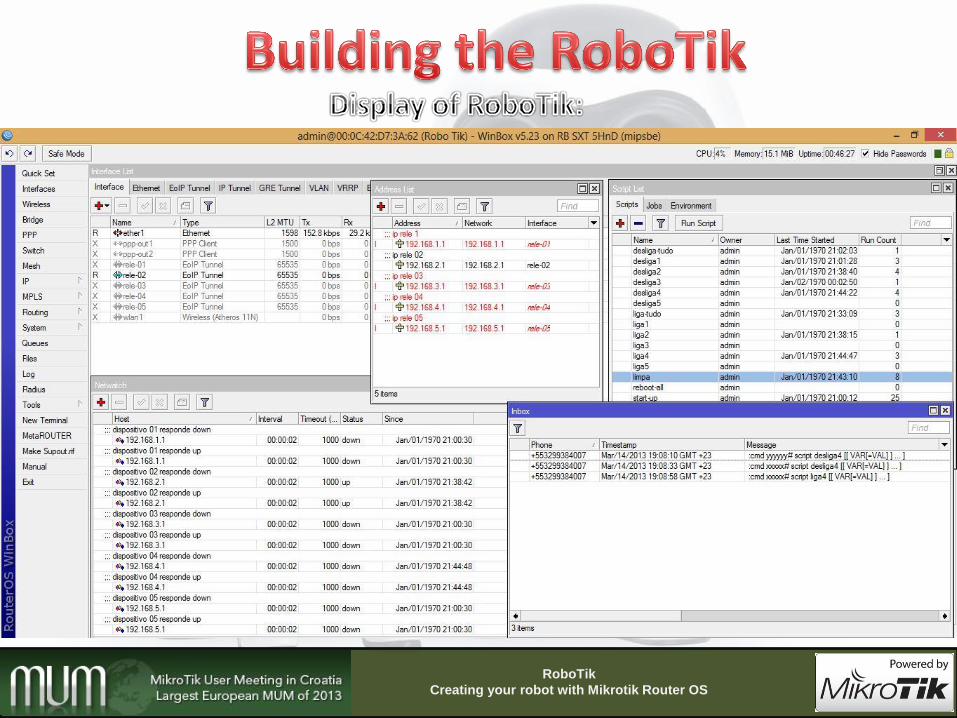
The Robot have to be able to manage its ethers, its actions and responses to commands that will be sent to it via SMS.
The Router OS is a powerful system equipped with tools that can be used for various functions Robot.
In this case we will use the SMS tool to give input commands to the RoboTik. Via SMS tool also it can send responses back to the user for each task performed.
To monitor and provide answers for RoboTik's actions we will use Netwatch based in some virtual interfaces.
To be able to trigger external relays we will use the RouterBoard’s Led by changing the default led system.
Now we are able to program the robot.
RoboTik
Creating your robot with Mikrotik Router OS
RoboTik
Creating your robot with Mikrotik Router OS
RoboTik
Creating your robot with Mikrotik Router OS
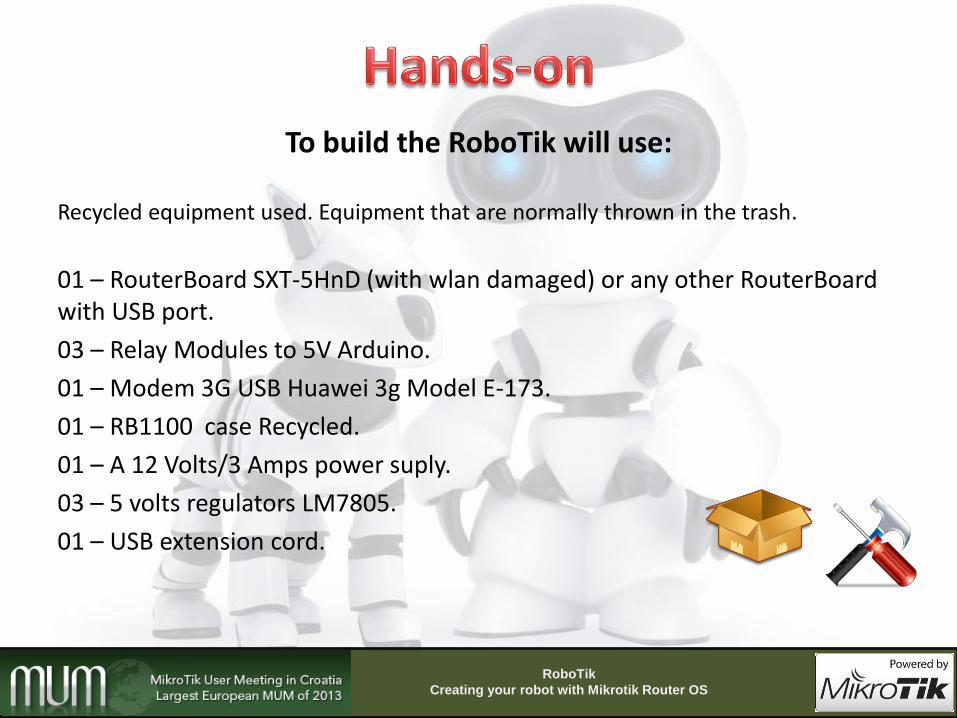
To build the RoboTik will use:
Recycled equipment used. Equipment that are normally thrown in the trash.
01 – RouterBoard SXT-5HnD (with wlan damaged) or any other RouterBoard with USB port.
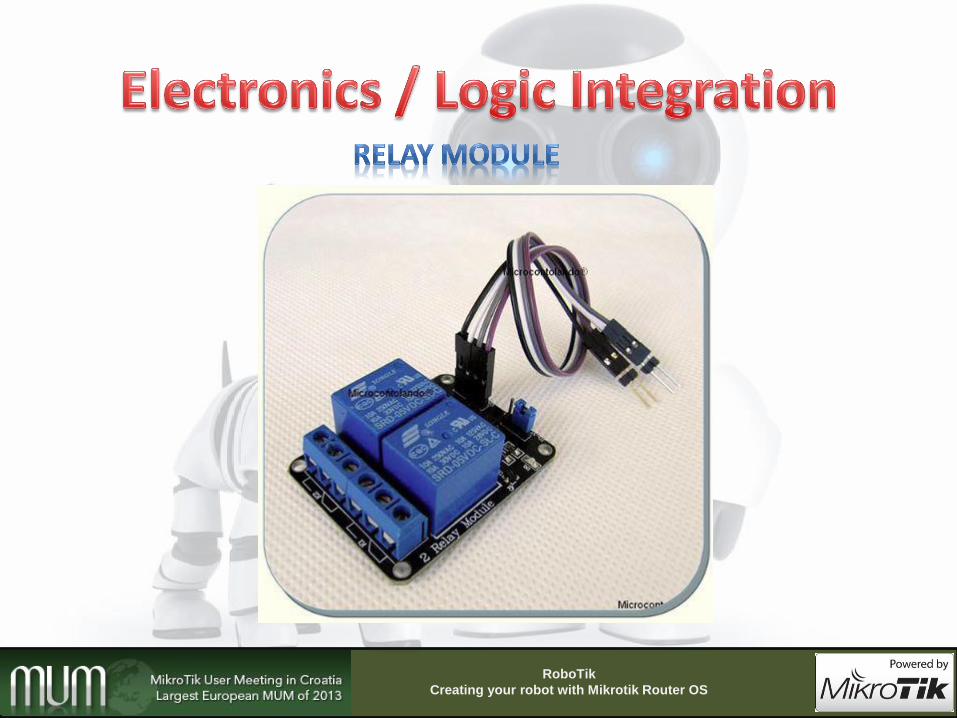
03 – Relay Modules to 5V Arduino.
01 – Modem 3G USB Huawei 3g Model E-173.
01 – RB1100 case Recycled.
01 – A 12 Volts/3 Amps power suply.
03 – 5 volts regulators LM7805.
01 – USB extension cord.
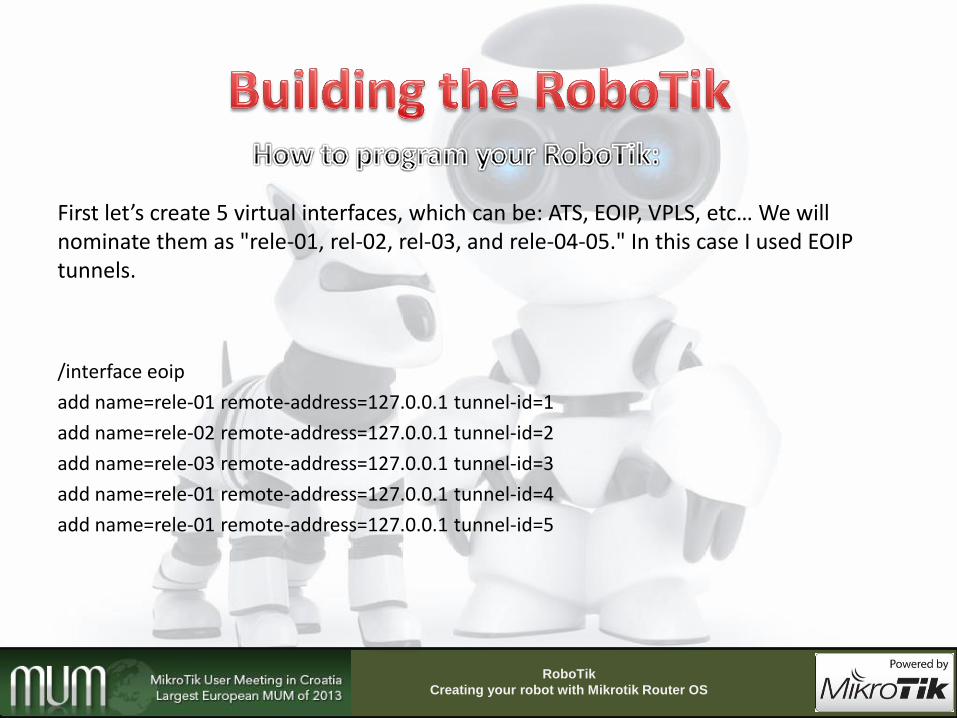
First let’s create 5 virtual interfaces, which can be: ATS, EOIP, VPLS, etc… We will nominate them as "rele-01, rel-02, rel-03, and rele-04-05." In this case I used EOIP tunnels.
/interface eoip
add name=rele-01 remote-address=127.0.0.1 tunnel-id=1
add name=rele-02 remote-address=127.0.0.1 tunnel-id=2
add name=rele-03 remote-address=127.0.0.1 tunnel-id=3
add name=rele-01 remote-address=127.0.0.1 tunnel-id=4
add name=rele-01 remote-address=127.0.0.1 tunnel-id=5
RoboTik
Creating your robot with Mikrotik Router OS
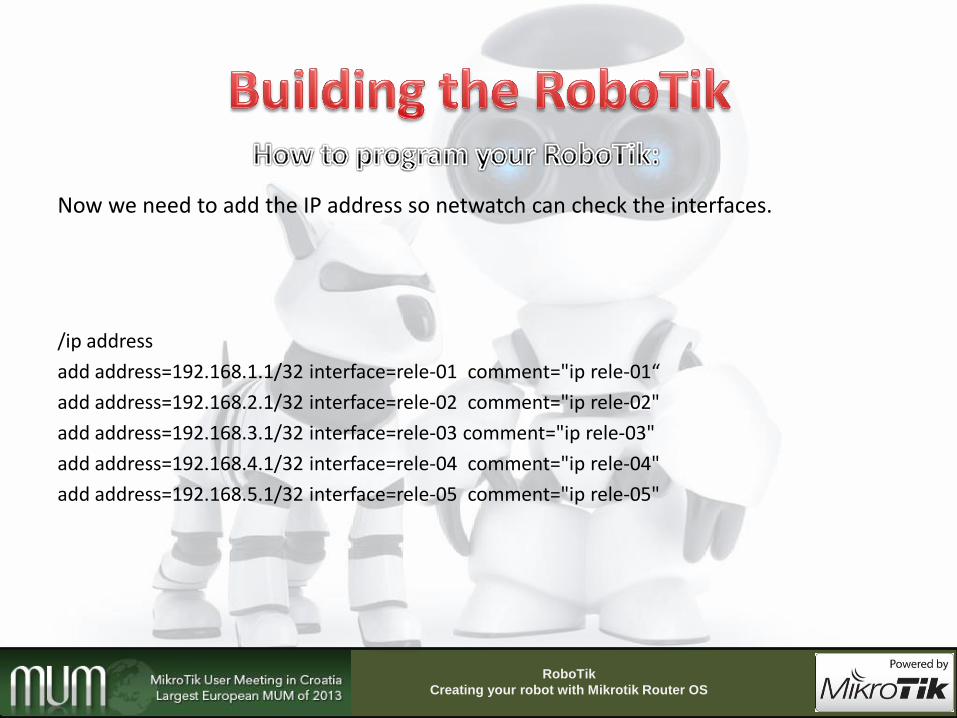
Now we need to add the IP address so netwatch can check the interfaces.
/ip address
add address=192.168.1.1/32 interface=rele-01 comment="ip rele-01“
add address=192.168.2.1/32 interface=rele-02 comment="ip rele-02"
add address=192.168.3.1/32 interface=rele-03 comment="ip rele-03"
add address=192.168.4.1/32 interface=rele-04 comment="ip rele-04"
add address=192.168.5.1/32 interface=rele-05 comment="ip rele-05"
RoboTik
Creating your robot with Mikrotik Router OS
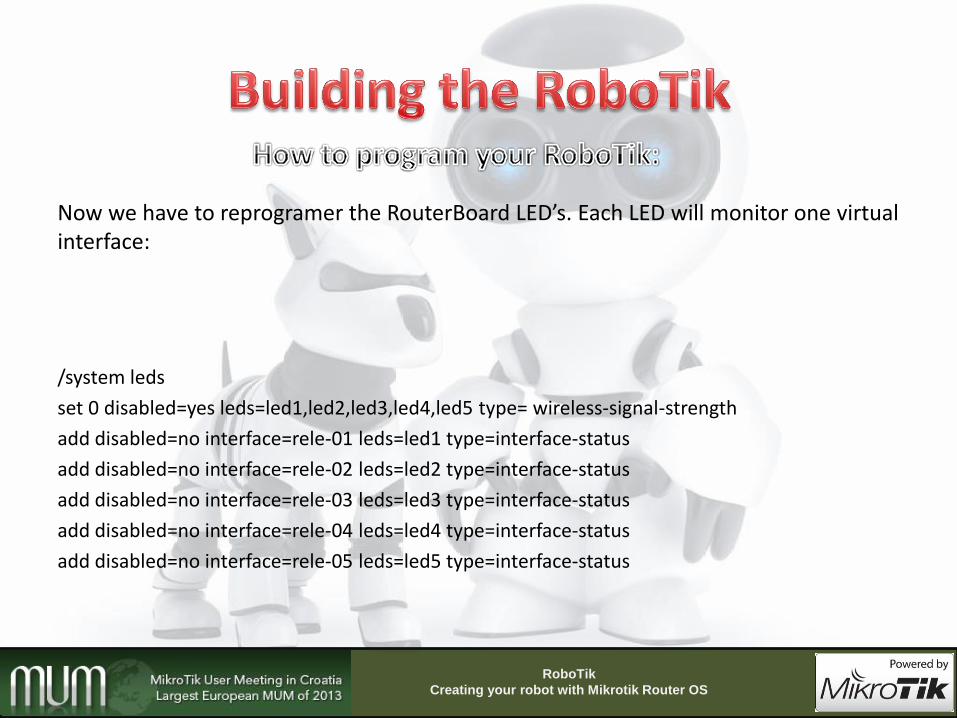
Now we have to reprogramer the RouterBoard LED’s. Each LED will monitor one virtual interface:
/system leds
set 0 disabled=yes leds=led1,led2,led3,led4,led5 type= wireless-signal-strength
add disabled=no interface=rele-01 leds=led1 type=interface-status
add disabled=no interface=rele-02 leds=led2 type=interface-status
add disabled=no interface=rele-03 leds=led3 type=interface-status
add disabled=no interface=rele-04 leds=led4 type=interface-status
add disabled=no interface=rele-05 leds=led5 type=interface-status
RoboTik
Creating your robot with Mikrotik Router OS
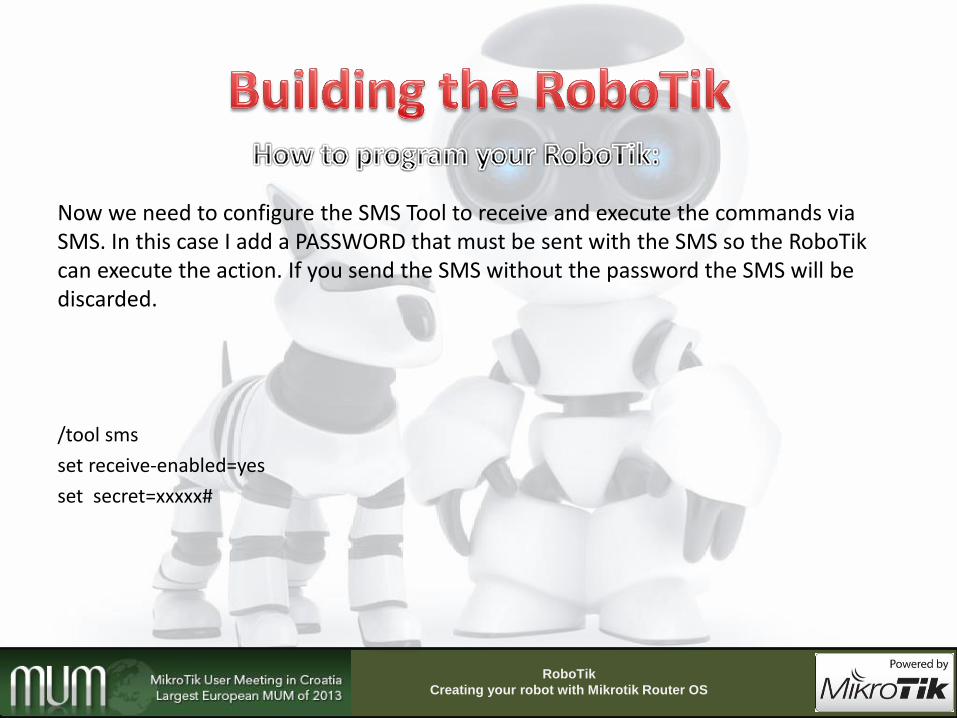
Now we need to configure the SMS Tool to receive and execute the commands via SMS. In this case I add a PASSWORD that must be sent with the SMS so the RoboTik can execute the action. If you send the SMS without the password the SMS will be discarded.
/tool sms
set receive-enabled=yes
set secret=xxxxx#
RoboTik
Creating your robot with Mikrotik Router OS
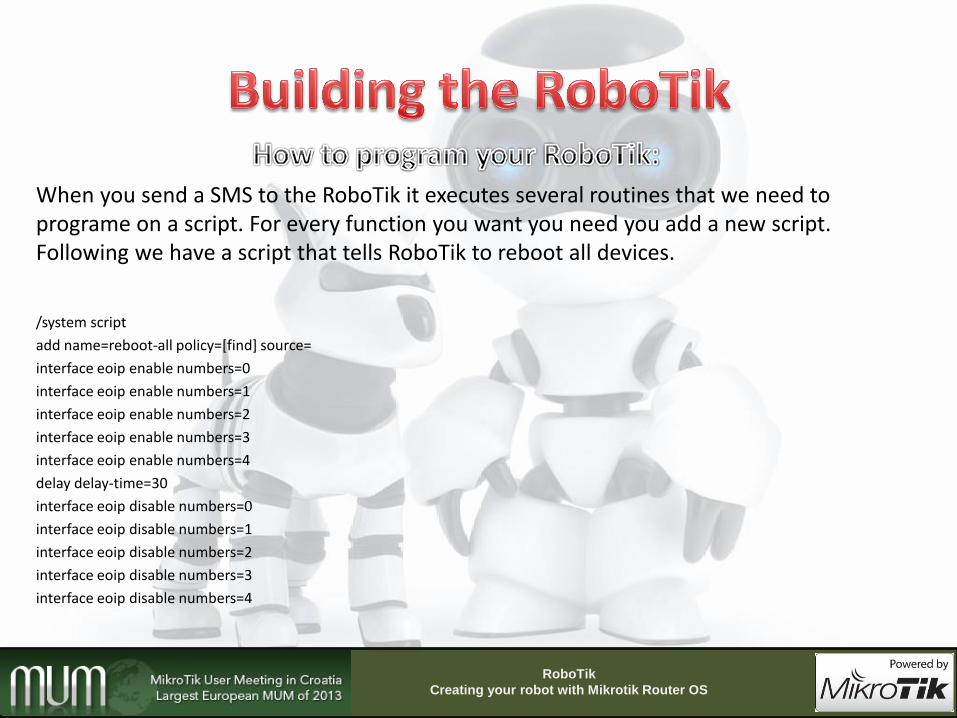
When you send a SMS to the RoboTik it executes several routines that we need to programe on a script. For every function you want you need you add a new script. Following we have a script that tells RoboTik to reboot all devices.
/system script
add name=reboot-all policy=[find] source=
interface eoip enable numbers=0
interface eoip enable numbers=1
interface eoip enable numbers=2
interface eoip enable numbers=3
interface eoip enable numbers=4
delay delay-time=30
interface eoip disable numbers=0
interface eoip disable numbers=1
interface eoip disable numbers=2
interface eoip disable numbers=3
interface eoip disable numbers=4
RoboTik
Creating your robot with Mikrotik Router OS
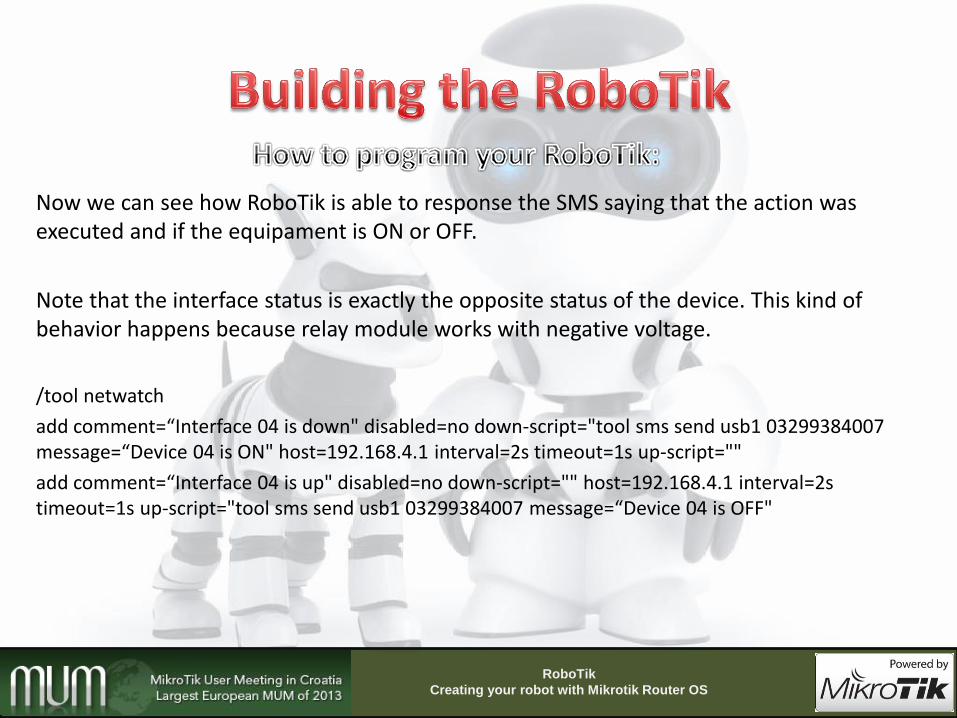
Now we can see how RoboTik is able to response the SMS saying that the action was executed and if the equipament is ON or OFF.
Note that the interface status is exactly the opposite status of the device. This kind of behavior happens because relay module works with negative voltage.
/tool netwatch
add comment=“Interface 04 is down" disabled=no down-script="tool sms send usb1 03299384007 message=“Device 04 is ON" host=192.168.4.1 interval=2s timeout=1s up-script=""
add comment=“Interface 04 is up" disabled=no down-script="" host=192.168.4.1 interval=2s timeout=1s up-script="tool sms send usb1 03299384007 message=“Device 04 is OFF"
RoboTik
Creating your robot with Mikrotik Router OS
RoboTik
Creating your robot with Mikrotik Router OS
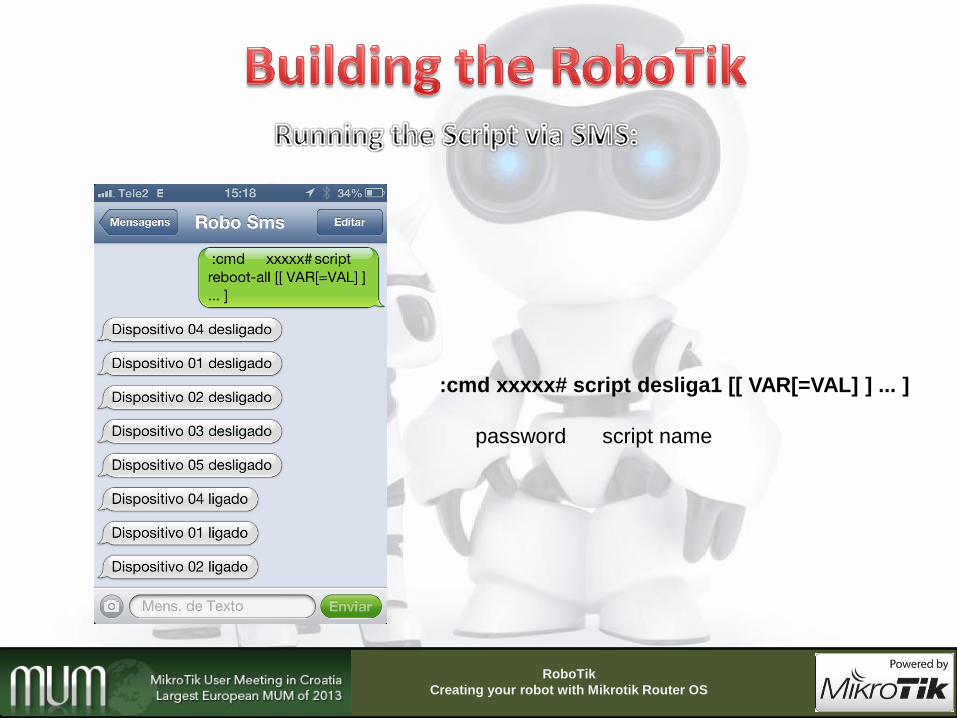
:cmd xxxxx# script desliga1 [[ VAR[=VAL] ] ... ]
password script name
RoboTik
Creating your robot with Mikrotik Router OS
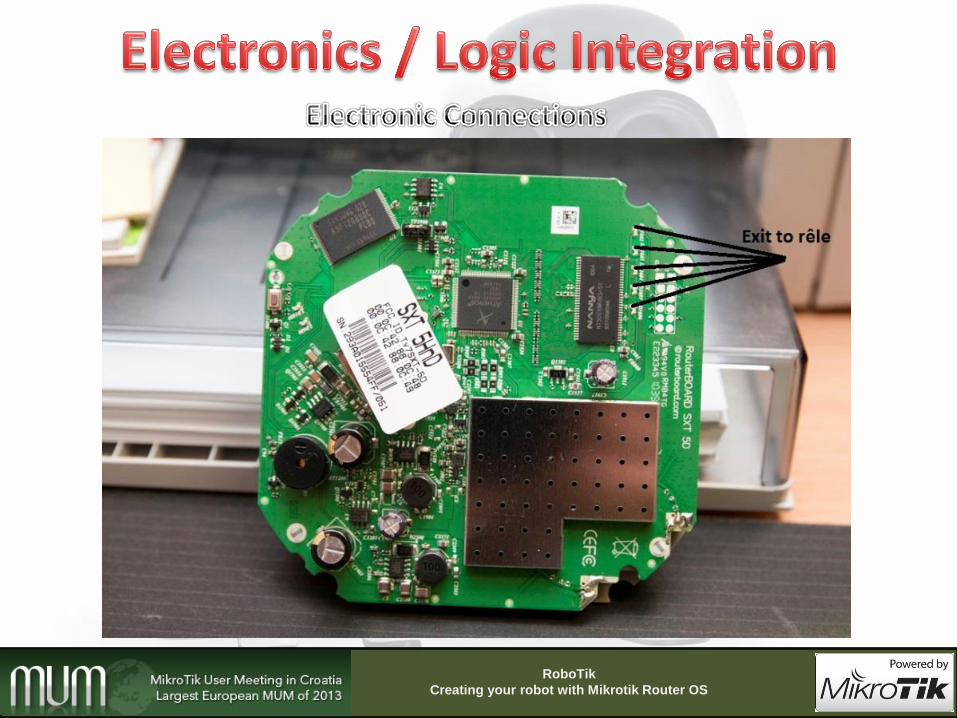
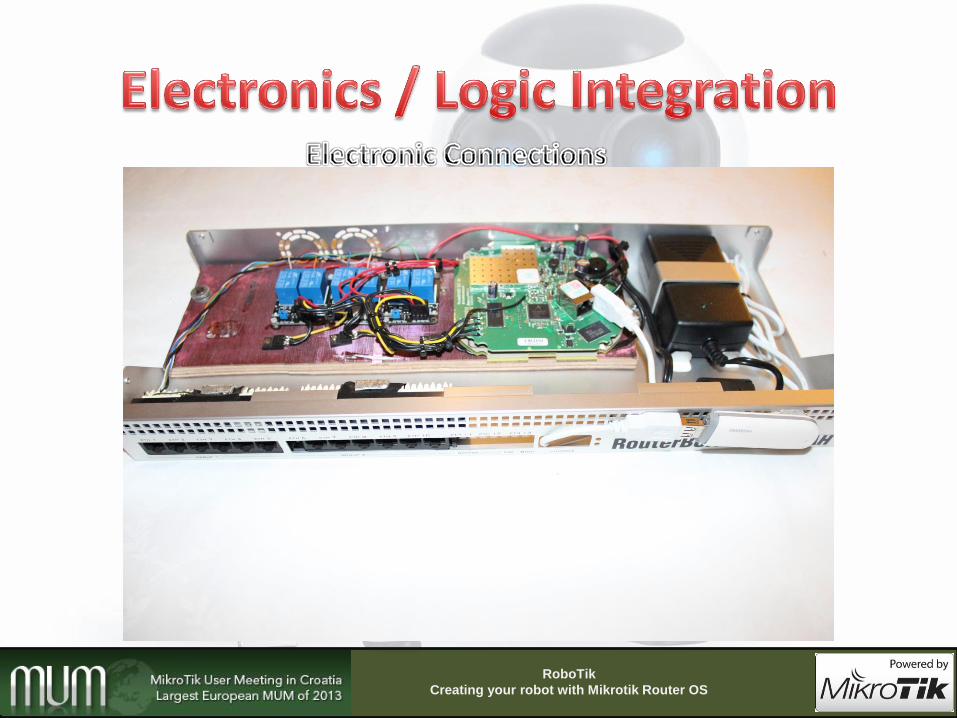
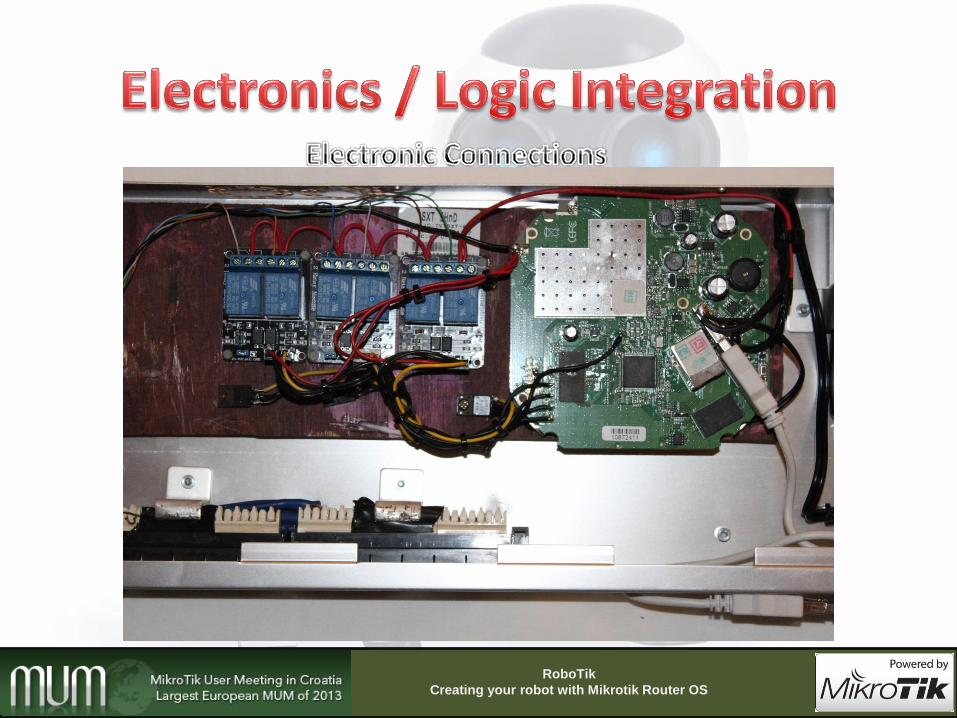
For the robot electrically disconnect or connect equipment is necessary that the logic commands applied to Router OS becomes a electrical pulse to trigger the relays. To capture this information we need to get the pulse generated by the RouterBoard LED and according to the virtual interface state one or other action will be done.
This step requires technical skill as it is a SMD circuit. Welding should be done with a welder station so you do not damage the circuitry of the RouterBoard.
The electrical pulse raised will be used to drive the relays and turn on/off the equipment connected to the robot.
RoboTik
Creating your robot with Mikrotik Router OS
RoboTik
Creating your robot with Mikrotik Router OS
RoboTik
Creating your robot with Mikrotik Router OS
RoboTik
Creating your robot with Mikrotik Router OS
RoboTik
Creating your robot with Mikrotik Router OS

RoboTik
Creating your robot with Mikrotik Router OS

RoboTik
Creating your robot with Mikrotik Router OS
• With virtually scrap equipment you can build a RoboTik.
• Save time and movement coach.
• The Mikrotik RouterOS is a powerful operating system and with sufficient resources to control our Robot.
• Considerably reduce the time Down Time of your provider via SMS bouncing equipment locked.
• Simple and efficient. Low cost and simple construction. One need not be an expert in electronics to assemble.
RoboTik
Creating your robot with Mikrotik Router OS


http://wiki.mikrotik.com
RoboTik
Creating your robot with Mikrotik Router OS

Anderson Marin Matozinhos MTCNA, MTCWE, MTCRE, MTCTCE
Guilherme Ramires MTCNA, MTCWE, MTCRE, MTCTCE, MTCINE, MTCUME, Mikrotik Trainer