ambitious kitchen's ultimate guide to cookie baking
TRANSCRIPT
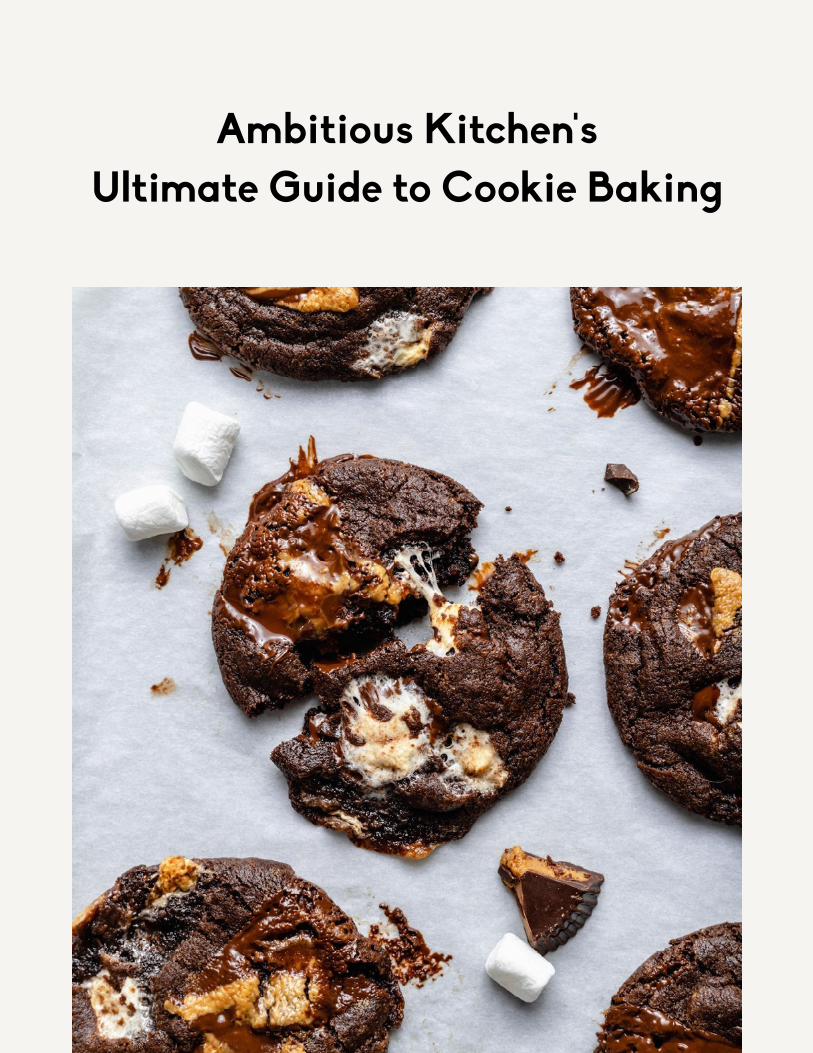
Ambitious Kitchen's Ultimate Guide to Cookie Baking
Ultimate Guide to Cookie Baking | 2
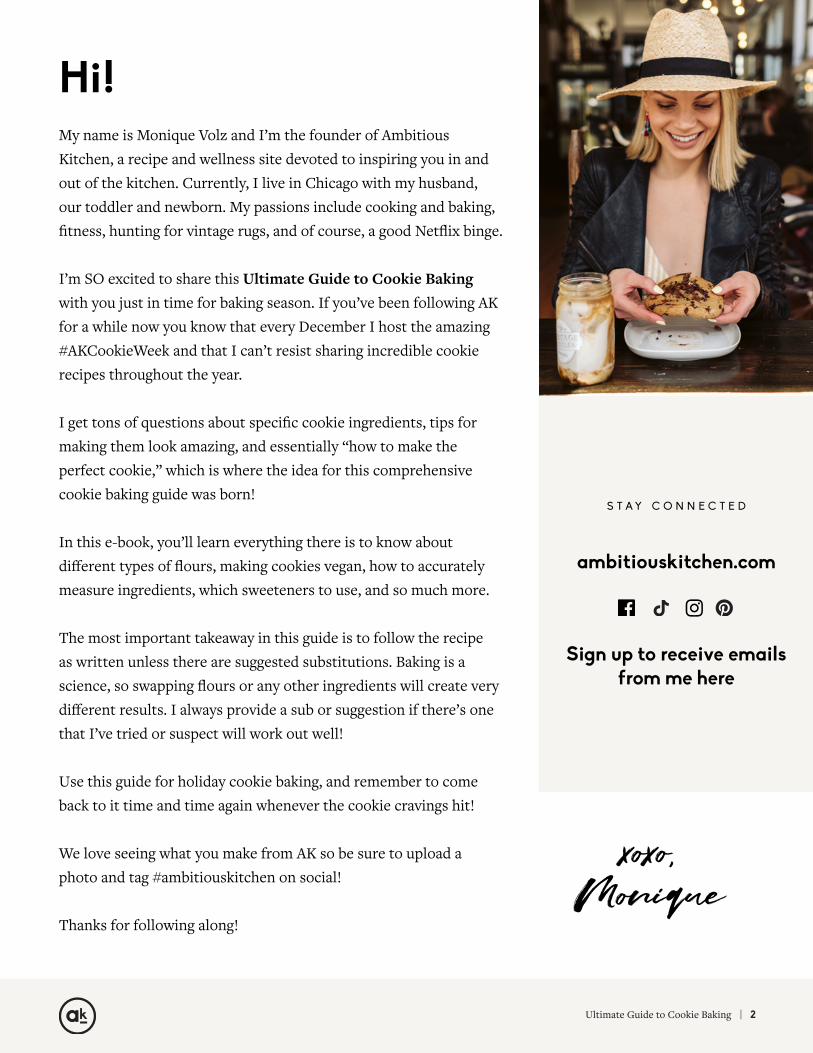
Hi! My name is Monique Volz and I’m the founder of Ambitious Kitchen, a recipe and wellness site devoted to inspiring you in and out of the kitchen. Currently, I live in Chicago with my husband, our toddler and newborn. My passions include cooking and baking, fitness, hunting for vintage rugs, and of course, a good Netflix binge.
I’m SO excited to share this Ultimate Guide to Cookie Baking with you just in time for baking season. If you’ve been following AK for a while now you know that every December I host the amazing #AKCookieWeek and that I can’t resist sharing incredible cookie recipes throughout the year.
I get tons of questions about specific cookie ingredients, tips for making them look amazing, and essentially “how to make the perfect cookie,” which is where the idea for this comprehensive cookie baking guide was born!
In this e-book, you’ll learn everything there is to know about different types of flours, making cookies vegan, how to accurately measure ingredients, which sweeteners to use, and so much more.
The most important takeaway in this guide is to follow the recipe as written unless there are suggested substitutions. Baking is a science, so swapping flours or any other ingredients will create very different results. I always provide a sub or suggestion if there’s one that I’ve tried or suspect will work out well!
Use this guide for holiday cookie baking, and remember to come back to it time and time again whenever the cookie cravings hit!
We love seeing what you make from AK so be sure to upload a photo and tag #ambitiouskitchen on social!
Thanks for following along!
s t a y c o n n e c t e d
Sign up to receive emails from me here
ambitiouskitchen.com
xoxo,Monique
Ultimate Guide to Cookie Baking | 3
Flour Power: All About Dry Ingredients 4
The Power of Flour 5
Make Your Cookies Gluten Free 6
Cookies Using Every Type of Flour 7
The Scoop on Measuring Flour 8
Baking Soda vs. Powder: What's the Difference? 9
Butter, Eggs and How to Veganize 10
I Can't Believe it...IS Butter 11
Looking to Go Vegan? 12
Measuring Tip 13
Put Skills to the Test: Creaming Butter & Sugar 14
Wet Ingredients: Temperature is Key 14
Sugar, How You Get So Fly: All About Sweeteners 15
Down with the Sweetness 16
Baking with Liquid Sweeteners 17
What About Non-Sugar Sweeteners? 17
Cookie Method: Tools, Freezing and More Tips 18
Our Fav Cookie Baking Tools 19
Tips for Perfect Cookies Every Time 20
The Best Way to Store Baked Cookies 23
Make a Batch, Freeze for Later (two different ways!) 24
Bonus Cookie Baking Tips and FAQ's 25
How to Bake Cookies That Look Amazing 26
Your Cookie Baking Cheat Sheet 27
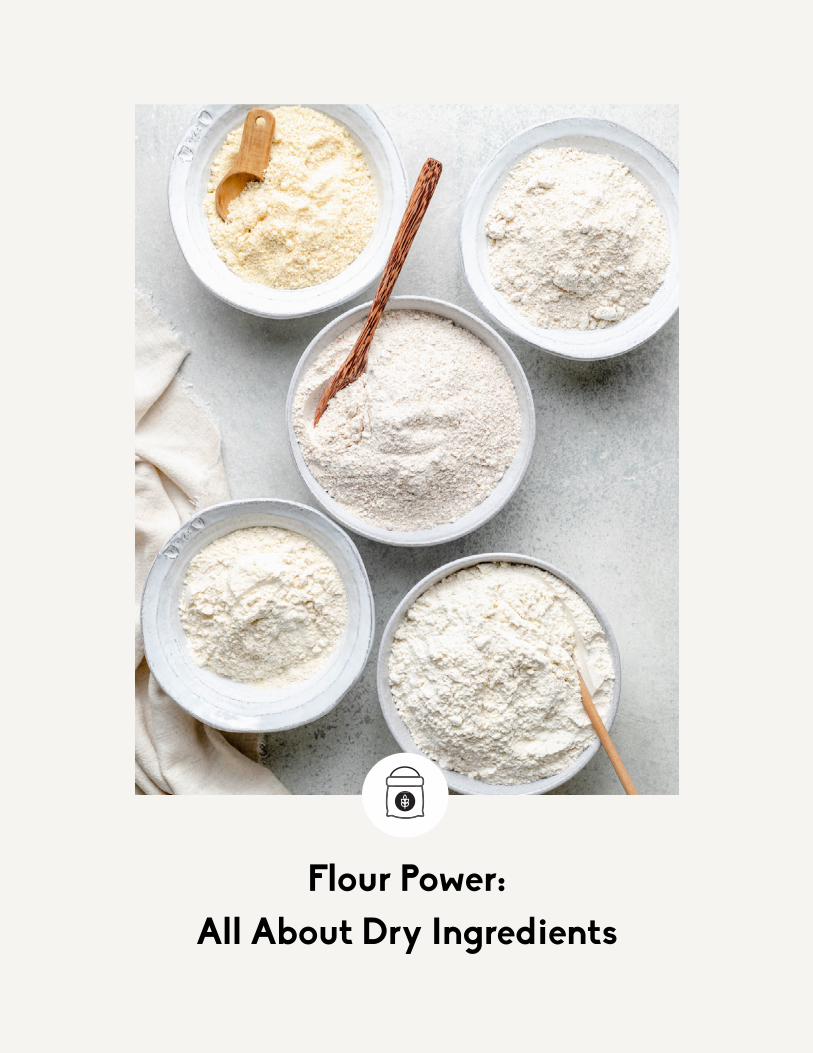
Flour Power: All About Dry Ingredients
Ultimate Guide to Cookie Baking | 5
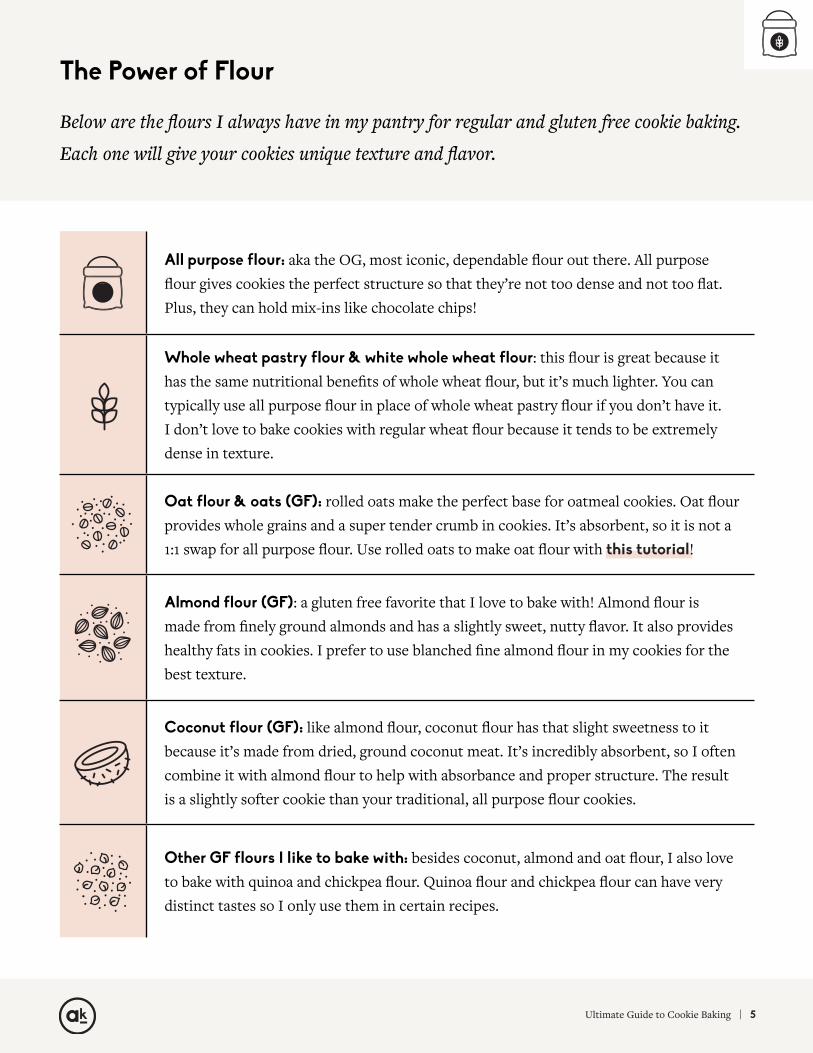
All purpose flour: aka the OG, most iconic, dependable flour out there. All purpose flour gives cookies the perfect structure so that they’re not too dense and not too flat. Plus, they can hold mix-ins like chocolate chips!
Whole wheat pastry flour & white whole wheat flour: this flour is great because it has the same nutritional benefits of whole wheat flour, but it’s much lighter. You can typically use all purpose flour in place of whole wheat pastry flour if you don’t have it. I don’t love to bake cookies with regular wheat flour because it tends to be extremely dense in texture.
Oat flour & oats (GF): rolled oats make the perfect base for oatmeal cookies. Oat flour provides whole grains and a super tender crumb in cookies. It’s absorbent, so it is not a 1:1 swap for all purpose flour. Use rolled oats to make oat flour with this tutorial!
Almond flour (GF): a gluten free favorite that I love to bake with! Almond flour is made from finely ground almonds and has a slightly sweet, nutty flavor. It also provides healthy fats in cookies. I prefer to use blanched fine almond flour in my cookies for the best texture.
Coconut flour (GF): like almond flour, coconut flour has that slight sweetness to it because it’s made from dried, ground coconut meat. It’s incredibly absorbent, so I often combine it with almond flour to help with absorbance and proper structure. The result is a slightly softer cookie than your traditional, all purpose flour cookies.
Other GF flours I like to bake with: besides coconut, almond and oat flour, I also love to bake with quinoa and chickpea flour. Quinoa flour and chickpea flour can have very distinct tastes so I only use them in certain recipes.
Below are the flours I always have in my pantry for regular and gluten free cookie baking.
Each one will give your cookies unique texture and flavor.
The Power of Flour
Ultimate Guide to Cookie Baking | 6
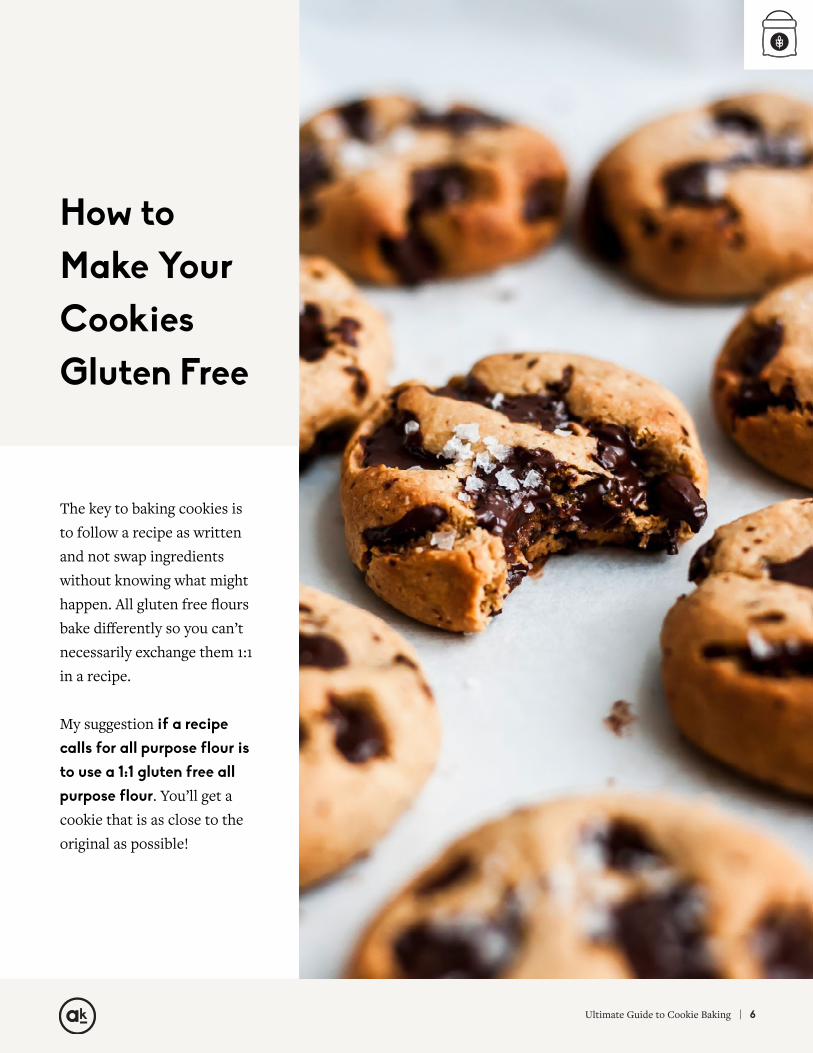
How to Make Your Cookies Gluten Free
The key to baking cookies is to follow a recipe as written and not swap ingredients without knowing what might happen. All gluten free flours bake differently so you can’t necessarily exchange them 1:1 in a recipe.
My suggestion if a recipe calls for all purpose flour is to use a 1:1 gluten free all purpose flour. You’ll get a cookie that is as close to the original as possible!
Ultimate Guide to Cookie Baking | 7
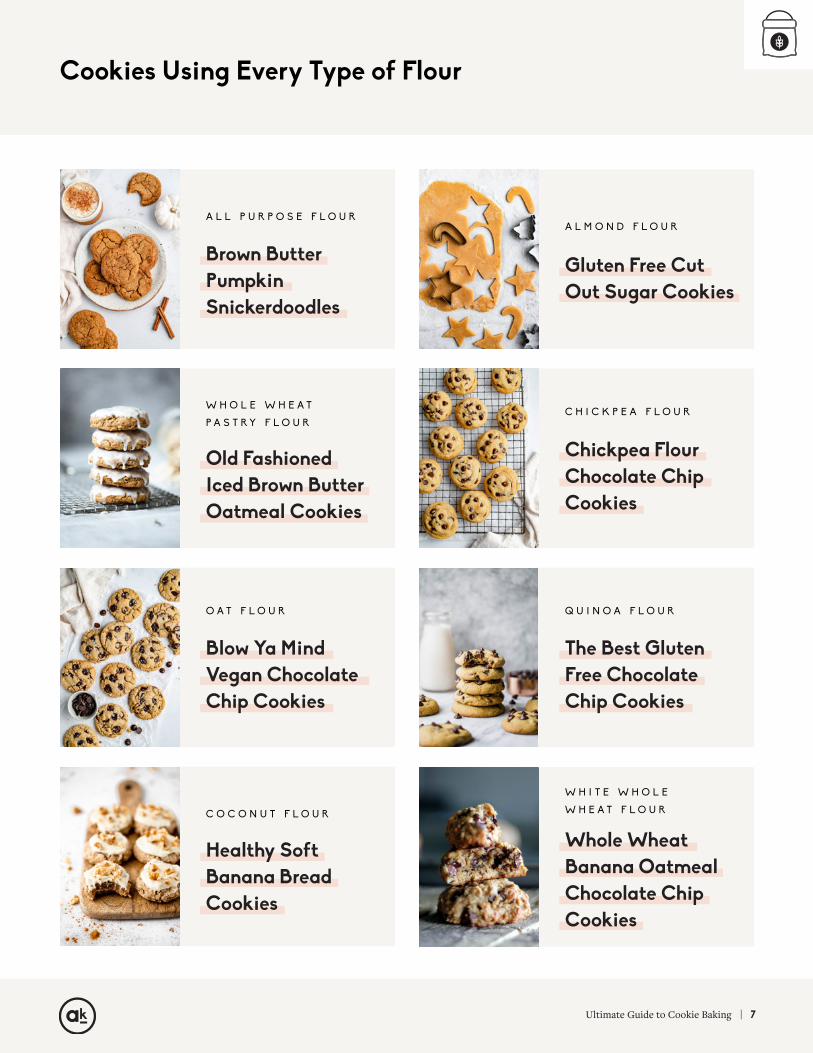
Cookies Using Every Type of Flour
a l l p u r p o s e f l o u ra l m o n d f l o u r
w h o l e w h e a t p a s t r y f l o u r
w h i t e w h o l e w h e a t f l o u r
c h i c k p e a f l o u r
o a t f l o u r q u i n o a f l o u r
c o c o n u t f l o u r
Brown Butter Pumpkin Snickerdoodles
Gluten Free Cut Out Sugar Cookies
Old Fashioned Iced Brown Butter Oatmeal Cookies
Whole Wheat Banana Oatmeal Chocolate Chip Cookies
Chickpea Flour Chocolate Chip Cookies
Blow Ya Mind Vegan Chocolate Chip Cookies
The Best Gluten Free Chocolate Chip Cookies
Healthy Soft Banana Bread Cookies
Ultimate Guide to Cookie Baking | 8
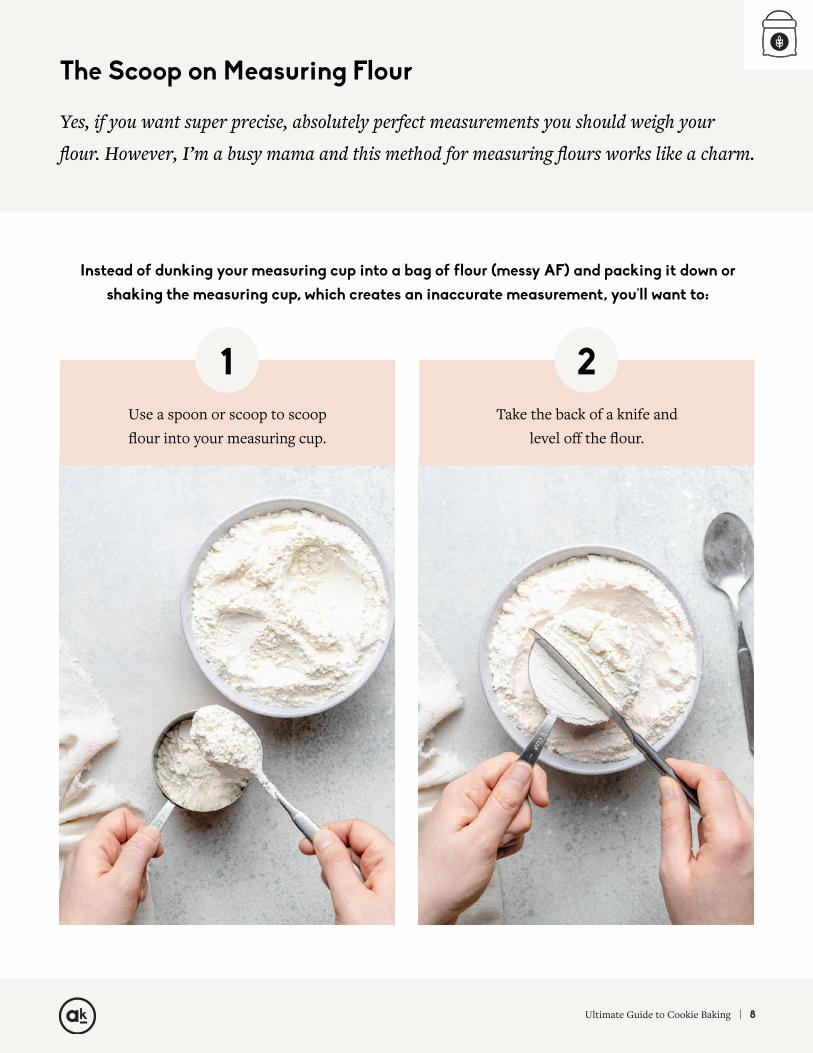
Yes, if you want super precise, absolutely perfect measurements you should weigh your
flour. However, I’m a busy mama and this method for measuring flours works like a charm.
The Scoop on Measuring Flour
1 2Use a spoon or scoop to scoop flour into your measuring cup.
Take the back of a knife and level off the flour.
Instead of dunking your measuring cup into a bag of flour (messy AF) and packing it down or shaking the measuring cup, which creates an inaccurate measurement, you'll want to:
Ultimate Guide to Cookie Baking | 9
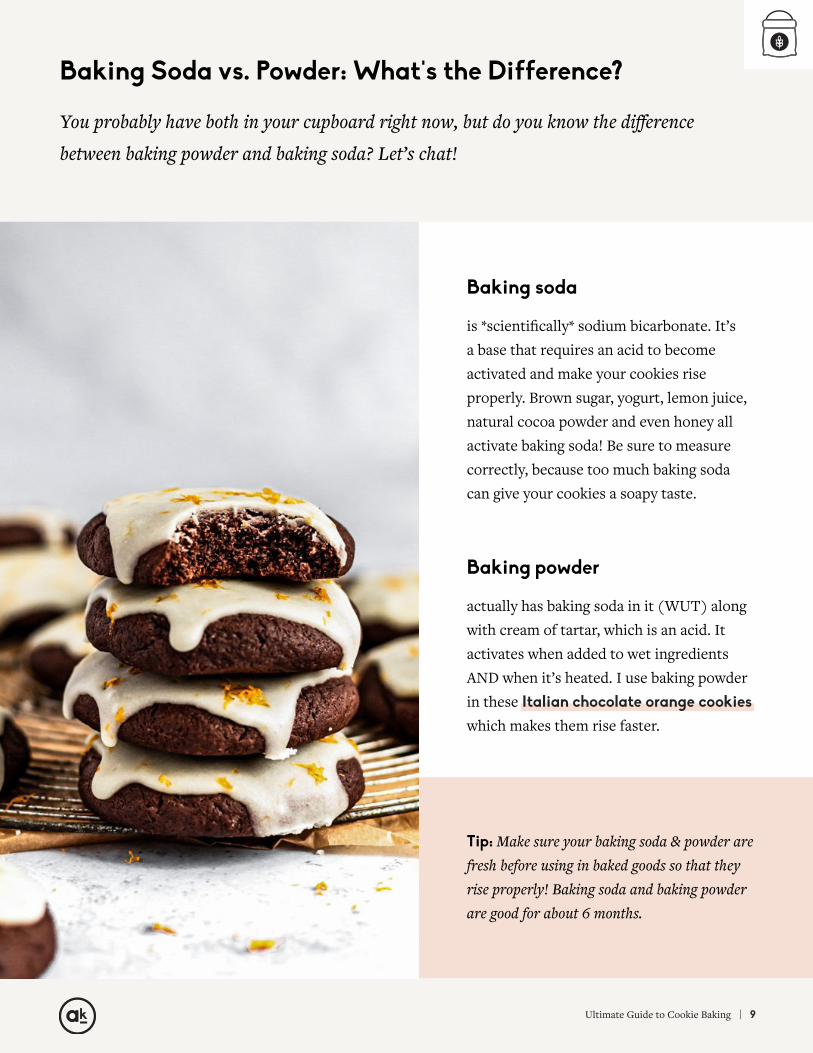
Baking powder
actually has baking soda in it (WUT) along with cream of tartar, which is an acid. It activates when added to wet ingredients AND when it’s heated. I use baking powder in these Italian chocolate orange cookies which makes them rise faster.
You probably have both in your cupboard right now, but do you know the difference
between baking powder and baking soda? Let’s chat!
Baking Soda vs. Powder: What's the Difference?
Baking soda
is *scientifically* sodium bicarbonate. It’s a base that requires an acid to become activated and make your cookies rise properly. Brown sugar, yogurt, lemon juice, natural cocoa powder and even honey all activate baking soda! Be sure to measure correctly, because too much baking soda can give your cookies a soapy taste.
Tip: Make sure your baking soda & powder are fresh before using in baked goods so that they rise properly! Baking soda and baking powder are good for about 6 months.
Butter, Eggs & How to Veganize
Ultimate Guide to Cookie Baking | 11
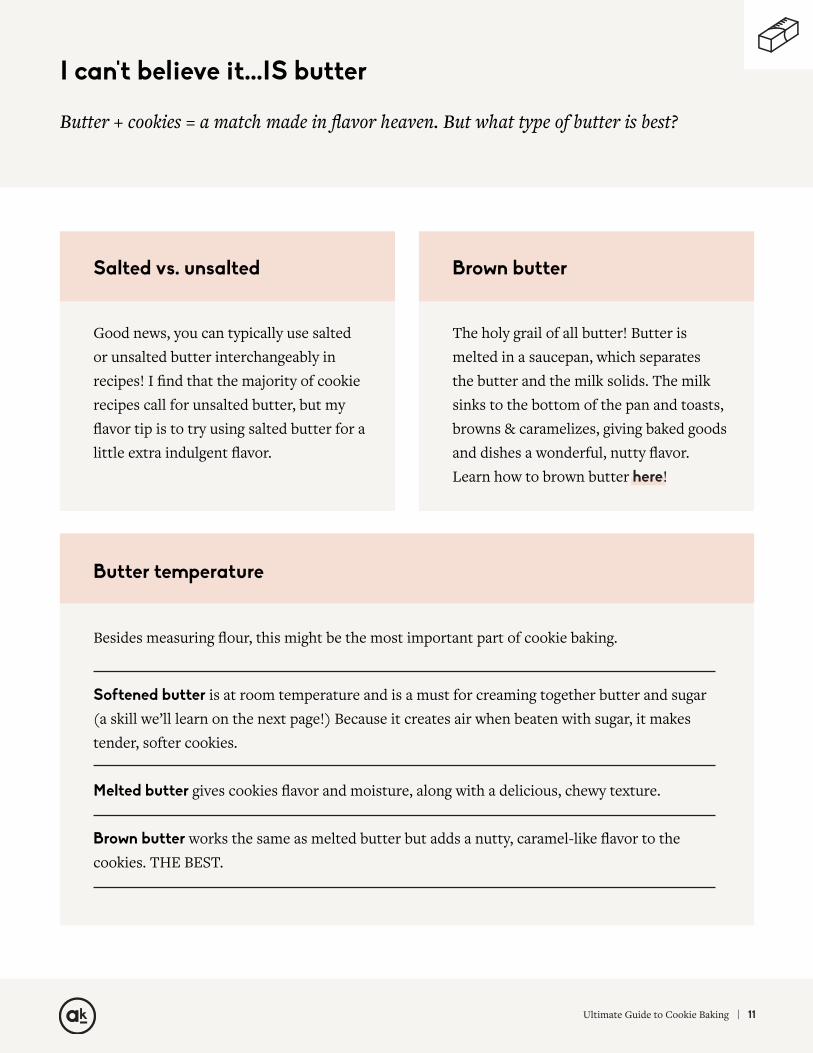
Butter + cookies = a match made in flavor heaven. But what type of butter is best?
I can't believe it...IS butter
Softened butter is at room temperature and is a must for creaming together butter and sugar (a skill we’ll learn on the next page!) Because it creates air when beaten with sugar, it makes tender, softer cookies.
Melted butter gives cookies flavor and moisture, along with a delicious, chewy texture.
Brown butter works the same as melted butter but adds a nutty, caramel-like flavor to the cookies. THE BEST.
Good news, you can typically use salted or unsalted butter interchangeably in recipes! I find that the majority of cookie recipes call for unsalted butter, but my flavor tip is to try using salted butter for a little extra indulgent flavor.
Besides measuring flour, this might be the most important part of cookie baking.
Salted vs. unsalted Brown butter
Butter temperature
The holy grail of all butter! Butter is melted in a saucepan, which separates the butter and the milk solids. The milk sinks to the bottom of the pan and toasts, browns & caramelizes, giving baked goods and dishes a wonderful, nutty flavor. Learn how to brown butter here!
Ultimate Guide to Cookie Baking | 12
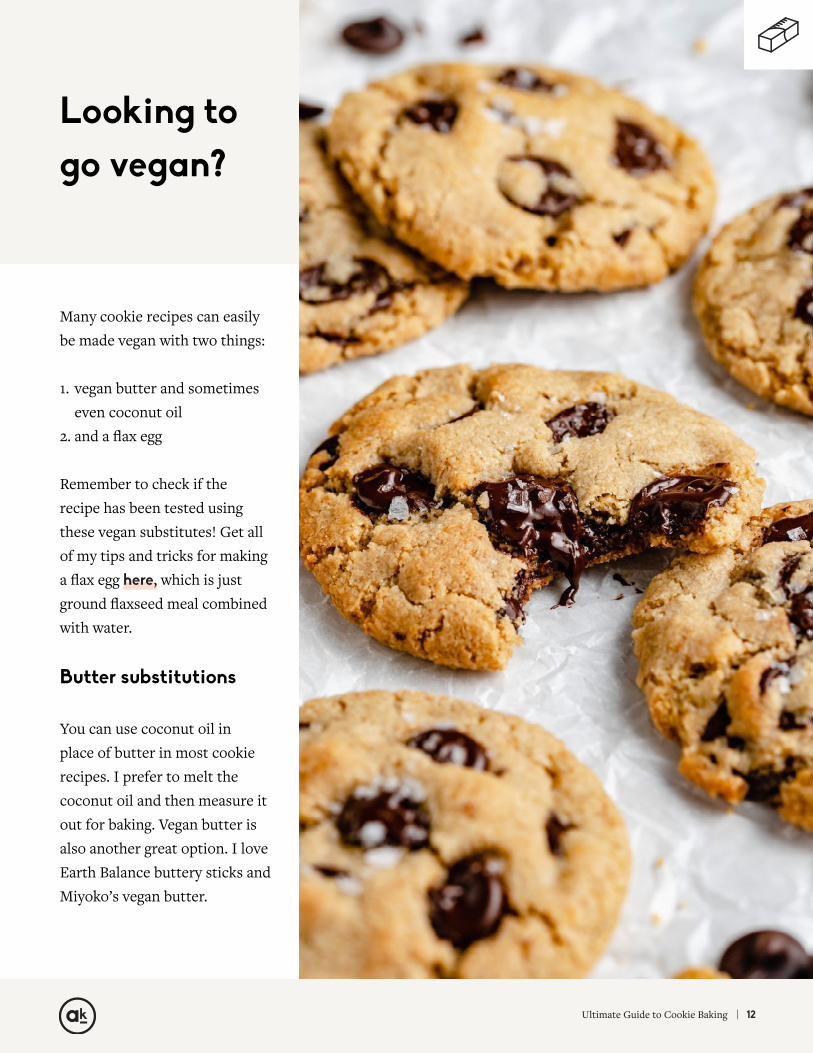
Many cookie recipes can easily be made vegan with two things:
1. vegan butter and sometimes even coconut oil
2. and a flax egg
Remember to check if the recipe has been tested using these vegan substitutes! Get all of my tips and tricks for making a flax egg here, which is just ground flaxseed meal combined with water.
Butter substitutions
You can use coconut oil in place of butter in most cookie recipes. I prefer to melt the coconut oil and then measure it out for baking. Vegan butter is also another great option. I love Earth Balance buttery sticks and Miyoko’s vegan butter.
Looking to go vegan?
Ultimate Guide to Cookie Baking | 13
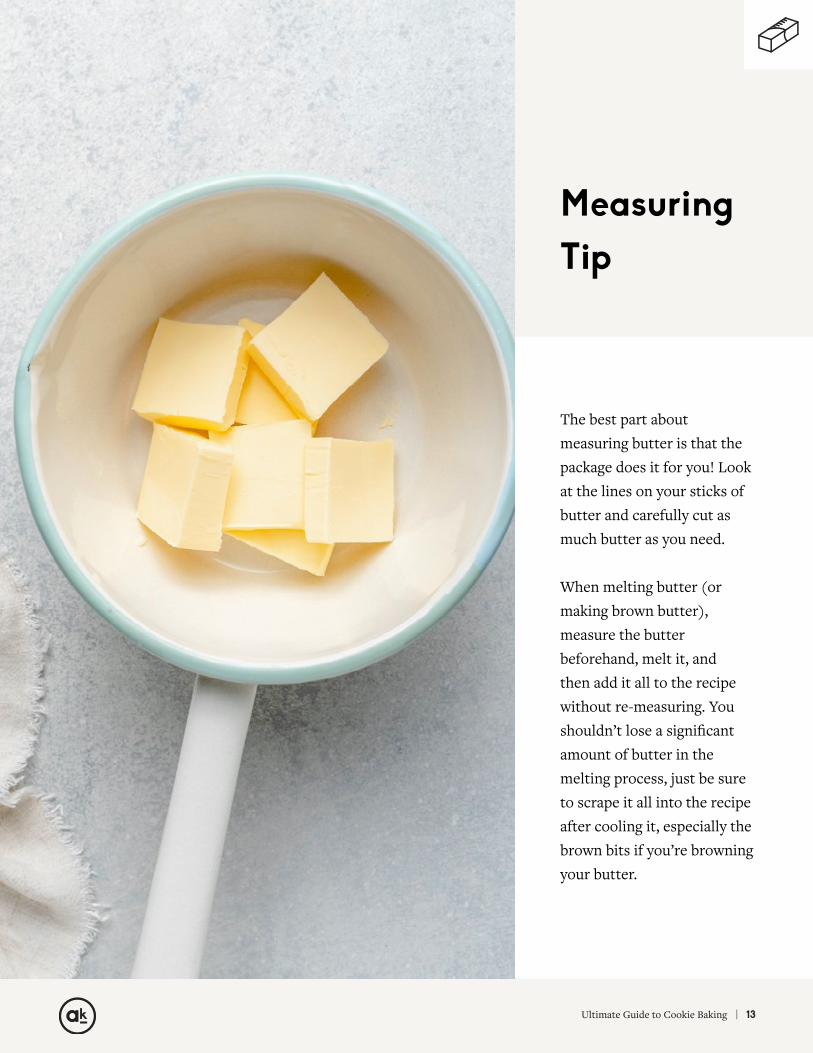
Measuring Tip
The best part about measuring butter is that the package does it for you! Look at the lines on your sticks of butter and carefully cut as much butter as you need.
When melting butter (or making brown butter), measure the butter beforehand, melt it, and then add it all to the recipe without re-measuring. You shouldn’t lose a significant amount of butter in the melting process, just be sure to scrape it all into the recipe after cooling it, especially the brown bits if you’re browning your butter.
Ultimate Guide to Cookie Baking | 14
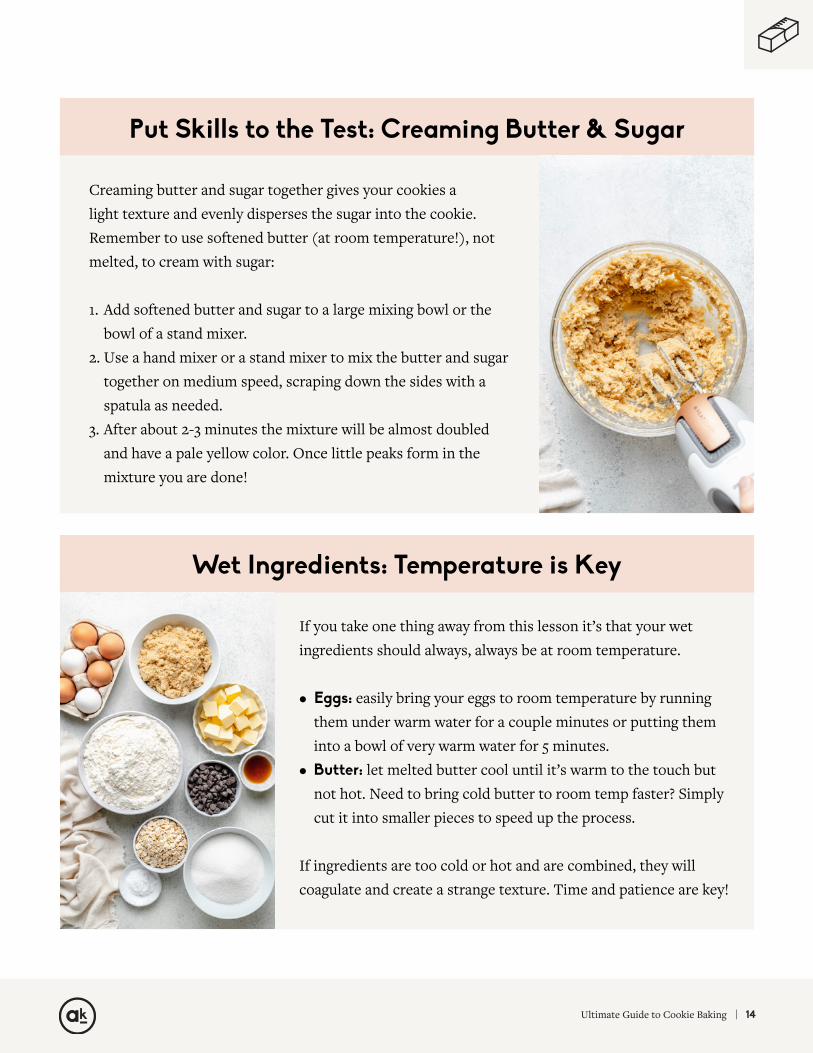
Creaming butter and sugar together gives your cookies a light texture and evenly disperses the sugar into the cookie. Remember to use softened butter (at room temperature!), not melted, to cream with sugar:
1. Add softened butter and sugar to a large mixing bowl or the bowl of a stand mixer.
2. Use a hand mixer or a stand mixer to mix the butter and sugar together on medium speed, scraping down the sides with a spatula as needed.
3. After about 2-3 minutes the mixture will be almost doubled and have a pale yellow color. Once little peaks form in the mixture you are done!
If you take one thing away from this lesson it’s that your wet ingredients should always, always be at room temperature.
• Eggs: easily bring your eggs to room temperature by running them under warm water for a couple minutes or putting them into a bowl of very warm water for 5 minutes.
• Butter: let melted butter cool until it’s warm to the touch but not hot. Need to bring cold butter to room temp faster? Simply cut it into smaller pieces to speed up the process.
If ingredients are too cold or hot and are combined, they will coagulate and create a strange texture. Time and patience are key!
Put Skills to the Test: Creaming Butter & Sugar
Wet Ingredients: Temperature is Key
Sugar, How You Get So Fly: All About Sweeteners
Ultimate Guide to Cookie Baking | 16
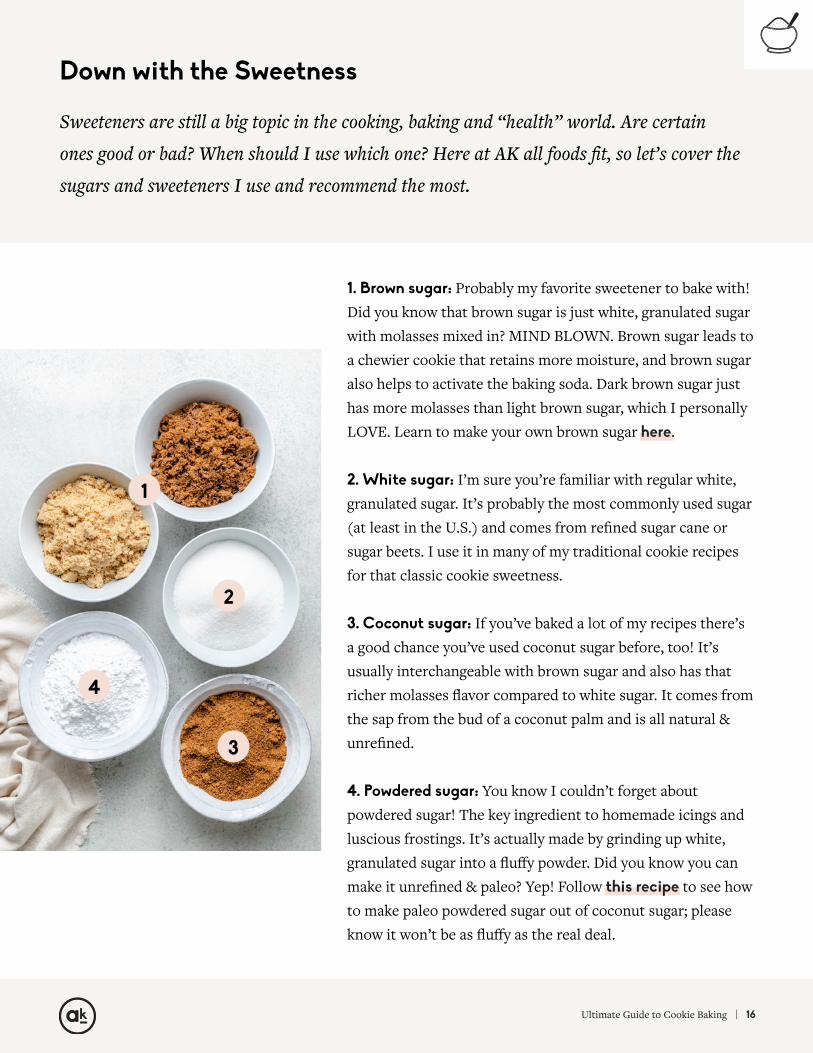
1. Brown sugar: Probably my favorite sweetener to bake with! Did you know that brown sugar is just white, granulated sugar with molasses mixed in? MIND BLOWN. Brown sugar leads to a chewier cookie that retains more moisture, and brown sugar also helps to activate the baking soda. Dark brown sugar just has more molasses than light brown sugar, which I personally LOVE. Learn to make your own brown sugar here.
2. White sugar: I’m sure you’re familiar with regular white, granulated sugar. It’s probably the most commonly used sugar (at least in the U.S.) and comes from refined sugar cane or sugar beets. I use it in many of my traditional cookie recipes for that classic cookie sweetness.
3. Coconut sugar: If you’ve baked a lot of my recipes there’s a good chance you’ve used coconut sugar before, too! It’s usually interchangeable with brown sugar and also has that richer molasses flavor compared to white sugar. It comes from the sap from the bud of a coconut palm and is all natural & unrefined.
4. Powdered sugar: You know I couldn’t forget about powdered sugar! The key ingredient to homemade icings and luscious frostings. It’s actually made by grinding up white, granulated sugar into a fluffy powder. Did you know you can make it unrefined & paleo? Yep! Follow this recipe to see how to make paleo powdered sugar out of coconut sugar; please know it won’t be as fluffy as the real deal.
Sweeteners are still a big topic in the cooking, baking and “health” world. Are certain
ones good or bad? When should I use which one? Here at AK all foods fit, so let’s cover the
sugars and sweeteners I use and recommend the most.
Down with the Sweetness
1
2
3
4
Ultimate Guide to Cookie Baking | 17
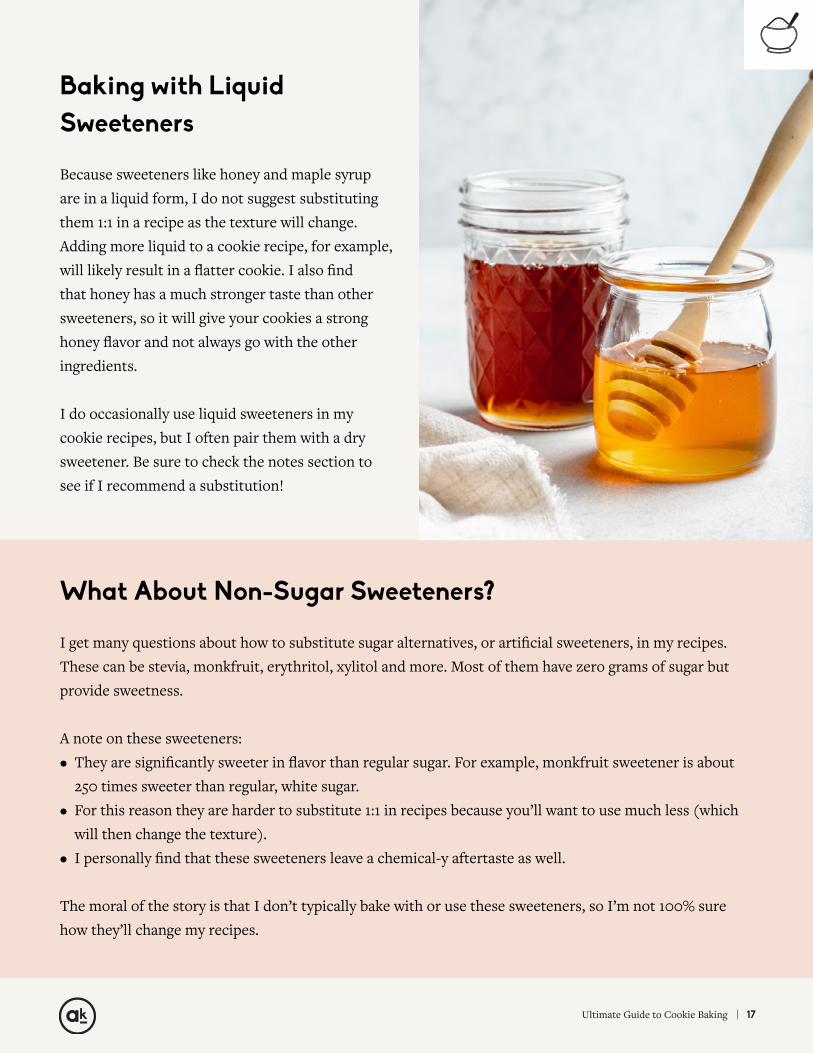
Baking with Liquid Sweeteners
Because sweeteners like honey and maple syrup are in a liquid form, I do not suggest substituting them 1:1 in a recipe as the texture will change. Adding more liquid to a cookie recipe, for example, will likely result in a flatter cookie. I also find that honey has a much stronger taste than other sweeteners, so it will give your cookies a strong honey flavor and not always go with the other ingredients.
I do occasionally use liquid sweeteners in my cookie recipes, but I often pair them with a dry sweetener. Be sure to check the notes section to see if I recommend a substitution!
What About Non-Sugar Sweeteners?
I get many questions about how to substitute sugar alternatives, or artificial sweeteners, in my recipes. These can be stevia, monkfruit, erythritol, xylitol and more. Most of them have zero grams of sugar but provide sweetness.
A note on these sweeteners:• They are significantly sweeter in flavor than regular sugar. For example, monkfruit sweetener is about
250 times sweeter than regular, white sugar.• For this reason they are harder to substitute 1:1 in recipes because you’ll want to use much less (which
will then change the texture).• I personally find that these sweeteners leave a chemical-y aftertaste as well.
The moral of the story is that I don’t typically bake with or use these sweeteners, so I’m not 100% sure how they’ll change my recipes.
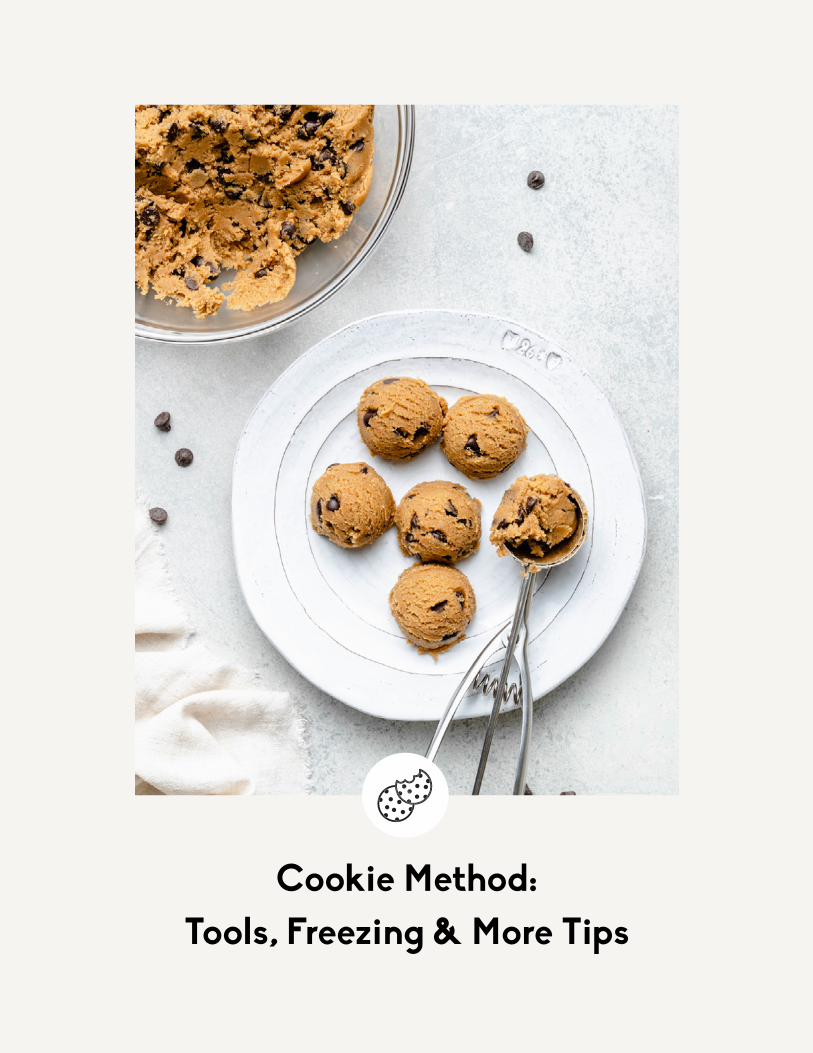
Cookie Method: Tools, Freezing & More Tips
Ultimate Guide to Cookie Baking | 19
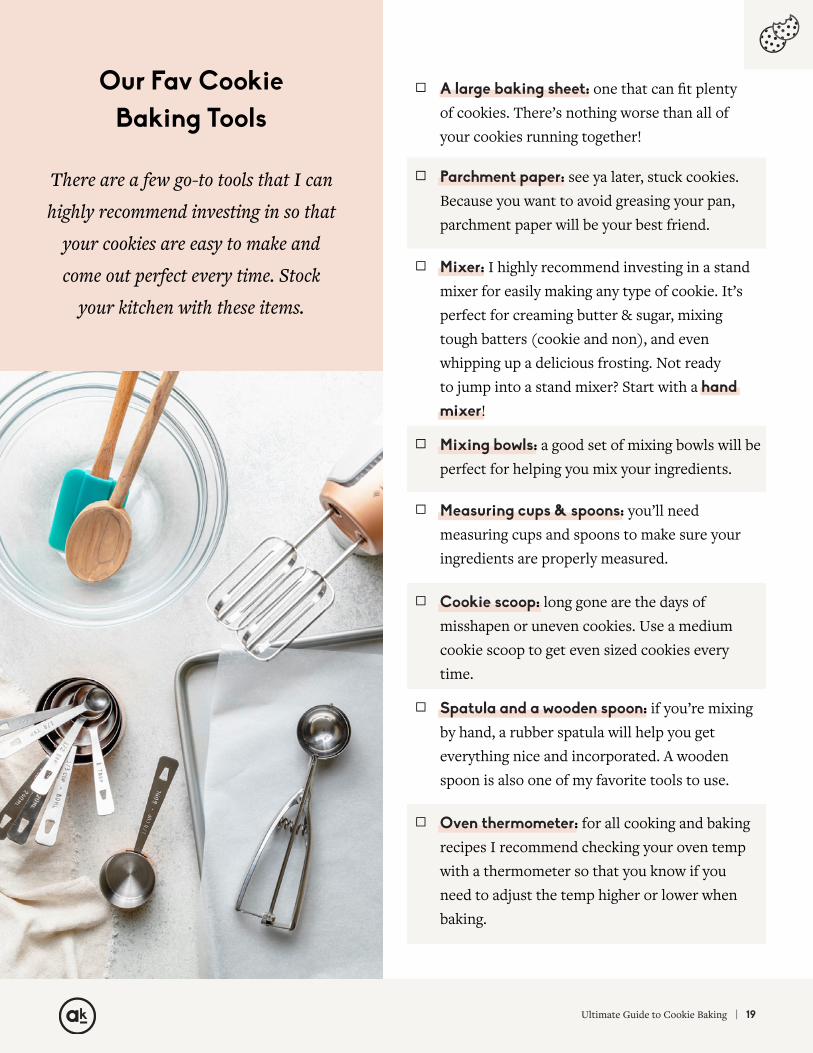
Our Fav Cookie Baking Tools
There are a few go-to tools that I can
highly recommend investing in so that
your cookies are easy to make and
come out perfect every time. Stock
your kitchen with these items.
Q A large baking sheet: one that can fit plenty of cookies. There’s nothing worse than all of your cookies running together!
Q Parchment paper: see ya later, stuck cookies. Because you want to avoid greasing your pan, parchment paper will be your best friend.
Q Mixer: I highly recommend investing in a stand mixer for easily making any type of cookie. It’s perfect for creaming butter & sugar, mixing tough batters (cookie and non), and even whipping up a delicious frosting. Not ready to jump into a stand mixer? Start with a hand mixer!
Q Mixing bowls: a good set of mixing bowls will be perfect for helping you mix your ingredients.
Q Measuring cups & spoons: you’ll need measuring cups and spoons to make sure your ingredients are properly measured.
Q Cookie scoop: long gone are the days of misshapen or uneven cookies. Use a medium cookie scoop to get even sized cookies every time.
Q Spatula and a wooden spoon: if you’re mixing by hand, a rubber spatula will help you get everything nice and incorporated. A wooden spoon is also one of my favorite tools to use.
Q Oven thermometer: for all cooking and baking recipes I recommend checking your oven temp with a thermometer so that you know if you need to adjust the temp higher or lower when baking.
Ultimate Guide to Cookie Baking | 20
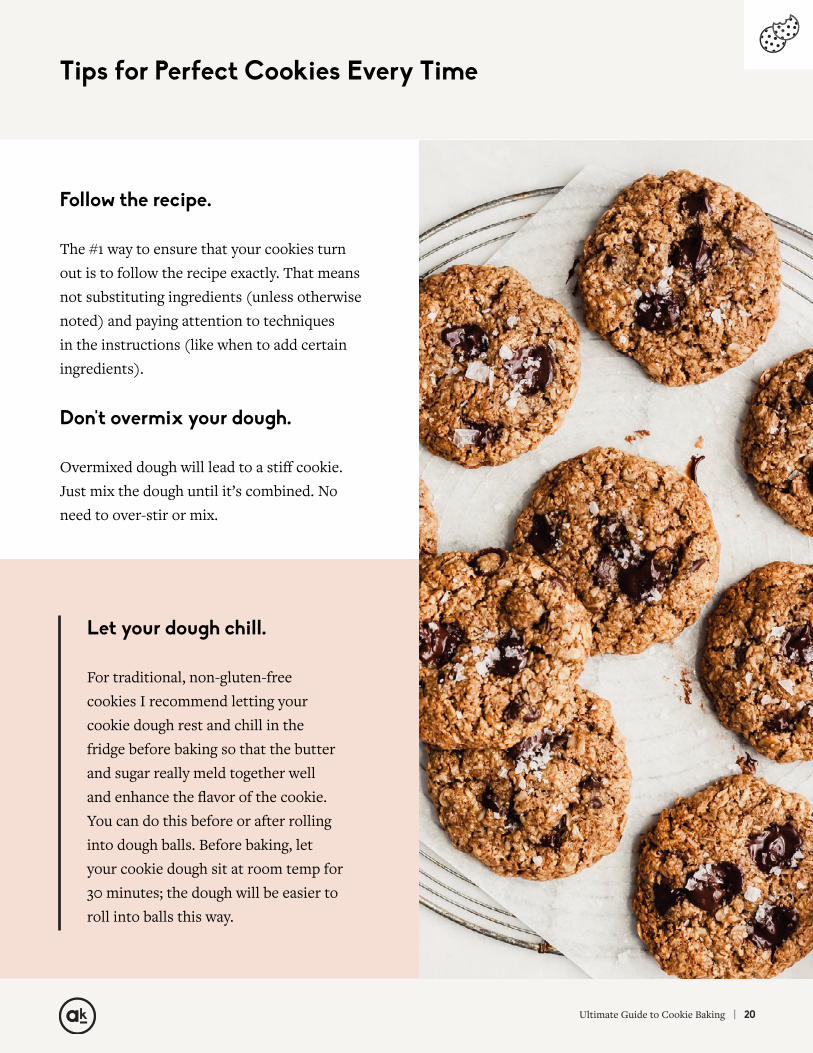
Tips for Perfect Cookies Every Time
Follow the recipe.
The #1 way to ensure that your cookies turn out is to follow the recipe exactly. That means not substituting ingredients (unless otherwise noted) and paying attention to techniques in the instructions (like when to add certain ingredients).
Don't overmix your dough.
Overmixed dough will lead to a stiff cookie. Just mix the dough until it’s combined. No need to over-stir or mix.
Let your dough chill.
For traditional, non-gluten-free cookies I recommend letting your cookie dough rest and chill in the fridge before baking so that the butter and sugar really meld together well and enhance the flavor of the cookie. You can do this before or after rolling into dough balls. Before baking, let your cookie dough sit at room temp for 30 minutes; the dough will be easier to roll into balls this way.
Ultimate Guide to Cookie Baking | 21
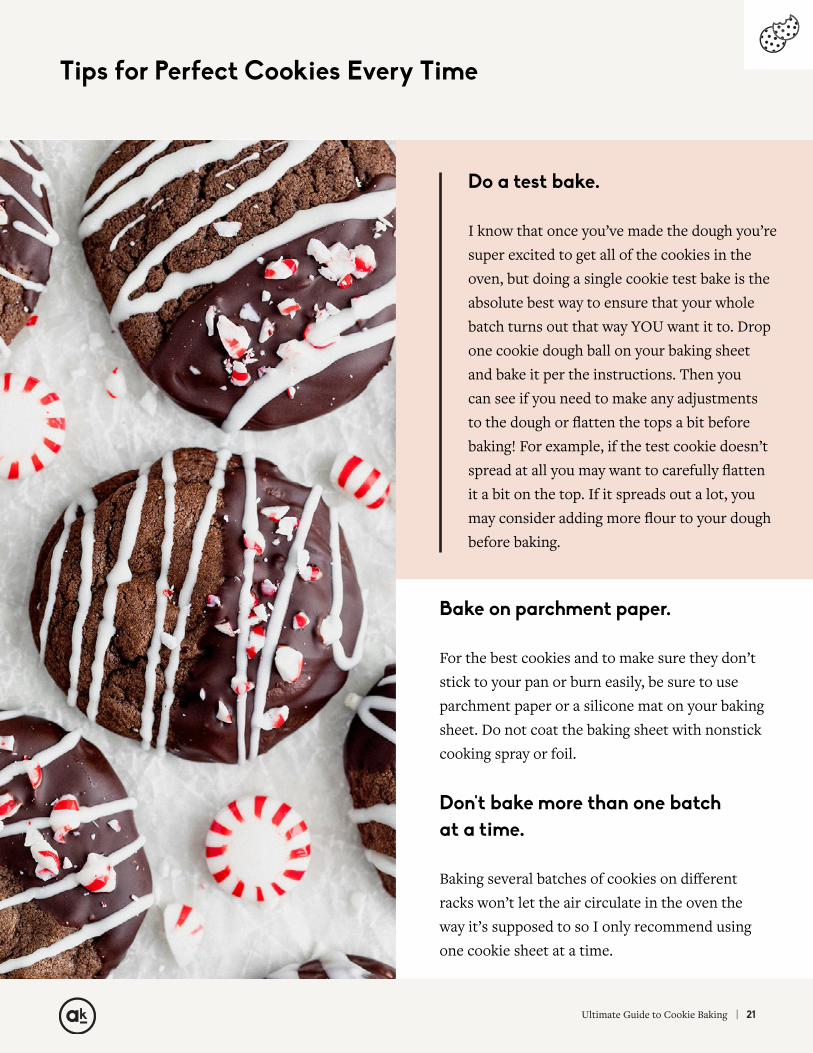
Tips for Perfect Cookies Every Time
Do a test bake.
I know that once you’ve made the dough you’re super excited to get all of the cookies in the oven, but doing a single cookie test bake is the absolute best way to ensure that your whole batch turns out that way YOU want it to. Drop one cookie dough ball on your baking sheet and bake it per the instructions. Then you can see if you need to make any adjustments to the dough or flatten the tops a bit before baking! For example, if the test cookie doesn’t spread at all you may want to carefully flatten it a bit on the top. If it spreads out a lot, you may consider adding more flour to your dough before baking.
Bake on parchment paper.
For the best cookies and to make sure they don’t stick to your pan or burn easily, be sure to use parchment paper or a silicone mat on your baking sheet. Do not coat the baking sheet with nonstick cooking spray or foil.
Don't bake more than one batch at a time.
Baking several batches of cookies on different racks won’t let the air circulate in the oven the way it’s supposed to so I only recommend using one cookie sheet at a time.

Ultimate Guide to Cookie Baking | 22
Tips for Perfect Cookies Every Time
To flatten or not to flatten?
When making cookies with gluten free flours I’ll typically suggest gently flattening the tops of the cookies before baking them. This is because gluten free cookies tend not to spread out so well due to the lack of elasticity that’s found in gluten. For most cookies that do have gluten and use regular flour, simply drop them on your cookie sheet, or roll into a ball and bake!
Underbake, underbake, underbake.
This had to be said more than once because it’s that important. Trust me when I say you should pull your cookies out as soon as (and even just before) the edges start to turn brown. I might go so far and say pull them out once the majority of the cookie doesn’t look “wet” on the top anymore. Once you pull the cookie sheet out, your cookies will continue to bake a bit on the pan before you transfer them to a wire rack to cool, so allow them to rest for 5-10 minutes or until they set up. If you pull the cookies out of the oven when they’ve already turned golden brown, you’ll end up with a slightly overbaked, crunchy cookie.
Ultimate Guide to Cookie Baking | 23
The Best Way to Store Baked Cookies
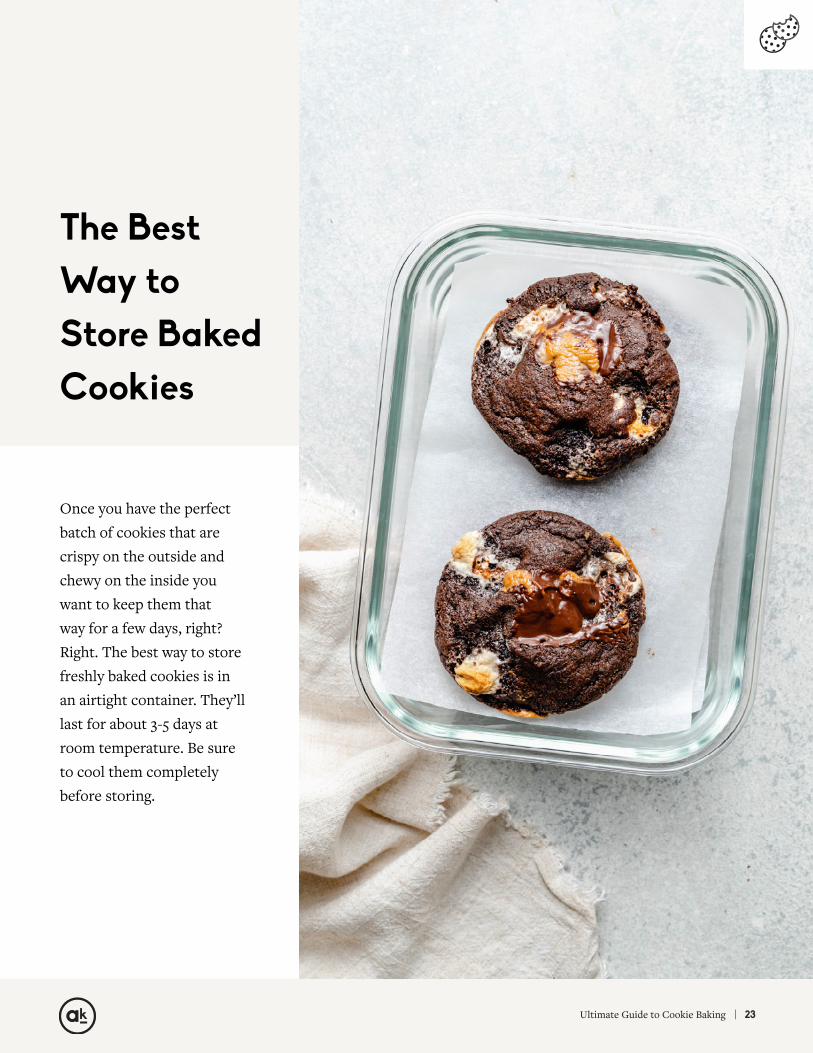
Once you have the perfect batch of cookies that are crispy on the outside and chewy on the inside you want to keep them that way for a few days, right? Right. The best way to store freshly baked cookies is in an airtight container. They’ll last for about 3-5 days at room temperature. Be sure to cool them completely before storing.

Ultimate Guide to Cookie Baking | 24
So you have the perfect dough OR the perfect batch of cookies, but you want to save them
for later. That’s totally fine! There are 2 amazing ways to freeze cookies before or after
baking them.
Make a Batch, Freeze for Later (two different ways!)
Roll your cookie dough into balls and place them on a cookie sheet lined with parchment paper. Chill the dough in the freezer for 30 minutes. Once the cookie dough balls firm up, you can transfer them to a reusable freezer-safe bag or container. Cookie dough will keep well for up to 3 months. When ready to bake, simply bake the cookies as directed. You may just need a few extra minutes of baking time. You can also bring the dough to room temp and then bake them as directed; either option will work!
Wait for the cookies to cool completely, then transfer them to a reusable freezer-safe bag or container lined with wax or parchment paper. I like to place them in a single layer to avoid any cookies breaking. Cookies will keep well for up to 2 months. Once ready to eat, simply thaw out at room temperature and enjoy.
1. Freeze the dough
2. Freeze already baked cookies
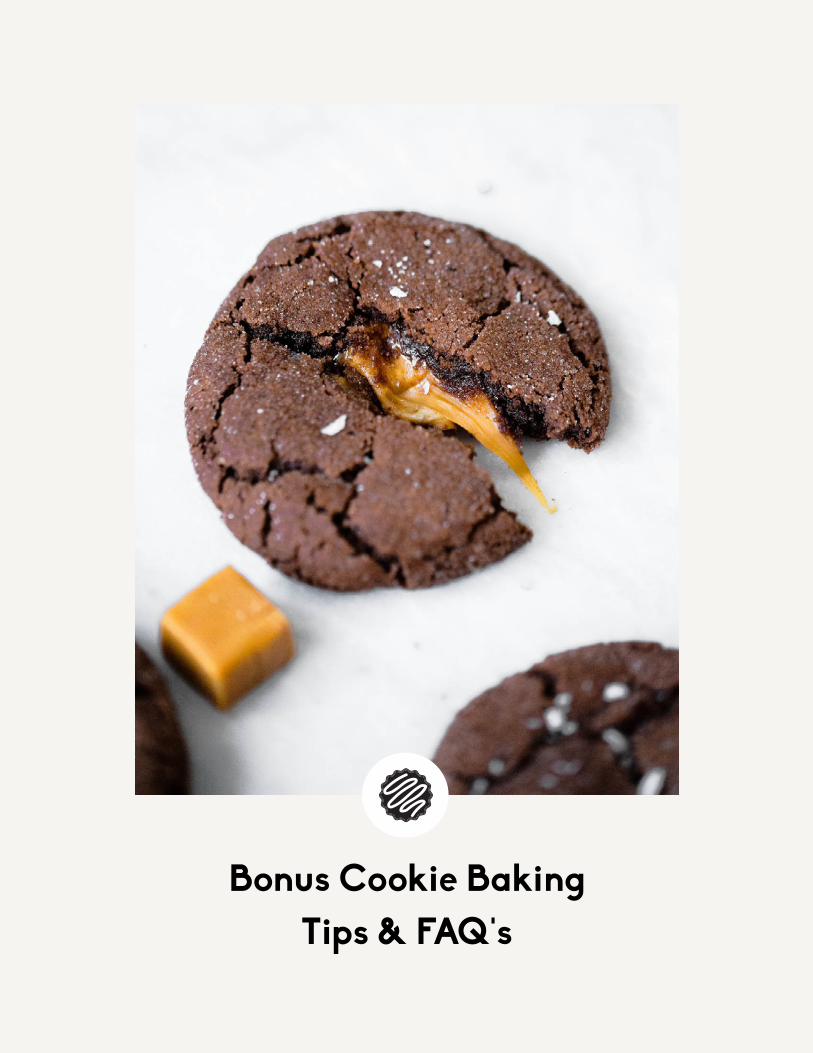
Bonus Cookie Baking Tips & FAQ's
Ultimate Guide to Cookie Baking | 26
How to Bake Cookies That Look Amazing
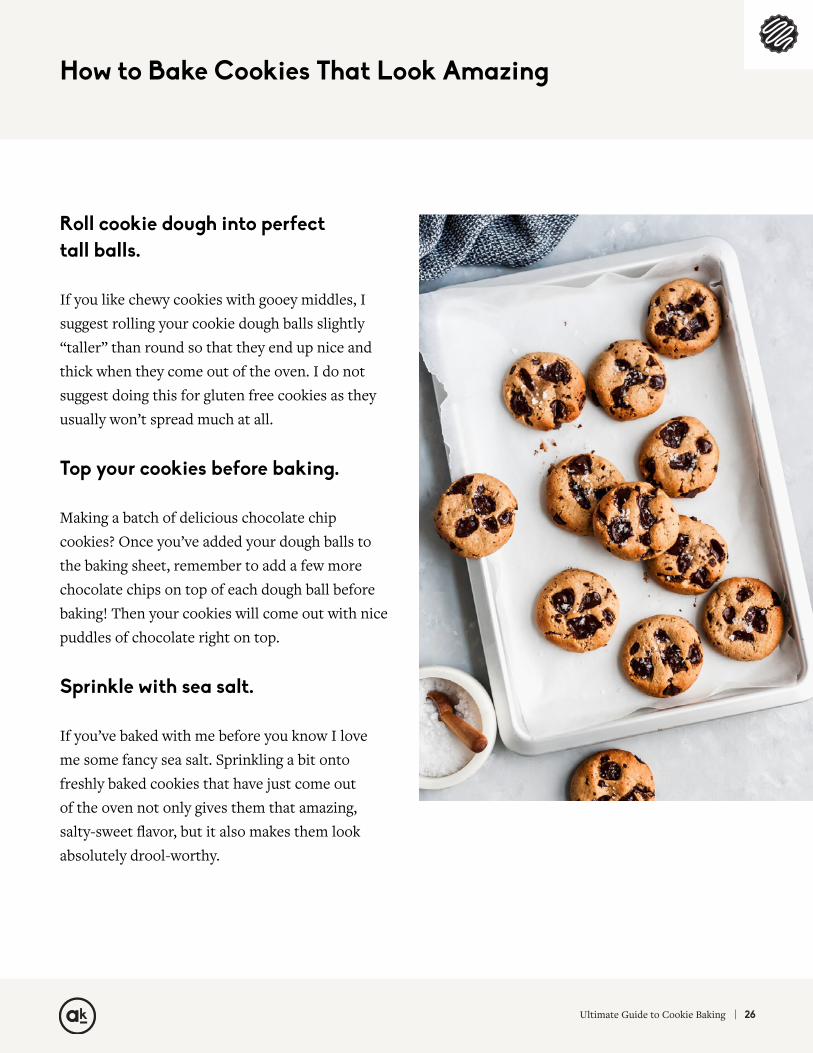
Roll cookie dough into perfect tall balls.
If you like chewy cookies with gooey middles, I suggest rolling your cookie dough balls slightly “taller” than round so that they end up nice and thick when they come out of the oven. I do not suggest doing this for gluten free cookies as they usually won’t spread much at all.
Top your cookies before baking.
Making a batch of delicious chocolate chip cookies? Once you’ve added your dough balls to the baking sheet, remember to add a few more chocolate chips on top of each dough ball before baking! Then your cookies will come out with nice puddles of chocolate right on top.
Sprinkle with sea salt.
If you’ve baked with me before you know I love me some fancy sea salt. Sprinkling a bit onto freshly baked cookies that have just come out of the oven not only gives them that amazing, salty-sweet flavor, but it also makes them look absolutely drool-worthy.

Ultimate Guide to Cookie Baking | 27
Your Cookie Baking Cheat Sheet
Cookie/Dough Problem
Cause Solution
Dough is too stickyThe dough needs time to chill or there’s not enough flour
Cover and chill dough for 30 minutes-1 hour; do a test cookie bake.
Dough is too dryToo much flour or dough is overmixed
Add in a little more melted butter or coconut oil until you reach desired dough consistency then let dough rest at room temp for 30 minutes to relax the gluten. Sometimes this is hard to salvage.
Dough is too oilyToo much fat or dough is too warm
This is probably because the butter was too warm. Chill the dough before baking.
Dough can't be rolled into balls after chilling
Dough is too coldRoll dough into balls before chilling or bring dough to room temp then roll into balls.
Cookies are hard Cookies were overbaked
Make sure your oven is the correct temp. Take cookies out before they turn golden brown on the edges. Always underbake your cookies.
Cookies spread too much
Several causes including dough was too warm, baking soda/powder was expired
Make sure you use fresh leavening agents, chill your dough for 1 hour and/or add additional flour if necessary.
Cookies didn't flattenToo much flour, dough was too cold
Bring dough to room temperature after chilling and testing again.

Copyright © 2021 Ambitious Kitchen. All food photography by Sasha Hooper. All rights reserved. This book or any portion thereof may
not be reproduced or used in any manner whatsoever without the express written permission of the publisher, except for the use of brief
quotations in a book review. This book contains intellectual property owned by Ambitious Kitchen, including trademarks, copyrights, pro-
prietary information, and other intellectual property. You may not modify, publish, transmit, participate in the transfer or sale of, create
derivative works from, distribute, display, reproduce or perform, or in any way exploit in any format whatsoever any of the book or service,
content or intellectual property, in whole or in part, without our prior written consent.