alignment lessons - wakek5science / home stories section of the teacher guide for guiding questions...
TRANSCRIPT

Earth Materials Page 1
Earth Materials
(FOSS)
and
Alignment Lessons

Earth Materials Page 2
Table of Contents Essential Standards and Clarifying Objectives .......................................................................................... 3
Essential Question(s) for the Unit ............................................................................................................. 3
Pre-Unit Assessment ................................................................................................................................. 3
Notes About the Unit ................................................................................................................................ 3
Lesson 1 - Unit Pre-Assessment ................................................................................................................ 4
Lesson 2 – Investigating Mock Rocks (Earth Materials Inv. 1, part 1) ...................................................... 6
Lesson 3 – Taking Rocks Apart (Earth Materials Inv. 1, part 2) ................................................................. 8
Lesson 4 – Observing Crystals (Earth Materials Inv. 1, part 3) ............................................................... 10
Lesson 5 – Observing Minerals (Earth Materials Inv. 2, part 1) .............................................................. 12
Lesson 6 – Testing for Hardness (Earth Materials Inv. 2, part 2) ............................................................ 14
Lesson 7 – Observing Color, Luster, Cleavage and Streak (Alignment Lesson) ...................................... 16
Lesson 8 – Detecting Calcite (Earth Materials Inv. 3, part 1) .................................................................. 18
Lesson 9 – Looking for More Evidence (Earth Materials Inv. 3, part 2) .................................................. 20
Lesson 10 – Identifying Minerals in Granite (Earth Materials Inv. 4, part 1) .......................................... 22
Lesson 11 – Investigating Rocks (Alignment Lesson) .............................................................................. 24
Lesson 12 – Fossils (Alignment Lesson) .................................................................................................. 26
Lesson 13 – Classifying Rocks (Alignment Lesson) .................................................................................. 28
Lesson 14 – Choosing Your Own Investigation (Earth Materials Inv. 4, part 2) ...................................... 30
Earth Materials Page 3
Essential Standards and Clarifying Objectives 4.P.2 Understand the composition and properties of matter before and after they undergo an change
or interaction.
4.P.2.1 Compare physical properties of samples of matter: (strength, hardness, flexibility, ability to
conduct electricity, ability to be attracted by magnets, reactions to water and fire).
4.P.2.2 Explain how minerals are identified using tests for the physical properties of hardness, color,
luster, cleavage, and streak.
4.P.2.3 Classify rocks as metamorphic, sedimentary or igneous based on their composition, how they are
formed and the processes that create them.
4.E.2 Understand the use of fossils and changes in the surface of the Earth as evidence of the history
of Earth and its changing life forms.
4.E.2.1 Compare fossils (including molds, casts, and preserved parts of plants and animals) to one
another and to living organisms.
4.E.2.2 Infer ideas about Earth’s early environments from fossils of plants and animals that lived long
ago.
Essential Question(s) for the Unit In what ways can we observe, test, and identify the properties of rocks and minerals?
Pre-Unit Assessment A formative assessment probe called “Is It a Rock? Version 2” is available on page 157 of Uncovering
Student Ideas in Science Volume 2 (Blue Cover), by Page Keeley et al. The probe is designed to elicit
students’ ideas about rocks. It can also be completed as a picture sort, which is available on CMAPP. “Is
It a Rock? (Version 1)” was administered in 1st grade as part of the FOSS Pebbles, Sand, and Silt unit.
Notes About the Unit Mock rocks need to be made by the teacher or a parent volunteer about 7-10 days prior to Lesson 2
(FOSS Earth Materials Investigation 1). Directions to create mock rocks are available in the Investigation
Duplication Masters section of the teacher guide.
A nonfiction text called FOSS Science Stories accompanies the Earth Materials kit. Check out the
Science Stories section of the teacher guide for guiding questions and activity ideas related to the text.
Alignment lessons have been added to address the NC Essential Standards not specifically addressed
by the Earth Materials kit, namely 4.P.2.2 (properties of minerals: luster and cleavage) and 4.P.2.3 (types
of rocks and the rock cycle). A materials list for the alignment lessons is available on CMAPP.

Earth Materials Page 4
Lesson 1 - Unit Pre-Assessment Students complete a formative assessment probe that elicits their thinking about rocks.
Clarifying Objectives
4.P.2 Understand the composition and properties of matter before and after they undergo a change or
interaction.
4.E.2 Understand the use of fossils and changes in the surface of the Earth as evidence of the history
of Earth and its changing life forms.
Focus Question(s)
Is it a rock?
Activity Guiding Questions
Invite students to record the date and title a page of their science notebook “What I know about rocks and minerals.”
Ask students to think for a minute about rocks and minerals and to jot down what they know. Use guiding questions to focus students’ thinking.
Have students share their ideas.
Distribute the formative assessment probe “Is It a Rock?”
Give students 5-10 minutes to complete the probe.
Prompt students to share their ideas and any new questions they might have.
Explain that students will act like scientists over the next few weeks while they conduct a series of investigations about rocks and minerals.
If time, you might move on to the next investigation about mock rocks.
What do you know about rocks and minerals?
Where have you found rocks and minerals?
How are rocks and minerals alike and different?
How do you know if something is a rock or a mineral?
Science Content Words
Use these terms when teaching the lesson:
New terms are not introduced during the pre-assessment activity.
Integration Hints
Set up a rocks and minerals learning center. Stock the center with books about rocks and
minerals, as well as rock and mineral samples and hand lenses. Invite students to bring in rocks
to create a class rock collection.

Earth Materials Page 5
Administer the formative assessment probe as a picture card sort. Picture cards are available on
CMAPP.
Students can take a picture of their picture card sort or video record the sorting process to
review later. At the end of the unit, the formative assessment probe can be administered again
allowing students to stick with their original thinking or to make adjustments in response to new
learning.
Science Notebook Helper
Students record the date and title a page “What I Know about Rocks and Minerals.” Students jot
down their initial thoughts and any new questions they might have.
Assessment Opportunities
This is a pre-unit assessment opportunity.
Students complete a formative assessment probe called “Is It a Rock? Version 2”

Earth Materials Page 6
Lesson 2 – Investigating Mock Rocks (Earth Materials Inv. 1, part 1) Students make and record observations of mock rocks. They compare the properties of mock rocks with those of real rocks. *Mock rocks need to be made by the teacher up to a week in advance. The recipe for mock rocks is on page two in the Duplication Masters section of the teacher guide.
Clarifying Objectives
4.P.2.1 Compare physical properties of samples of matter: (strength, hardness, flexibility, ability to
conduct electricity, ability to be attracted by magnets, reactions to water and fire).
4.P.2.2 Explain how minerals are identified using tests for the physical properties of hardness, color,
luster, cleavage, and streak.
Focus Question(s)
What are some properties that we can use to describe individual rocks?
Activity Guiding Questions
Review the idea of properties and how scientists might go about describing rocks.
Introduce the tools (hand lens, meter tape, balances, mass weights) that will be used in this investigation.
Introduce the mock rocks as models of real rocks and prompt students make observations of their mock rock.
Using the data students collected about their mock rock, they can then make comparisons about their observations.
Discuss as a whole group how their work in this lesson reflects what geologists do in their own work.
Start a Content/Inquiry Chart that contains statements that summarize the knowledge acquired in the investigation. Answer and clarify any concepts students may have questions about.
What are the properties a geologist might use to describe rocks?
How might we determine the diameter of the mock rock? It’s circumference? Depth?
What are some of the tools scientists use to study rocks?
What information does each tool provide?
What kind of information is important to include in notes?
How is a mock rock like a real rock? How is it different?
How would you study a real rock?
Which properties can help us tell one rock from another?
How can you tell your mock rock from another mock rock or a real rock?
Why do geologists look carefully at the different properties?
How can we make comparisons of the different sizes of rocks?
Science Content Words
Use these terms when teaching the lesson:
geology the scientific study of Earth’s history and structure
geologist a scientist who studies the Earth and the materials of which it is made
property a characteristic such as color, size, shape, texture

Earth Materials Page 7
diameter the distance across a circular object
circumference the distance around a circular object
depth the thickness of an object from top to bottom
meter tape a tool which measures linear dimensions
balance a tool which measures mass
mass You weigh a mock rock using a balance to determine its mass.
Integration Hints
Share FOSS Science Stories Written in Stone. Students can write a letter to a friend about an
interesting rock formation. See the Science Stories folio in the teacher guide for guiding
questions.
Invite students to bring in rocks to begin a classroom rock collection.
Invite a geologist to speak to the class to discuss his/her career.
Measurement is naturally integrated in this investigation.
Science Notebook Helper
You might choose to copy and distribute the fifteen page Earth Materials student notebook
(available in the Duplication Masters section of the teacher guide) for students to record their
observations throughout the unit.
Students record the focus question, a prediction, and data collected during their observation of
the mock rock.
Assessment Opportunities
Teacher observation (an observation chart is available in the teacher guide)
Students’ science notebook entries – students accurately measure and describe physical
properties of mock rocks.
Earth Materials Page 8
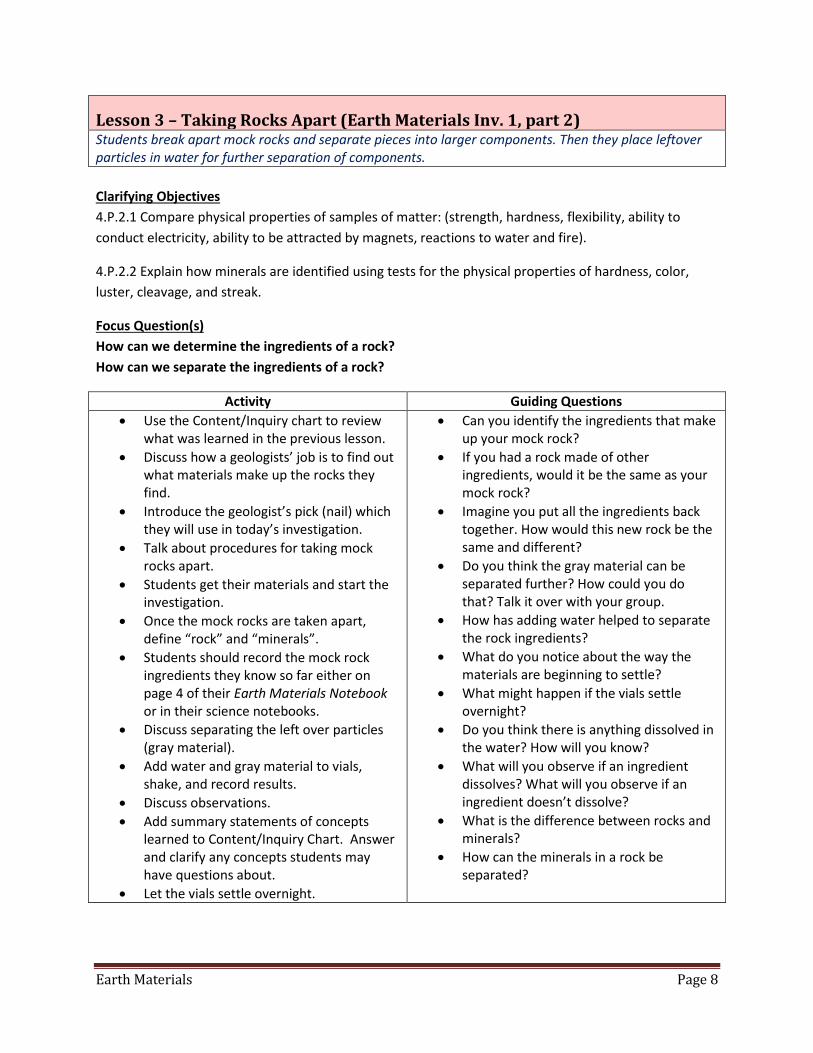
Lesson 3 – Taking Rocks Apart (Earth Materials Inv. 1, part 2) Students break apart mock rocks and separate pieces into larger components. Then they place leftover particles in water for further separation of components.
Clarifying Objectives
4.P.2.1 Compare physical properties of samples of matter: (strength, hardness, flexibility, ability to
conduct electricity, ability to be attracted by magnets, reactions to water and fire).
4.P.2.2 Explain how minerals are identified using tests for the physical properties of hardness, color,
luster, cleavage, and streak.
Focus Question(s)
How can we determine the ingredients of a rock?
How can we separate the ingredients of a rock?
Activity Guiding Questions
Use the Content/Inquiry chart to review what was learned in the previous lesson.
Discuss how a geologists’ job is to find out what materials make up the rocks they find.
Introduce the geologist’s pick (nail) which they will use in today’s investigation.
Talk about procedures for taking mock rocks apart.
Students get their materials and start the investigation.
Once the mock rocks are taken apart, define “rock” and “minerals”.
Students should record the mock rock ingredients they know so far either on page 4 of their Earth Materials Notebook or in their science notebooks.
Discuss separating the left over particles (gray material).
Add water and gray material to vials, shake, and record results.
Discuss observations.
Add summary statements of concepts learned to Content/Inquiry Chart. Answer and clarify any concepts students may have questions about.
Let the vials settle overnight.
Can you identify the ingredients that make up your mock rock?
If you had a rock made of other ingredients, would it be the same as your mock rock?
Imagine you put all the ingredients back together. How would this new rock be the same and different?
Do you think the gray material can be separated further? How could you do that? Talk it over with your group.
How has adding water helped to separate the rock ingredients?
What do you notice about the way the materials are beginning to settle?
What might happen if the vials settle overnight?
Do you think there is anything dissolved in the water? How will you know?
What will you observe if an ingredient dissolves? What will you observe if an ingredient doesn’t dissolve?
What is the difference between rocks and minerals?
How can the minerals in a rock be separated?
Earth Materials Page 9
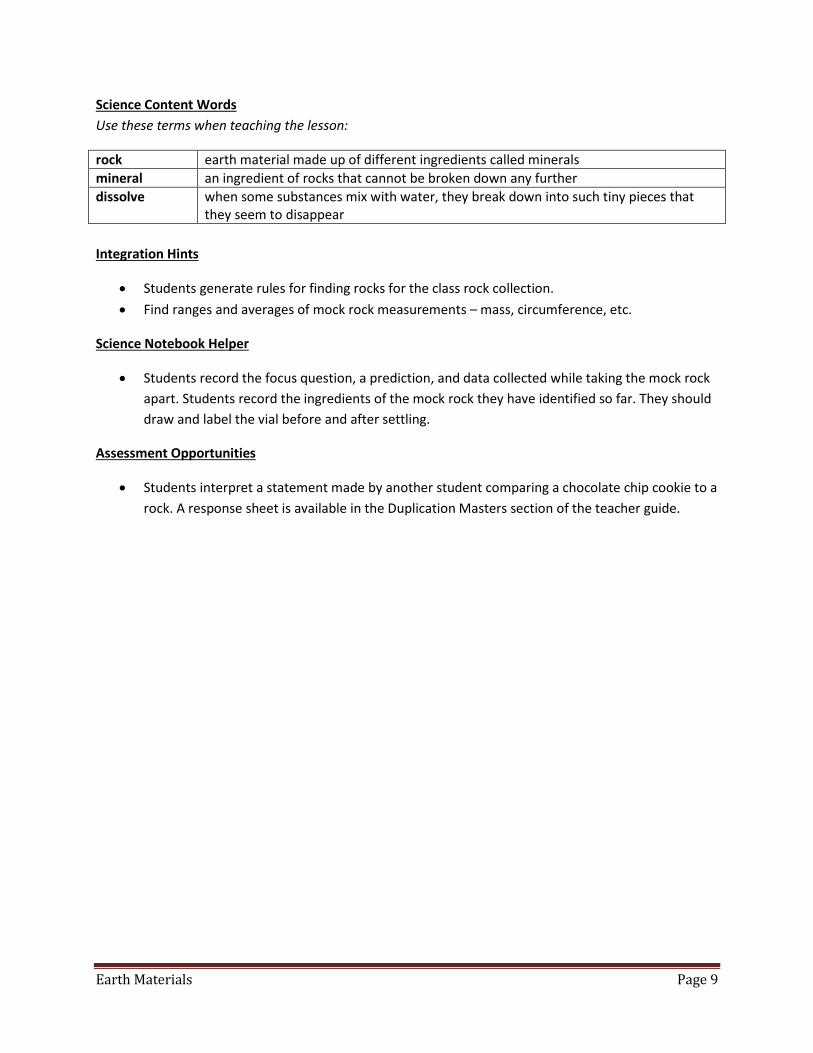
Science Content Words
Use these terms when teaching the lesson:
rock earth material made up of different ingredients called minerals
mineral an ingredient of rocks that cannot be broken down any further
dissolve when some substances mix with water, they break down into such tiny pieces that they seem to disappear
Integration Hints
Students generate rules for finding rocks for the class rock collection.
Find ranges and averages of mock rock measurements – mass, circumference, etc.
Science Notebook Helper
Students record the focus question, a prediction, and data collected while taking the mock rock
apart. Students record the ingredients of the mock rock they have identified so far. They should
draw and label the vial before and after settling.
Assessment Opportunities
Students interpret a statement made by another student comparing a chocolate chip cookie to a
rock. A response sheet is available in the Duplication Masters section of the teacher guide.

Earth Materials Page 10
Lesson 4 – Observing Crystals (Earth Materials Inv. 1, part 3) Students will observe settled vials and set up evaporation dishes. Once the liquid has evaporated (usually 3-4 days later), students will find and evaluate the type of crystals left in the dish. Note: evaporation was introduced as a method for separating mixtures in the 3rd grade Changes unit.
Clarifying Objectives
4.P.2.1 Compare physical properties of samples of matter: (strength, hardness, flexibility, ability to
conduct electricity, ability to be attracted by magnets, reactions to water and fire).
4.P.2.2 Explain how minerals are identified using tests for the physical properties of hardness, color,
luster, cleavage, and streak.
Focus Question(s)
What evidence can we find to show the ingredients that make up our mock rocks?
Activity Guiding Questions
Part 1
Students observe and record the ingredients that have settled in vials with water overnight. They observe the separation that has occurred.
Discuss dissolving the liquid for the possibility of other materials being present.
Students set up evaporation dishes to determine any further ingredients in the mock rocks. Students’ record and predictions and observations in their notebooks.
Review what was discussed in this lesson. Answer and clarify any concepts students may have questions about.
Part 2 (once evaporation has occurred a few days later)
Once the liquid has evaporated, look at the results (crystals) that remain in the Petri dish.
Have groups discuss and compare their results.
Students use the Crystal Identification Chart to determine that the crystals in the Petri dish are salt and alum crystals.
Discuss where the students think the crystals come from.
Students should review and complete the ingredients list for the mock rocks.
Part 1
If there is something dissolved in the water, how would we be able to separate the water from the other material?
Part 2
What did you observe in the evaporation dish?
How were you able to separate the salt from the water?
How did you know that the square crystals were salt?

Earth Materials Page 11
Add summary statements of concepts learned to Content/Inquiry Chart. Answer and clarify any concepts students may have questions about.
Science Content Words
Use these terms when teaching the lesson:
crystal the solid form of a material that can be identified by its shape or pattern
evaporate water changes from a liquid state to a gaseous state
Integration Hints
In conjunction with students observing evaporation dishes for a few days, you might share FOSS
Science Stories Postcards from the Ledge and the related activities. See the Science Stories folio
in the teacher guide for guiding questions.
Students can complete the problem of the week, available in the Duplication Masters section of
the teacher guide.
Make rock candy crystals with dissolved sugar and string.
Science Notebook Helper
Students record the focus question, a prediction, and data collected during their observation of
the settled vial and the evaporation dish.
Students identify
Assessment Opportunities
Teacher observation (an assessment chart is available in the teacher guide)
Students’ science notebook entries – look for evidence that students are grasping the concept
that minerals are the ingredients that make rocks.

Earth Materials Page 12
Lesson 5 – Observing Minerals (Earth Materials Inv. 2, part 1) Students investigate four unnamed minerals and recognize that noting the visible properties is not enough to make a positive identification. *The unnamed minerals used in this investigation are: calcite, quartz, gypsum, fluorite.
Clarifying Objectives
4.P.2.1 Compare physical properties of samples of matter: (strength, hardness, flexibility, ability to
conduct electricity, ability to be attracted by magnets, reactions to water and fire).
4.P.2.2 Explain how minerals are identified using tests for the physical properties of hardness, color,
luster, cleavage, and streak.
Focus Question(s)
What properties can we use to identify minerals?
Activity Guiding Questions
Use the Content/Inquiry chart to review what was learned in Investigation 1.
Discuss how identification is a part of a geologist’s job.
Students investigate four unknown minerals: #1- calcite, #2 - quartz, #3 - gypsum, #4 - fluorite. They place them on the Mineral Identification Sheet to keep them organized.
Students record their observations on page eight of their Earth Materials Notebook or in their science notebook.
Students share their observations and discuss whether the information would be helpful in identifying minerals. The students need to use as descriptive words as possible. Also this is a good time to focus in on properties such as magnetism, luster and streak color.
Add summary statements of concepts learned to Content/Inquiry Chart. Answer and clarify any concepts students may have questions about.
What is the difference between a rock and a mineral?
Which of the properties (or combinations of properties) is most useful in helping you identify a certain mineral?
Is one property enough information to identify a mineral?
What if I gave you the clue “It’s a small mineral.” Would that be enough information to identify any sample of that mineral?
Do you think you could identify each mineral on another group’s tray if you didn’t have numbers to help?
What is a mineral?
What is the difference between a rock and a mineral?
If someone sent you a letter and said they needed your help to identify a mineral that they had found, and they told you it was about the size of their fist, would you be able to identify it? Why or why not?
Science Content Words
Use these terms when teaching the lesson:
New vocabulary is not introduced in this investigation. The teacher guide recommends
reviewing rock and mineral.
Earth Materials Page 13
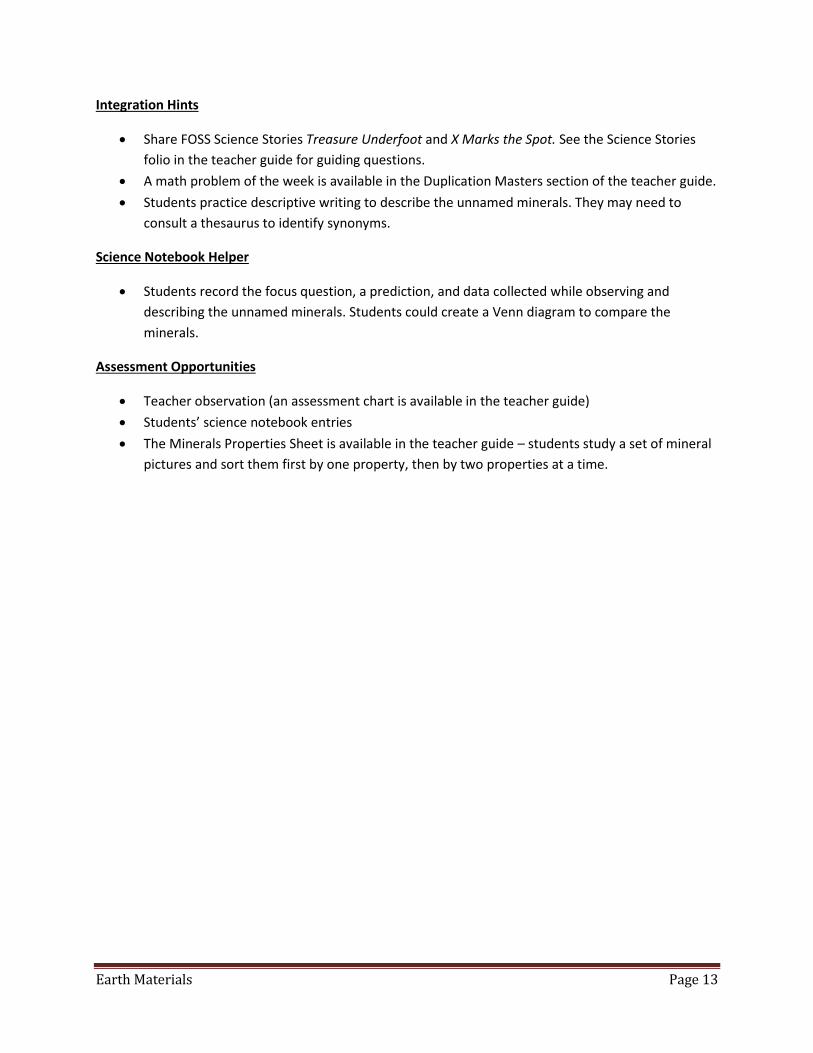
Integration Hints
Share FOSS Science Stories Treasure Underfoot and X Marks the Spot. See the Science Stories
folio in the teacher guide for guiding questions.
A math problem of the week is available in the Duplication Masters section of the teacher guide.
Students practice descriptive writing to describe the unnamed minerals. They may need to
consult a thesaurus to identify synonyms.
Science Notebook Helper
Students record the focus question, a prediction, and data collected while observing and
describing the unnamed minerals. Students could create a Venn diagram to compare the
minerals.
Assessment Opportunities
Teacher observation (an assessment chart is available in the teacher guide)
Students’ science notebook entries
The Minerals Properties Sheet is available in the teacher guide – students study a set of mineral
pictures and sort them first by one property, then by two properties at a time.

Earth Materials Page 14
Lesson 6 – Testing for Hardness (Earth Materials Inv. 2, part 2) Students conduct scratch tests using paper clips, pennies, and their fingernails to assist them in identifying minerals. *The mineral samples used in this investigation are: calcite, gypsum, fluorite, and quartz. You will need to provide chalk and pennies for this investigation.
Clarifying Objectives
4.P.2.1 Compare physical properties of samples of matter: (strength, hardness, flexibility, ability to
conduct electricity, ability to be attracted by magnets, reactions to water and fire).
4.P.2.2 Explain how minerals are identified using tests for the physical properties of hardness, color,
luster, cleavage, and streak.
Focus Question(s)
How can we determine the hardness of a mineral?
Activity Guiding Questions
Introduce the scratch test and have students begin by practicing the scratch test on a piece of chalk and a piece of tile.
Discuss the chalk and tile results. Students get the minerals (calcite, fluorite,
quartz and gypsum) and perform the scratch tests. They use the chart of page 9 of their notebooks to record their data. (The chart can be placed under a document camera for students to replicate in their science notebooks.)
Students identify quartz and gypsum with identification hints about one being the hardest and the other the softest. They record this information on the chart in their notebook.
Students are then asked to identify calcite and fluorite and record the information on their chart.
Finally, the students are asked to determine their rank from softest to hardest.
Add summary statements of concepts learned to Content/Inquiry Chart. Answer and clarify any concepts students may have questions about.
Which is harder, chalk or tile? How do you know?
Which tool is harder, the paperclip or the penny? How do you know?
I read that quartz is the hardest of the common minerals on Earth. Will that information help us identify the quartz sample in your set?
What do you already know about these minerals from the tests you have already done?
Which scratch tool might give you the best information at this time?
How could you find out which was harder if you didn’t have any scratch tools?

Earth Materials Page 15
Science Content Words
Use these terms when teaching the lesson:
quartz one of the most common minerals in Earth’s crust; it cannot be scratched with a paperclip and has a glassy luster
fluorite a mineral that comes in a variety of colors including white, blue, green, and violet; fluorite can be scratched with a paperclip and usually glows under a black light
calcite another of the most common minerals on Earth; it can be scratched with a penny; it is a major mineral in common rocks such as limestone and marble, which are valued as building materials
gypsum a mineral that forms when seawater evaporates under arid conditions; it can be scratched with a fingernail and has a pearly, glassy, and sometimes fibrous luster
scratch test a procedure geologists use to determine the hardness of minerals
Mohs’ scale a numerical scale geologists use to help identify and rank minerals according to their hardness
Integration Hints
Share FOSS Science Stories Digging It Up: Mining for Minerals and Birthstones: A mineral for
Each Month. See the Science Stories folio in the teacher guide for guiding questions and activity
suggestions.
Create a bar graph of birthstones for the class.
Students can research the Moh’s scale and other methods for rating minerals.
Science Notebook Helper
Students record the focus question, a prediction, and data collected during the scratch test
investigation. Students rank the four minerals from softest to hardest.
Assessment Opportunities
Teacher observation (an assessment chart is available in the teacher guide)
Students’ science notebook entries
A response sheet called Scratch Test is available in the teacher guide. Students respond to
another student who describes rubbing two rocks together to determine their relative hardness.

Earth Materials Page 16
Lesson 7 – Observing Color, Luster, Cleavage and Streak (Alignment Lesson) Students rotate through stations to further investigate physical properties of minerals including color, cleavage, luster, and streak. *This lesson plan references minerals which are not provided in the FOSS Earth Materials kit. The lesson plan and related student response sheets have been uploaded to CMAPP as a Word document so you can make adjustments to the student response sheets according to the minerals that you might have available for observation. It’s important that students observe the properties of luster, cleavage, and streak as they are specifically named in Clarifying Objective 4.P.2.2.
Clarifying Objectives
4.P.2.1 Compare physical properties of samples of matter: (strength, hardness, flexibility, ability to
conduct electricity, ability to be attracted by magnets, reactions to water and fire).
4.P.2.2 Explain how minerals are identified using tests for the physical properties of hardness, color,
luster, cleavage, and streak.
Focus Question(s)
What are some other properties that can help us identify minerals?
Activity Guiding Questions
A detailed lesson plan is available on CMAPP.
After reviewing the previous investigations, share that geologists use more than just a mineral’s hardness to describe and identify a mineral.
Introduce the mineral pyrite and tell students you need their assistance in identifying it as gold or not.
Prompt students to think about which properties, other than hardness, geologists might use to identify minerals.
Once students are assigned to groups, each group will rotate through stations to explore other properties of minerals including streak, color, and luster.
Once students have rotated through the stations, discuss the properties they explored.
What other properties of minerals might geologists consider when identifying minerals?
Which property or properties would be most useful in identifying a mineral?
Are there properties that are not helpful in identifying a mineral?
How could you describe a mineral so that someone could pick it out of a group of other minerals?
Science Content Words
Use these terms when teaching the lesson:
cleavage the process by which a mineral splits along a definite line
dull not bright or shiny; not able to reflect light
glassy shiny and smooth
luster a physical property which describes how a mineral reflects light
Earth Materials Page 17
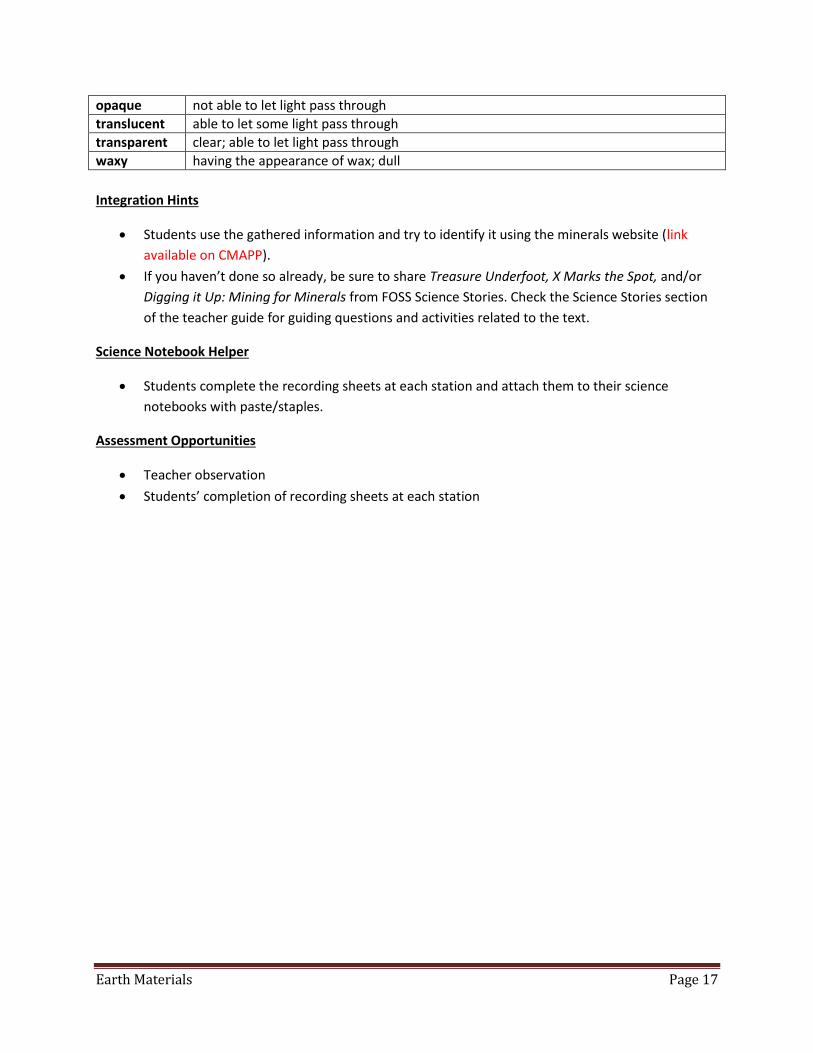
opaque not able to let light pass through
translucent able to let some light pass through
transparent clear; able to let light pass through
waxy having the appearance of wax; dull
Integration Hints
Students use the gathered information and try to identify it using the minerals website (link
available on CMAPP).
If you haven’t done so already, be sure to share Treasure Underfoot, X Marks the Spot, and/or
Digging it Up: Mining for Minerals from FOSS Science Stories. Check the Science Stories section
of the teacher guide for guiding questions and activities related to the text.
Science Notebook Helper
Students complete the recording sheets at each station and attach them to their science
notebooks with paste/staples.
Assessment Opportunities
Teacher observation
Students’ completion of recording sheets at each station

Earth Materials Page 18
Lesson 8 – Detecting Calcite (Earth Materials Inv. 3, part 1) Students conduct a weak acid test to identify rocks with and without calcite. *Vinegar is needed for this investigation.
Clarifying Objectives
4.P.2.1 Compare physical properties of samples of matter: (strength, hardness, flexibility, ability to
conduct electricity, ability to be attracted by magnets, reactions to water and fire).
4.P.2.2 Explain how minerals are identified using tests for the physical properties of hardness, color,
luster, cleavage, and streak.
Focus Question(s)
How can we tell if the mineral calcite is one of the ingredients of a rock?
Activity Guiding Questions
Students investigate one interesting property of the mineral calcite – it reacts with an acid, such as vinegar.
Students place a piece of calcite in vinegar and observe bubbles fizzing. Students record the properties of basalt, limestone, marble, sandstone on page ten of their booklet or in their science notebooks.
Next they place the rock samples in vinegar and look for evidence of calcite as an ingredient. The bubbles coming up from the limestone will be obvious but the others will not be as obvious, this should lead to a class discussion on the importance of obtaining more evidence which the students will do in the next lesson. Note: This is a good opportunity to review the concept of chemical reactions because bubbles indicate that a gas is formed as a result of calcite and vinegar interacting with one another.
Have the students leave the vinegar vials sit overnight for next day observation. Keep vinegar vials covered or closed as much as possible to contain the smell of vinegar.
Add summary statements of concepts learned to Content/Inquiry Chart. Answer and clarify any concepts students may have questions about.
What is the first thing a geologist might do when given four new rocks to study?
From the observations you made earlier, which of the rocks do you think might have calcite as an ingredient?
What could you do to find out for sure if there is calcite in any of these rocks?
Why are we testing for calcite in several rocks?
Why use vinegar to test for calcite?

Earth Materials Page 19
Science Content Words
Use these terms when teaching the lesson:
basalt a dark rock formed from cooling lava
limestone a sedimentary rock that contains the mineral calcite
marble a rock that derives from limestone as a result of pressure, temperature, and time
sandstone a sedimentary rock mostly made of sand
vinegar an acid that can be used to test for calcite
Integration Hints
Share the FOSS Science Story Old Man and the Rock: A Native American Tale. See the Science
Stories folio in the teacher guide for guiding questions and activity suggestions.
Students write legends about how earth materials came to be.
Science Notebook Helper
Students record the focus question, a prediction, and data collected during the investigation
using a weak acid (vinegar) to detect calcite.
Assessment Opportunities
Teacher observation (an assessment chart is available in the teacher guide)
Students’ science notebook entries – look for students’ ability to make detailed observation
notes, including labeled drawings
Earth Materials Page 20
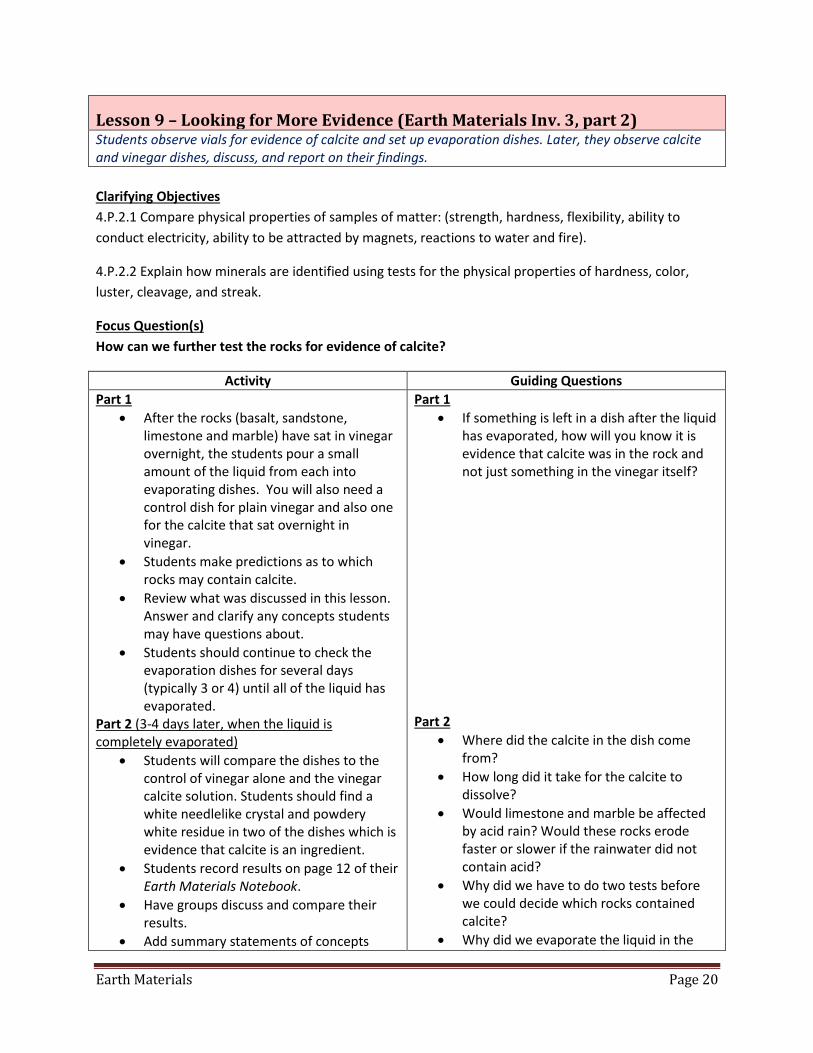
Lesson 9 – Looking for More Evidence (Earth Materials Inv. 3, part 2) Students observe vials for evidence of calcite and set up evaporation dishes. Later, they observe calcite and vinegar dishes, discuss, and report on their findings.
Clarifying Objectives
4.P.2.1 Compare physical properties of samples of matter: (strength, hardness, flexibility, ability to
conduct electricity, ability to be attracted by magnets, reactions to water and fire).
4.P.2.2 Explain how minerals are identified using tests for the physical properties of hardness, color,
luster, cleavage, and streak.
Focus Question(s)
How can we further test the rocks for evidence of calcite?
Activity Guiding Questions
Part 1
After the rocks (basalt, sandstone, limestone and marble) have sat in vinegar overnight, the students pour a small amount of the liquid from each into evaporating dishes. You will also need a control dish for plain vinegar and also one for the calcite that sat overnight in vinegar.
Students make predictions as to which rocks may contain calcite.
Review what was discussed in this lesson. Answer and clarify any concepts students may have questions about.
Students should continue to check the evaporation dishes for several days (typically 3 or 4) until all of the liquid has evaporated.
Part 2 (3-4 days later, when the liquid is completely evaporated)
Students will compare the dishes to the control of vinegar alone and the vinegar calcite solution. Students should find a white needlelike crystal and powdery white residue in two of the dishes which is evidence that calcite is an ingredient.
Students record results on page 12 of their Earth Materials Notebook.
Have groups discuss and compare their results.
Add summary statements of concepts
Part 1
If something is left in a dish after the liquid has evaporated, how will you know it is evidence that calcite was in the rock and not just something in the vinegar itself?
Part 2
Where did the calcite in the dish come from?
How long did it take for the calcite to dissolve?
Would limestone and marble be affected by acid rain? Would these rocks erode faster or slower if the rainwater did not contain acid?
Why did we have to do two tests before we could decide which rocks contained calcite?
Why did we evaporate the liquid in the
Earth Materials Page 21
learned to Content/Inquiry Chart. Answer and clarify any concepts students may have questions about.
second test?
Science Content Words
Use these terms when teaching the lesson:
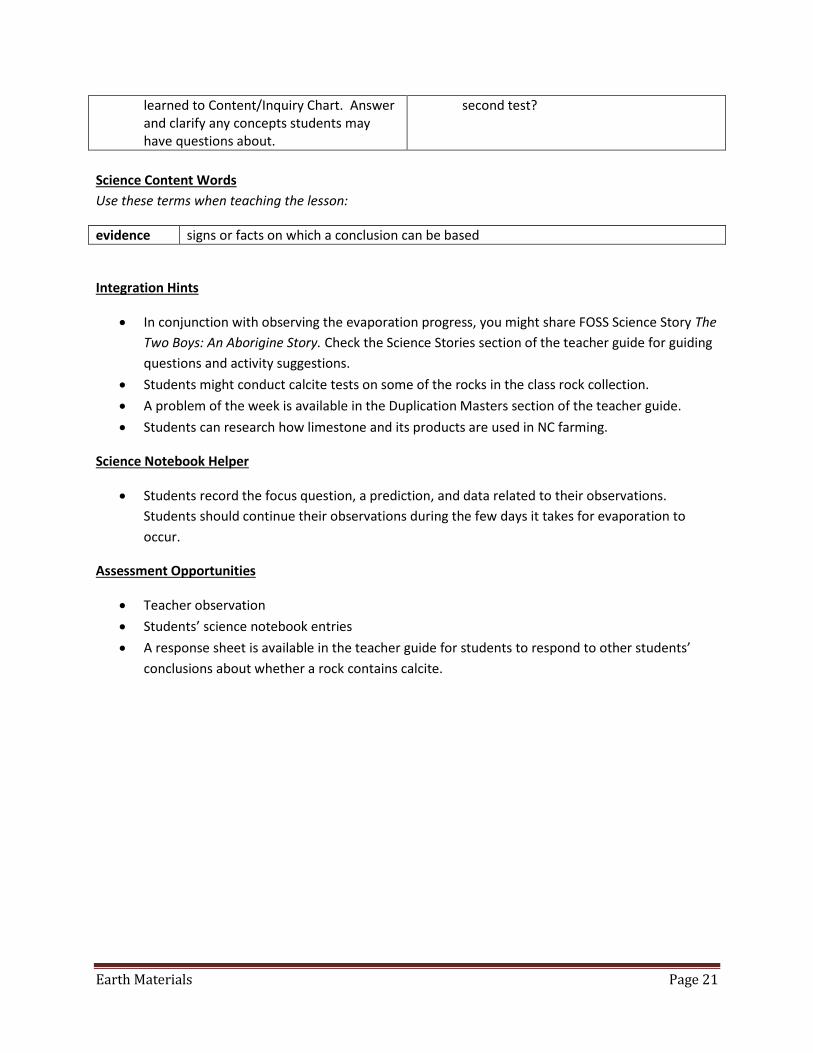
evidence signs or facts on which a conclusion can be based
Integration Hints
In conjunction with observing the evaporation progress, you might share FOSS Science Story The
Two Boys: An Aborigine Story. Check the Science Stories section of the teacher guide for guiding
questions and activity suggestions.
Students might conduct calcite tests on some of the rocks in the class rock collection.
A problem of the week is available in the Duplication Masters section of the teacher guide.
Students can research how limestone and its products are used in NC farming.
Science Notebook Helper
Students record the focus question, a prediction, and data related to their observations.
Students should continue their observations during the few days it takes for evaporation to
occur.
Assessment Opportunities
Teacher observation
Students’ science notebook entries
A response sheet is available in the teacher guide for students to respond to other students’
conclusions about whether a rock contains calcite.

Earth Materials Page 22
Lesson 10 – Identifying Minerals in Granite (Earth Materials Inv. 4, part 1) Students sort a set of earth materials and find that one I a rock, granite, and the rest are minerals. Students test the minerals to identify which of the minerals are ingredients in pink granite.
Clarifying Objectives
4.P.2.1 Compare physical properties of samples of matter: (strength, hardness, flexibility, ability to
conduct electricity, ability to be attracted by magnets, reactions to water and fire).
4.P.2.2 Explain how minerals are identified using tests for the physical properties of hardness, color,
luster, cleavage, and streak.
Focus Question(s)
What are the mineral ingredients in granite?
Activity Guiding Questions
Students sort a set of earth materials (granite, calcite, hornblende, mica, feldspar and quartz). Tell them that one is a rock and the others are minerals.
Based on their observations the students should determine that granite is a rock and the others are minerals.
Students can conduct a scratch test to determine the hardness of granite and the minerals as well as a vinegar test for granite to determine if there is calcite present.
Students share their observations. As a class, discuss which of the
minerals tested can be found in granite.
Add summary statements of concepts learned to Content/Inquiry Chart. Answer and clarify any concepts students may have questions about.
This new collection of earth materials contains one rock and several minerals. How could you tell which one is the rock and which are the minerals?
Did you observe any unusual properties?
Which mineral was the hardest to scratch? The easiest?
Which properties could you use to tell quartz and feldspar apart?
Which property would be best to use to tell quartz and calcite apart?
Which mineral properties could you use to tell the mica and hornblende apart?
Science Content Words
Use these terms when teaching the lesson:
granite a rock made up of several minerals including feldspar, hornblende, mica, and quartz
feldspar a group of related minerals; most abundant minerals in the Earth’s crust; they usually have a smooth, glassy, or pearly luster
hornblende a mineral that is usually black but can also be dark green or brown; it has a glassy luster
Earth Materials Page 23
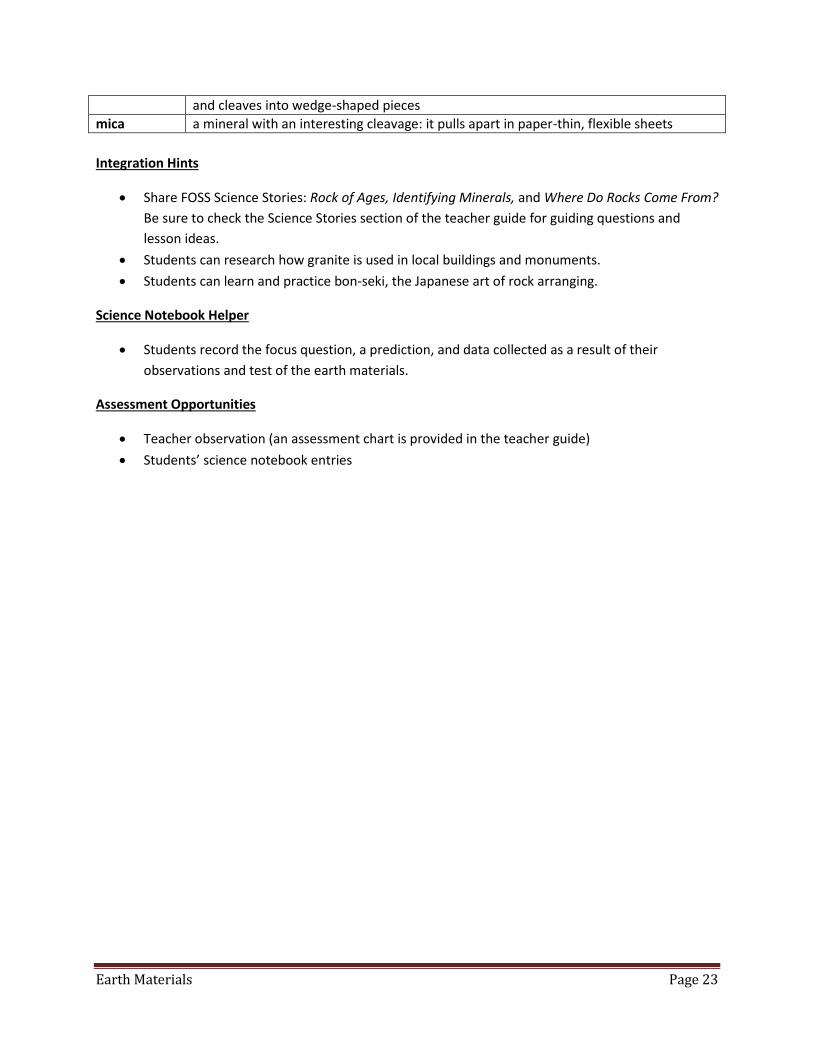
and cleaves into wedge-shaped pieces
mica a mineral with an interesting cleavage: it pulls apart in paper-thin, flexible sheets
Integration Hints
Share FOSS Science Stories: Rock of Ages, Identifying Minerals, and Where Do Rocks Come From?
Be sure to check the Science Stories section of the teacher guide for guiding questions and
lesson ideas.
Students can research how granite is used in local buildings and monuments.
Students can learn and practice bon-seki, the Japanese art of rock arranging.
Science Notebook Helper
Students record the focus question, a prediction, and data collected as a result of their
observations and test of the earth materials.
Assessment Opportunities
Teacher observation (an assessment chart is provided in the teacher guide)
Students’ science notebook entries
Earth Materials Page 24
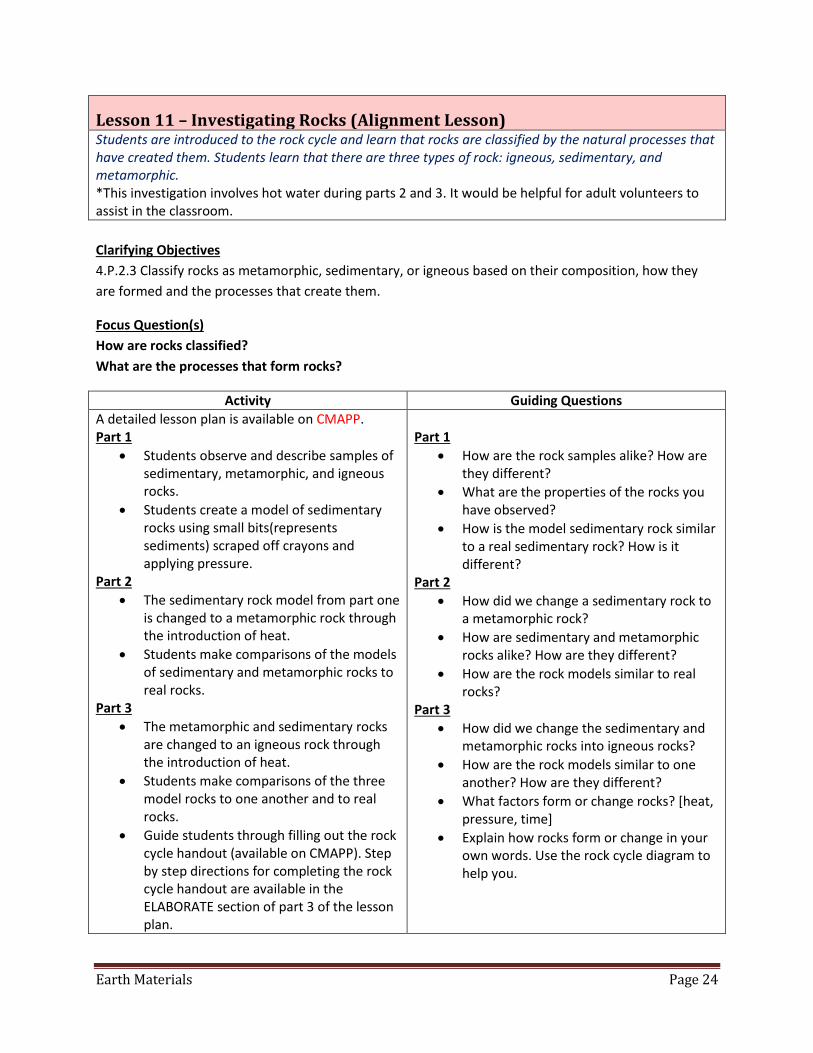
Lesson 11 – Investigating Rocks (Alignment Lesson) Students are introduced to the rock cycle and learn that rocks are classified by the natural processes that have created them. Students learn that there are three types of rock: igneous, sedimentary, and metamorphic. *This investigation involves hot water during parts 2 and 3. It would be helpful for adult volunteers to assist in the classroom.
Clarifying Objectives
4.P.2.3 Classify rocks as metamorphic, sedimentary, or igneous based on their composition, how they
are formed and the processes that create them.
Focus Question(s)
How are rocks classified?
What are the processes that form rocks?
Activity Guiding Questions
A detailed lesson plan is available on CMAPP. Part 1
Students observe and describe samples of sedimentary, metamorphic, and igneous rocks.
Students create a model of sedimentary rocks using small bits(represents sediments) scraped off crayons and applying pressure.
Part 2
The sedimentary rock model from part one is changed to a metamorphic rock through the introduction of heat.
Students make comparisons of the models of sedimentary and metamorphic rocks to real rocks.
Part 3
The metamorphic and sedimentary rocks are changed to an igneous rock through the introduction of heat.
Students make comparisons of the three model rocks to one another and to real rocks.
Guide students through filling out the rock cycle handout (available on CMAPP). Step by step directions for completing the rock cycle handout are available in the ELABORATE section of part 3 of the lesson plan.
Part 1
How are the rock samples alike? How are they different?
What are the properties of the rocks you have observed?
How is the model sedimentary rock similar to a real sedimentary rock? How is it different?
Part 2
How did we change a sedimentary rock to a metamorphic rock?
How are sedimentary and metamorphic rocks alike? How are they different?
How are the rock models similar to real rocks?
Part 3
How did we change the sedimentary and metamorphic rocks into igneous rocks?
How are the rock models similar to one another? How are they different?
What factors form or change rocks? [heat, pressure, time]
Explain how rocks form or change in your own words. Use the rock cycle diagram to help you.
Earth Materials Page 25
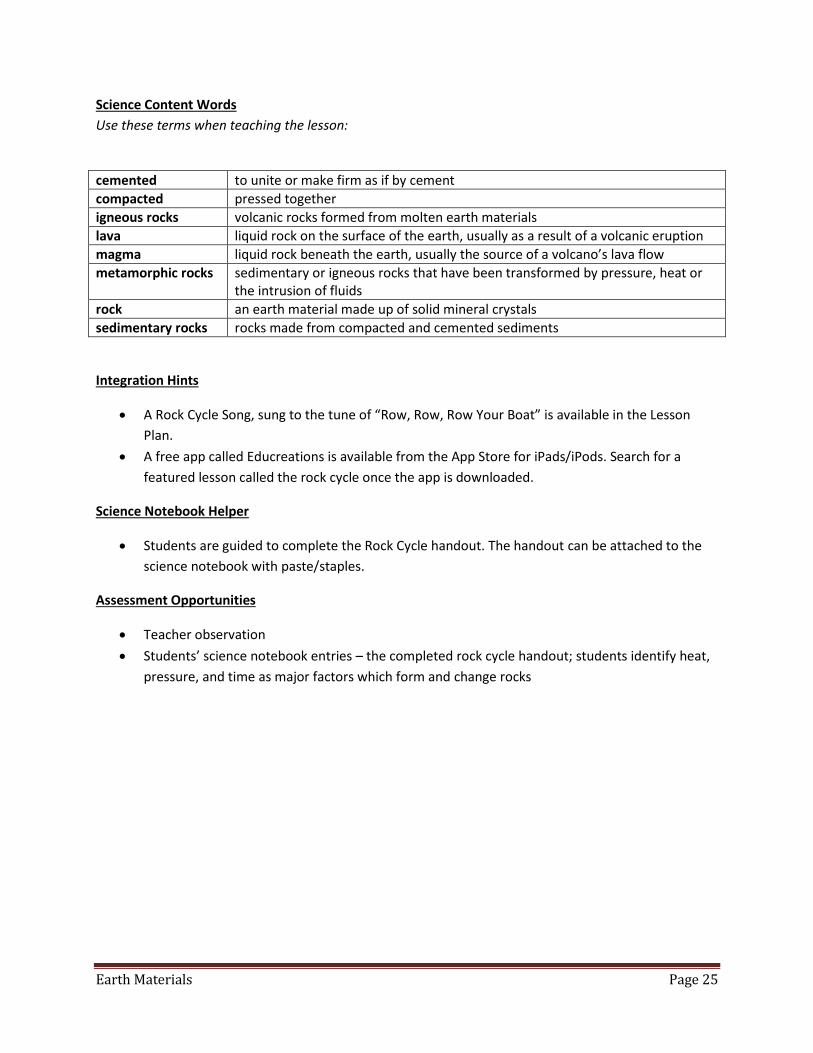
Science Content Words
Use these terms when teaching the lesson:
cemented to unite or make firm as if by cement
compacted pressed together
igneous rocks volcanic rocks formed from molten earth materials
lava liquid rock on the surface of the earth, usually as a result of a volcanic eruption
magma liquid rock beneath the earth, usually the source of a volcano’s lava flow
metamorphic rocks sedimentary or igneous rocks that have been transformed by pressure, heat or the intrusion of fluids
rock an earth material made up of solid mineral crystals
sedimentary rocks rocks made from compacted and cemented sediments
Integration Hints
A Rock Cycle Song, sung to the tune of “Row, Row, Row Your Boat” is available in the Lesson
Plan.
A free app called Educreations is available from the App Store for iPads/iPods. Search for a
featured lesson called the rock cycle once the app is downloaded.
Science Notebook Helper
Students are guided to complete the Rock Cycle handout. The handout can be attached to the
science notebook with paste/staples.
Assessment Opportunities
Teacher observation
Students’ science notebook entries – the completed rock cycle handout; students identify heat,
pressure, and time as major factors which form and change rocks

Earth Materials Page 26
Lesson 12 – Fossils (Alignment Lesson) Students learn about the major types of fossils and how they form. Students complete a “Choose Your Own Adventure” story in which a dinosaur dies. They story has different possible ending, only one of which results in the discovery of the dinosaur’s fossilized skeleton. *Depending on the order in which the science units have been taught, this investigation may be an introduction to fossils or a review of fossils. The concept of fossils is covered more in depth in the Landforms unit however; the concept fits well in this unit due to fossils being discovered in sedimentary rocks. Fossils are included in both units due to the emphasis on Earth history in 4th grade.
Clarifying Objectives
4.P.2.1 Compare physical properties of samples of matter: (strength, hardness, flexibility, ability to
conduct electricity, ability to be attracted by magnets, reactions to water and fire).
4.P.2.3 Classify rocks as metamorphic, sedimentary or igneous based on their composition, how they are
formed and the processes that create them.
4.E.2.1 Compare fossils (including molds, casts, and preserved parts of plants and animals) to one
another and to living organisms.
4.E.2.2 Infer ideas about Earth’s early environments from fossils of plants and animals that lived long
ago.
Focus Question(s)
How do fossils form?
How do fossils provide information about the past?
Activity Guiding Questions
A detailed lesson plan is available on CMAPP. Part 1
Share fossil samples or pictures with the class.
Prompt students to set up a KWL chart to record what they know and what questions they might have about fossils.
Demonstrate the formation of an imprint by pressing your hand in clay.
Review the formation of sedimentary rocks (compacting and cementing) and how this relates to the formation of fossils: body, trace, mold, and cast.
Wrap up this session by reviewing KWL charts and having students record answers to questions or jot down new questions they might have.
Part 2
Review fossil formation information
How does each different type of fossil form?
What information can be gained from examining each type of fossil?
How do fossils help scientists learn about the past?

Earth Materials Page 27
shared in part 1.
Introduce a “choose your own adventure story” about a fossil. (small sample included in the lesson plan)
Explain that a dinosaur has died and many things can happen to the body, but only one thing can lead to a fossil. Prompt students to predict what might happen to the dinosaur’s body.
Distribute materials for students to make their own books
Science Content Words
Use these terms when teaching the lesson:
body fossils preserved remains of body parts such as teeth, shells, or bones
cast fossils a positive imprint of an organism preserved in rock
fossil the preserved remains of organisms that lived long ago
mold fossils a negative imprint of an organism preserved in rock
trace fossils fossilized evidence of the behavior organisms that lived long ago such as footprints, eggs, nests, and droppings
Integration Hints
This lesson naturally integrates creative writing.
Science Notebook Helper
Students record the focus questions and a prediction. Students create a KWL chart to record
what they know about fossils, questions they may have about fossils, and what they learned
about fossils.
Assessment Opportunities
Teacher observation
Students’ science notebook entries
Students complete a “choose your own adventure” book related
Earth Materials Page 28
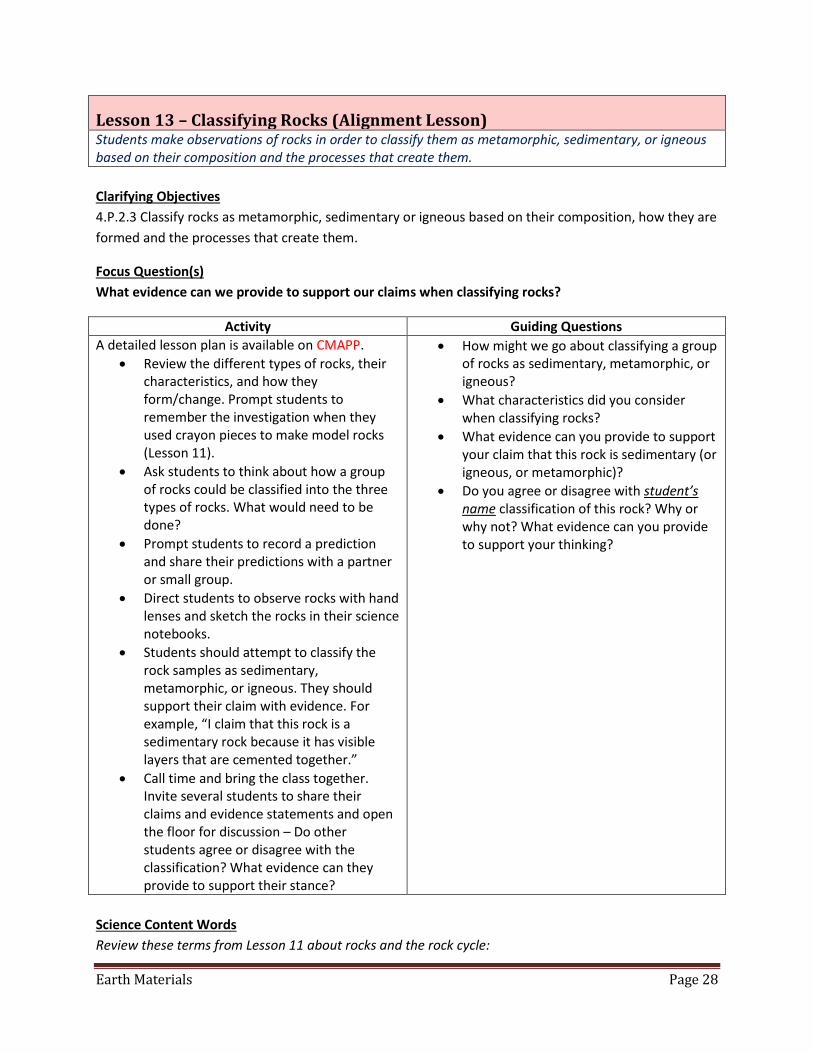
Lesson 13 – Classifying Rocks (Alignment Lesson) Students make observations of rocks in order to classify them as metamorphic, sedimentary, or igneous based on their composition and the processes that create them.
Clarifying Objectives
4.P.2.3 Classify rocks as metamorphic, sedimentary or igneous based on their composition, how they are
formed and the processes that create them.
Focus Question(s)
What evidence can we provide to support our claims when classifying rocks?
Activity Guiding Questions
A detailed lesson plan is available on CMAPP.
Review the different types of rocks, their characteristics, and how they form/change. Prompt students to remember the investigation when they used crayon pieces to make model rocks (Lesson 11).
Ask students to think about how a group of rocks could be classified into the three types of rocks. What would need to be done?
Prompt students to record a prediction and share their predictions with a partner or small group.
Direct students to observe rocks with hand lenses and sketch the rocks in their science notebooks.
Students should attempt to classify the rock samples as sedimentary, metamorphic, or igneous. They should support their claim with evidence. For example, “I claim that this rock is a sedimentary rock because it has visible layers that are cemented together.”
Call time and bring the class together. Invite several students to share their claims and evidence statements and open the floor for discussion – Do other students agree or disagree with the classification? What evidence can they provide to support their stance?
How might we go about classifying a group of rocks as sedimentary, metamorphic, or igneous?
What characteristics did you consider when classifying rocks?
What evidence can you provide to support your claim that this rock is sedimentary (or igneous, or metamorphic)?
Do you agree or disagree with student’s name classification of this rock? Why or why not? What evidence can you provide to support your thinking?
Science Content Words
Review these terms from Lesson 11 about rocks and the rock cycle:

Earth Materials Page 29
cemented to unite or make firm as if by cement
compacted pressed together
igneous rocks volcanic rocks formed from molten earth materials
lava liquid rock on the surface of the earth, usually as a result of a volcanic eruption
magma liquid rock beneath the earth, usually the source of a volcano’s lava flow
metamorphic rocks sedimentary or igneous rocks that have been transformed by pressure, heat or the intrusion of fluids
rock an earth material made up of solid mineral crystals
sedimentary rocks rocks made from compacted and cemented sediments
Integration Hints
This lesson naturally integrates writing as students write claims and support their claims with
evidence.
Science Notebook Helper
Prompt students to refer to their notes, observations, and the Rock Cycle Chart that were
completed during Lesson 11.
Assessment Opportunities
Teacher observation
Students’ science notebook entries – students write a claim regarding the classification of rocks
and support their claims with evidence.
Earth Materials Page 30
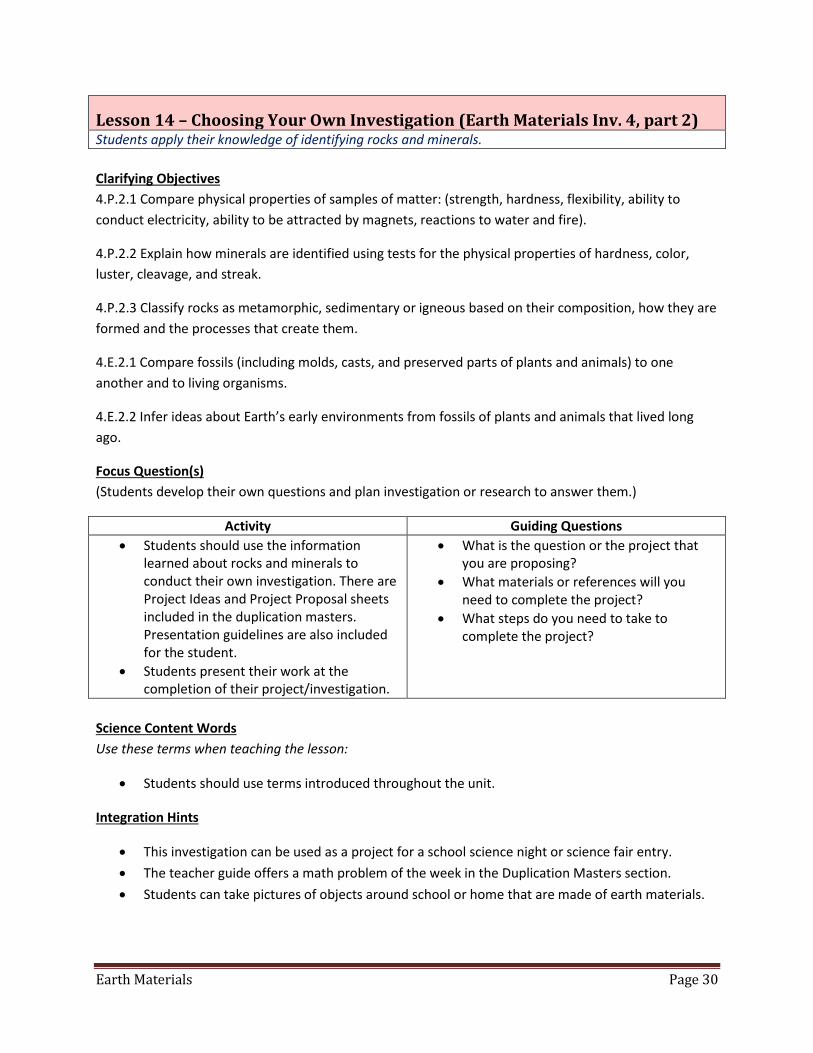
Lesson 14 – Choosing Your Own Investigation (Earth Materials Inv. 4, part 2) Students apply their knowledge of identifying rocks and minerals.
Clarifying Objectives
4.P.2.1 Compare physical properties of samples of matter: (strength, hardness, flexibility, ability to
conduct electricity, ability to be attracted by magnets, reactions to water and fire).
4.P.2.2 Explain how minerals are identified using tests for the physical properties of hardness, color,
luster, cleavage, and streak.
4.P.2.3 Classify rocks as metamorphic, sedimentary or igneous based on their composition, how they are
formed and the processes that create them.
4.E.2.1 Compare fossils (including molds, casts, and preserved parts of plants and animals) to one
another and to living organisms.
4.E.2.2 Infer ideas about Earth’s early environments from fossils of plants and animals that lived long
ago.
Focus Question(s)
(Students develop their own questions and plan investigation or research to answer them.)
Activity Guiding Questions
Students should use the information learned about rocks and minerals to conduct their own investigation. There are Project Ideas and Project Proposal sheets included in the duplication masters. Presentation guidelines are also included for the student.
Students present their work at the completion of their project/investigation.
What is the question or the project that you are proposing?
What materials or references will you need to complete the project?
What steps do you need to take to complete the project?
Science Content Words
Use these terms when teaching the lesson:
Students should use terms introduced throughout the unit.
Integration Hints
This investigation can be used as a project for a school science night or science fair entry.
The teacher guide offers a math problem of the week in the Duplication Masters section.
Students can take pictures of objects around school or home that are made of earth materials.
Earth Materials Page 31
Science Notebook Helper
Students develop their focus question and a related prediction. They should include the
procedure, observations, and conclusions of the investigation.
Assessment Opportunities
Teacher observation
Students’ science notebook entries and final presentation to the class
The teacher guide identifies this lesson as a Performance Assessment.