adobe captivate db module5 - united states courts · slide 2 notes: welcome to the module on filing...
TRANSCRIPT

Adobe Captivate DB_Module5
Page 1 of 31
Slide 1
Notes: Welcome to the Module on Filing Common Pleadings continued. In this module, we will look at other commonly
filed post-petition pleadings.
Slide 2
Notes: After completing this module, you will be able to file a Certificate of No Response, a Multi-part Motion, and a
Reaffirmation Agreement. When you are ready to begin, click START.
Slide 3
Notes: We begin by following-up the Motion to Avoid Lien on Negative Notice by filing the Local Form 48 (LF-48)
Certificate of No Response or Settlement and Request for Entry of Order since there is no opposition to the motion.
Adobe Captivate DB_Module5
Page 2 of 31
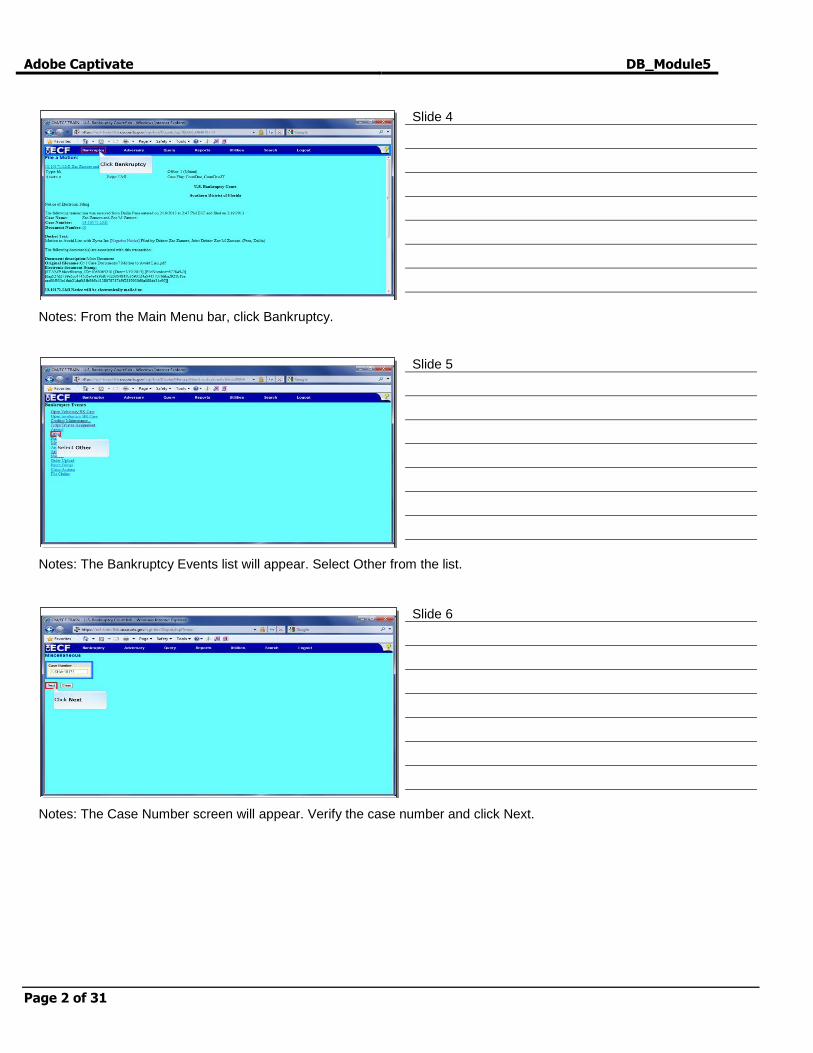
Slide 4
Notes: From the Main Menu bar, click Bankruptcy.
Slide 5
Notes: The Bankruptcy Events list will appear. Select Other from the list.
Slide 6
Notes: The Case Number screen will appear. Verify the case number and click Next.
Adobe Captivate DB_Module5
Page 3 of 31
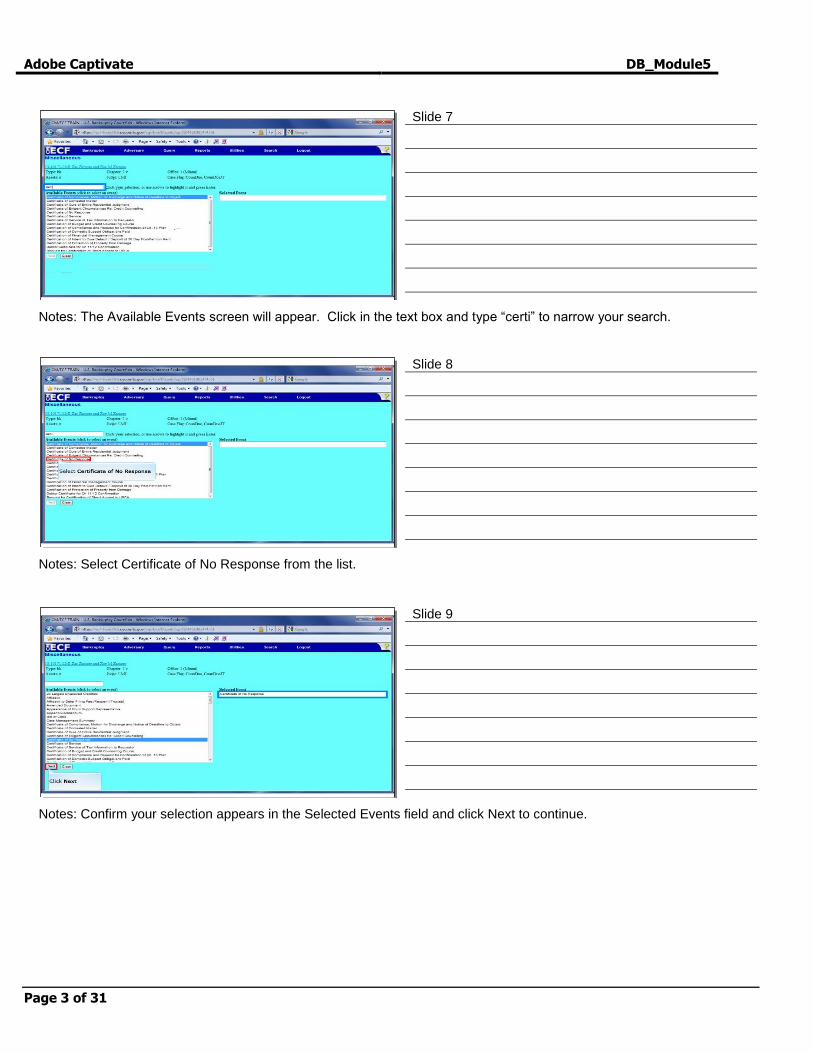
Slide 7
Notes: The Available Events screen will appear. Click in the text box and type “certi” to narrow your search.
Slide 8
Notes: Select Certificate of No Response from the list.
Slide 9
Notes: Confirm your selection appears in the Selected Events field and click Next to continue.
Adobe Captivate DB_Module5
Page 4 of 31
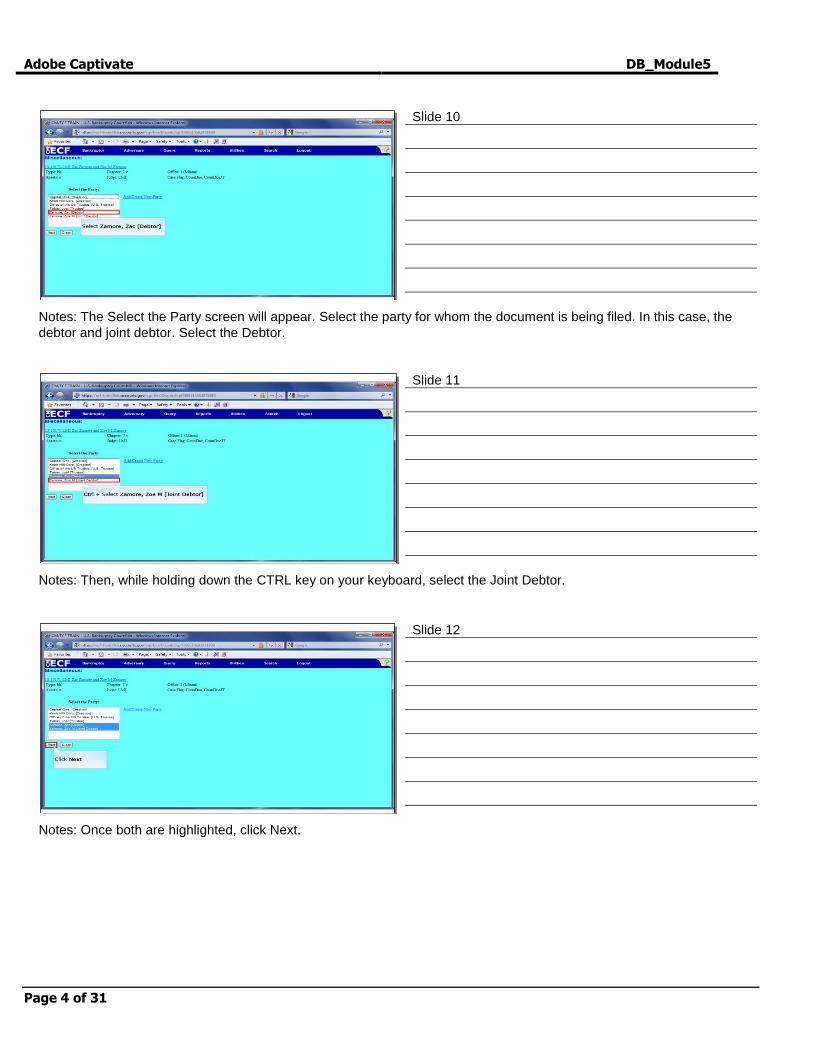
Slide 10
Notes: The Select the Party screen will appear. Select the party for whom the document is being filed. In this case, the
debtor and joint debtor. Select the Debtor.
Slide 11
Notes: Then, while holding down the CTRL key on your keyboard, select the Joint Debtor.
Slide 12
Notes: Once both are highlighted, click Next.
Adobe Captivate DB_Module5
Page 5 of 31
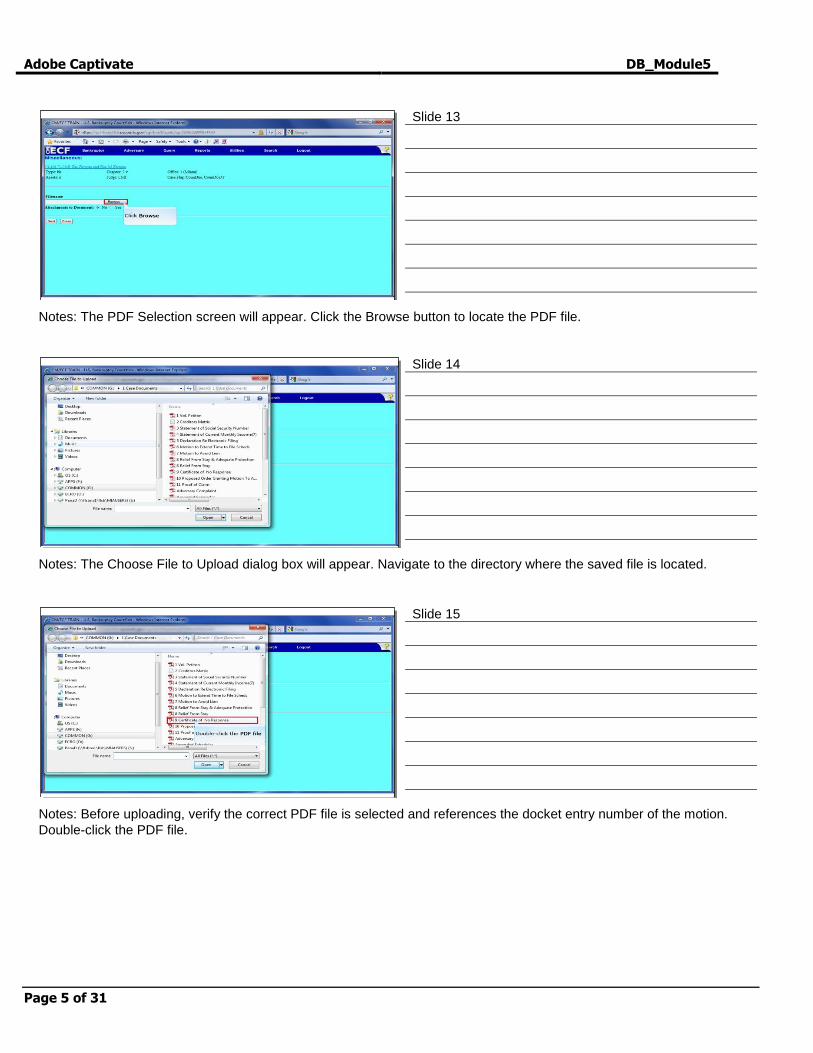
Slide 13
Notes: The PDF Selection screen will appear. Click the Browse button to locate the PDF file.
Slide 14
Notes: The Choose File to Upload dialog box will appear. Navigate to the directory where the saved file is located.
Slide 15
Notes: Before uploading, verify the correct PDF file is selected and references the docket entry number of the motion.
Double-click the PDF file.
Adobe Captivate DB_Module5
Page 6 of 31
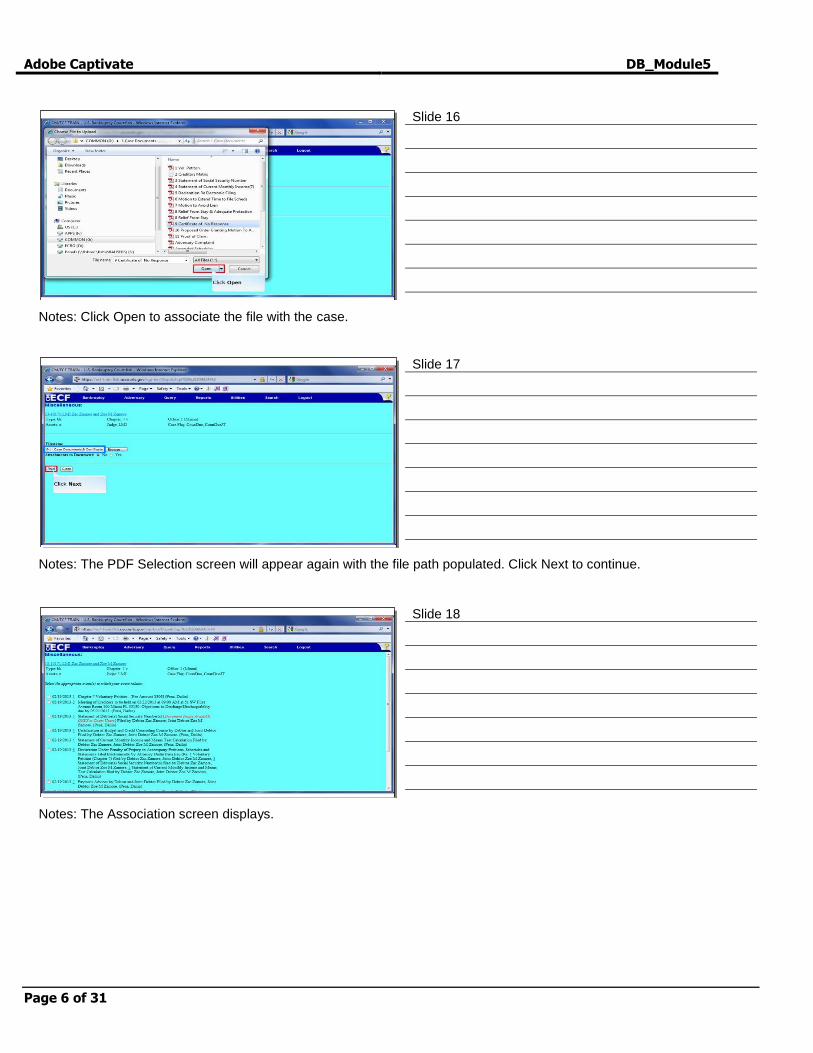
Slide 16
Notes: Click Open to associate the file with the case.
Slide 17
Notes: The PDF Selection screen will appear again with the file path populated. Click Next to continue.
Slide 18
Notes: The Association screen displays.

Adobe Captivate DB_Module5
Page 7 of 31
Slide 19
Notes: Click the Scroll down arrow.
Slide 20
Notes: Select the check box for the related motion, docket entry 10.
Slide 21
Notes: Click Next to continue.

Adobe Captivate DB_Module5
Page 8 of 31
Slide 22
Notes: The Modify Docket Text screen will appear. Verify the information is correct and click Next to continue.
Slide 23
Notes: The Final Docket Text screen will appear. Click Next to commit this transaction.
Slide 24
Notes: The NEF screen will appear. Clicking on any of the links on this page will require a PACER login and published
fees will apply.
Adobe Captivate DB_Module5
Page 9 of 31
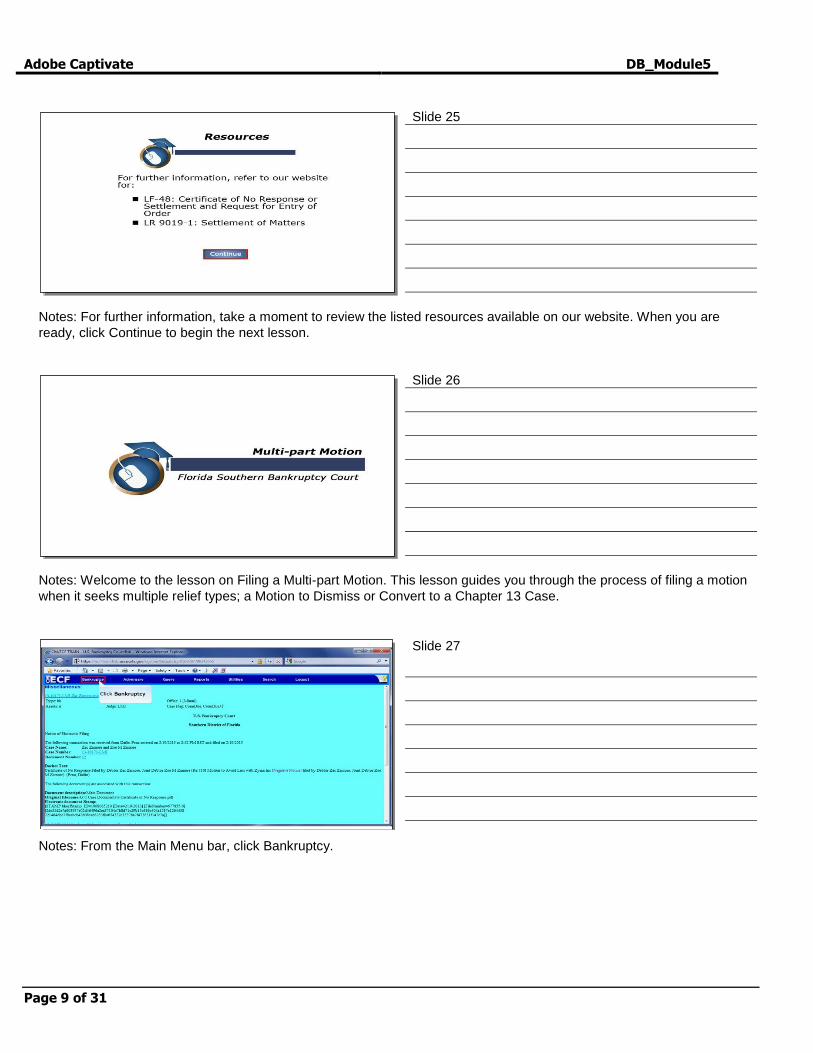
Slide 25
Notes: For further information, take a moment to review the listed resources available on our website. When you are
ready, click Continue to begin the next lesson.
Slide 26
Notes: Welcome to the lesson on Filing a Multi-part Motion. This lesson guides you through the process of filing a motion
when it seeks multiple relief types; a Motion to Dismiss or Convert to a Chapter 13 Case.
Slide 27
Notes: From the Main Menu bar, click Bankruptcy.
Adobe Captivate DB_Module5
Page 10 of 31
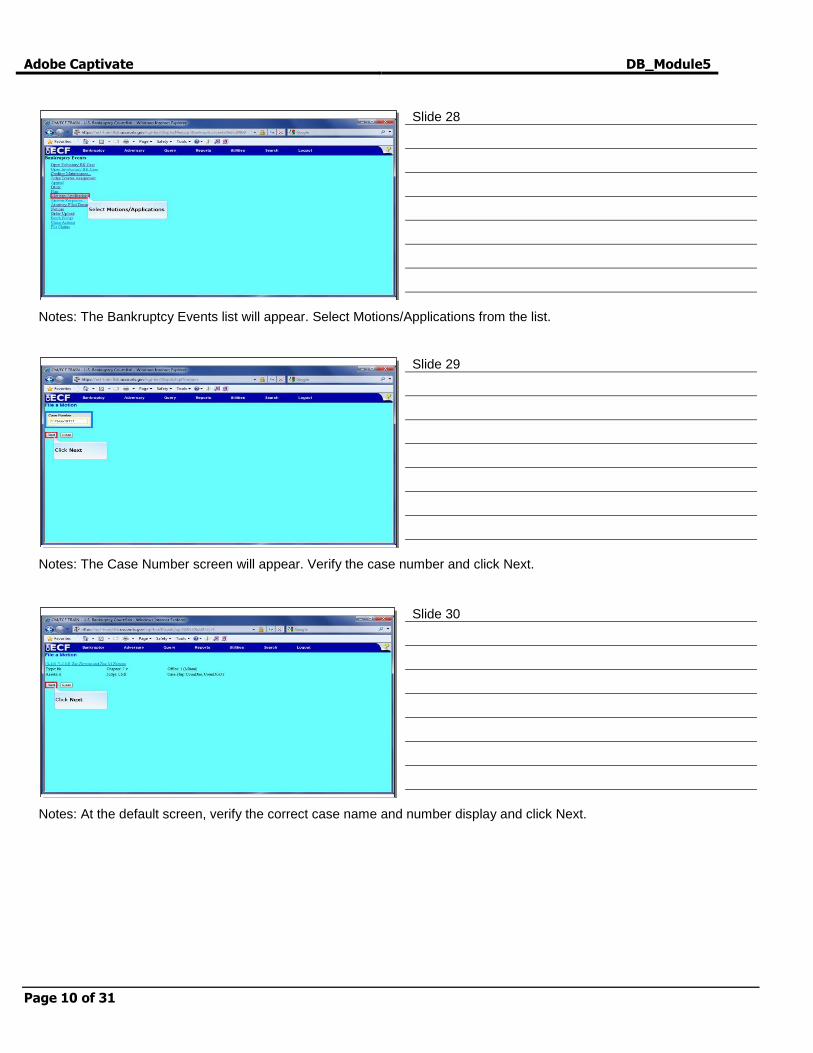
Slide 28
Notes: The Bankruptcy Events list will appear. Select Motions/Applications from the list.
Slide 29
Notes: The Case Number screen will appear. Verify the case number and click Next.
Slide 30
Notes: At the default screen, verify the correct case name and number display and click Next.

Adobe Captivate DB_Module5
Page 11 of 31
Slide 31
Notes: The Available Events screen will appear. We will be filing a multi-part motion. Select the events in the same order
that they appear in the pleading. Click in the text box and type “dismiss” to narrow your search.
Slide 32
Notes: Select Dismiss Case from the list.
Slide 33
Notes: Confirm the first selection appears under Selected Events. Then, while holding down the CTRL key on your
keyboard,
Adobe Captivate DB_Module5
Page 12 of 31
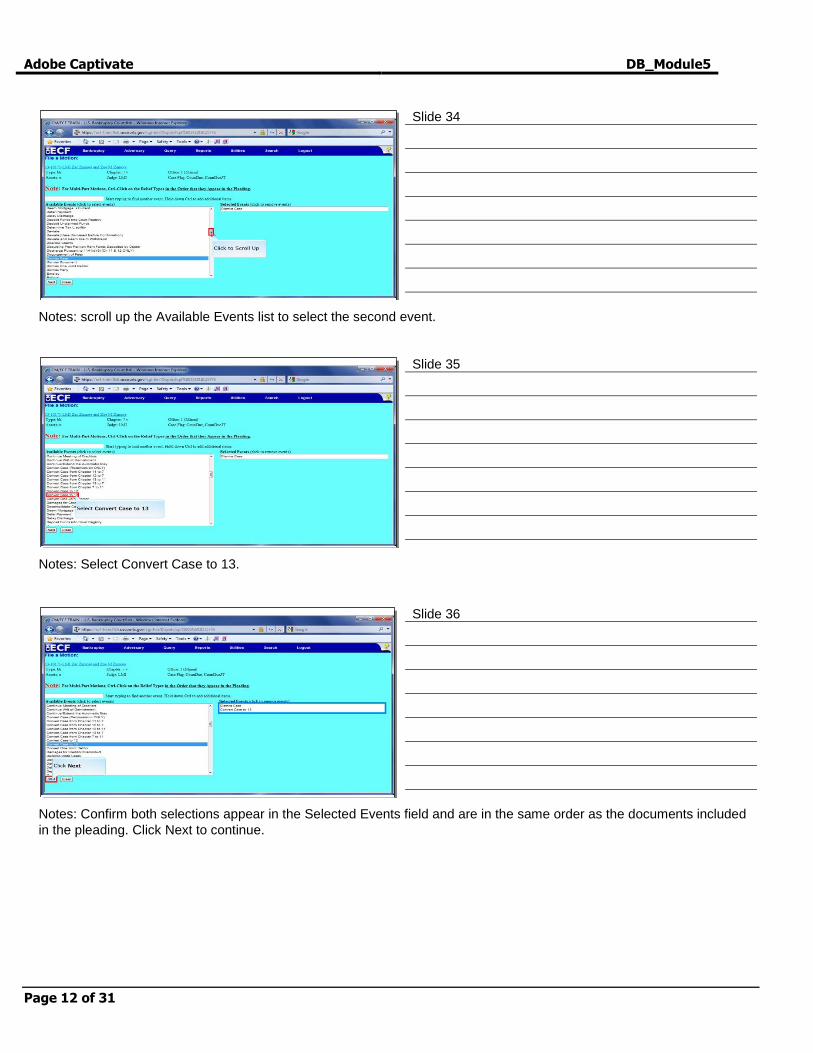
Slide 34
Notes: scroll up the Available Events list to select the second event.
Slide 35
Notes: Select Convert Case to 13.
Slide 36
Notes: Confirm both selections appear in the Selected Events field and are in the same order as the documents included
in the pleading. Click Next to continue.

Adobe Captivate DB_Module5
Page 13 of 31
Slide 37
Notes: The Select the Party screen will appear. Select the party for whom the document is being filed. In this case, the
debtor and joint debtor. Select the Debtor.
Slide 38
Notes: Then, while holding down the CTRL key on your keyboard, select the Joint Debtor.
Slide 39
Notes: Once both are highlighted, click Next.
Adobe Captivate DB_Module5
Page 14 of 31
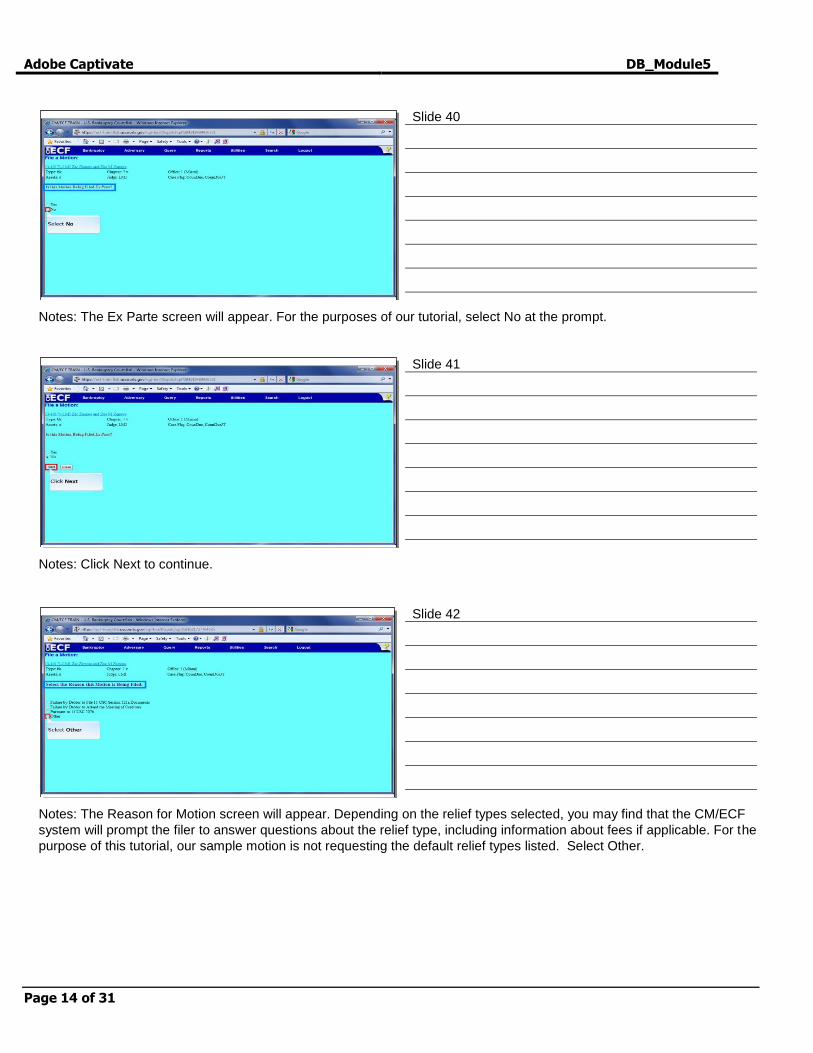
Slide 40
Notes: The Ex Parte screen will appear. For the purposes of our tutorial, select No at the prompt.
Slide 41
Notes: Click Next to continue.
Slide 42
Notes: The Reason for Motion screen will appear. Depending on the relief types selected, you may find that the CM/ECF
system will prompt the filer to answer questions about the relief type, including information about fees if applicable. For the
purpose of this tutorial, our sample motion is not requesting the default relief types listed. Select Other.

Adobe Captivate DB_Module5
Page 15 of 31
Slide 43
Notes: Click Next to continue.
Slide 44
Notes: The PDF Selection screen will appear. Click the Browse button to locate the PDF file.
Slide 45
Notes: The Choose File to Upload dialog box will appear. Navigate to the directory where the saved file is located.

Adobe Captivate DB_Module5
Page 16 of 31
Slide 46
Notes: Click on the Scroll Down arrow.
Slide 47
Notes: Before uploading, verify the correct PDF file is selected and that the title reflects the same order as the events
previously selected for the filing. For this tutorial, we will not simulate reviewing the document. Double-click the PDF file.
Slide 48
Notes: Click Open to associate the file with the case.
Adobe Captivate DB_Module5
Page 17 of 31
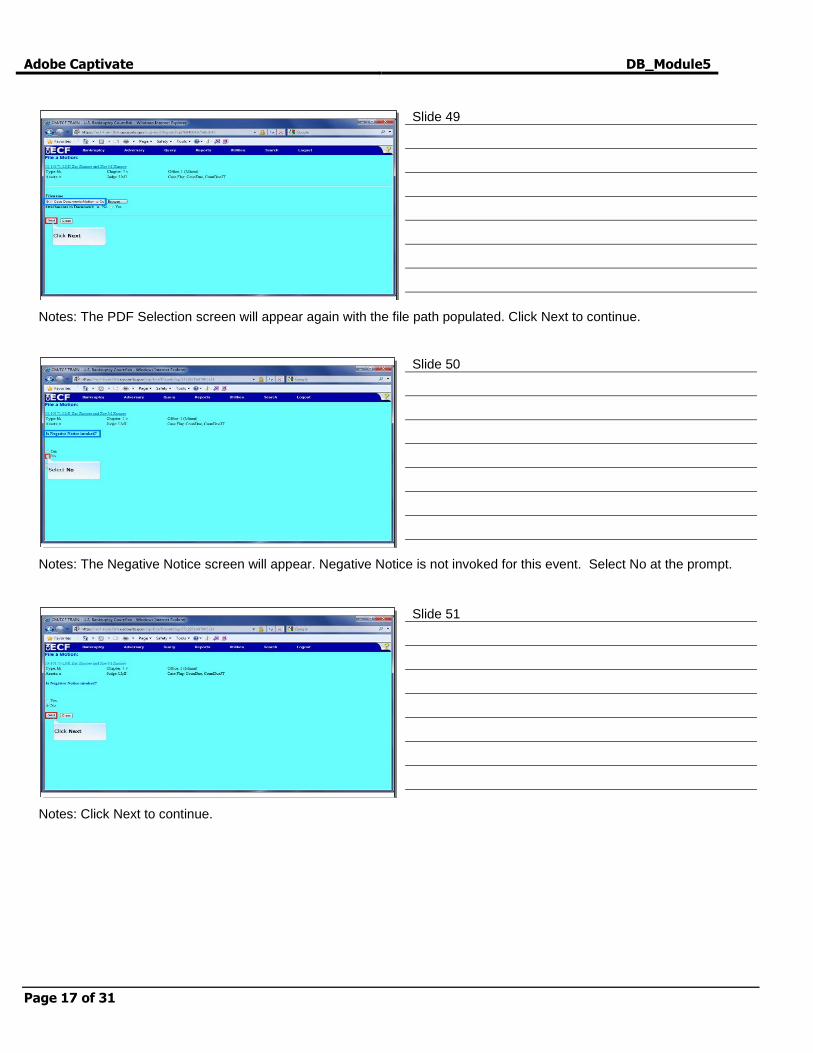
Slide 49
Notes: The PDF Selection screen will appear again with the file path populated. Click Next to continue.
Slide 50
Notes: The Negative Notice screen will appear. Negative Notice is not invoked for this event. Select No at the prompt.
Slide 51
Notes: Click Next to continue.
Adobe Captivate DB_Module5
Page 18 of 31
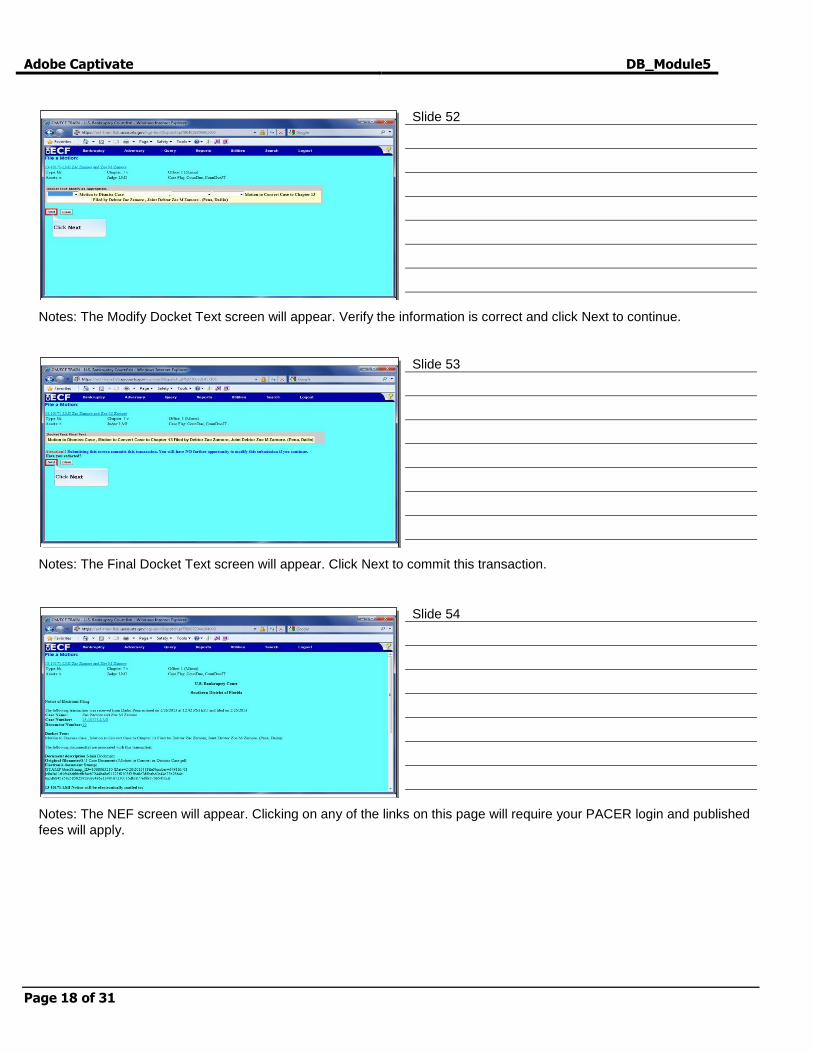
Slide 52
Notes: The Modify Docket Text screen will appear. Verify the information is correct and click Next to continue.
Slide 53
Notes: The Final Docket Text screen will appear. Click Next to commit this transaction.
Slide 54
Notes: The NEF screen will appear. Clicking on any of the links on this page will require your PACER login and published
fees will apply.

Adobe Captivate DB_Module5
Page 19 of 31
Slide 55
Notes: For further information, take a moment to review the listed resources available on our website. When you are
ready, click Continue to begin the next lesson.
Slide 56
Notes: Welcome to the lesson on Filing a Reaffirmation Agreement. Reaffirmation agreements may be filed by
representatives of either the debtor or creditor.
Slide 57
Notes: From the Main Menu bar, click Bankruptcy to begin.

Adobe Captivate DB_Module5
Page 20 of 31
Slide 58
Notes: The Bankruptcy Events list will appear. Select Other from the list.
Slide 59
Notes: The Case Number screen will appear. Verify the case number and click Next.
Slide 60
Notes: The Available Events screen will appear. Click in the text box and type “reaff” to narrow your search.
Adobe Captivate DB_Module5
Page 21 of 31
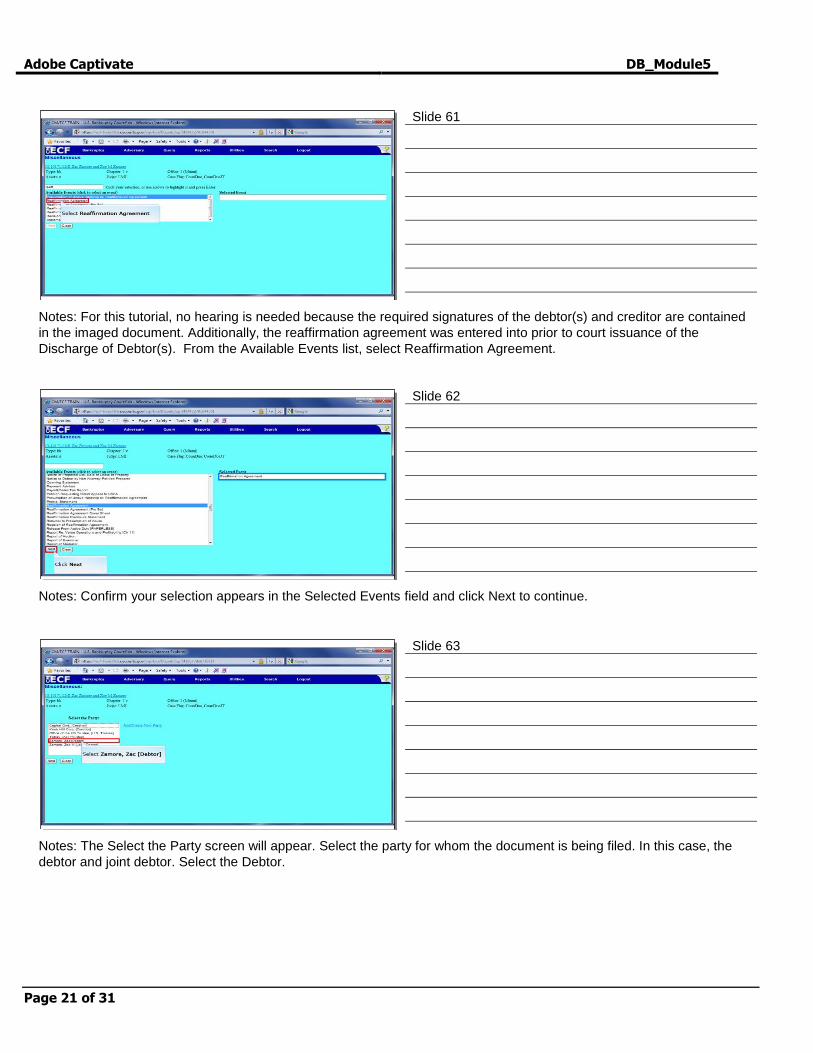
Slide 61
Notes: For this tutorial, no hearing is needed because the required signatures of the debtor(s) and creditor are contained
in the imaged document. Additionally, the reaffirmation agreement was entered into prior to court issuance of the
Discharge of Debtor(s). From the Available Events list, select Reaffirmation Agreement.
Slide 62
Notes: Confirm your selection appears in the Selected Events field and click Next to continue.
Slide 63
Notes: The Select the Party screen will appear. Select the party for whom the document is being filed. In this case, the
debtor and joint debtor. Select the Debtor.
Adobe Captivate DB_Module5
Page 22 of 31
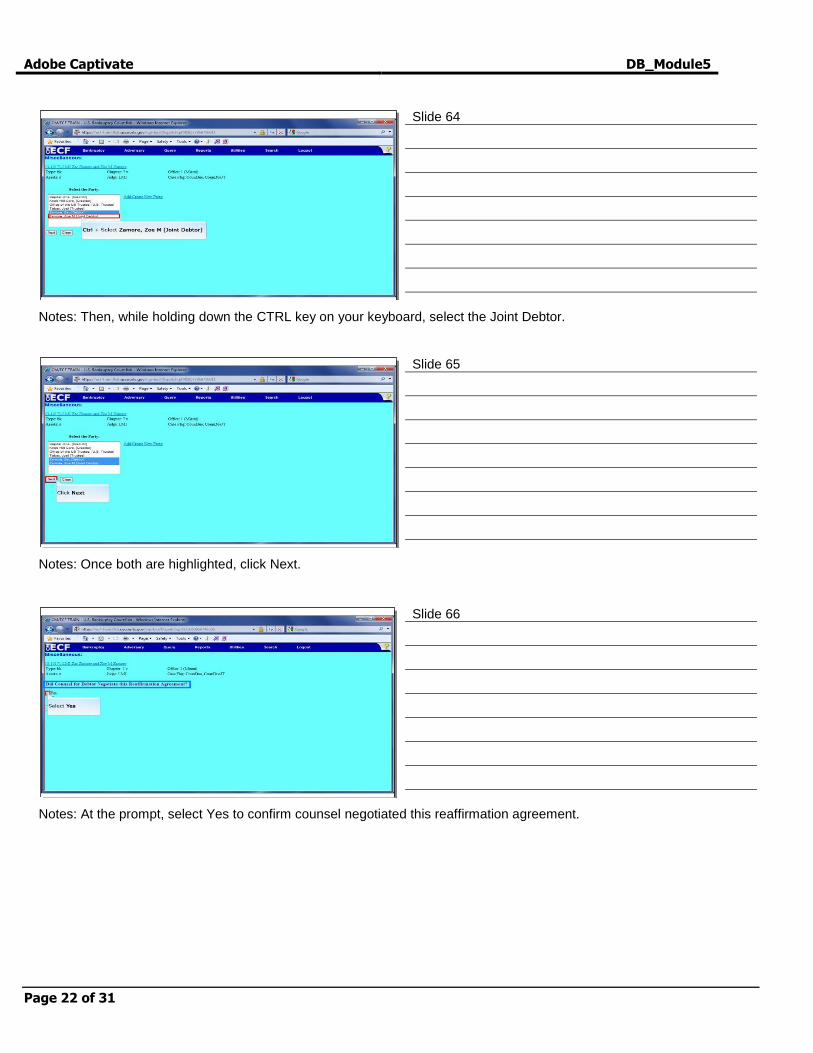
Slide 64
Notes: Then, while holding down the CTRL key on your keyboard, select the Joint Debtor.
Slide 65
Notes: Once both are highlighted, click Next.
Slide 66
Notes: At the prompt, select Yes to confirm counsel negotiated this reaffirmation agreement.
Adobe Captivate DB_Module5
Page 23 of 31
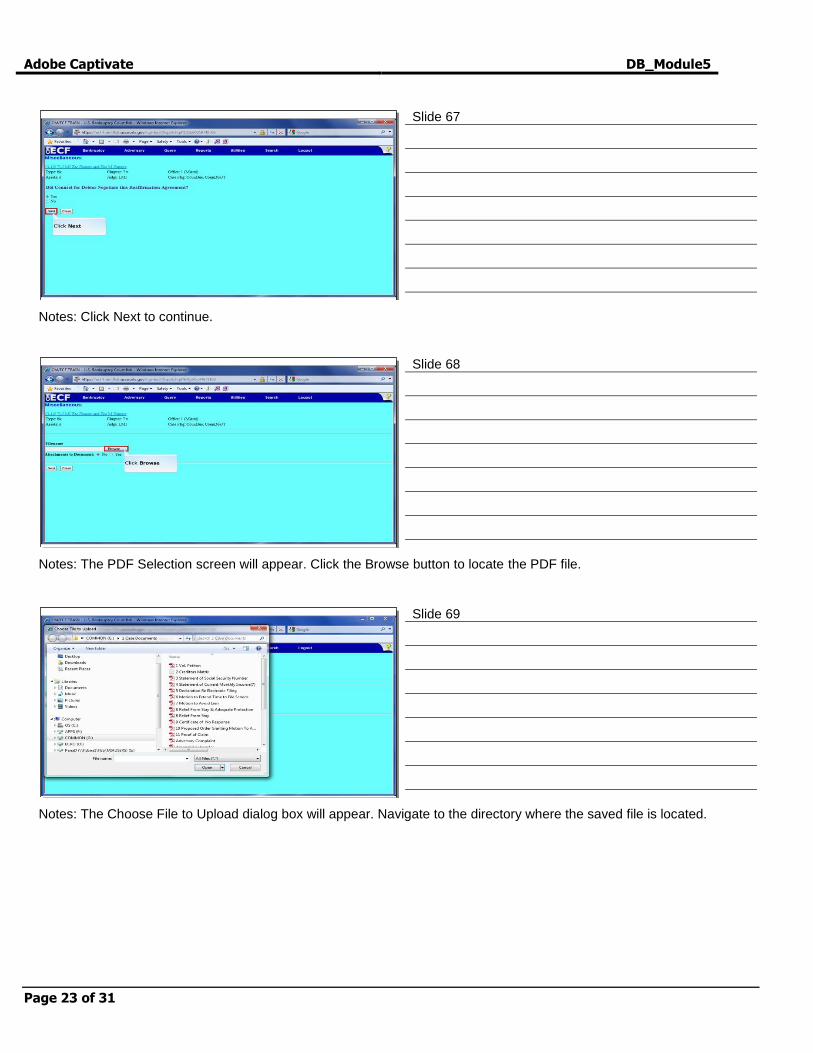
Slide 67
Notes: Click Next to continue.
Slide 68
Notes: The PDF Selection screen will appear. Click the Browse button to locate the PDF file.
Slide 69
Notes: The Choose File to Upload dialog box will appear. Navigate to the directory where the saved file is located.
Adobe Captivate DB_Module5
Page 24 of 31
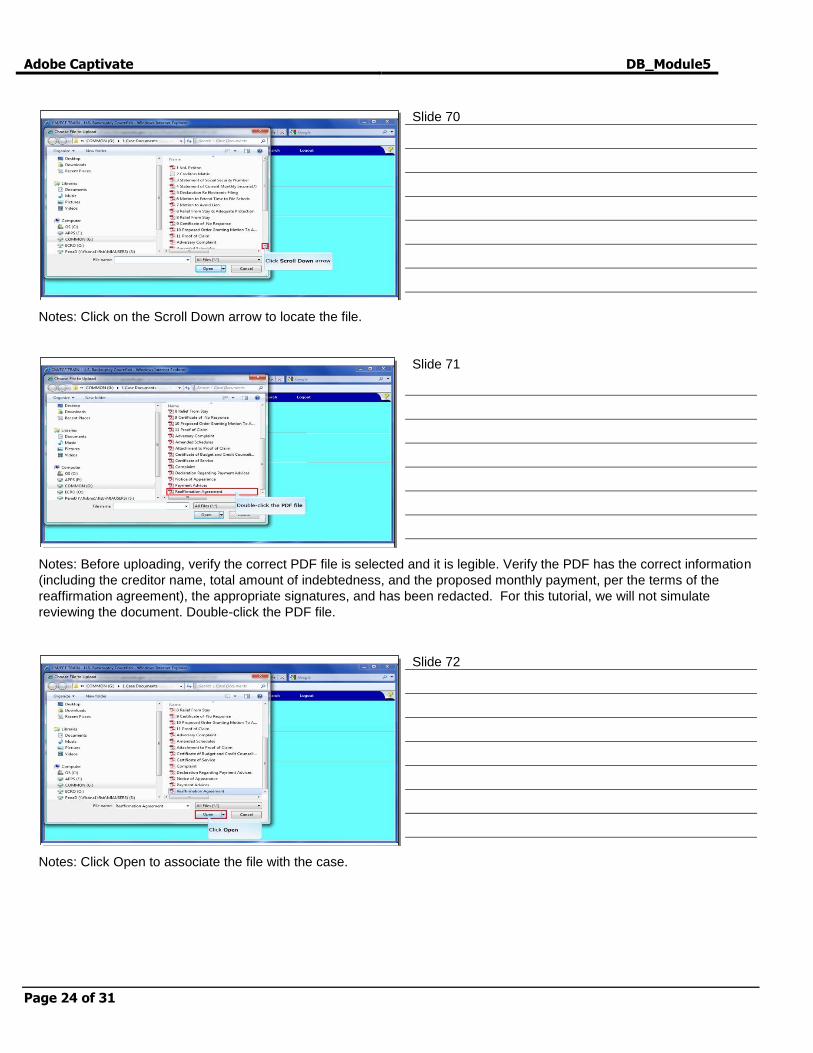
Slide 70
Notes: Click on the Scroll Down arrow to locate the file.
Slide 71
Notes: Before uploading, verify the correct PDF file is selected and it is legible. Verify the PDF has the correct information
(including the creditor name, total amount of indebtedness, and the proposed monthly payment, per the terms of the
reaffirmation agreement), the appropriate signatures, and has been redacted. For this tutorial, we will not simulate
reviewing the document. Double-click the PDF file.
Slide 72
Notes: Click Open to associate the file with the case.

Adobe Captivate DB_Module5
Page 25 of 31
Slide 73
Notes: The PDF Selection screen will appear again with the file path populated. Click Next to continue.
Slide 74
Notes: It is important that you respond to the requested information on the following default screens. Click in the text box.
Slide 75
Notes: Enter the name of the Creditor with whom the Reaffirmation Agreement is being made: Randy’s Machinery.

Adobe Captivate DB_Module5
Page 26 of 31
Slide 76
Notes: Click Next to continue.
Slide 77
Notes: There is no presumption of undue hardship for the debtors. Select No at the prompt.
Slide 78
Notes: Click Next to continue.
Adobe Captivate DB_Module5
Page 27 of 31
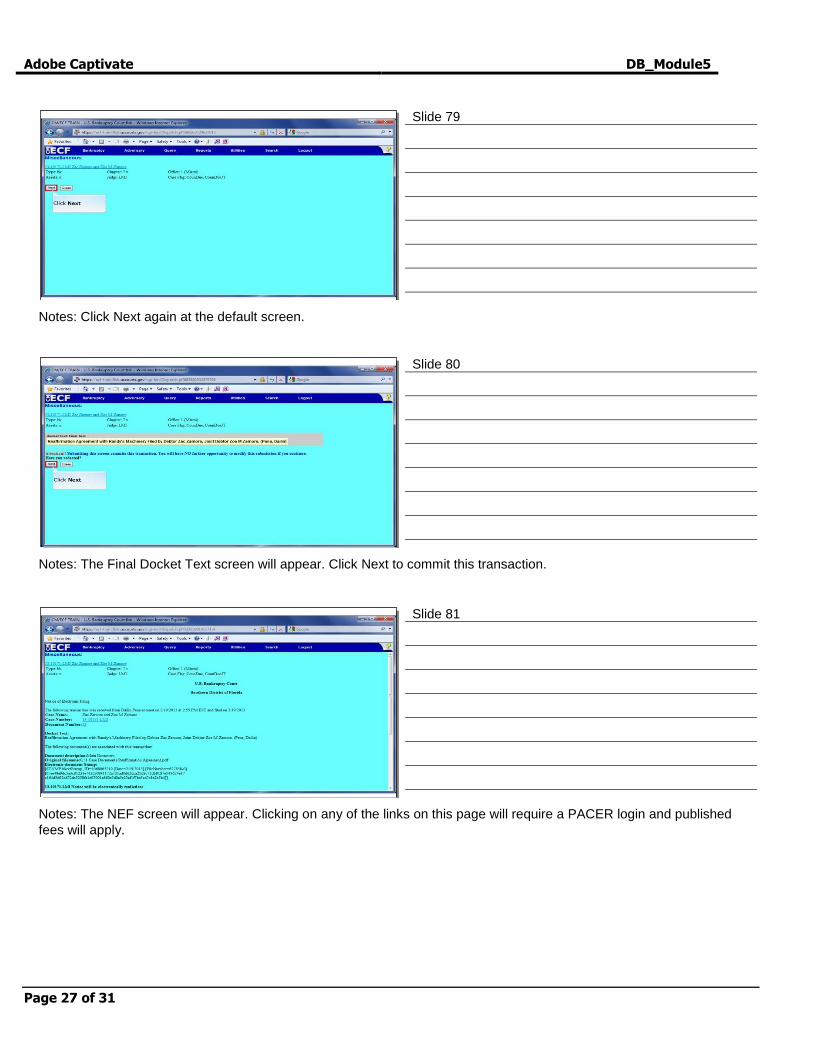
Slide 79
Notes: Click Next again at the default screen.
Slide 80
Notes: The Final Docket Text screen will appear. Click Next to commit this transaction.
Slide 81
Notes: The NEF screen will appear. Clicking on any of the links on this page will require a PACER login and published
fees will apply.

Adobe Captivate DB_Module5
Page 28 of 31
Slide 82
Notes: For further information, take a moment to review the listed resources available on our website. When you are
ready, click Knowledge Check to continue.
Slide 83 - 88
Notes: Knowledge Check
Slide 89
Notes: Now that you have reviewed this learning module, you will be able to file a Certificate of No Response, a Multi-Part
Motion, and a Reaffirmation Agreement. Click EXIT when you are finished.

Adobe Captivate DB_Module5
Page 29 of 31
Slide 90
Notes:
Adobe Captivate DB_Module5
Page 30 of 31
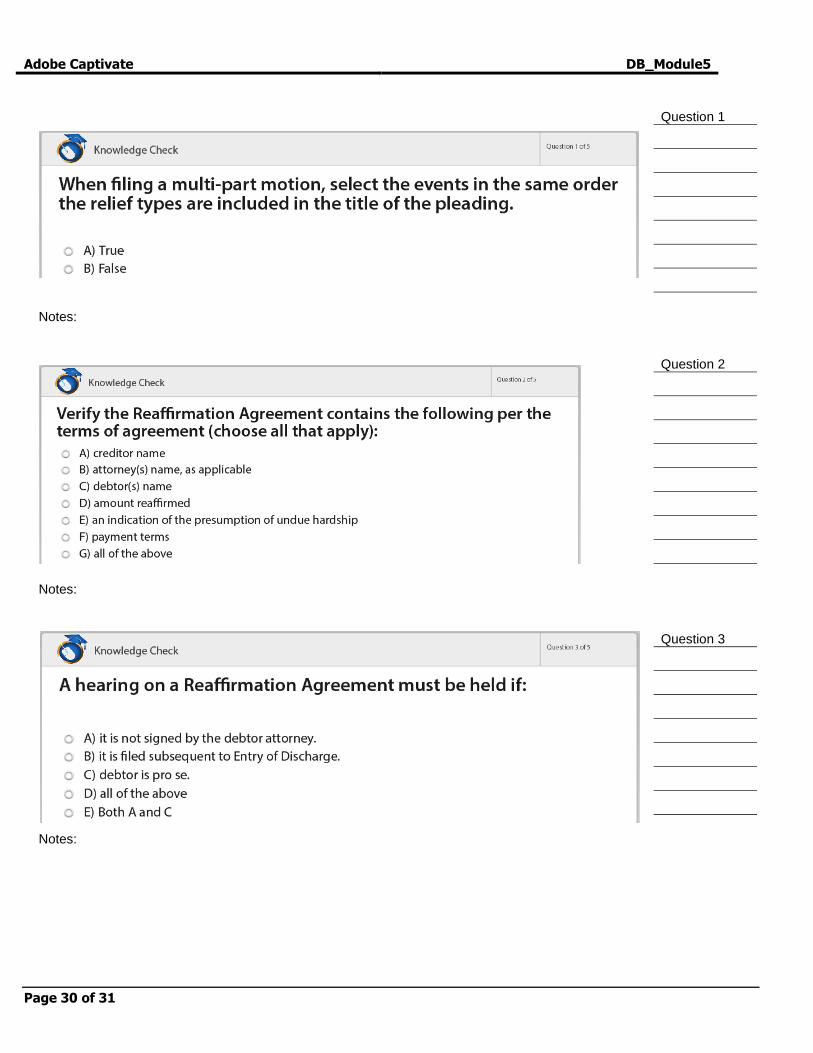
Question 1
Notes:
Question 2
Notes:
Question 3
Notes:
Adobe Captivate DB_Module5
Page 31 of 31
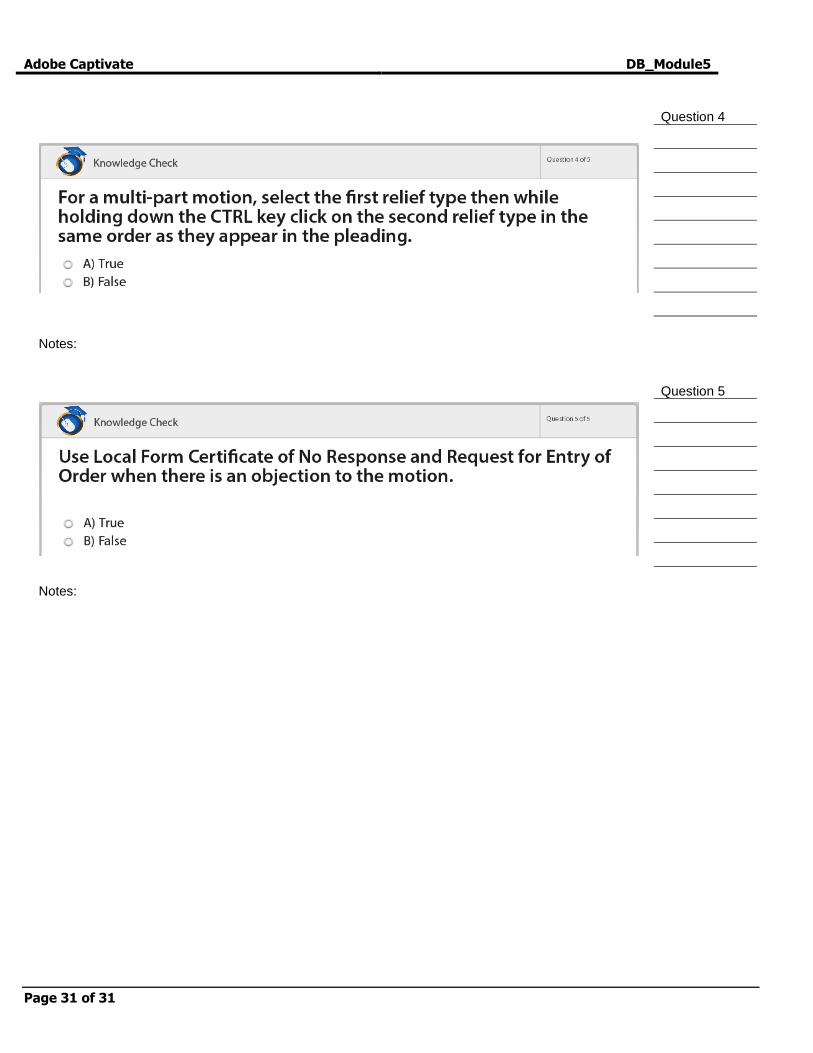
Question 4
Notes:
Question 5
Notes: