about the tutorial - tutorialspoint.com the tutorial ... its prime focus is to create...
TRANSCRIPT


Spring Web Services
i
About the Tutorial
Spring Web Services (Spring-WS) is one of the project developed by the Spring
Community. Its prime focus is to create document-driven Web Services. The Spring Web
Services project facilitates contract-first SOAP service development, provides multiple
ways to create flexible web services, which can manipulate XML payloads in multiple ways.
Being Spring based, Spring Web Services uses Spring Concepts like Dependency Injection
and Configurations seamlessly. Spring-WS requires Spring 3.0 version.
Spring Framework was initially written by Rod Johnson and was first released under the
Apache 2.0 license in June 2003. This tutorial has been written based on the Spring
Framework Version 4.1.6 released in March 2015.
Audience
This tutorial is designed for Java Programmers with a need to understand the Spring Web
Services Framework in detail along with its architecture and actual usage. This tutorial will
bring the readers to the intermediate level of expertise and from there they can take
themselves to a higher level of proficiency.
Prerequisites
Before proceeding with this tutorial, you should have a good understanding of Java
Programming Language. Additionally, understanding of the Eclipse IDE (Integrated
Development Environment) is also required because all the examples have been compiled
using the Eclipse IDE.
Copyright and Disclaimer
Copyright 2017 by Tutorials Point (I) Pvt. Ltd.
All the content and graphics published in this e-book are the property of Tutorials Point (I)
Pvt. Ltd. The user of this e-book is prohibited to reuse, retain, copy, distribute or republish
any contents or a part of contents of this e-book in any manner without written consent
of the publisher.
We strive to update the contents of our website and tutorials as timely and as precisely as
possible, however, the contents may contain inaccuracies or errors. Tutorials Point (I) Pvt.
Ltd. provides no guarantee regarding the accuracy, timeliness or completeness of our
website or its contents including this tutorial. If you discover any errors on our website or
in this tutorial, please notify us at [email protected]

Spring Web Services
ii
Table of Contents
About the Tutorial ............................................................................................................................................ i Audience ........................................................................................................................................................... i Prerequisites ..................................................................................................................................................... i Copyright and Disclaimer ................................................................................................................................. i Table of Contents ............................................................................................................................................ ii
1. Spring WS – Overview ............................................................................................................................... 1
2. Spring WS – Environment Setup ................................................................................................................ 3 System Requirements ...................................................................................................................................... 3
3. Spring WS – First Application .................................................................................................................. 11 Contract-first Approach ................................................................................................................................. 11 Create the Project ......................................................................................................................................... 12 Build the Project ............................................................................................................................................ 19 Run the Project .............................................................................................................................................. 20
4. Spring WS – Static WSDL ......................................................................................................................... 22 Run the Project .............................................................................................................................................. 23
5. Spring WS – Writing Server ..................................................................................................................... 25 Create the Project ......................................................................................................................................... 26 Create Domain Classes .................................................................................................................................. 28 Build the Project ............................................................................................................................................ 32 Run the Project .............................................................................................................................................. 34
6. Spring WS – Unit Test Server ................................................................................................................... 36 Build the Project ............................................................................................................................................ 40
7. Spring Web Services – Writing Client ...................................................................................................... 43
8. Spring WS – Unit Test Client .................................................................................................................... 45 Unit Test Web Service Client ......................................................................................................................... 46

Spring Web Services
1
Spring Web Services (Spring-WS) is one of the projects developed by the Spring
Community. Its prime focus is to create document-driven Web Services. The Spring Web
Services project facilitates contract-first SOAP Service Development, provides multiple
ways to create flexible web services, which can manipulate XML payloads in multiple ways.
The Spring web services uses Spring concepts like dependency injection and configurations
seamlessly. The Spring-WS requires Spring 3.0 Version. With contract-first development,
we start with WSDL Contract and then will use JAVA to implement the required contract.
As opposed to the contract-last approach where JAVA interfaces generate WSDL/XSD
contract. The WSDL based contract remains independent of JAVA implementation in the
contract-first approach. In case we require changing the JAVA interfaces, then there is no
need to communicate the changes made in the existing WSDL contract to the web services
users. Spring-WS aims to provide loose coupling between the WSDL contract and its JAVA
based implementation.
Features
Following are the features of Spring Web Services:
XML Mapping to Objects – XML based requests can be mapped to any object
using the information stored in the Message Payload, SOAP Action Header or by
using an XPath Expression.
Multiple API Support to parse XML – Apart from the standard JAXP APIs (DOM,
SAX, StAX) to parse the incoming XML requests, other libraries like JDOM, dom4j,
XOM are also supported.
Multiple API Support to marshal XML – Spring Web Services supports JAXB 1
and 2, Castor, XMLBeans, JiBX, and XStream libraries using its Object/XML Mapping
module. The Object/XML Mapping module can also be used in non-web services
code as well.
Spring based configurations – Spring Web Services uses the Spring Application
Contexts for its configurations having a similar architecture as that of the Spring
Web MVC.
Integrated WS-Security module – Using the WS-Security module, you can Sign,
Encrypt, Decrypt SOAP Messages or Authenticate them.
Support for Acegi Security – Using the WS-Security implementation of Spring
Web Services, Acegi configuration can be used for your SOAP services.
Architecture
The Spring-WS project consists of five major modules, which are explained below.
Spring-WS Core – It is the primary module and provides the Central Interfaces
like WebServiceMessage and SoapMessage, the server-side framework,
1. Spring WS – Overview

Spring Web Services
2
powerful message dispatching capability and support classes to implement Web
service endpoints. It also provides Web Service consumer client as
WebServiceTemplate.
Spring-WS Support – This module provides supports for JMS, emails, etc.
Spring-WS Security – This module is responsible to provide WS-Security
implementation integrated with core Web Service Module. Using this module, we
can add principal tokens, sign, encrypt and decrypt SOAP messages. This module
allows using the existing Spring Security Implementation for authentication and
authorization.
Spring XML – This module provides XML support classes for Spring Web Services.
This module is internally used by Spring-WS framework.
Spring OXM – This module provides support classes for XML vs Object Mapping.

Spring Web Services
3
In this Chapter, we will understand the process of setting up Spring-WS on Windows and
Linux based systems. The Spring-WS can be easily installed and integrated with your
current Java environment and MAVEN by following a few simple steps without any
complex setup procedures. User administration is required while installation.
System Requirements
The following table lists out the system requirements, while the subsequent steps will
guide us through the environment setup procedure.
JDK Java SE 2 JDK 1.5 or above
Memory 1 GB RAM (recommended)
Disk Space No minimum requirement
Operating System Version Windows XP or above, Linux
Let us now proceed with the steps to install Spring-WS.
Step1 – Verify the Java Installation
To begin with, you need to have Java Software Development Kit (SDK) installed on your
system. To verify this, execute any of the following two commands depending on the
platform you are working on.
If the Java installation has been done properly, then it will display the current version and
specification of your Java installation. A sample output is given in the following table.
Platform Command Sample Output
Windows
Open command
console and type:
\>java -version
Java version "1.7.0_60"
Java (TM) SE Run Time Environment (build 1.7.0_60-b19)
Java Hotspot (TM) 64-bit Server VM (build 24.60-
b09,mixed mode)
Linux
Open command
terminal and type:
$java -version
java version "1.7.0_25"
Open JDK Runtime Environment (rhel-
2.3.10.4.el6_4-x86_64)
Open JDK 64-Bit Server VM (build 23.7-b01, mixed
mode)
2. Spring WS – Environment Setup

Spring Web Services
4
We assume the readers of this tutorial have Java SDK version 1.7.0_60 installed
on their system.
In case you do not have Java SDK, download its current version from –
http://www.oracle.com/technetwork/java/javase/downloads/index.html and have
it installed.
Step 2: Set your Java Environment
Set the environment variable JAVA_HOME to point to the base directory location where
Java is installed on your machine.
For example:
Platform Description
Windows Set JAVA_HOME to C:\ProgramFiles\java\jdk1.7.0_60
Linux Export JAVA_HOME=/usr/local/java-current
Append the full path of Java compiler location to the System Path.
Platform Description
Windows Append the String "C:\Program Files\Java\jdk1.7.0_60\bin" to the end
of the system variable PATH.
Linux Export PATH=$PATH:$JAVA_HOME/bin/
Execute the command java -version from the command prompt as explained above.
Step 3: Download Maven archive
Download Maven 3.3.3 from – http://maven.apache.org/download.cgi
OS Archive name
Windows apache-maven-3.3.3-bin.zip
Linux apache-maven-3.3.3-bin.tar.gz
Mac apache-maven-3.3.3-bin.tar.gz

Spring Web Services
5
Step 4: Extract the Maven archive
Extract the archive, to the directory you wish to install Maven 3.3.3. The subdirectory
apache-maven-3.3.3 will be created from the archive.
OS Location (can be different based on your installation)
Windows C:\Program Files\Apache Software Foundation\apache-maven-3.3.3
Linux /usr/local/apache-maven
Mac /usr/local/apache-maven
Step 5: Set Maven environment variables
Add M2_HOME, M2 and MAVEN_OPTS to the environment variables.
OS Output
Windows
Set the environment variables using system properties.
M2_HOME=C:\Program Files\Apache Software Foundation\apache-
maven-3.3.3
M2=%M2_HOME%\bin
MAVEN_OPTS=-Xms256m -Xmx512m
Linux
Open command terminal and set environment variables.
export M2_HOME=/usr/local/apache-maven/apache-maven-3.3.3
export M2=$M2_HOME/bin
export MAVEN_OPTS=-Xms256m -Xmx512m
Mac
Open command terminal and set environment variables.
export M2_HOME=/usr/local/apache-maven/apache-maven-3.3.3
export M2=$M2_HOME/bin
export MAVEN_OPTS=-Xms256m -Xmx512m

Spring Web Services
6
Step 6: Add Maven bin directory location to the system path
Now append M2 variable to the System Path.
OS Output
Windows Append the string ;%M2% to the end of the system variable, Path.
Linux export PATH=$M2:$PATH
Mac export PATH=$M2:$PATH
Step 7: Verify Maven installation
Now open the console, execute the following mvn command.
OS Task Command
Windows Open Command Console c:\> mvn --version
Linux Open Command Terminal $ mvn --version
Mac Open Terminal machine:< joseph$ mvn --version
Finally, verify the output of the above commands, which should be something as shown
below:
OS Output
Windows
Apache Maven 3.3.3
(7994120775791599e205a5524ec3e0dfe41d4a06; 2015-04-
22T17:27:37+05:30)
Maven home: C:\Program Files\Apache Software Foundation\apache-
maven-3.3.3
Java version: 1.7.0_75, vendor: Oracle Corporation
Java home: C:\Program Files\Java\jdk1.7.0_75\jre
Default locale: en_US, platform encoding: Cp1252
Linux
Apache Maven 3.3.3
(7994120775791599e205a5524ec3e0dfe41d4a06; 2015-04-
22T17:27:37+05:30)

Spring Web Services
7
Maven home: /usr/local/apache-maven/apache-maven-3.3.3
Java version: 1.7.0_75, vendor: Oracle Corporation
Java home: /usr/local/java-current/jdk1.7.0_75/jre
Mac
Apache Maven 3.3.3
(7994120775791599e205a5524ec3e0dfe41d4a06; 2015-04-
22T17:27:37+05:30)
Maven home: /usr/local/apache-maven/apache-maven-3.3.3
Java version: 1.7.0_75, vendor: Oracle Corporation
Java home: /Library/Java/Home/jdk1.7.0_75/jre
Step 8 - Setup Eclipse IDE
All the examples in this tutorial have been written using the Eclipse IDE. It is recommended
that the readers should have the latest version of Eclipse installed on their machine. To
install the Eclipse IDE, download the latest Eclipse binaries from the following link –
http://www.eclipse.org/downloads/. Once the installation is downloaded, unpack the
binary distribution into a convenient location.
For example in C:\eclipse on windows, or /usr/local/eclipse on Linux/Unix and finally
set the PATH variable appropriately. Eclipse can be started by executing the following
commands on the windows machine, or you can simply double click on eclipse.exe.
%C:\eclipse\eclipse.exe
Eclipse can be started by executing the following commands on the UNIX (Solaris, Linux,
etc.) machine:
$/usr/local/eclipse/eclipse
Spring Web Services
8
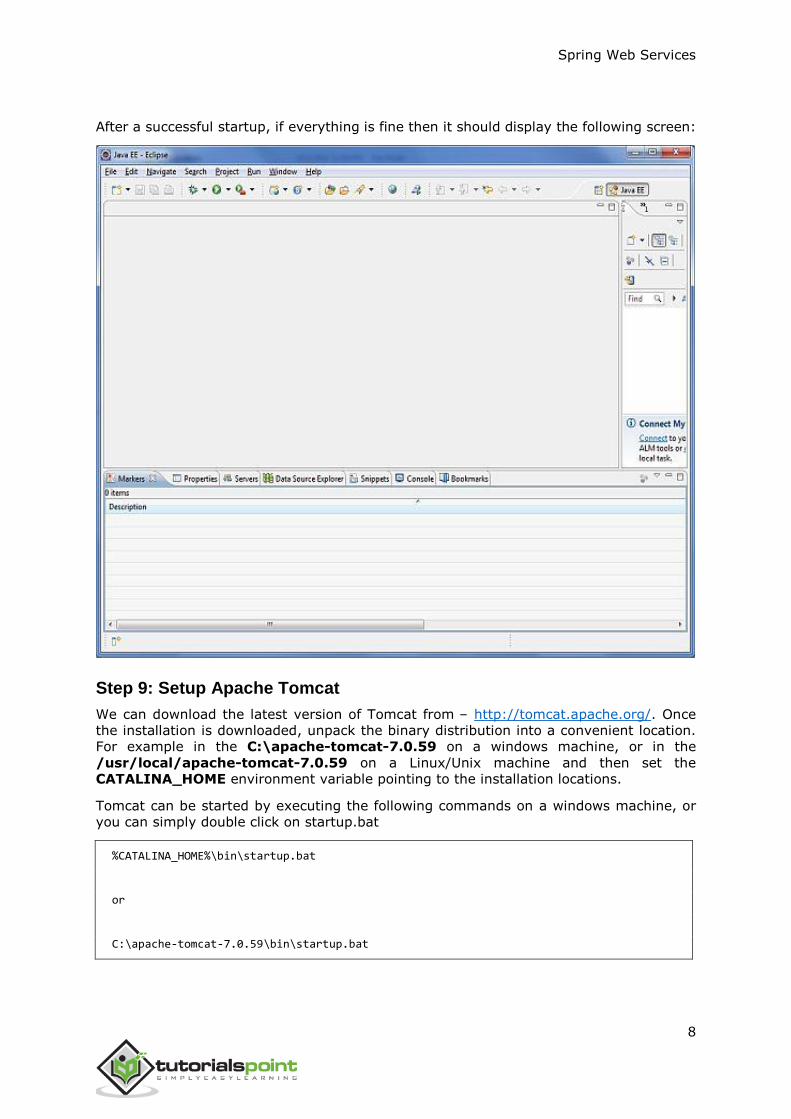
After a successful startup, if everything is fine then it should display the following screen:
Step 9: Setup Apache Tomcat
We can download the latest version of Tomcat from – http://tomcat.apache.org/. Once
the installation is downloaded, unpack the binary distribution into a convenient location.
For example in the C:\apache-tomcat-7.0.59 on a windows machine, or in the
/usr/local/apache-tomcat-7.0.59 on a Linux/Unix machine and then set the
CATALINA_HOME environment variable pointing to the installation locations.
Tomcat can be started by executing the following commands on a windows machine, or
you can simply double click on startup.bat
%CATALINA_HOME%\bin\startup.bat
or
C:\apache-tomcat-7.0.59\bin\startup.bat

Spring Web Services
9
Tomcat can be started by executing the following commands on UNIX (Solaris, Linux, etc.)
machine:
$CATALINA_HOME/bin/startup.sh
or
/usr/local/apache-tomcat-7.0.59/bin/startup.sh
After a successful startup, the default web applications included with Tomcat will be
available by visiting – http://localhost:8080/. If everything is ok, then it should display
the following screen:
Further information about configuring and running Tomcat can be found in the
documentation included here, as well as on the Tomcat website –
http://tomcat.apache.org.
Tomcat can be stopped by executing the following commands on a windows machine:
%CATALINA_HOME%\bin\shutdown
or
C:\apache-tomcat-7.0.59\bin\shutdown

Spring Web Services
10
Tomcat can be stopped by executing the following commands on the UNIX (Solaris, Linux,
etc.) machine:
$CATALINA_HOME/bin/shutdown.sh
or
/usr/local/apache-tomcat-7.0.59/bin/shutdown.sh
Once we are done with this last step, we are ready to proceed for the first Web Services
Example, which we will discuss in the next chapter.

Spring Web Services
11
End of ebook preview
If you liked what you saw…
Buy it from our store @ https://store.tutorialspoint.com