8-3 google android phone os application and operation
TRANSCRIPT

8-3 Google Android Phone OS application and operation
System requirements:
Mobile Device operation platform:Google Android 2.1 System。
Internet needed for Mobile device operation platform (GPRS/ 3G/ Wifi…etc.)
In order to remote log in to DVR to live monitoring through mobile device, first of all, please follow the
instructions for software installation:
PS. Before installation make sure your 3G phone on the internet.
Step1. Open market
Step2. If there is no account on your phone, please follow the instruction to add one.


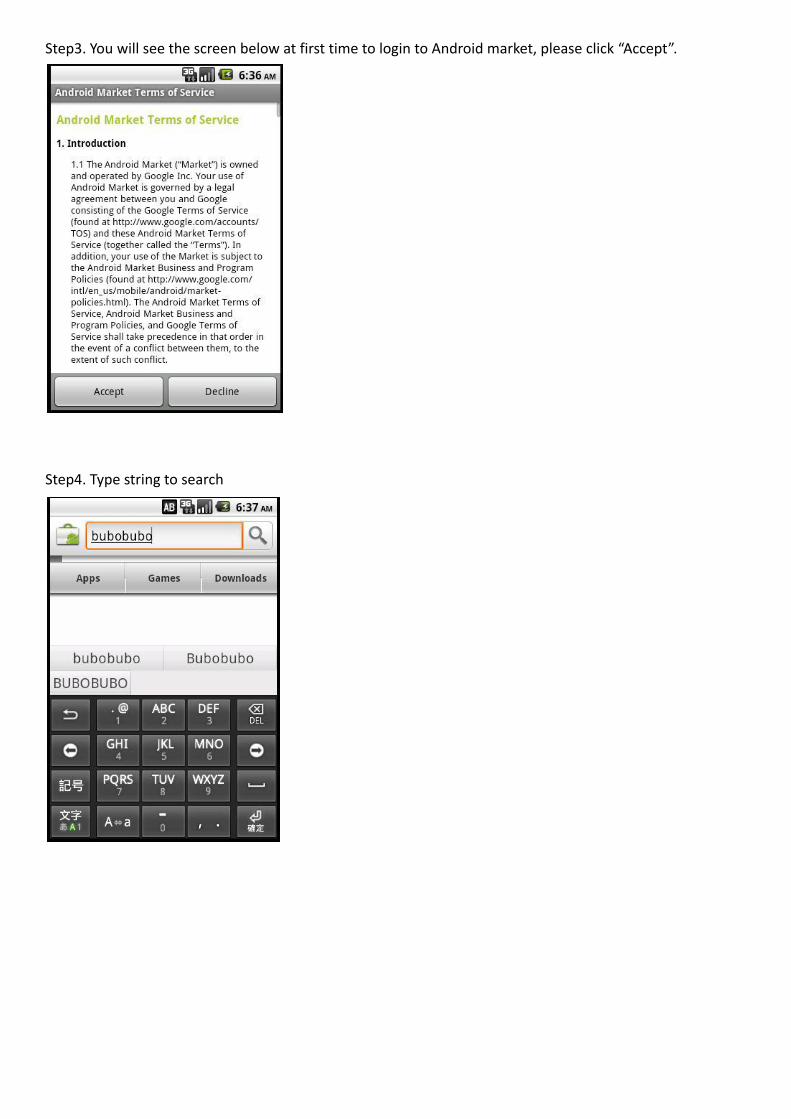
Step3. You will see the screen below at first time to login to Android market, please click “Accept”.
Step4. Type string to search

Step5. Choose “BuboBubo” and click “Install” button.
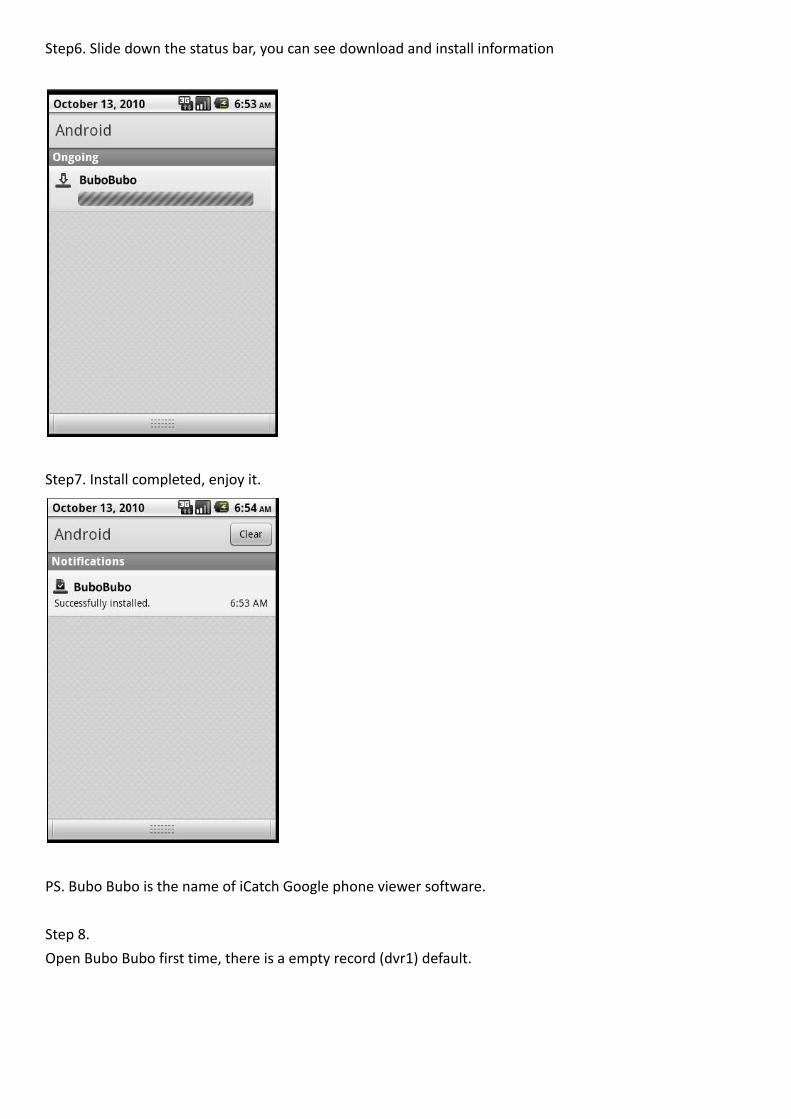
Step6. Slide down the status bar, you can see download and install information
Step7. Install completed, enjoy it.
PS. Bubo Bubo is the name of iCatch Google phone viewer software.
Step 8.
Open Bubo Bubo first time, there is a empty record (dvr1) default.

Step 9.
Click the Edit button, the Edit button turn to gray and the list is editable.

Step 10.
Type configuration and save. DVR’s name / IP address/ port/ user name/ password
Below icon’s function:
JPEG / H264 : image format.
Save : save the record
Clear: clear up all fields.
Cancel: do nothing and return the list.
Delete: delete this record.
Step 11.
Click the New button, add a new DVR login record.

Step 12.
Finish edit, click the Edit button and the button turn to white which means on connect mode.

Step 13.
Click one to connect.
Step 14.
Start connecting….
For H264 data stream, it wastes more time to initialize, be patient.
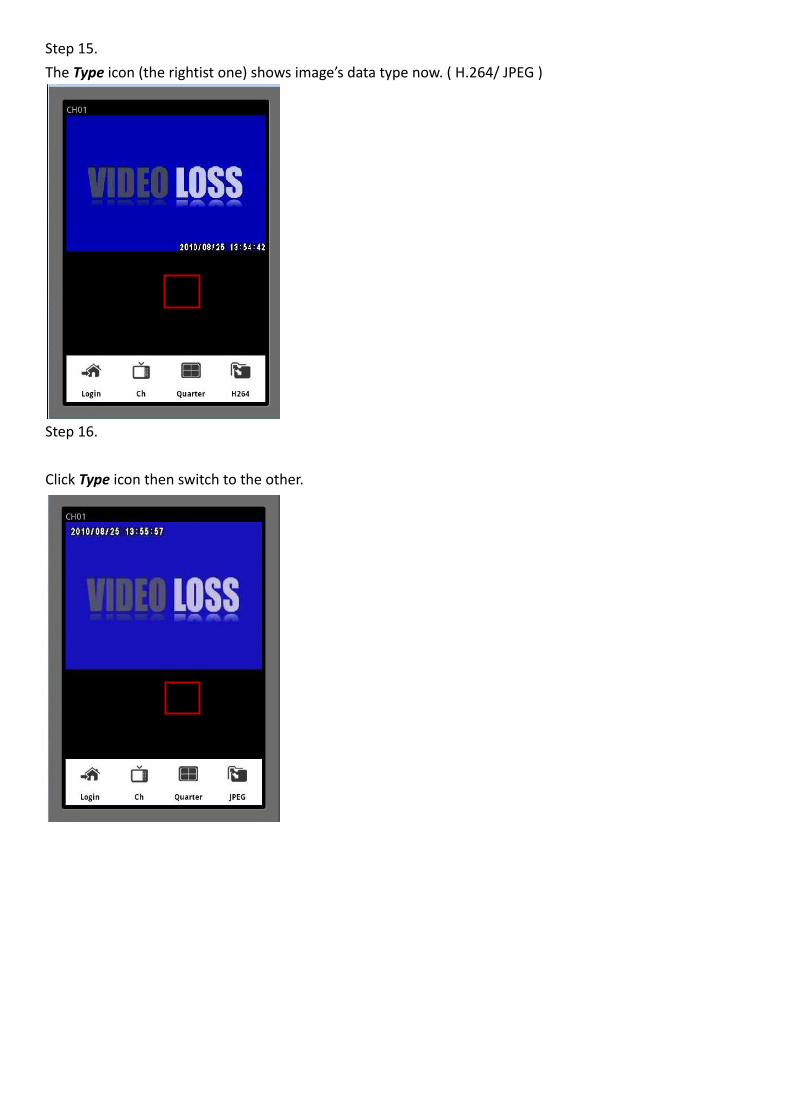
Step 15.
The Type icon (the rightist one) shows image’s data type now. ( H.264/ JPEG )
Step 16.
Click Type icon then switch to the other.
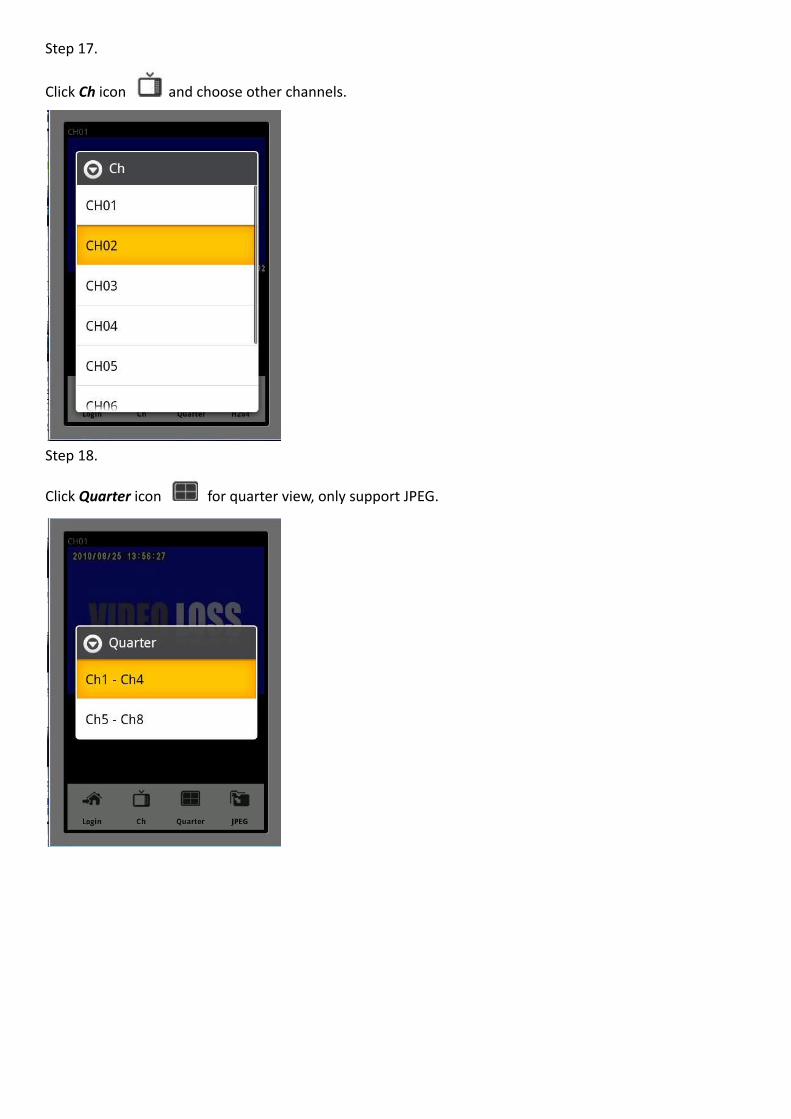
Step 17.
Click Ch icon and choose other channels.
Step 18.
Click Quarter icon for quarter view, only support JPEG.

Step 19.
Click Login icon, return to login list
Step 20.
Landscape view, the toolbar is hidden by default.

Step 21.
Click the screen, the toolbar appears. And click again, the toolbar disappears.