7 steps to create your first android app
TRANSCRIPT
7 STEPS TO CREATE YOUR FIRST ANDROID APP
Over the last 6 years, FreedomApps' programming team have developed over 130 awesome apps for clients in over 13 countries.
They’ve spent nearly 250,000 man hours in front of their keyboards programming new app ideas.
We know our stuff!
And we’re constantly on the cutting edge of which apps are hot and which are not. Even more important we’re watching trends over the next 3 years to see what the next big winners are likely to be.
We have two offices both in Sydney and abroad. In Sydney we’re situated amongst the leafy streets and cafes of trendy Victoria St, Darlinghurst.

IF YOU’RE THINKING OF creating Android apps but do not have much know-how, you can follow the steps we listed...

Formulating your app concept through ideation.
Before getting started, you need to have an idea of what you’re going to create. The trick is to make your first app relatively simple and to focus on creating something.
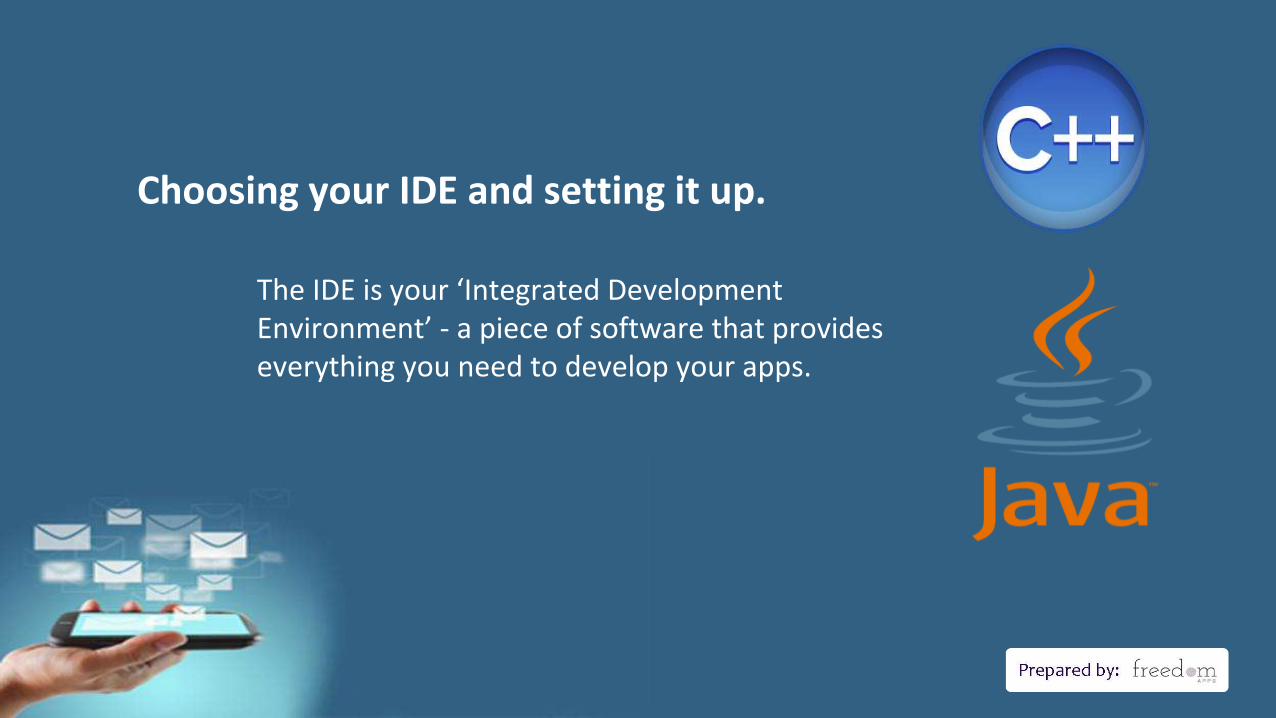
Choosing your IDE and setting it up.
The IDE is your ‘Integrated Development Environment’ - a piece of software that provides everything you need to develop your apps.
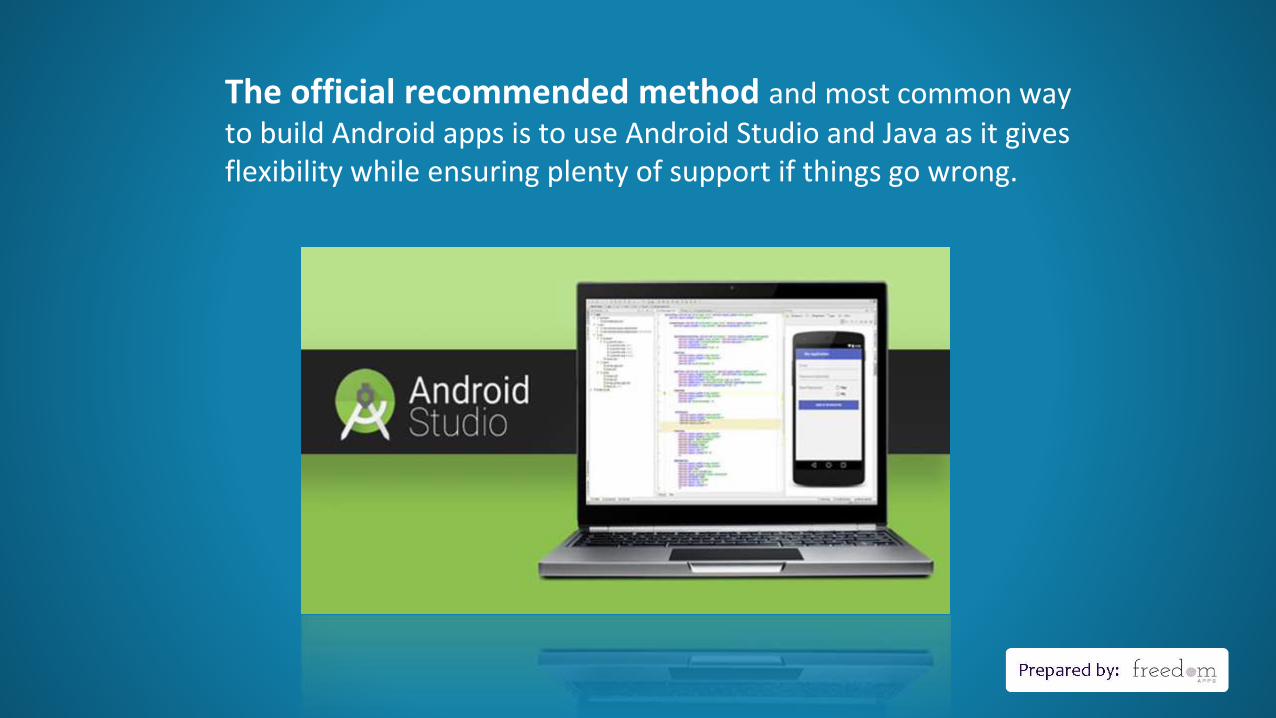
The official recommended method and most common way to build Android apps is to use Android Studio and Java as it gives flexibility while ensuring plenty of support if things go wrong.
You can build your own images or borrow from free public resources but be aware of someone's copyright.
Collecting Resources
“There’s nothing wrong with using free materials; most professional apps do it!”
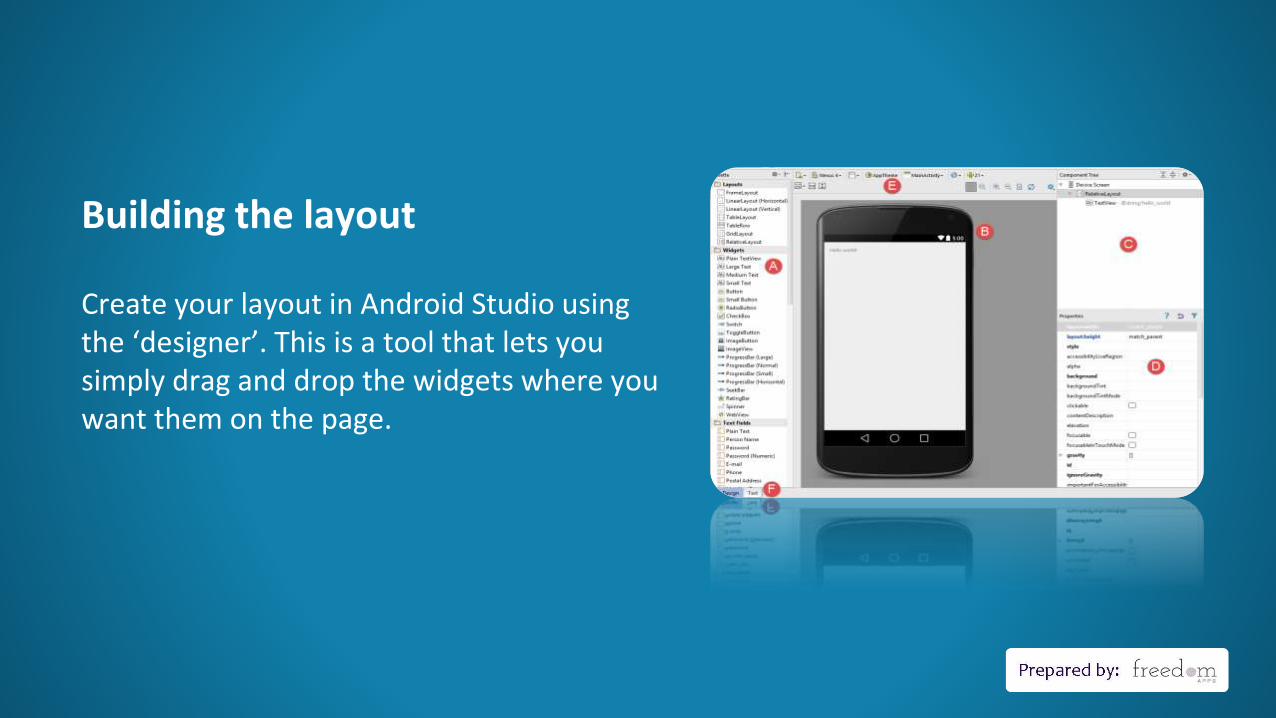
Building the layout
Create your layout in Android Studio using the ‘designer’. This is a tool that lets you simply drag and drop the widgets where you want them on the page.
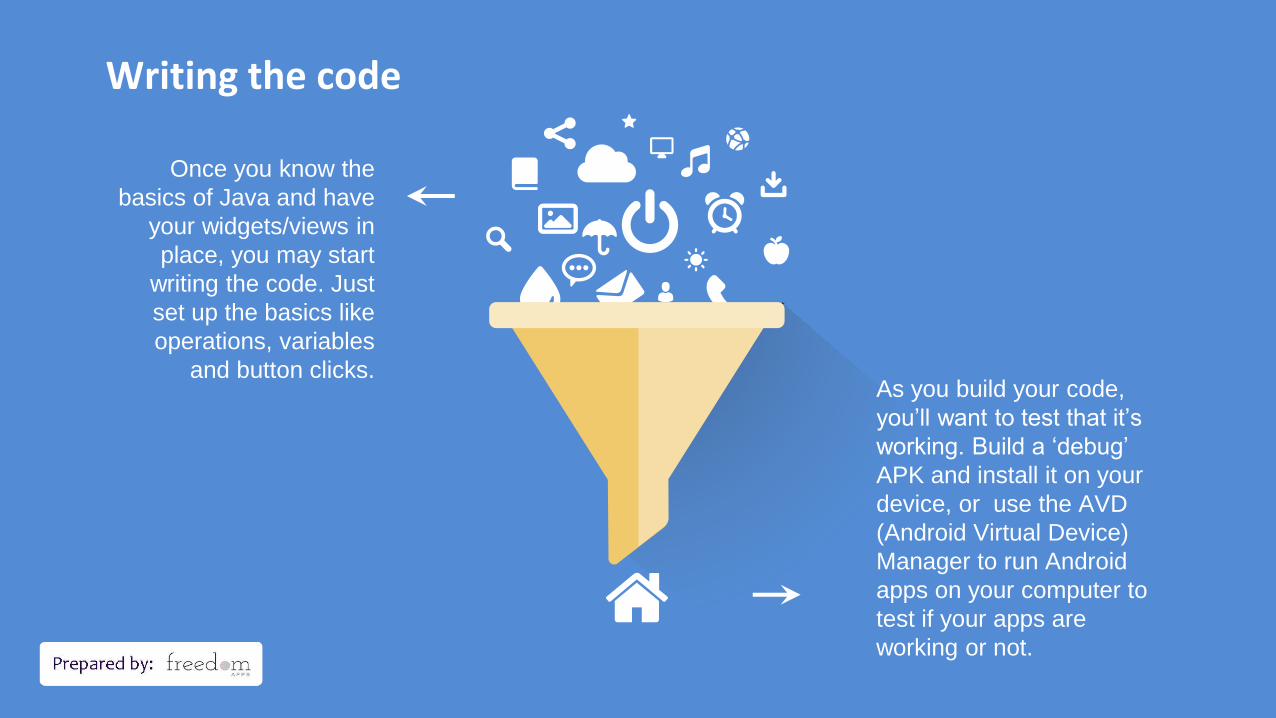
Writing the code
Once you know the
basics of Java and have
your widgets/views in
place, you may start
writing the code. Just
set up the basics like
operations, variables
and button clicks.As you build your code,
you’ll want to test that it’s
working. Build a ‘debug’
APK and install it on your
device, or use the AVD
(Android Virtual Device)
Manager to run Android
apps on your computer to
test if your apps are
working or not.
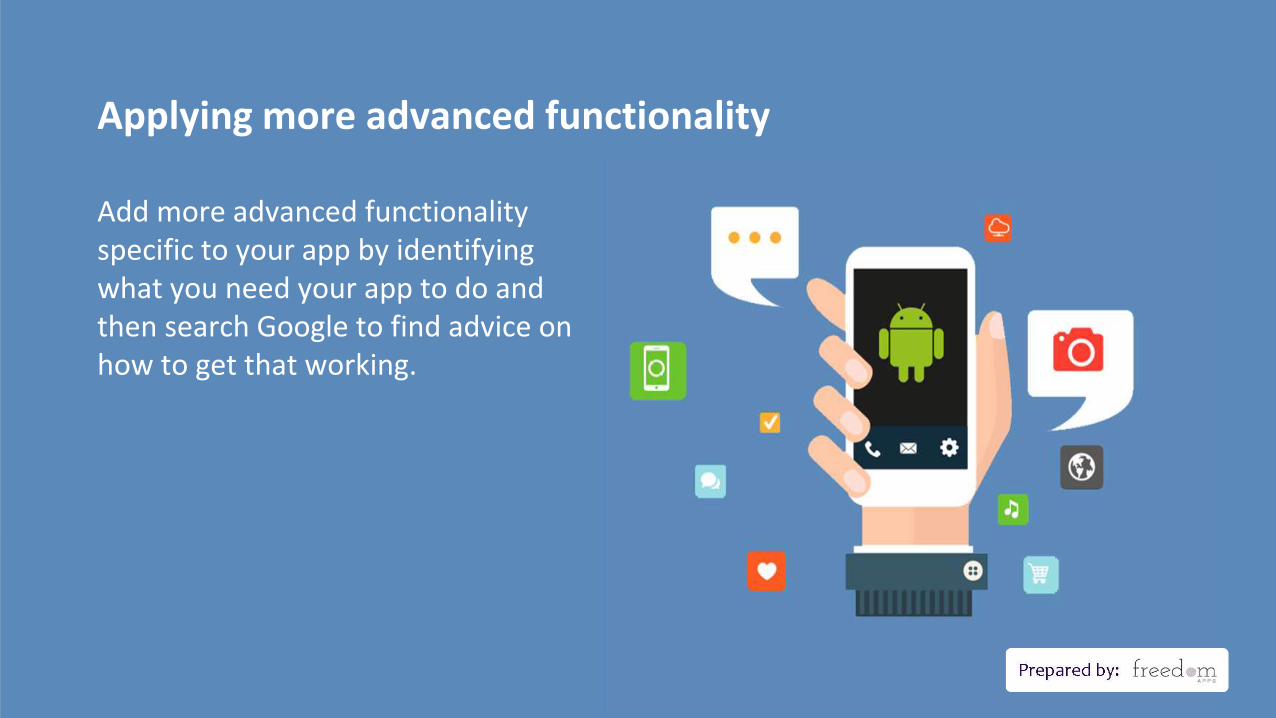
Applying more advanced functionality
Add more advanced functionality specific to your app by identifying what you need your app to do and then search Google to find advice on how to get that working.
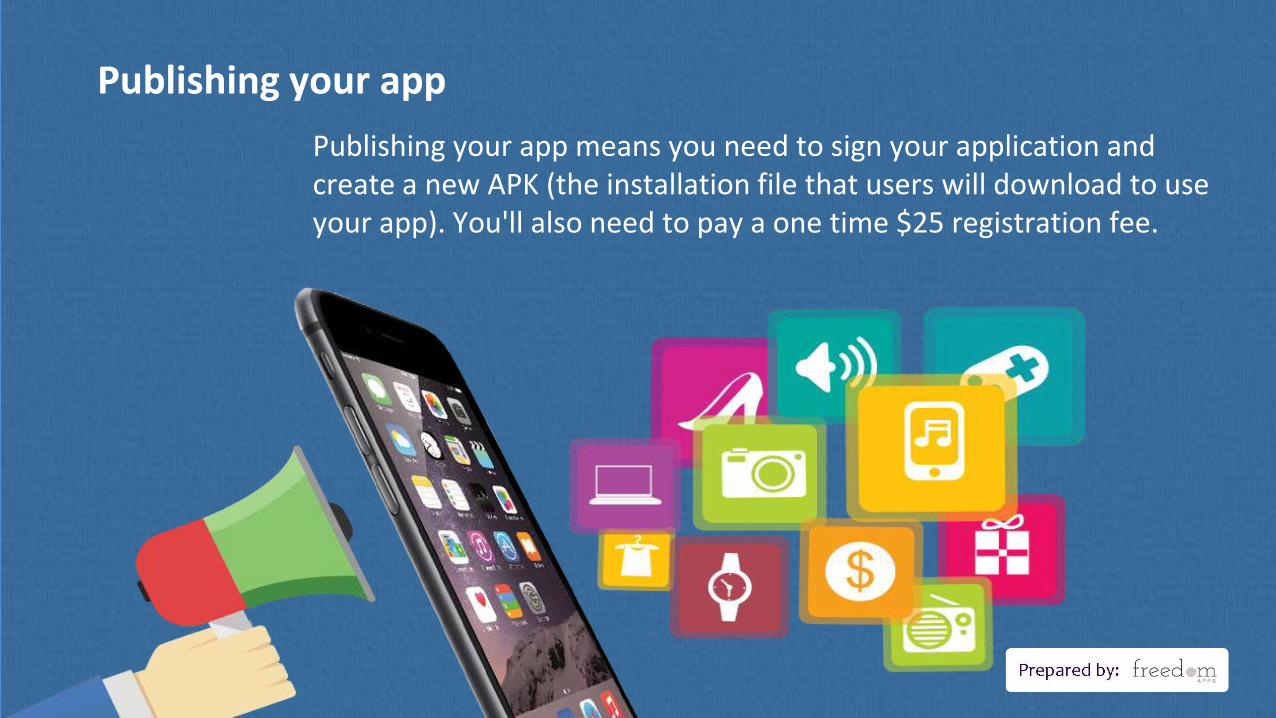
Publishing your app
Publishing your app means you need to sign your application and create a new APK (the installation file that users will download to use your app). You'll also need to pay a one time $25 registration fee.
"With the ability to look up
your own solutions and use
them, there’s really no
challenge you can’t handle. By the end of day 7, your app should
be able to do all the things that it
needs to do."
Thanks!Thanks!
Talk to us:
http://freedomapps.com.au