5 - panorama necto 14 analytics view component - visualization & data discovery solution
TRANSCRIPT

Necto TrainingModule 4: Necto Basic Analytics

Objectives
By the end of this lesson you will be able to perform basic analytics by: Adjusting the workboard display Selecting which data will be displayed Locating exceptional values

Agenda
Working with grids Adjusting the layout Calculating totals
Focusing on specific data Slicing Selecting specific members

Case Study
Jim Silver
Inventory Mgr.
Sales Dept.
How can this view help me prepare the camera inventory for the summer months?
The case study that we will followin this presentation is of Jim Silver, an inventory manager in the sales department.

Grids and Charts
Grid
Chart
Drag to adjust display
Click to configure layout

Working with the grids…

Grid Layout
Operations are revealed by mouse hovering. Dimension operations Member operations Grid operations
X axis dimension nameY axis
dimension/s name/s
Y axis dimension members
X axis dimension members
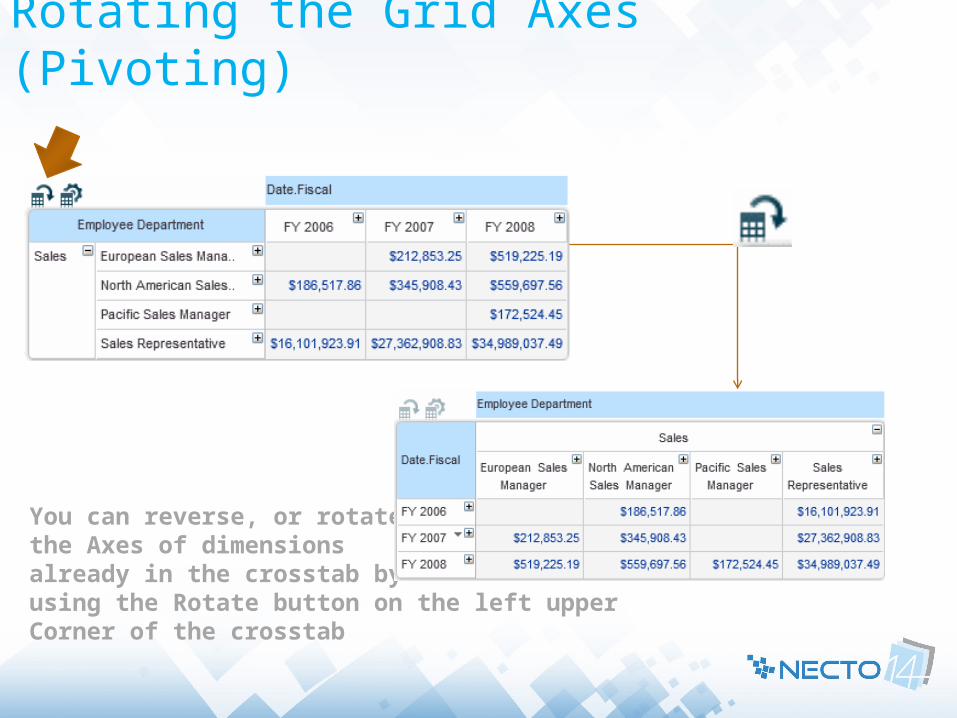
Rotating the Grid Axes (Pivoting)
You can reverse, or rotate,the Axes of dimensions already in the crosstab byusing the Rotate button on the left upper Corner of the crosstab

Drilling Up or Down
Use To drill up
Use To drill down
You can drill from Year, a summary value, to Quarter, a more detailed list of data, to Month, an even more detailed list of data.
Conversely, you can drill up to summarize data. To continue the preceding example, you can drill up from the
Month level to see the monthly data summarized at the Quarter level. Similarly, you can drill up from Quarter to Year to summarize the quarterly data.

Drilling Up or Down
There are two methods used to drill down by
a dimension member in the grid. Click on the + icon next to the
member name Double-click on the member name
To drill up by a dimension member: Click on the - icon next to the parent
member name Double click the parent member
name

Dimensions Menu
Use to open hierarchy in a single click
Add dimension (before or after)

Dimension Layout
Sets all members into one level
Shows the parent value

Select Member Properties
Select member properties from the dimension menu Click next to the
property you want to show.
In the following example, the property “Fiscal Year Property” has been selected to showin the tooltip
Select member properties from the dimension menu

Sum of Individual Members
I need to know the sales in the summer months: August, September and October.They are not in the same Quarter. How can I calculate their sum?

Members Menu
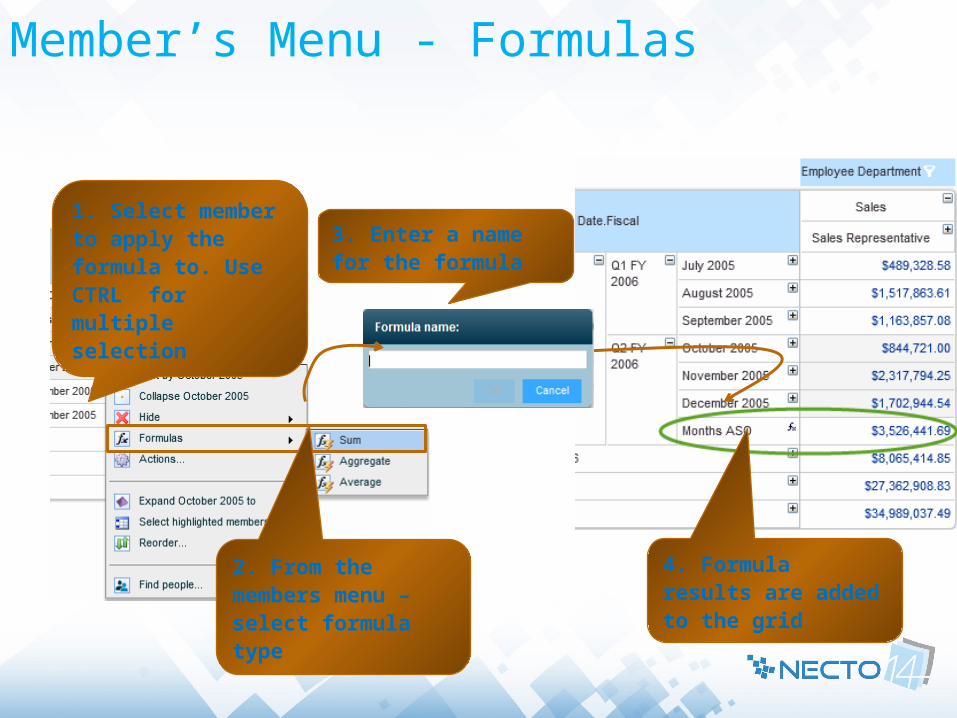
Member’s Menu - Formulas
1. Select member to apply the formula to. Use CTRL for multiple selection
2. From the members menu – select formula type
3. Enter a name for the formula
4. Formula results are added to the grid

Defining the grid size

Saving Your Work
Don’t forget to save your changes!
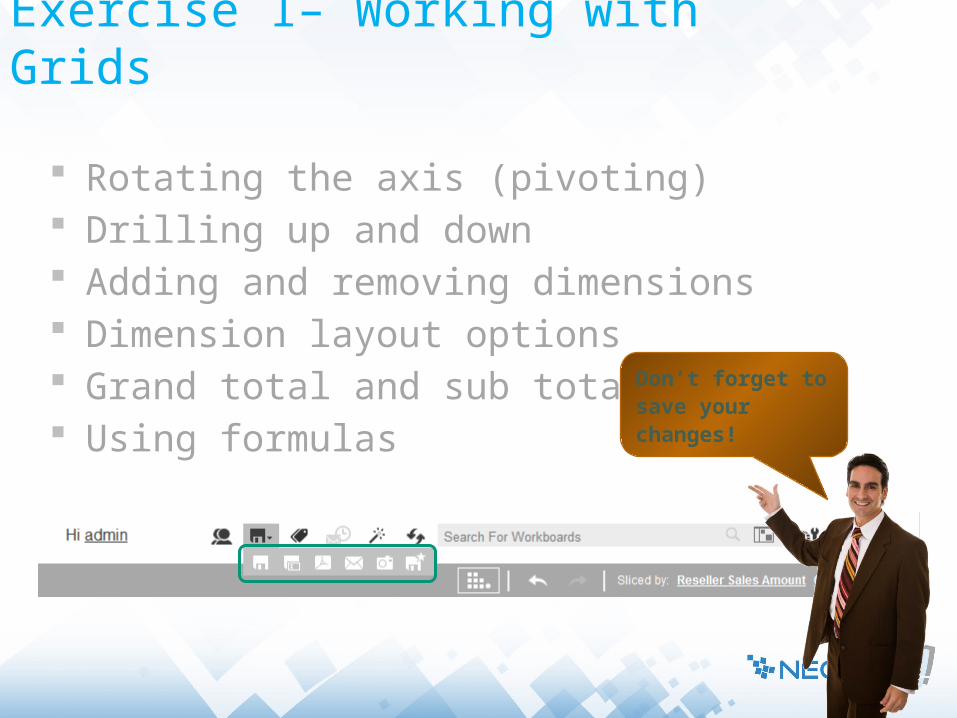
Exercise 1– Working with Grids
Rotating the axis (pivoting) Drilling up and down Adding and removing dimensions Dimension layout options Grand total and sub total Using formulas
Don’t forget to save your changes!

Focusing on Specific Data

Focusing on Specific Data
Slicing Selecting specific
members Hiding specific members
I only need to know how the sales in Q3.Can I see only part of the data?

Selecting Members – Using the Member Menu
Click arrow to open members menu
Click members to select. Use CTRL for multiple selection.
Can choose to hide or show only selected members
Choose to hide or show only selected members
The first method is by selecting the members that you don’t want to be displayed, and then
hiding them.
Hide has no indicationUse Hide menu to reveal members
Select adds a filter sign, that can be clicked to reveal hidden members

Selecting Members – Using the Dimensions Menu
Now only Q3 of 2006 will appear on the grid
A filter indicator will appear. Click it to remove filter.

Selecting Members – Using the Dimensions Menu
When unchecked, shows parents:Year.2006.Q3
Allows drill down option to be available
Note the checkboxes: Allow drill down on selected members- determines if you will be able to drill down to lower levels in the Hierarchy Show caption – only the member name – when removed, shows the parents.
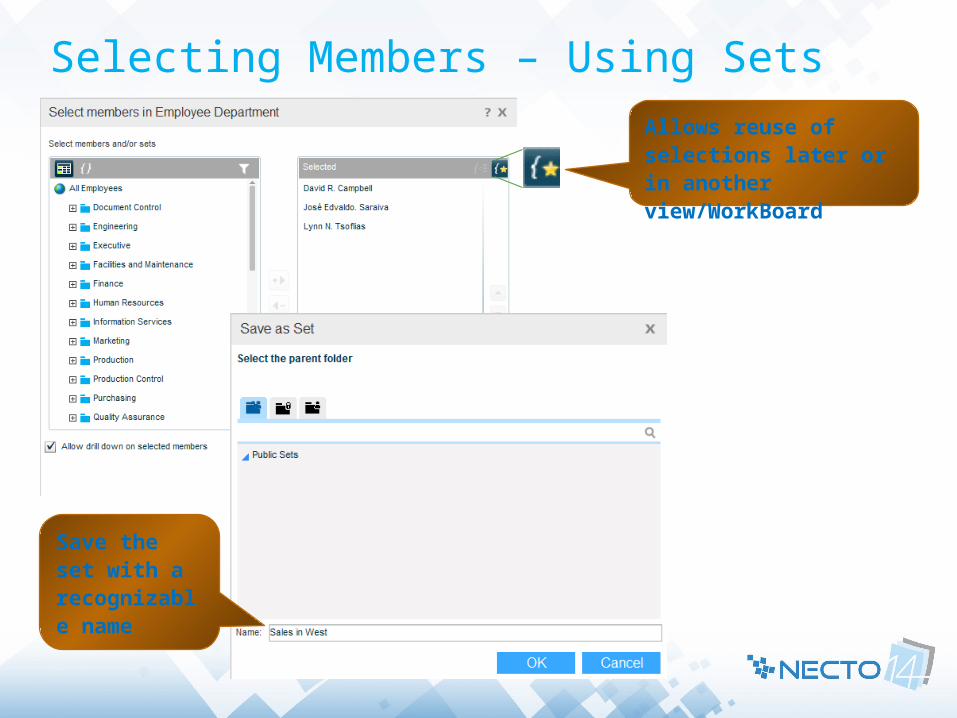
Selecting Members – Using SetsAllows reuse of selections later or in another view/WorkBoard
Save the set with a recognizable name

Selecting Members – Using Sets
Choose an existing set from this option, only sets relevant to the current dimension will be displayed
The set shows in the same way as any other selection

Slicing - Filtering data by Dimension Members
Click to slice data
Move the mouse over a filter name - relevant views will be highlighted
When maximized, only relevant filters will be displayed

Slicing
You can select multiple members from different dimensions
Click to slice data
Select a dimension and a member to filter by
Selected filters are displayed here
Selected filters are displayed in the parenthesis
Click to Apply
Search for a member within the dimension

Slicing - options
Click to Select members
Click to remove the dimension (it is still available to choose from the All Slicers)
Click to show only the members that have data, according to the current slicing
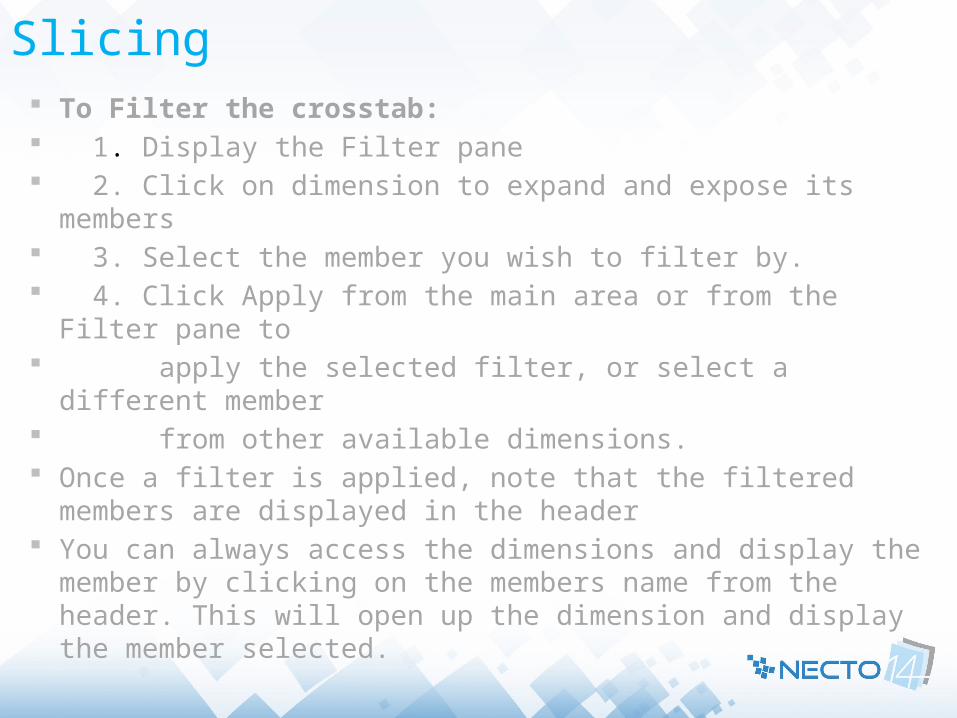
Slicing To Filter the crosstab: 1. Display the Filter pane 2. Click on dimension to expand and expose its members 3. Select the member you wish to filter by. 4. Click Apply from the main area or from the Filter pane
to apply the selected filter, or select a different member from other available dimensions. Once a filter is applied, note that the filtered members are
displayed in the header You can always access the dimensions and display the
member by clicking on the members name from the header. This will open up the dimension and display the member selected.
Exercise 2 – Concentrating on Specific Data
Select Dimension members Select values Slice (filter) the data Create a Set and share it with a friend to reuse

Sorting and Filtering

Examining Values
Sorting Filtering values
In what months do we sell the most?
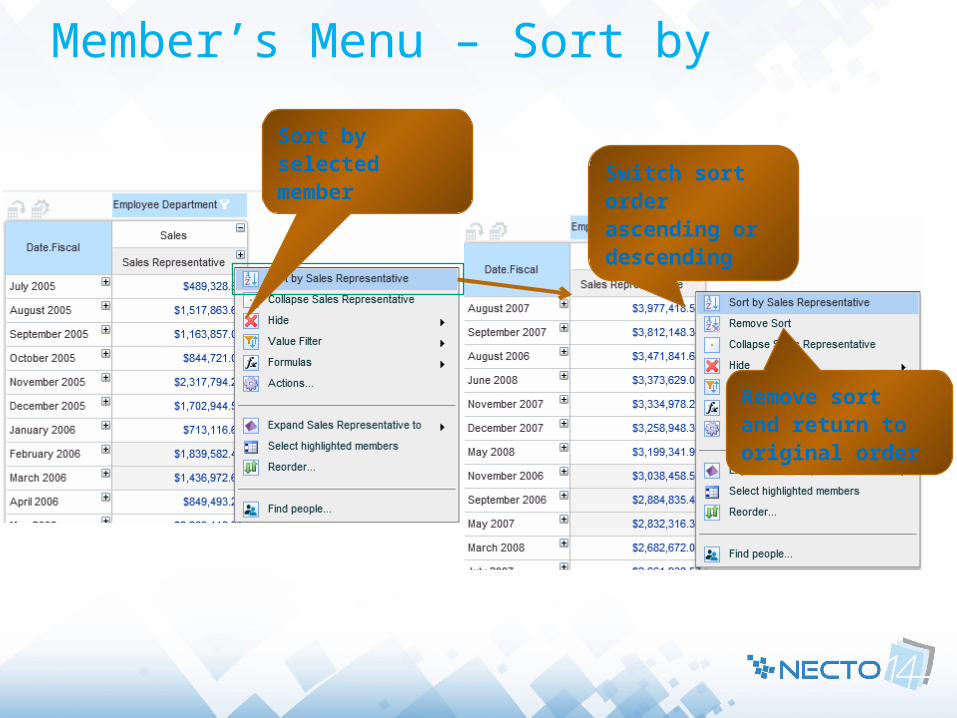
Member’s Menu – Sort by
Sort by selected member
Switch sort order ascending or descending
Remove sort and return to original order

Member’s Menu – Value Filter
Sort – sorts all valuesFilter –sorts and filters
Indication that grid has been filtered and sorted

Member’s Menu –Value Filter by
Dimension level to apply filter to

Member’s Menu –Filter by Value…
In the Filter menu, you will also find the Value Filter by … option. This option enables advanced filtering based on the values displayed in the grid. For example: you can set the number of Top/bottom items filter by top/bottom percent displayed, or show values that are greater than or less than a specific value.
The At level checkbox enables you to specify at which level of the hierarchy the filtering will be applied. For example, the “Time” dimension includes the levels “year”, “quarter” and “month”, you can choose which of these levels to apply the filter on.

Member’s Menu –ReorderReorder allows you to change the default layout of the members
Bring Huntsville to first placeBring Huntsville to first place

Exercise 3 – Sorting, Filtering and Reordering Sort Filter Reorder

Actions – Add value
Actions are defined in the cube and bubble up to Necto

Additional Exercise
Save Your Own Copy of the Workboard Find Out What Product Category is the Best Seller Use the Chart to Find the Product That is The
Best Seller this Year Find Exceptions See if your data has any actions (hint: try adding
Geography dimension if using AdventureWorks).
Summary
Working with grids Adjusting the layout Calculating totals of values
Focusing on specific data Slicing Selecting specific members, including Sets Other additional value

Thank youAny Questions?