5 & 8 digit counter for arduino nano part no. 2201834 · 5 & 8 digit counter for arduino...
TRANSCRIPT
5 & 8 Digit Counter for Arduino Nano PART NO. 2201834
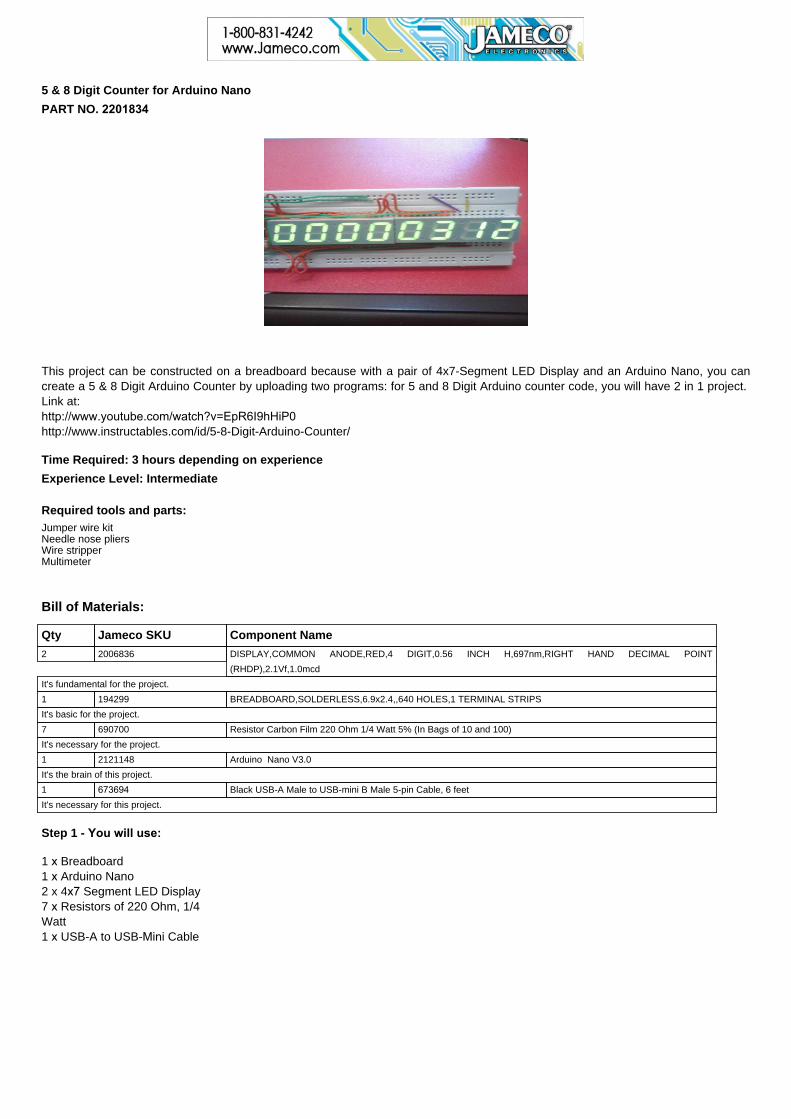
This project can be constructed on a breadboard because with a pair of 4x7-Segment LED Display and an Arduino Nano, you cancreate a 5 & 8 Digit Arduino Counter by uploading two programs: for 5 and 8 Digit Arduino counter code, you will have 2 in 1 project. Link at: http://www.youtube.com/watch?v=EpR6I9hHiP0http://www.instructables.com/id/5-8-Digit-Arduino-Counter/
Time Required: 3 hours depending on experience
Experience Level: Intermediate
Required tools and parts: Jumper wire kitNeedle nose pliersWire stripperMultimeter
Bill of Materials:
Qty Jameco SKU Component Name
2 2006836 DISPLAY,COMMON ANODE,RED,4 DIGIT,0.56 INCH H,697nm,RIGHT HAND DECIMAL POINT
(RHDP),2.1Vf,1.0mcd
It's fundamental for the project.
1 194299 BREADBOARD,SOLDERLESS,6.9x2.4,,640 HOLES,1 TERMINAL STRIPS
It's basic for the project.
7 690700 Resistor Carbon Film 220 Ohm 1/4 Watt 5% (In Bags of 10 and 100)
It's necessary for the project.
1 2121148 Arduino Nano V3.0
It's the brain of this project.
1 673694 Black USB-A Male to USB-mini B Male 5-pin Cable, 6 feet
It's necessary for this project.
Step 1 - You will use:
1 x Breadboard1 x Arduino Nano2 x 4x7 Segment LED Display7 x Resistors of 220 Ohm, 1/4 Watt1 x USB-A to USB-Mini Cable

Step 2 - Project's Diagram
It's vital that the project's diagram be followed in detail to prevent errors.
Step 3 - Installing the 2x4-Seven Segment LED Display
It's necessary that the 2x4-Seven Segment LED Display be installed on the breadboard by leaving the enough space for the rest ofthe components.

Step 4 - Install the Resistors
It's imperative that the resistors be installed by leaving enough space between these and the Arduino Nano that you are going toinstall also.
Step 5 - Installing the Arduino Nano
Install the Arduino Nano by leaving enough space for the rest of the connections.
Step 6 - Carry Out the Rest of the Connections
It's necessary that all connections marked in the project's diagram be realized so that you can carry out a successful project.

Step 7 - Uploading 5-Digit Arduino Counter Code
If you want to upload 5-digit Arduino Counter code, go to the following link: http://pastebin.com/P2g9gYTQ
Step 8 - Uploading 8-Digit Arduino Counter Code
Upload 8-digit Arduino Counter code at the following link: http://pastebin.com/S5PUkGf7