3rd carrier implementation
DESCRIPTION
123TRANSCRIPT
1. Create utrancells on RNC
Create utrancells of 3rd carrier by your usual manner.
2. Load the Pre-Check script
The following script should be run on RBS to save current CV, pre-check and back up kget on OSS. Use AMOS.
Change the directory in the script to save kget and pre-check file.
Save the log on the check list file.
3. SoftLock Cells
SoftLock all Cells in this RBS.
4. Turn on auto rollback
This step is performed to prevent RBS lost connection when doing the RBS configuration.
Set rollback on
set ConfigurationVersion=1 rollbackOn true
Set rollback timer to 8 minutes
set ConfigurationVersion=1 rollbackInitTimerValue 8
Set fcm_prep CV to be 1st on rollbacklist
acc ConfigurationVersion=1 setFirstRollbackList
y
fcm_prep
5. Cabinet and site equipment re-configuration
Check IPsyncRef on RBS. If IPsyncRef=7 and =8 then go to the next step.

If IPsyncRef=1 and IPsyncRef=2, it must be changed to IPsyncRef=7 and IPsyncRef=8
Run by AMOS the following script “IP_Synch_reverseChange.mos”to change IPsyncRef to 7 and 8.
6. Run Export & Delete
Run Export and Delete, under Tools in EMAS
Tick the following options “Export” and “Delete”
Export the Cabinet and Site XML files from RBS to your home directory
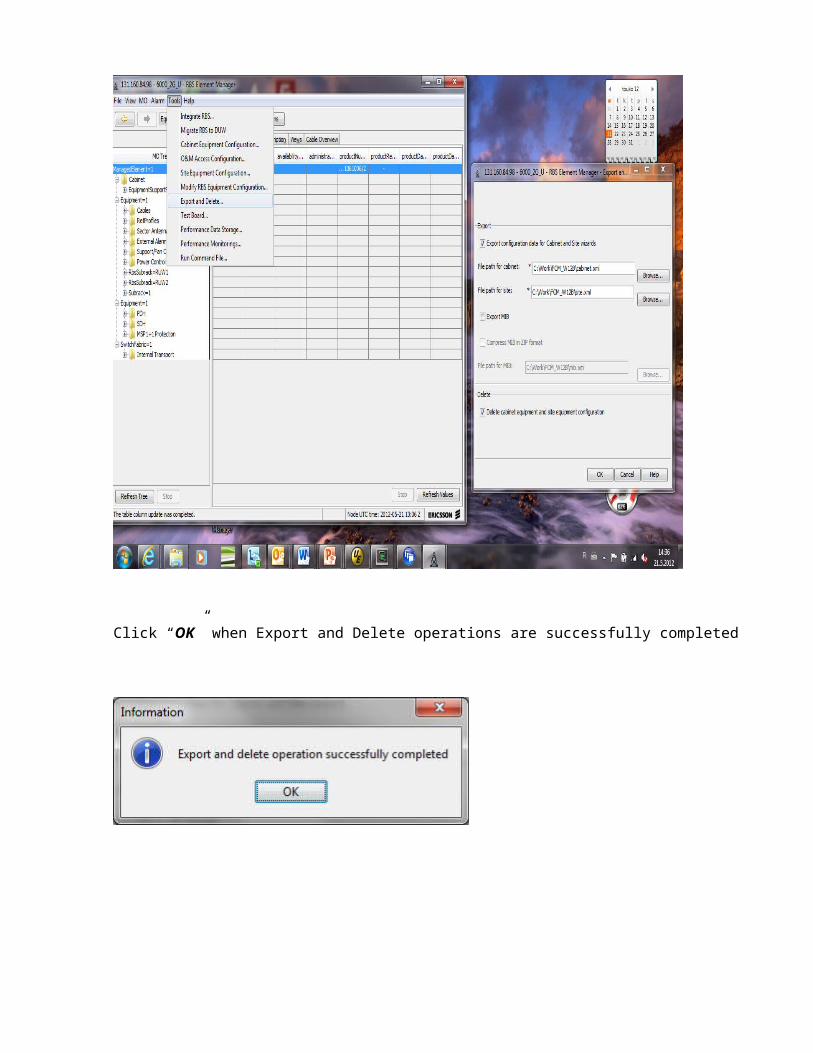
Click “OK” when Export and Delete operations are successfully completed
7. Make new CV manualy “cvms cab”
8. Make “warm” restart
9. Run Cabinet Wizard
Run “cabinet equipment configuration” based on the exported cabinet file with wizard.
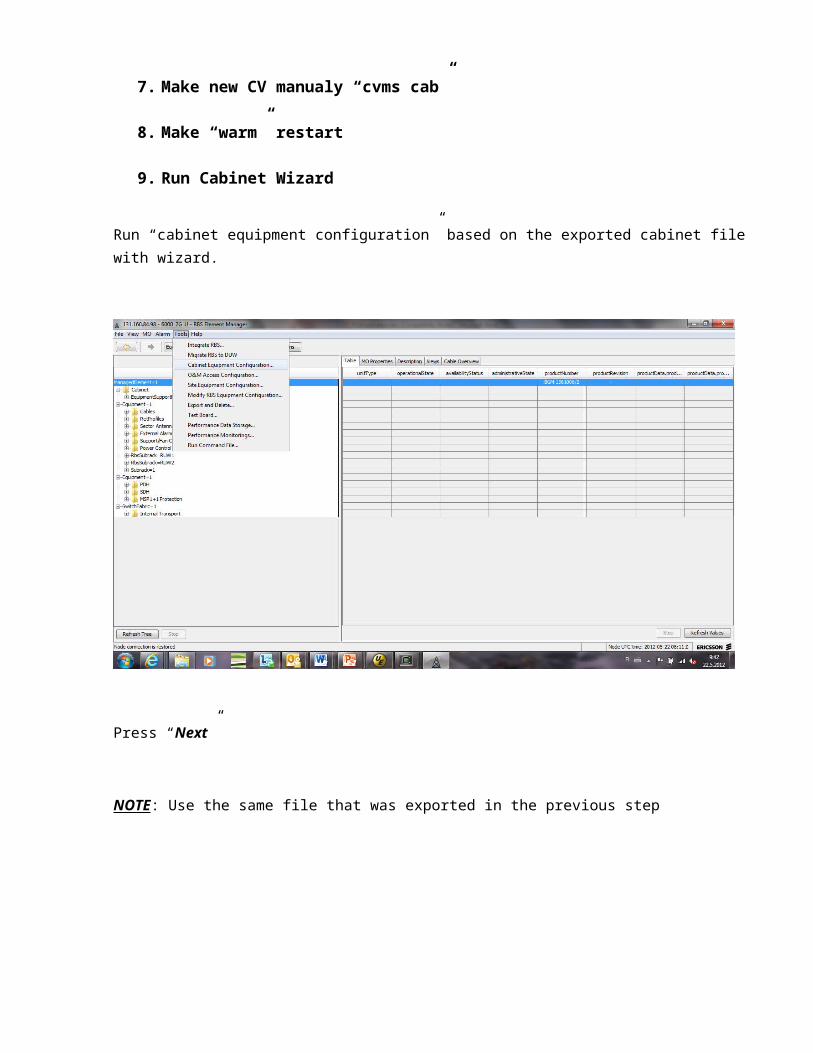
Press “Next”
NOTE: Use the same file that was exported in the previous step
Press “Next” 6 times (don’t change anything in the Cabinet Wizard)
Press “Finish”, to complete the configuration

Press “NO”
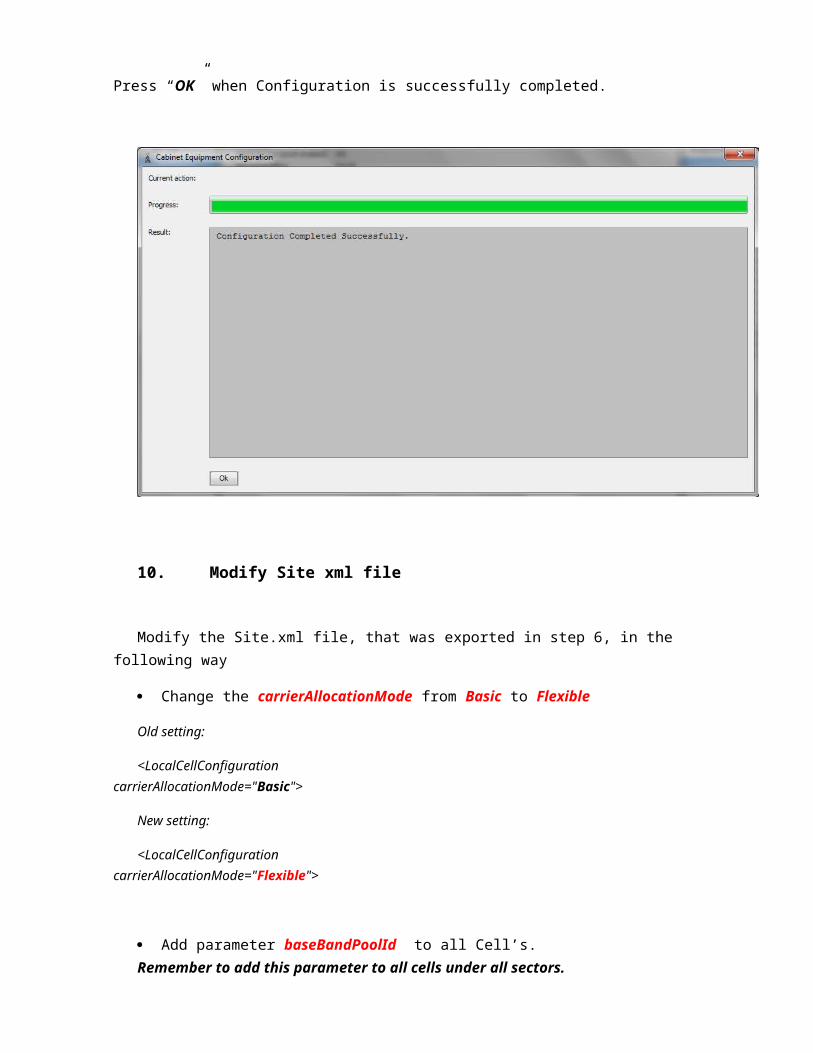
Press “OK” when Configuration is successfully completed.

10. Modify Site xml file
Modify the Site.xml file, that was exported in step 6, in the following way
Change the carrierAllocationMode from Basic to Flexible
Old setting:
<LocalCellConfigurationcarrierAllocationMode="Basic">
New setting:
<LocalCellConfigurationcarrierAllocationMode="Flexible">
Add parameter baseBandPoolId to all Cell’s. Remember to add this parameter to all cells under all sectors.
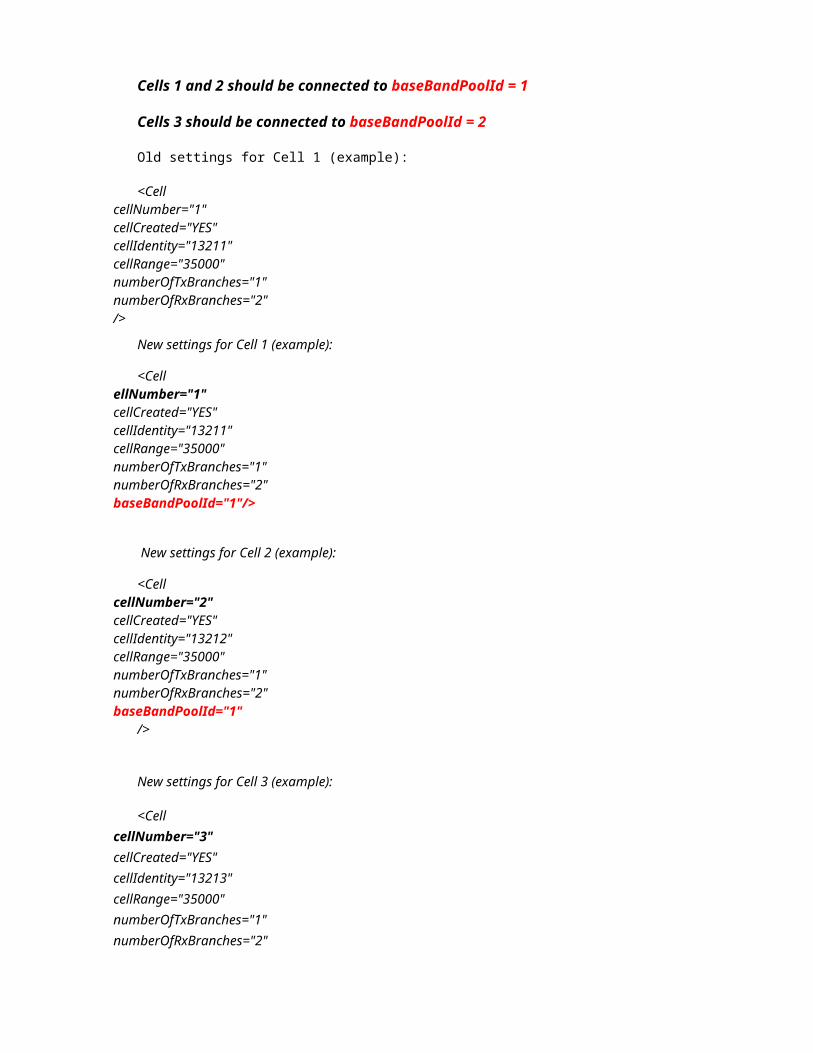
Cells 1 and 2 should be connected to baseBandPoolId = 1
Cells 3 should be connected to baseBandPoolId = 2
Old settings for Cell 1 (example):
<CellcellNumber="1"cellCreated="YES"cellIdentity="13211"cellRange="35000"numberOfTxBranches="1"numberOfRxBranches="2"/>
New settings for Cell 1 (example):
<CellellNumber="1"cellCreated="YES"cellIdentity="13211"cellRange="35000"numberOfTxBranches="1"numberOfRxBranches="2"baseBandPoolId="1"/>
New settings for Cell 2 (example):
<CellcellNumber="2"cellCreated="YES"cellIdentity="13212"cellRange="35000"numberOfTxBranches="1"numberOfRxBranches="2"baseBandPoolId="1"
/>
New settings for Cell 3 (example):
<CellcellNumber="3"cellCreated="YES"cellIdentity="13213"cellRange="35000"numberOfTxBranches="1"numberOfRxBranches="2"
baseBandPoolId="2"/>
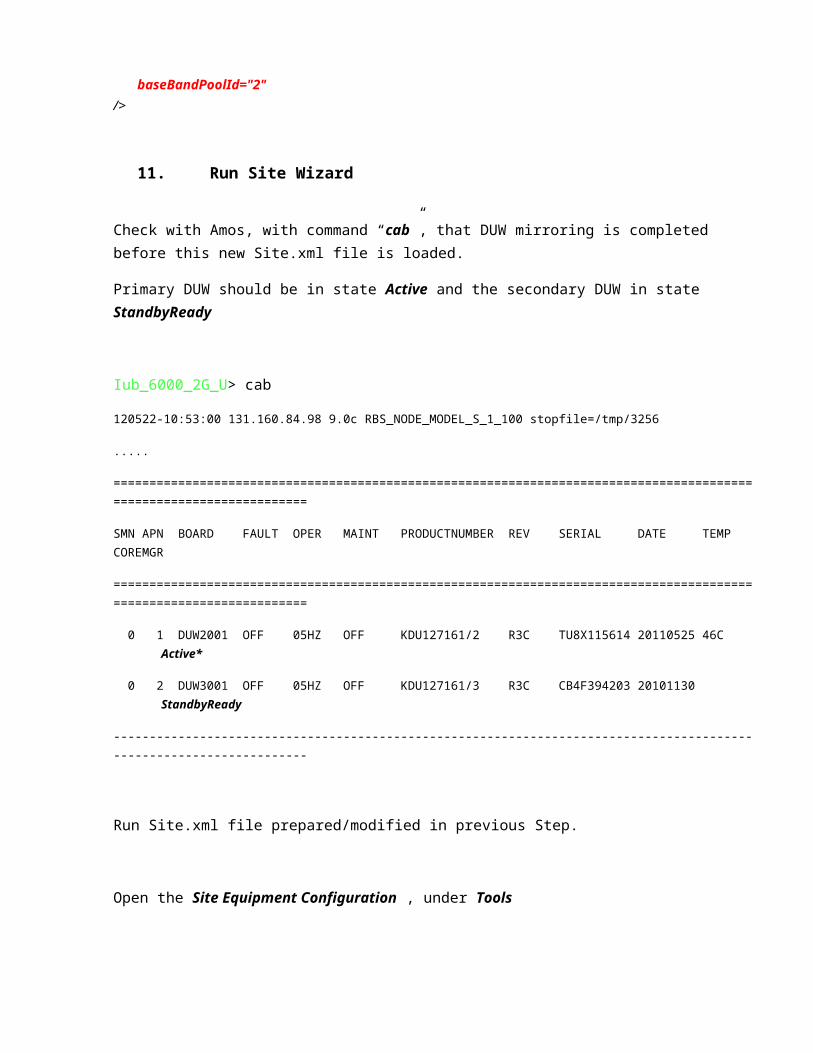
11. Run Site Wizard
Check with Amos, with command “cab”, that DUW mirroring is completed before this new Site.xml file is loaded.
Primary DUW should be in state Active and the secondary DUW in state StandbyReady
Iub_6000_2G_U> cab
120522-10:53:00 131.160.84.98 9.0c RBS_NODE_MODEL_S_1_100 stopfile=/tmp/3256
.....
====================================================================================================================
SMN APN BOARD FAULT OPER MAINT PRODUCTNUMBER REV SERIAL DATE TEMP COREMGR
====================================================================================================================
0 1 DUW2001 OFF 05HZ OFF KDU127161/2 R3C TU8X115614 20110525 46C Active*
0 2 DUW3001 OFF 05HZ OFF KDU127161/3 R3C CB4F394203 20101130 StandbyReady
--------------------------------------------------------------------------------------------------------------------
Run Site.xml file prepared/modified in previous Step.
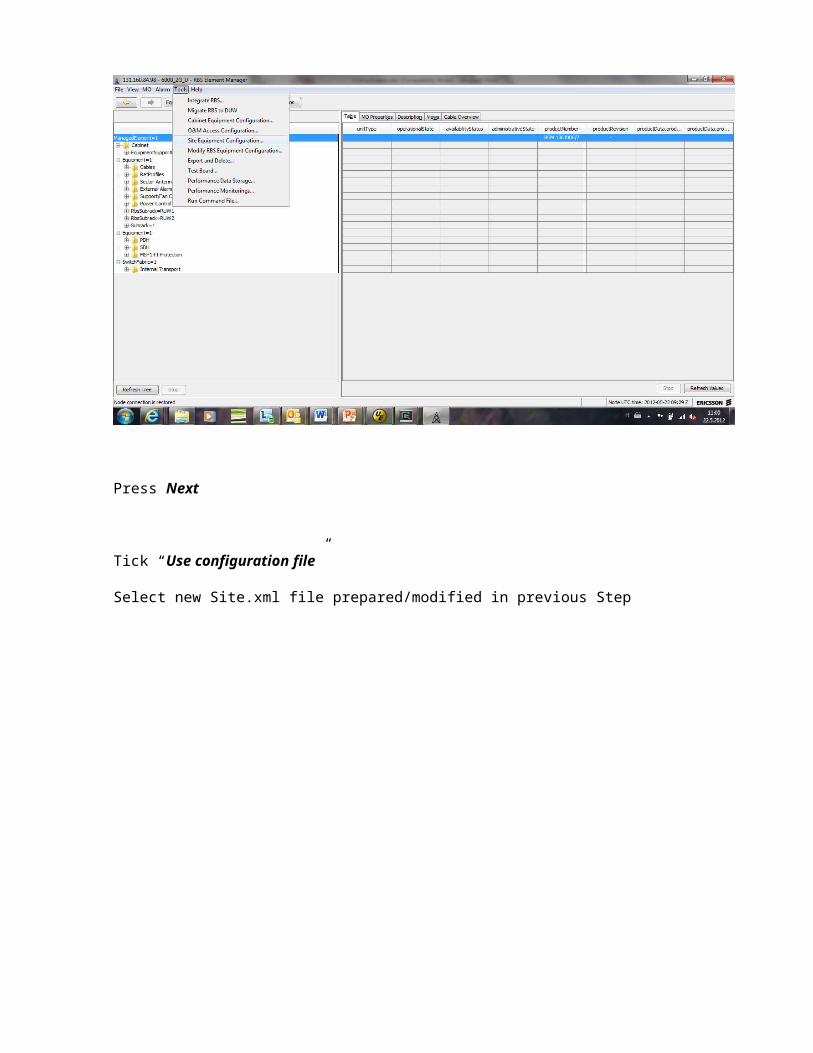
Open the Site Equipment Configuration , under Tools
Press Next
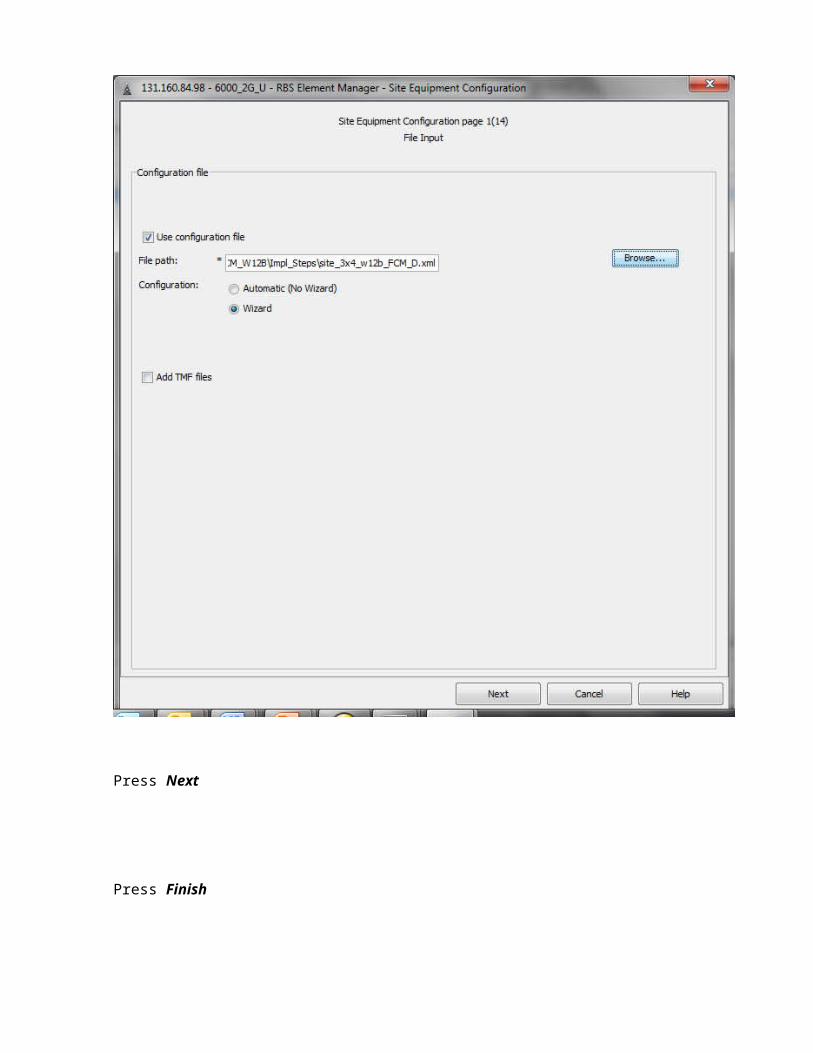
Tick “Use configuration file”
Select new Site.xml file prepared/modified in previous Step
Press Next
Press Finish
Press OK, when Configuration is successfully completed
12. Load Parameter Set Script
Load your Parameter Set script to the RBS
If in doubt regarding set values look in the log file created during 2. pre-check
13. Create Final CV
Create a new “Final CV” with SMO
Type in “fcm_final” in the Comment field
14. Restart RBS
Restart the RBS with the Final CV, prepared in previous Step
15. Unlock Cells
Unlock utrancells
16. Check RBS status, MultiCarrier etc..
In RBS:
get .featureState16Qam (check that 16QAM is Enabled/Activated)
get . featureState64Qam(check that 64QAM is Enabled/Activated)
get . featureStateHsdpaMc(check that HsdpaMC and HsdpaMCInactCtrl are Enabled/Activated)
get . hsdpaMcCapability(check that there are MultiCarrier support in all cells)
get . dbccDeviceRef(check that Carriers 1 and 2 are connected to Slot1 - DUW1 and that Carriers 3 and 4 are connected to Slot2 – DUW2)
In RNC:
lst utrancell=<cellid cell1>|<cellid cell2>|……(check the cell status. This can also be done via CEX or EMAS)
lget utrancell=<cellid cell1>|<cellid cell2> multiCarrierSupport(check the multicarrier support status in these cells. This can also be done from EMAS)