engineering.purdue.edu · web viewpvc primer and cement super glue neverwet spray valspar spray...
TRANSCRIPT
IWLA Final Project – Talia Tittelfitz & Tim Kroeker May, 2014
Ag BMP Carnival Game!
Talia Tittelfitz and Tim Kroeker
The purpose of our project was to create an interactive display that would entertain and educate children on the benefits of Agricultural Best Management Practices (BMPs) while taking advantage of the captive adult audience to share with them the changes they could make on their farms. The display itself demonstrates how agricultural practices such as filter strips, cover crops, and no-till can help keep nutrients and other applied chemicals on the land during runoff events. This homemade enviroscape game is fun, competitive, and attractive! Kids will spin a wheel, install some BMPs, squirt “rain” on their neighboring field, and win a prize if their “river” stays the cleanest.
Our team has built the proto-type game pieces and a giant, eye-catching spinning wheel to attract attention. Contact us if you would like to borrow the game. We plan to build at least one more set of the field cubbies and trays by mid-June, 2014. However, we’ve included these notes on our design and building process in case you might like to build your own!
List of materials used to make 2 cubbies and 1 wheel:
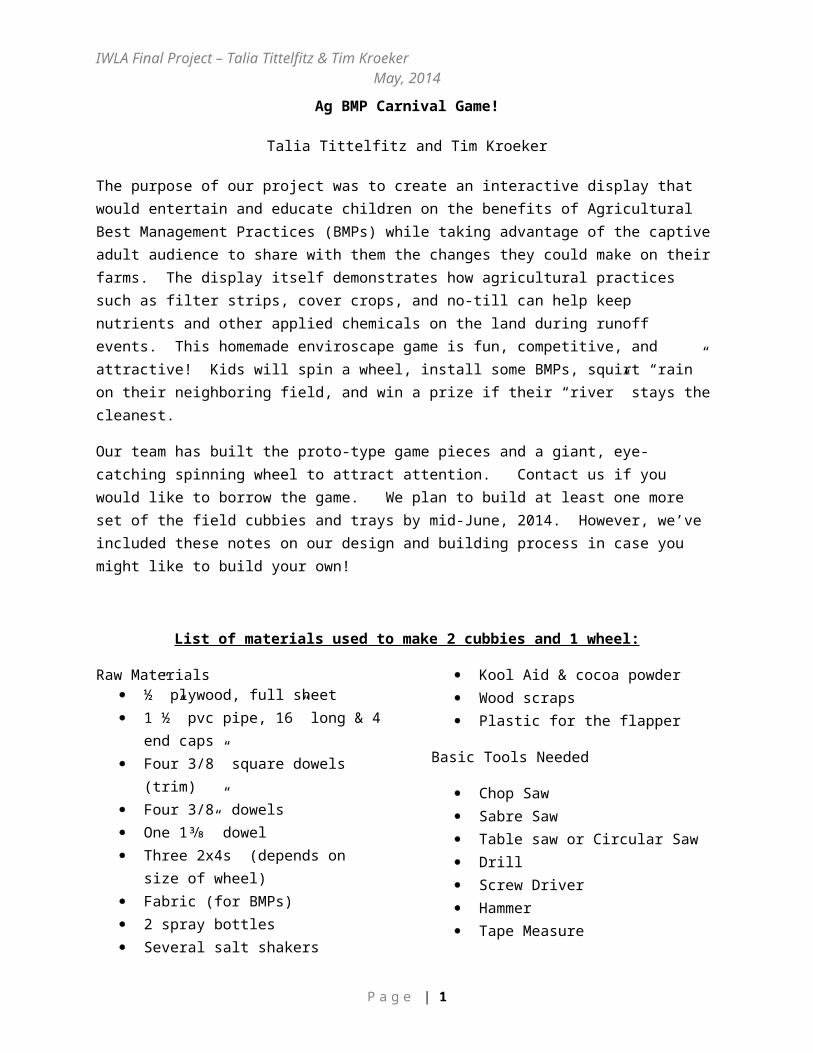
Raw Materials ½” plywood, full sheet 1 ½” pvc pipe, 16” long & 4 end caps Four 3/8” square dowels (trim) Four 3/8” dowels One 1⅜” dowel Three 2x4s (depends on size of wheel) Fabric (for BMPs) 2 spray bottles Several salt shakers Kool Aid & cocoa powder Wood scraps Plastic for the flapper
Basic Tools Needed
Chop Saw Sabre Saw Table saw or Circular Saw Drill Screw Driver Hammer Tape Measure
Hardware ¾” x 11/16” hinge sets (with screws) ½” brads Wood screws (2½” and 3”) ½” Bolt ½” Washers ½” plastic nipple (serves as “bushing”
for wheel) ½” pipe flange ¼” bolt and wing nuts
Paints & Adhesives White water-based primer paint Acrylic water-based paint (multiple
colors) Collage paste (glossy, water resistant) PVC primer and cement Super glue Neverwet Spray Valspar spray paint (orange, red, blue,
green) Wood glue
P a g e | 1

IWLA Final Project – Talia Tittelfitz & Tim Kroeker May, 2014
Finished Game Board
Painted cubby with a removable tray, (the field) which drains into an open PVC pipe, (the river).
P a g e | 2

IWLA Final Project – Talia Tittelfitz & Tim Kroeker May, 2014
Cubby Construction
Shapes are cut for each cubby and tray set, and a 3/8” hole is drilled (the black spots) on the side pieces, 4 inches from the bottom and 1 ½ inches in. Holes can be drilled before or after the pieces are painted. A 3/8” dowel will be inserted through the holes to stabilize the cubby and act as a brace for the tray to hang on.
3/8” square trim was attached around the top and sides of the tray, and two 16” pieces of 3/8” dowel were cut.
P a g e | 3
12”
12”
12”
10” 10”
11”4 ½”
2 ¼”
4”1 ½”
Back
SideSide
Tray

IWLA Final Project – Talia Tittelfitz & Tim Kroeker May, 2014
Each piece was painted (all sides and edges) with white primer, and then decorated using acrylic paints. The acrylic paints in the photo below were inexpensive ($1.30 each at JoAnn’s Fabrics) and came in a variety of colors. Clip art of a barn and tractor were printed and affixed to the panels using collage paste (this can help if you don’t feel confident about painting details). Note that the bottom third of the back didn’t need much detail because it will be covered up by the tray. All of the acrylic-painted surfaces and the collage pieces were then sealed with two coats of the glossy collage paste pictured below. If the holes are drilled before the pieces are painted, make sure to keep the holes free of paint so the dowel still fits!
The tray was also painted and a uniform grid of brads was added to hang fabric squares on which represent BMPs such as no-till, cover crops, and filter strips. Half inch brads work well because they won’t stick up beyond the trim, making transportation and storage easier. Holding them in place with needle nosed pliers helps when hammering them in. The tray was then sprayed with one or two coats of Neverwet. The spray may need to be re-applied after excessive use to keep the tray waterproof.
P a g e | 4

IWLA Final Project – Talia Tittelfitz & Tim Kroeker May, 2014
Hinges were added to the decorated surface to attach the side pieces to the back piece. This allows the sides to swing forward 90 degrees to form the cubby or to open up and lay flat for storage and transportation. The sides and back can also be coated with Neverwet to help protect the painted scene.
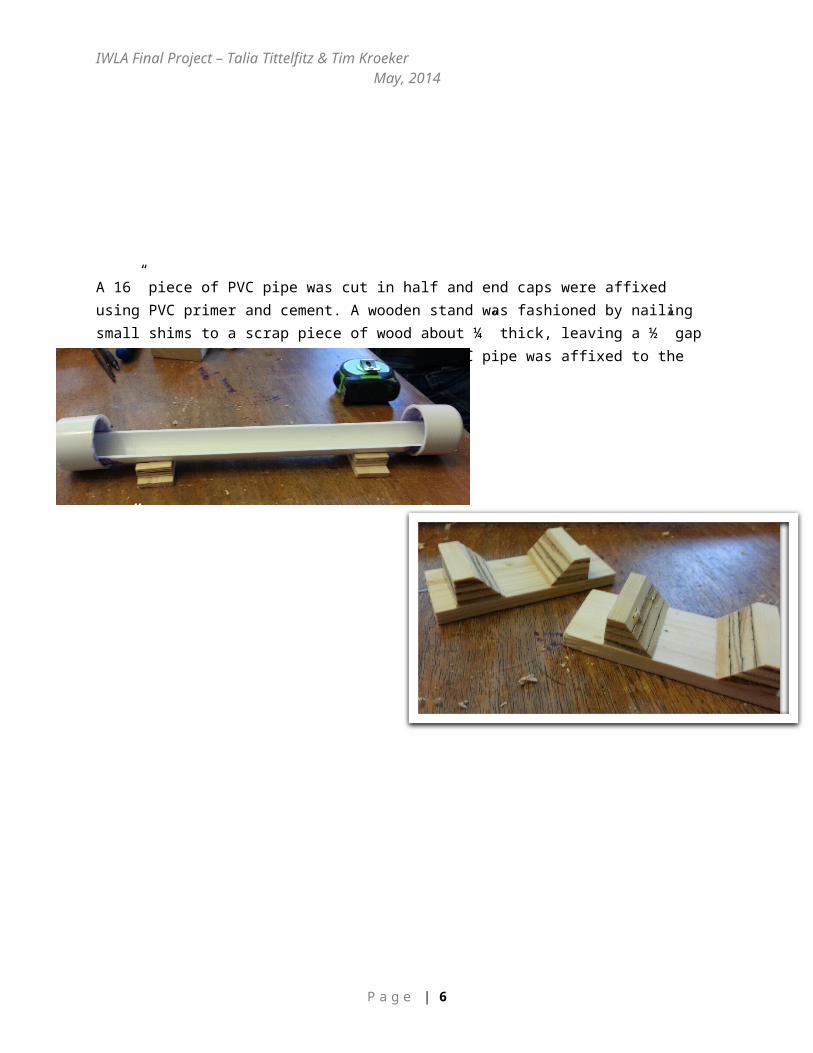
A 16” piece of PVC pipe was cut in half and end caps were affixed using PVC primer and cement. A wooden stand was fashioned by nailing small shims to a scrap piece of wood about ¼” thick, leaving a ½” gap between the stand and the end cap. The PVC pipe was affixed to the stand using super glue.
P a g e | 5
½”
IWLA Final Project – Talia Tittelfitz & Tim Kroeker May, 2014
The cubby was assembled, and the tray placed in the desired position (see the first picture on page 2). This allowed for the tray to be held in place and the entire cubby flipped over allowing the position of the dowel to be marked on the bottom of the tray. A scrap of wood was then nailed to the back of the tray, allowing the tray to rest on the dowel without sliding down.
P a g e | 6

IWLA Final Project – Talia Tittelfitz & Tim Kroeker May, 2014
Finished Wheel
Finished wheel that can be clamped to a display table. It makes a great clacking noise when it’s spun and is colorful and eye catching.
Wheel Construction
A 42 inch diameter wheel was cut from a sheet of ½” plywood using a sabre saw. The size of the wheel can vary depending on what best suits the users’ needs. The larger and more colorful the wheel, the more likely it is to draw attention to your display. However, if display space is limited you may want to opt for a smaller wheel. The center of the wheel was marked and a hole drilled to allow a ½” plastic nipple to be inserted. The plastic nipple was screwed into a ½” pipe flange. This flange was then attached to the wheel using wood screws. An extra piece of wood was glued to the back of the wheel to
P a g e | 7

IWLA Final Project – Talia Tittelfitz & Tim Kroeker May, 2014
allow the pipe flange screws to be more secure. A ½” bolt would be used to attach the wheel to the support base when the wheel was complete.
The wheel was then divided into 16 equal wedges. Holes were drilled 1 inch from the edge of the wheel and were evenly spaced around its circumference. The wheel was then primed and painted a variety of
P a g e | 8

IWLA Final Project – Talia Tittelfitz & Tim Kroeker May, 2014
colors. When dry, ⅜” dowels were cut and glued into the holes to engage the flapper when the wheel
was spun.
Next a base was constructed to hold the wheel. The dimensions of the base were developed using the dimensions of a standard 6 to 8 foot display table and tailored to the size wheel chosen for this project. Dimensions will vary depending on the size wheel desired. Base construction is shown in the pictures below. Drawer slides were used on the bottom of the base to help stabilize the wheel.
P a g e | 9

IWLA Final Project – Talia Tittelfitz & Tim Kroeker May, 2014
P a g e | 10

IWLA Final Project – Talia Tittelfitz & Tim Kroeker May, 2014
Once the base was constructed a 1⅜” hole was drilled near the top of the base. A piece of 1⅜” dowel was cut and split along two thirds of its length. This would serve to hold the flapper. The dowel was then glued into the hole made in the base. A ⅜” hole was drilled horizontally through the dowel and a piece of plastic was placed in the split to act as the flapper. A hole was drilled in the flapper as well, and a bolt and wing nut were used to hold the assembly together. The wheel was then bolted to the base and the project was complete.
P a g e | 11