jetageworld.comjetageworld.com/manuals/fuel-injector-tester-cleaner-model-2010.docx · web...
TRANSCRIPT

Fuel Injector Tester & Cleaner
Operational Manual Model No. New Gen 2010
JETAGE GARAGE EQUIPMENTSHead Office: B-74, IInd Floor, Phase – II Naraina Industrial Area, New Delhi – 110028 (INDIA)
Telephone: +91-11-25897389, 25897528 Fax: +91-11-25897485 Mobile: +91-9810292921, 9212743900

Email: [email protected] Service Email:[email protected] Website: www.jetageworld.com Service Helpline No: +91-1125844166, 9212743920, 9212743903
Brief Description
1. Fasten bolt 2. Fuel distributor 3. Top feed bonder 4. Measuring cylinder 5. Return port for non-disassemble 6. Power switch 7. Panel (LED Screen)8. Pressure adjust knob 9. Releasing knob
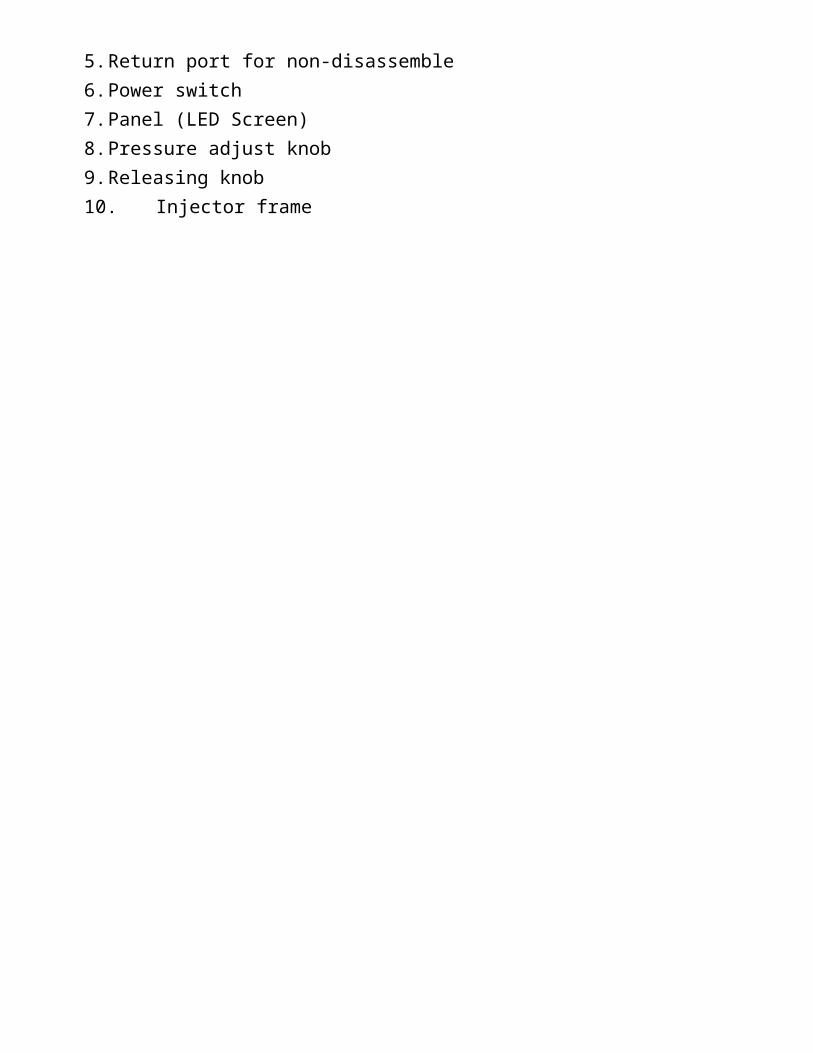
10.Injector frame

11.High pressure fluid inlet 12.High pressure hose connector 13.Power plug 14.Driving Cable connector 15.Ultrasonic trough

Operation Preparation
1. Pour two bottle test fluid through measuring cylinder (See following figure):
Notice :
A. Turn off the power switch. To Model I, please put the Releasing Knob at “releasing” status. B. Check the fluid level, it should be 2/3 of the level gauge. (see following figure)
2. Put injector bracket into the ultrasonic trough. Pour proper quantity cleaning fluid into the ultrasonic trough. (the fluid level should just cover the whole of the frame)
Caution : Do not mix test fluid with cleaning fluid, otherwise, it will cause the damage to the pump.
3. Prepare the injector to be tested and cleaned. Remove the injector from the car, dismantle the dust proof mat and “0” ring If there is damage on the “0” ring, please replace it before test to avoid leakage. Clean out side of injector carefully by gasoline or cleaning fluid, dry it, and mount the “0” ring back.
4. Connect the power cable of the machine
Notice : please use AC220V50Hz power with ground line.
Caution : Make sure there is not fire or spark source.
Ultrasonic Cleaning
Put the injector into the whole of the injector bracket in the ultrasonic trough, and connect the driving cable to the injector. Press Left or Right Arrow key to select “Ultrasonic Cleaning” from panel, then press “RUN” key (default cleaning time is 10minutes, if you need to change the cleaning time, please reset it before cleaning, you may press Left or Right Arrow key set up working time)
After the cleaning is completed, it will stop automatically. Take the injector out of the ultrasonic groove and dry it.
Caution: Please do not turn on the ultrasonic trough when there is not clean fluid in the trough, otherwise the machine will be damaged
Reverse Flushing

1) Pour about 1900ML test fluid into the machine through measuring cylinder.2) Install the injector
a) Screw the reverse flushing bonder (up) on the fuel distributor. b) Put reverse flushing “0” ring n the injector, and install injector by reverse direction.c) Put the reveres flushing bonder (down) on the injector frame. d) Fasten the injector on the machine (see Fig. above).
3) Reverse flusha) Connect black hose (outlet) to inlet port of the fuel distributor, and then connect the driving cable
to the machine.b) Press Left or Right arrow key to select Reverse Flushing. c) Press RUN key (default test time is 1 minute). d) Turn Pressure Adjusting Knob until the pressure is 0.25-3MPa.e) When the working time is over, the machine will stop. f) Release the fluid into the pump after test is completed.
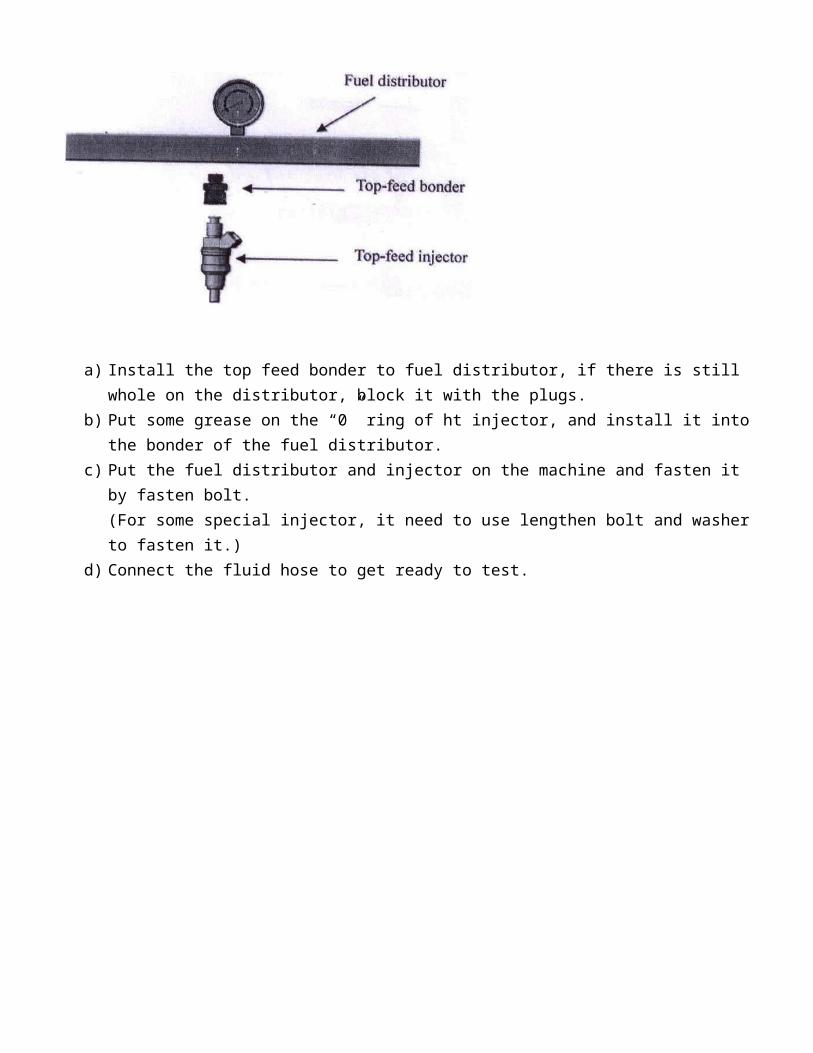
Mount top-feed Injector
a) Install the top feed bonder to fuel distributor, if there is still whole on the distributor, block it with the plugs.
b) Put some grease on the “0” ring of ht injector, and install it into the bonder of the fuel distributor. c) Put the fuel distributor and injector on the machine and fasten it by fasten bolt.
(For some special injector, it need to use lengthen bolt and washer to fasten it.) d) Connect the fluid hose to get ready to test.
Function Introduction Of The Machine
Ultrasonic cleaning
To clean the dirt, carbide and sediment inside and outside of the injector
Shift speed test (Annotation : to Model II, the rpm can change continuously, Model I just can test at three immovable speed. 750rpm, 4500rpm and 7500rpm)
To simulate the different rpm condition and test the injection situation of the injector, includes atomization, injecting volume etc.
Accelerating test
Test the working status and the injecting volume of the injector during accelerating condition.
Leakage test
To check if there is leakage when the system pressure is 0 . 3Mpa.
Measuring injecting volume
To measure the injector volume of certain injecting time ( 0-9900 time )
Reverse flush
To flush the injector by reverse direction
Non –dismantle cleaning ( this function and the accessories is optional )
To flush the injector car (need not remove injector from the engine)
Unit information
The information of machine
Annotation : if there is change to model or function, it is subject to the indication of the machine
itself.

Operation Instruction for the panel
After installing injector, connecting the hose and cable, get the test or cleaning fluid ready, you may clean or test the injector. Following id the instruction of panel operation:
1. Press “left” or “right” key to select function item : 2. Press “up” or “down” key to adjust value to be set up. 3. Press “start” or “stop” key to start or stop 4. During the test , you may change the pulse by pressing “up” or “down” key : 5. During the test , you may change the system pressure by Pressure Adjusting Knob.
Notice : please adjust the system pressure between2.5-3kg when you perform test
Maintenance
1. Pour test fluid Please see chapter Operation, “Preparation” step 1.
2. Replace test fluid When test fluid has been used for a long time, it become dirty. It should be replaced. Please drain the used fluid by loosing the drain screw at the bottom of the machine, new test fluid.
3. Replace the fuse There is a fuse on the CPU board, if it is melt, please replace it with the spare one.
Notice : When turn on the machine, if there is no display, please check power , the
connection and the fuse situation

Specifications
Speed range : 0 ~ 7500rpmInjecting time : 0 ~ 9900 time Pulse : 0 ~ 20. 0 ms Time duration : 0 ~ 10 minute System pressure : 0 ~ 0. 5 MpaCapacity of test fluid tank : 2000 mlUltrasonic power : 60 WUltrasonic frequency : 40 KHZ± 0. 5 KHZMeasuring cylinder Accuracy :
140 ml
Measuring cylinder Accuracy :
0. 2 ml
Dimension : 380 X 485 X 470mmWeight : 30 Kg

Warranty
Thank you for choosing this product. Following service and warranty apply:
1. This product is warranted to be free from defects for a period of one year from date of purchase. 2. For the repairs out of warranty period, we only charge the cost of parts. 3. For updating the unit, e only charge the cost of parts. 4. If your unit needs repair or replacement parts, contact your local distributor or out company. We
will serve you ASAP. 5. To validate your warranty, please complete the warranty card attached to your unit, and return it.
We will keep your record, and serve you. 6. Followings do not apply to our warranty : 1) The broken of measuring cylinder, actuation cable, couples and adaptors, pressure meter. 2) The consumption: test fluid, cleaning fluid, Non-dismantle cleaning fluid. 3) The broken of the ultrasonic system caused by turning on the ultrasonic trough when there is not
cleaning fluid in it. 4) Pump broken caused by not changing test fluid for long time. 5) Pump broken caused by using test fluid that is not approved by our company. 6) Pump broken caused by wrong using of the test fluid or cleaning fluid. 7) Broken caused by incorrect operation.

Packing List
Name Quantity Picture
Main unit 1pcs
Drive Wire 1set
Fuel distributor 1pcs
Boner andAccessories box 1pcs
Test fluid 2 bottle
Cleaning fluid 1 bottle
Manual 1pcs

Bonders and accessories
Name Quantity Picture
Top-feed bonder 6pcs
Block plug 5pcs
Reverse flush bonder (up) 6pcs
Reverse flush bonder (down) 6pcs
Convert lead 1set
Injector bracket 1pcs
Water extracting ball 1pcs
Lengthen bolt 2pcs
Pillow plate 1pcs
Fuse 2pcs
“0” ring 1set
Fasten bolt 2pcs