images.pcmac.orgimages.pcmac.org/uploads/enterprisecity/enterprisecity/divisions... · web...
TRANSCRIPT
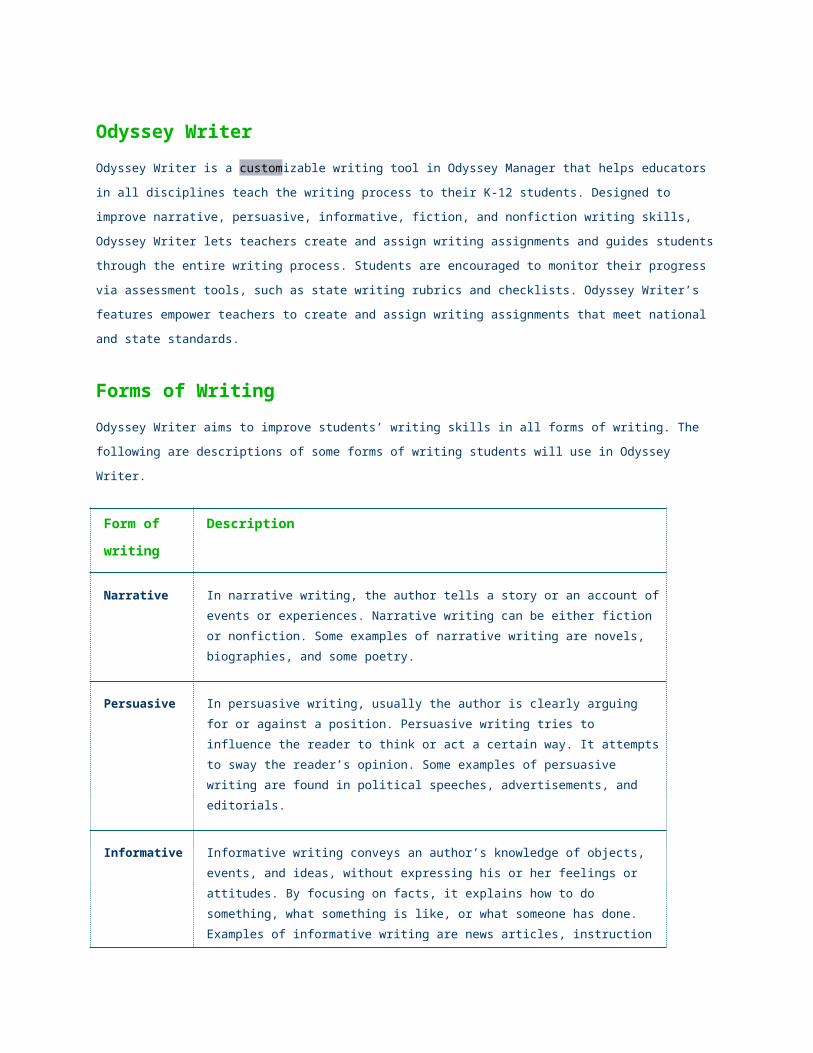
Odyssey WriterOdyssey Writer is a customizable writing tool in Odyssey Manager that helps educators in all disciplines teach the
writing process to their K-12 students. Designed to improve narrative, persuasive, informative, fiction, and nonfiction
writing skills, Odyssey Writer lets teachers create and assign writing assignments and guides students through the
entire writing process. Students are encouraged to monitor their progress via assessment tools, such as state writing
rubrics and checklists. Odyssey Writer’s features empower teachers to create and assign writing assignments that
meet national and state standards.
Forms of WritingOdyssey Writer aims to improve students’ writing skills in all forms of writing. The following are descriptions of some
forms of writing students will use in Odyssey Writer.
Form of writing
Description
Narrative In narrative writing, the author tells a story or an account of events or experiences. Narrative writing can be either fiction or nonfiction. Some examples of narrative writing are novels, biographies, and some poetry.
Persuasive In persuasive writing, usually the author is clearly arguing for or against a position. Persuasive writing tries to influence the reader to think or act a certain way. It attempts to sway the reader’s opinion. Some examples of persuasive writing are found in political speeches, advertisements, and editorials.
Informative Informative writing conveys an author’s knowledge of objects, events, and ideas, without expressing his or her feelings or attitudes. By focusing on facts, it explains how to do something, what something is like, or what someone has done. Examples of informative writing are news articles, instruction manuals, textbooks, and “how to” guides.
Fiction Fiction writing is speculative and make-believe. An author’s imaginary experiences can be set in the past, present, or future. Often, the purpose of fiction writing is to entertain, but authors sometimes use fiction writing to symbolically teach a moral or state an opinion. Some examples of fiction writing are science fiction, fairy tales, fables, and tall tales.
Nonfiction Nonfiction writing is narrative prose based on facts and reality. Nonfiction writing is an unbiased, factual account of events. Some examples of nonfiction writing are biographies, historical articles, and essays.

Stages of the Writing ProcessOdyssey Writer guides students through each stage of the writing process: prewriting, drafting, revising, editing, and
publishing. Here are brief descriptions of each of these stages, as well as a few suggestions for teachers.
Stage Description Read more
Prewriting The prewriting stage allows students the opportunity to brainstorm and start forming a plan for their writing assignment.
Teachers can write questions that help prepare students for their
writing assignment.
Teachers can also give students partially completed note cards
to fill in or can ask students to develop the note cards or graphic
organizers themselves.
Outlines help students to collect information relevant to their
writing topic and to organize their thoughts.
Students can also use graphic organizers to jot down ideas
during the prewriting stage. The Graphic Organizer and Note
Cards tools are synchronized with the outline. The outline can
then be pasted to the Drafting tool for students to expand on their
writing.
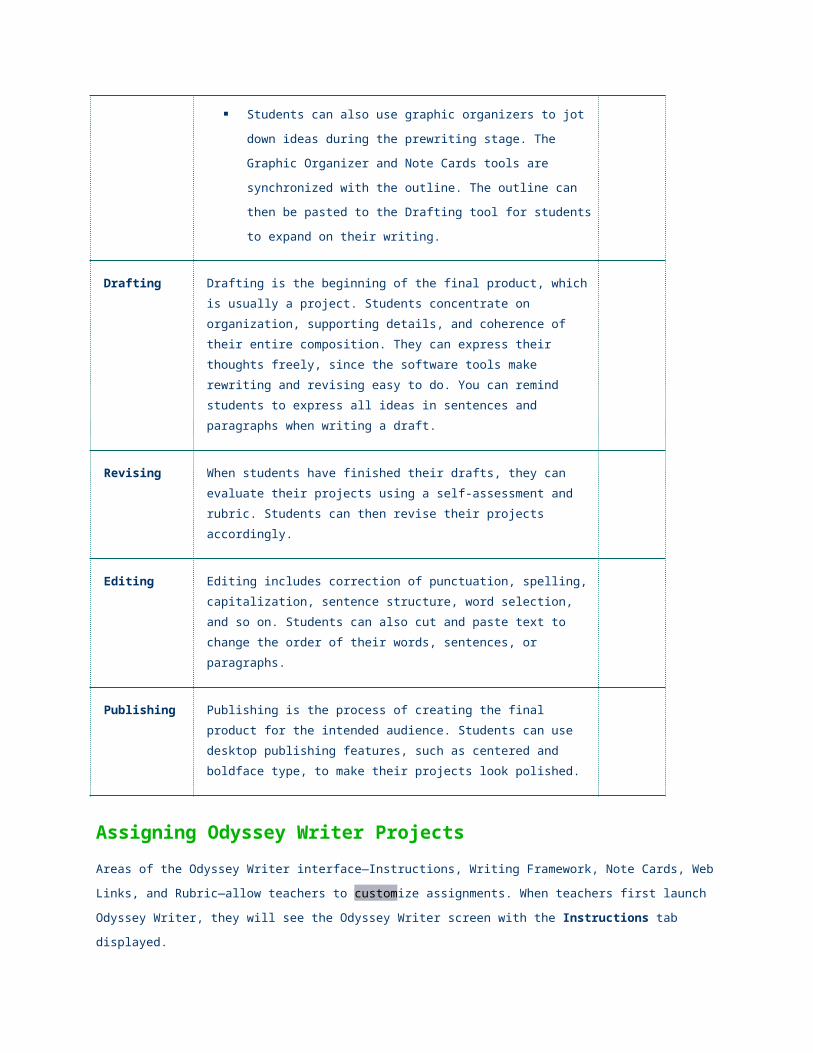
Drafting Drafting is the beginning of the final product, which is usually a project. Students concentrate on organization, supporting details, and coherence of their entire composition. They can express their thoughts freely, since the software tools make rewriting and revising easy to do. You can remind students to express all ideas in sentences and paragraphs when writing a draft.
Revising When students have finished their drafts, they can evaluate their projects using a self-assessment and rubric. Students can then revise their projects accordingly.
Editing Editing includes correction of punctuation, spelling, capitalization, sentence structure, word selection, and so on. Students can also cut and paste text to change the order of their words, sentences, or paragraphs.
Publishing Publishing is the process of creating the final product for the intended audience. Students can use desktop publishing features, such as centered and boldface type, to make their projects look polished.
Assigning Odyssey Writer ProjectsAreas of the Odyssey Writer interface—Instructions, Writing Framework, Note Cards, Web Links, and Rubric—allow
teachers to customize assignments. When teachers first launch Odyssey Writer, they will see the Odyssey Writer
screen with the Instructions tab displayed.
When you save an Odyssey Writer project, your target folder determines who will have access to the project.
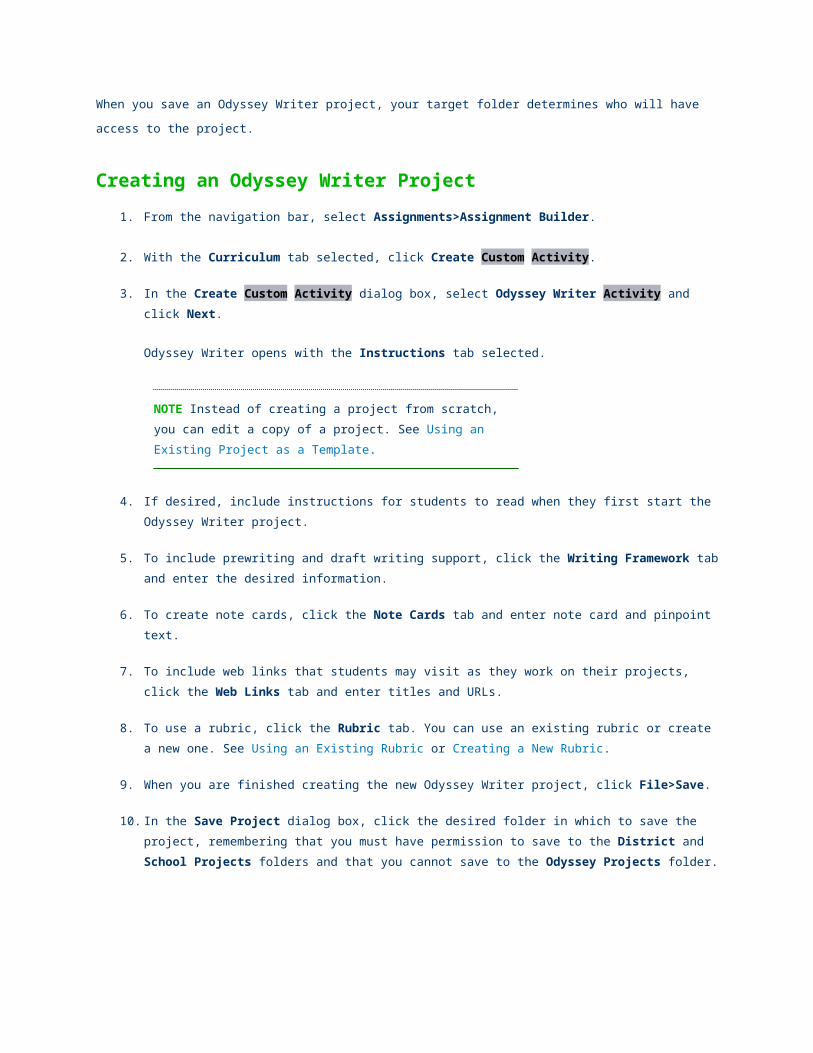
Creating an Odyssey Writer Project1. From the navigation bar, select Assignments>Assignment Builder.
2. With the Curriculum tab selected, click Create Custom Activity.
3. In the Create Custom Activity dialog box, select Odyssey Writer Activity and click Next.
Odyssey Writer opens with the Instructions tab selected.
NOTE Instead of creating a project from scratch, you can edit a copy of a project. See Using an Existing Project as a Template.
4. If desired, include instructions for students to read when they first start the Odyssey Writer project.
5. To include prewriting and draft writing support, click the Writing Framework tab and enter the desired information.
6. To create note cards, click the Note Cards tab and enter note card and pinpoint text.
7. To include web links that students may visit as they work on their projects, click the Web Links tab and enter titles and URLs.
8. To use a rubric, click the Rubric tab. You can use an existing rubric or create a new one. See Using an Existing Rubric or Creating a New Rubric.
9. When you are finished creating the new Odyssey Writer project, click File>Save.
10. In the Save Project dialog box, click the desired folder in which to save the project, remembering that you must have permission to save to the District and School Projects folders and that you cannot save to the Odyssey Projects folder.
NOTE Saving a project in the My Projects folder restricts access so that only you can see and copy the project.
11. Turn spell check On or Off.
12. If desired, set Draft Mode to Yes.
NOTE You cannot assign a project that is in Draft Mode. When you are ready to assign the project, open the draft, make any changes, and then Save As (renaming the project). Ensure that Draft Mode is set to No.
13. Select the Subject and Grade.
14. Enter a name for the project; click Save; and then Close.
15. To make the project available for an assignment, click Send to Assignment Builder.
16. Click Close and then Exit.
Assignment Builder displays your new Odyssey Writer project. You can continue to add curriculum or complete the
assignment. See Task 2: Refine the Assignment.
Using an Existing Project as a Template1. With Odyssey Writer open, select File>Open.
The Open Project dialog box displays a list of your projects, if any, from the My Projects folder.
2. If the project you want to use is in a different folder, open the desired folder—District Projects, School Projects, or Odyssey Projects—remembering that you need permission to access the District Projects and School Projects folders.
3. Select the desired project and click Open.
Odyssey Writer displays the project for you to edit and save as a new project.
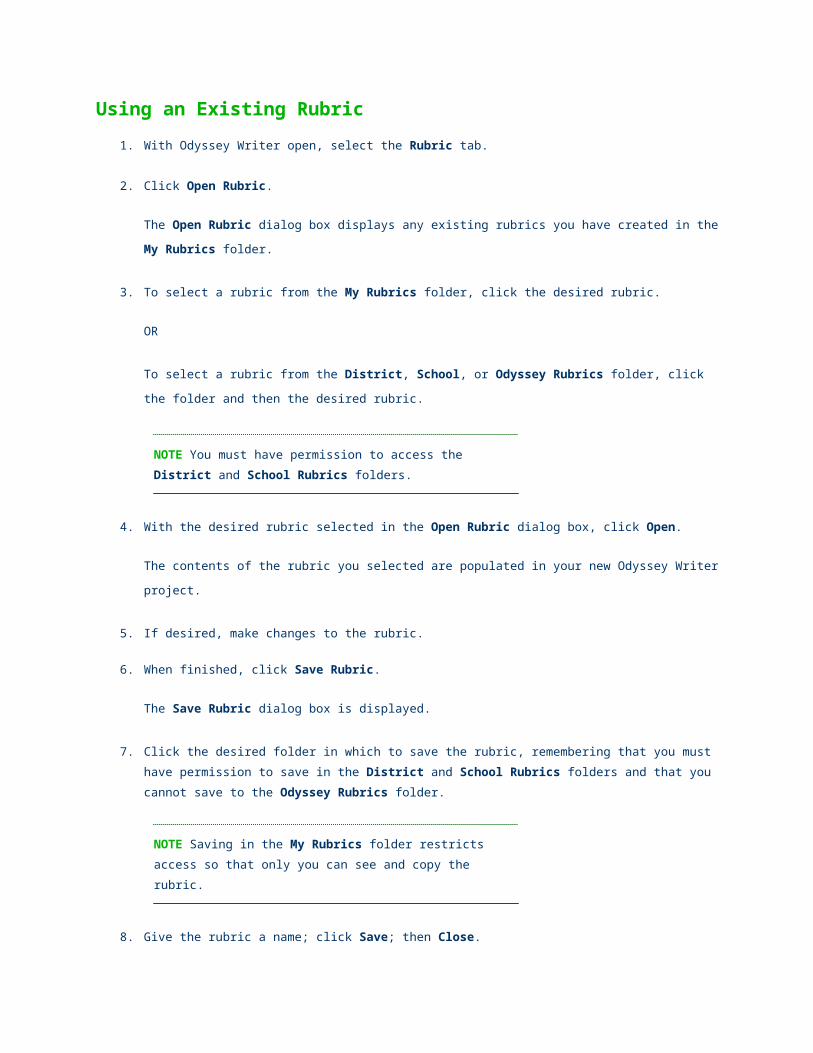
Using an Existing Rubric1. With Odyssey Writer open, select the Rubric tab.
2. Click Open Rubric.
The Open Rubric dialog box displays any existing rubrics you have created in the My Rubrics folder.
3. To select a rubric from the My Rubrics folder, click the desired rubric.
OR

To select a rubric from the District, School, or Odyssey Rubrics folder, click the folder and then the
desired rubric.
NOTE You must have permission to access the District and School Rubrics folders.
4. With the desired rubric selected in the Open Rubric dialog box, click Open.
The contents of the rubric you selected are populated in your new Odyssey Writer project.
5. If desired, make changes to the rubric.
6. When finished, click Save Rubric.
The Save Rubric dialog box is displayed.
7. Click the desired folder in which to save the rubric, remembering that you must have permission to save in the District and School Rubrics folders and that you cannot save to the Odyssey Rubrics folder.
NOTE Saving in the My Rubrics folder restricts access so that only you can see and copy the rubric.
8. Give the rubric a name; click Save; then Close.
Creating a New Rubric1. With Odyssey Writer open, select the Rubric tab.
2. Click New Rubric.
3. Define each category and the performance you expect for each level of quality.
4. When finished, click Save Rubric.
The Save Rubric dialog box is displayed.
5. Click the desired folder in which to save the rubric, remembering that you must have permission to save in the District and School Rubrics folders and that you cannot save in the Odyssey Rubrics folder.
NOTE Saving in the My Rubrics folder restricts access so that only you can see and copy the rubric.
6. Give the rubric a name; click Save; then Close.
Web Links on the Instructions Screen1. From within the Odyssey Writer project, click the Instructions tab.
2. Highlight the word or sentence that you want to appear as a link.
3. From the Odyssey Writer menu bar, select Insert>Hyperlink.
The Insert Hyperlink dialog box is displayed.
4. Type the web address and then click OK.
The highlighted text becomes a hyperlink. When students click on the link in their draft (displayed in the
Drafting tool), a new browser window opens to the linked page.
5. To change the web link, select the link text and then Insert>Hyperlink.
6. With the Insert Hyperlink dialog box displayed, enter a new web address.
Images and EquationsYou can add images or equations to the Instructions and Writing Framework screens. As you work with images
and equations, note the following:
To add text beside or below an image or equation, place the cursor beside the image or equation and press
Enter (on the keyboard) until the cursor is in the desired location.
To move an image or equation, click the image or equation to display sizing handles and a Move button.
Single-click Move and then click in the area of the desired move location in the screen.
To remove an image or equation, single-click the image or equation and press Delete (on the keyboard).
After you delete an image or equation, you may need to adjust the spacing of remaining text.
Evaluating Odyssey Writer ProjectsTeachers can access submitted Odyssey Writer projects in these ways:
Selecting Assignments>Submitted Projects from Odyssey’s main menu.
Selecting Assignments. From the Assignments home page, the Submitted Projects button becomes
animated if submitted but unopened projects are awaiting the teacher’s attention.
When Odyssey Writer opens, the Submitted Projects dialog box displays a list of projects that students have turned
in.
TIP To display a list of all submitted projects—evaluated and unevaluated—first close the Submitted Projects dialog box. Then, select File>Open.
When a teacher opens a project to evaluate, the student’s work is displayed with the teacher’s rubric open.
Rubrics
A rubric is a scoring tool that allows teachers to assess student projects by measuring them against scoring criteria.
A rubric may include up to eight scoring sections with a maximum of six criteria per section. Numbers displayed
across the top of the rubric panel represent categories of the rubric. An example of a rubric category is Conventions.
To evaluate with a rubric, select the appropriate number for each category.
To advance to a different category, click a number in the white square.
To view the self-assessment rubric the student used, click the self-assessment button.
To return to the teacher’s version of the rubric, click the teacher evaluation button.
Assigning a Grade
1. To display the Grade tool, click .
2. From the pulldown menu, choose a grade. Available grades are A+, A, A-, B+, B, B-, C+, C C-, D+, D, C-, and F.
Teacher CommentsTeachers can use the Comments tool to write general comments about the student’s work.
1. To display the Comments tool, click .
2. From the displayed Teacher Comments box, type comments for the student to read after you have evaluated and returned the project.
AnnotationsTeachers can use the Annotations tool to include notes and annotations to specific parts of the project.
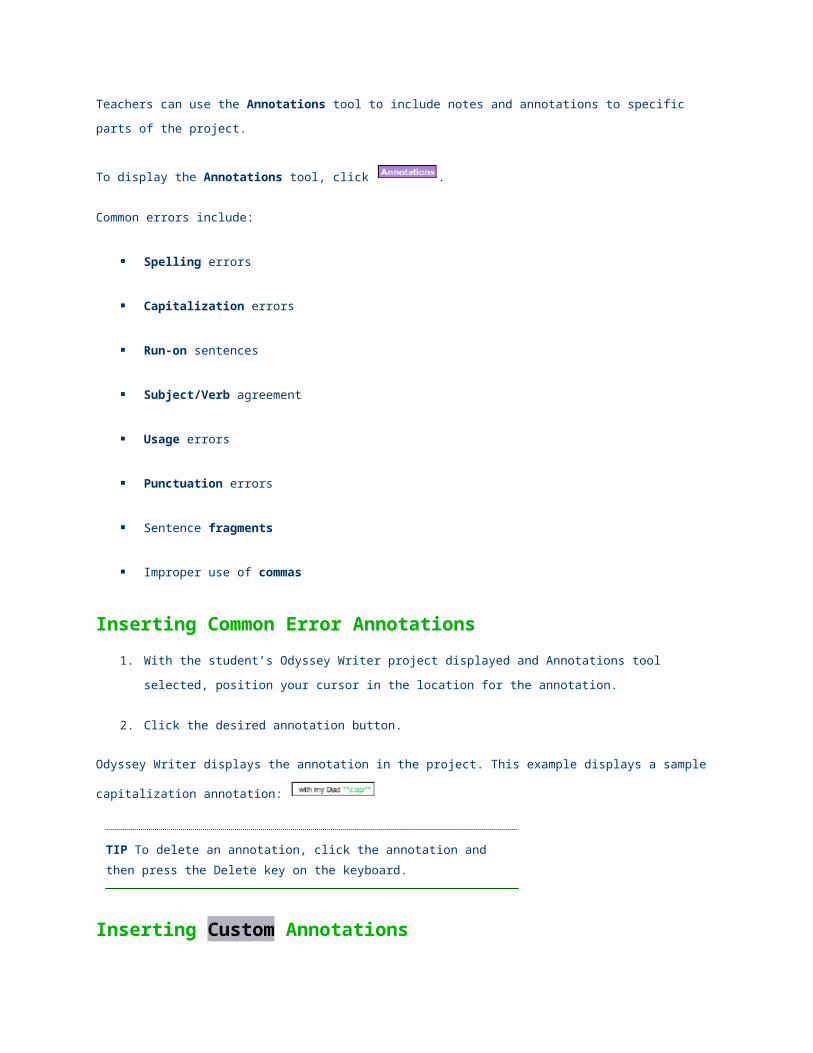
To display the Annotations tool, click .

Common errors include:
Spelling errors
Capitalization errors
Run-on sentences
Subject/Verb agreement
Usage errors
Punctuation errors
Sentence fragments
Improper use of commas
Inserting Common Error Annotations1. With the student’s Odyssey Writer project displayed and Annotations tool selected, position your cursor in
the location for the annotation.
2. Click the desired annotation button.
Odyssey Writer displays the annotation in the project. This example displays a sample capitalization annotation:
TIP To delete an annotation, click the annotation and then press the Delete key on the keyboard.
Inserting Custom AnnotationsCustom annotations you create are available for you to use in all of the Odyssey Writer projects you review.
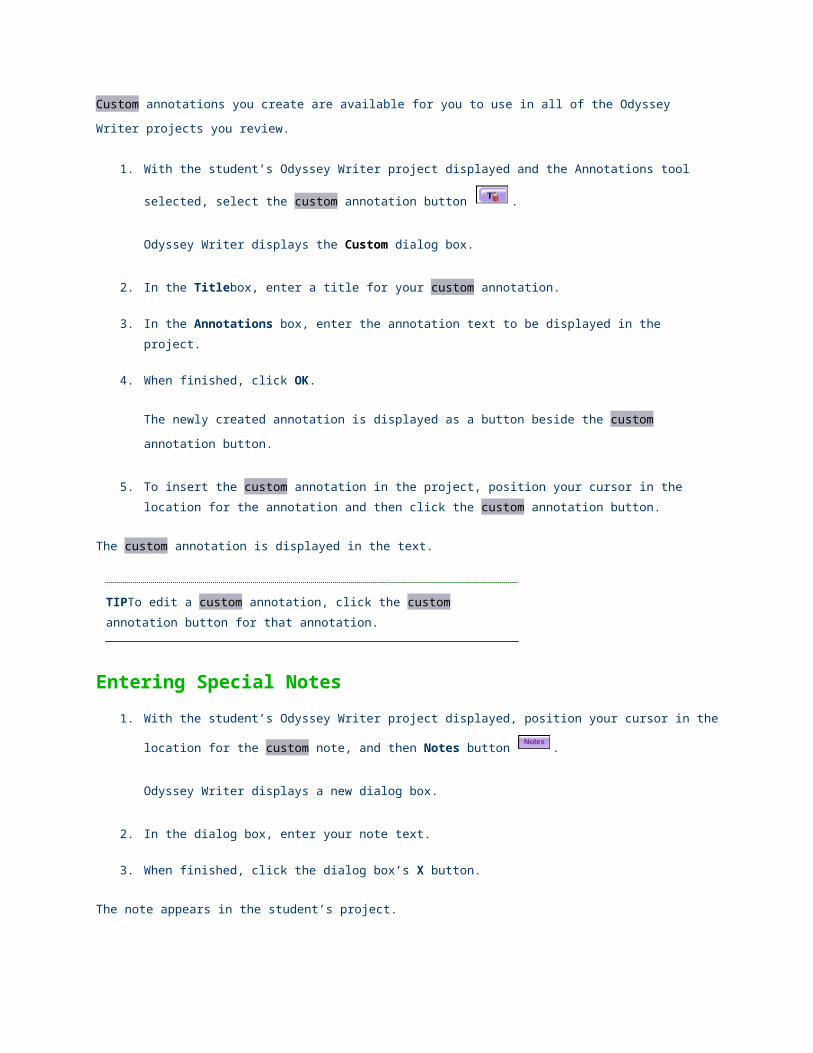
1. With the student’s Odyssey Writer project displayed and the Annotations tool selected, select the custom
annotation button .
Odyssey Writer displays the Custom dialog box.
2. In the Titlebox, enter a title for your custom annotation.
3. In the Annotations box, enter the annotation text to be displayed in the project.
4. When finished, click OK.
The newly created annotation is displayed as a button beside the custom annotation button.
5. To insert the custom annotation in the project, position your cursor in the location for the annotation and then click the custom annotation button.
The custom annotation is displayed in the text.
TIPTo edit a custom annotation, click the custom annotation button for that annotation.
Entering Special Notes1. With the student’s Odyssey Writer project displayed, position your cursor in the location for the custom note,
and then Notes button .
Odyssey Writer displays a new dialog box.
2. In the dialog box, enter your note text.
3. When finished, click the dialog box’s X button.
The note appears in the student’s project.
TIP To edit a note, double-click the note text; to delete a note, select it and press the Delete key on the keyboard.
Returning an Evaluation to the StudentAfter you have finished evaluating a student’s Odyssey Writer project, you will return the evaluation to the student by
clicking the Send button . The Submitted Projects dialog box is displayed, letting you select another project to
evaluate.
Using Odyssey WriterWhen students log into Odyssey, they will see a student launch pad that corresponds to their grade level (set in their
student profile). Odyssey Writer buttons also correspond to the student’s grade level.
Students may launch Odyssey Writer when they complete an Odyssey Writer assignment; or students may start the
tool by clicking the launch pad icon. When a teacher returns a graded Odyssey Writer assignment to a student, the
icon below the Odyssey Writer is animated.
NOTE For grades PreK–2: Odyssey Writer is available on the student launch pad only after the teacher has evaluated and returned the student’s first Odyssey Writer project.
The following example displays an Odyssey Writer assignment for a student in grade 5. The assignment includes a
teacher prompt that the student sees when the assignment is first opened.
PrewritingPrewriting is the first stage of the writing process. At this stage, students begin to formulate ideas for their writing
project. As a prewriting exercise, they can consider the following questions:
What is the purpose of my writing?
Who will read my writing?
What am I going to write about?
Odyssey Writer offers these tools to assist students with prewriting activities:
Student note cards allow students to type notes for their project on electronic note cards. The note cards form an
outline for students to use when writing their projects and can be pasted directly into the Outline view of the project.
Teacher note cards serve as hints or even parts of an outline to help students through the prewriting phase. Teacher
note cards appear on the screen when students access the Note Cards tool in Odyssey Writer. Students can add,
edit, and delete their own note cards, but they cannot edit or delete a teacher note card.
Pinpoint text is a block of text teachers write in their note cards. Students can display pinpoint text from the Note
Cards tool by pressing the T button on a teacher note card. To display pinpoint text from the Outline tool, click the
blue dot next to the outline item
Students may also use a graphic organizer to link ideas together. Students create and position idea boxes to help
them determine the flow of ideas for their writing project.
Teachers can create idea boxes that are displayed when students access Odyssey Writer and open the graphic
organizer. Students may not delete idea boxes a teacher has created. Similar to note cards, an idea box may include
pinpoint text, notes from the teacher that help students through the writing phase. A pinpoint is marked by a small
blue dot that is located in the top left corner of an idea box. When students click on the note, a block of read-only text
appears.
To add, edit, and delete note cards and idea boxes, students will use special toolbars.
The contents of the graphic organizer are synchronized with note cards; both the idea boxes and note cards are
displayed in the outline. Students can paste the outline into the draft to further expand on their writing.
Adding a Note Card
1. To access the Note Cards tool, click the note card button.
A toolbar for managing note cards is displayed.
2. Click the Add button.
The Title dialog box is displayed.
3. Enter a title for the new note card. When the student saves the note card to a draft, the title appears as a line of text in the outline.
4. When finished, click OK.
The new card is displayed as part of the outline in the main panel.
5. Type the information that you want to appear on the note card. When saved to a draft, the note card body text is indented under the title text of the outline.
Moving a Note CardStudents can adjust the placement of note cards, thereby adjusting the structure of the outline.
To change the indentation, select the note card and then click the indent left or right button from the toolbar.
To change the vertical placement, select the note card and drag it to the desired location.
Deleting a Note Card
To delete a note card, select the note card and click the Delete button from the Note Cards toolbar.
Adding an Idea Box

1. To access idea boxes, click the Graphic Organizer button.
A toolbar for managing idea boxes is displayed. If a teacher has created idea boxes, students will see these.
2. Click the Add button.
The Title dialog box is displayed.
3. Enter a title for the new idea box. The length of the title determines the size of the idea box. When the student saves the idea box to a draft, the title appears as a line of text in the outline.
4. To add a note to the idea box, click the note button on the right side of the idea box.
A new box with a text field is displayed.
5. Type a note or change an existing note; to close the note box, click the window’s X button.
Linking Idea Boxes1. Select an idea box by clicking it.
2. Click the Connect button.
3. Click a second idea box.
NOTE If an existing idea box is selected when a student adds a new idea box, the two idea boxes will be linked together with a link line.
4. To delete the link between two idea boxes, select the link line (by clicking it) and click the Delete button from the Graphic Organizer toolbar.
Moving an Idea BoxTo adjust the location of an idea box, drag and drop the idea box: left-click the idea box, and while holding the mouse
button down, drag the idea box to the new desired location.
Deleting an Idea Box
To delete an idea box, select the idea box and click the Delete button from the Graphic Organizer toolbar.
Pasting Note Card or Idea Box Text to the Draft
Students can paste text from note cards or idea boxes to a page in the draft.
1. From the note card or idea box toolbar, click the Paste to Draft button.
You are asked to confirm your selection.
2. Click Yes.
The note card or idea box text is pasted to the draft in outline form.
NOTE You are unable to adjust the location of note card or idea box text after it is pasted to the draft.
Using the OutlineThe outline is linked to both the note cards and idea boxes. When students paste note card and idea box text to draft,
Odyssey Writer converts the information into outline form.
To access the outline, open the draft by clicking the Drafting button. Then, click the Outline tab.
The outline hierarchy used to display note card text in the draft follows how note cards are indented. That is, the first
note card you indent is A in the outline; the second indent is at the 1 level; and so on.
The outline hierarchy used to display idea box text follows the position of each idea box. The first idea box is at the
top level of the outline, and subsequent idea boxes are at the next levels of the outline.
NOTE The outline cannot be edited when it appears in the side panel; it can only be edited when it has been pasted to the draft.
DraftingDrafting is the stage during which students put their ideas and thoughts into sentences and paragraphs for the first
time, beginning the first rough composition of the project.
When students select File>New Project, a new blank file opens. The free-form template is the default in the Drafting
tool. Students can choose a different template from the template bank (Insert>Insert New Page).
NOTE If the project includes a prompt from the teacher, the Instructions/Prompts window is displayed when the student first opens the project. To begin working on the draft, students must close the prompt by
clicking the window’s X button. Students can open the prompt at any time by
clicking . If the project does not include a prompt, this button is disabled.
Students can view an outline of the information they have organized with note cards or idea boxes by clicking the
Outline tab from the draft.
Students add the following to their drafts:
Page
Hyperlink
Image
Equation
Inserting a New Page1. With the draft displayed, select Insert>Insert New Page.
The Select Template dialog box displays six templates, with the default Free Form template selected.
2. Accept the default or another template and then OK.
A new page is inserted into the project.
Inserting a HyperlinkUsing the Hyperlink option, students can add web links to their Odyssey Writer projects.
1. Highlight the word or sentence you want to appear as a link.
2. Select Insert>Insert Hyperlink.
The Insert Hyperlink dialog box is displayed.
3. Enter the web address and then OK.
The highlighted text becomes a hyperlink, underlined and marked in blue. When you click the hyperlink in
the draft, a new browser window displays the linked site.
4. To change the hyperlink, carefully select the same text and then Insert>Insert Hyperlink.
The Insert Hyperlink dialog box displays the web address.
5. Edit the link and then click OK.
Inserting an Image Students can insert JPG, GIF, TIF, and BMP images that are 100 KB or smaller into their documents. Uploaded files
are stored on the server for each user. When the Odyssey Writer storage limit has been met, a message informs you
that no space is available. To free up space for more images, delete unused images from your list.
1. Position your cursor at the point above which you want the image to appear.
2. Select Insert>Insert Image.
The Insert Image dialog box is displayed.
3. Click Upload.
The Upload Image Tool dialog box is displayed.
4. Browse to the desired image file, and from the Windows File Upload dialog box, click Open.
The path and file name are displayed in the Upload Image Tool dialog box.
5. Click Upload.
The Insert Image dialog box displays the file name and a thumbnail of the image. If the file name and
thumbnail are not displayed, click Refresh.
6. To place the image on your page, click the file name and then Insert.
Image Tips
To add text beside or below an image, position the cursor beside the image and press the Enter keyboard
key repeatedly until the cursor is in the desired location.
To move an image, select the image, click the Move button, and click the desired target location.
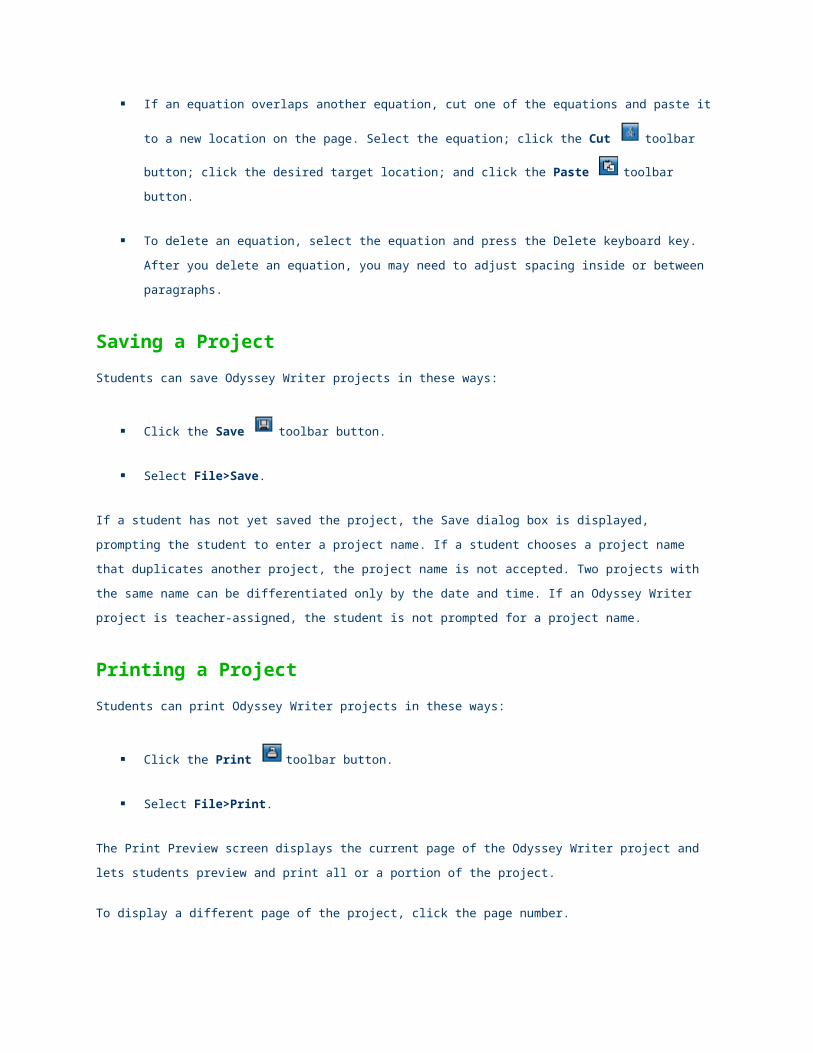
If an image overlaps another image, cut one of the images and paste it to a new location on the page. Select
the image; click the Cut toolbar button; click the desired target location; and click the Paste
toolbar button.
To delete an image, select the image and press the Delete keyboard key. After you delete an image, you
may need to adjust spacing inside or between paragraphs.
Inserting an Equation1. Position your cursor at the point at which you want the equation to appear.
2. Select Insert>Insert Equation.
The Equation Editor dialog box is displayed.
3. Using the Equation Editor buttons and keyboard keys, create the desired equation. To clear the equation and start over, click Clear.
The Upload Image Tool dialog box is displayed.
4. When finished, click Insert.
Equation Tips
To edit an equation that has been inserted into an Odyssey Writer project, double-click the equation. In
Equation Editor, edit the equation, and when finished, click Insert.
To add text beside or below an equation, position your cursor beside the equation and press the Enter
keyboard key repeatedly until the cursor is in the desired location.
To move an equation, select the equation, click the Move button, and click the desired target location.
If an equation overlaps another equation, cut one of the equations and paste it to a new location on the
page. Select the equation; click the Cut toolbar button; click the desired target location; and click the
Paste toolbar button.
To delete an equation, select the equation and press the Delete keyboard key. After you delete an equation,
you may need to adjust spacing inside or between paragraphs.
Saving a ProjectStudents can save Odyssey Writer projects in these ways:
Click the Save toolbar button.
Select File>Save.
If a student has not yet saved the project, the Save dialog box is displayed, prompting the student to enter a project
name. If a student chooses a project name that duplicates another project, the project name is not accepted. Two
projects with the same name can be differentiated only by the date and time. If an Odyssey Writer project is teacher-
assigned, the student is not prompted for a project name.
Printing a ProjectStudents can print Odyssey Writer projects in these ways:
Click the Print toolbar button.
Select File>Print.
The Print Preview screen displays the current page of the Odyssey Writer project and lets students preview and print
all or a portion of the project.
To display a different page of the project, click the page number.
To print the project, from the Print Preview dialog box, click Print.
RevisingOnce students have composed a rough draft, they enter the revision stage. The revising and editing stages may be
revisited several times, as students integrate changes to their projects based on teacher feedback. Odyssey Writer
contains some helpful features for revising, such as the Self-Assessment tool.
Assessing Your WorkBefore handing in a project, students can check their work against the rubric to ensure that the project meets all
criteria. To use a rubric to assess your work, click the Self-Assessment toolbar button.
The rubric appears in the left panel of the screen and the working area remains in the right panel. While in Self-
Assessment mode, the student can review the rubric categories and modify the text. All features work the same as in
the Drafting tool.
A rubric is a scoring tool that allows students to assess their projects by measuring them against scoring criteria, as
determined by the teacher. A rubric includes a maximum of eight possible scoring sections, with a maximum of six
criteria in each section.
The numbers displayed across the top of the rubric panel represent a scoring section of the rubric, such as Content.
The criteria are listed below the section name, each with an option button students can select.
Teachers can customize the rubric for a project or can choose to use no rubric. When students run Odyssey Writer
via the student launch pad, if no customized rubric exists for a project, then a generic rubric is used.
To complete the self-assessment, the student clicks a number along the top to access a scoring section, such as
Content, and then clicks the option button next to the appropriate criterion. The process continues until all scoring
sections have been completed. When a student saves a project, the self-assessment rubric is saved with the project.
Students may print rubrics. The Print Preview dialog box allows students to choose the page of the rubric they want
to print.
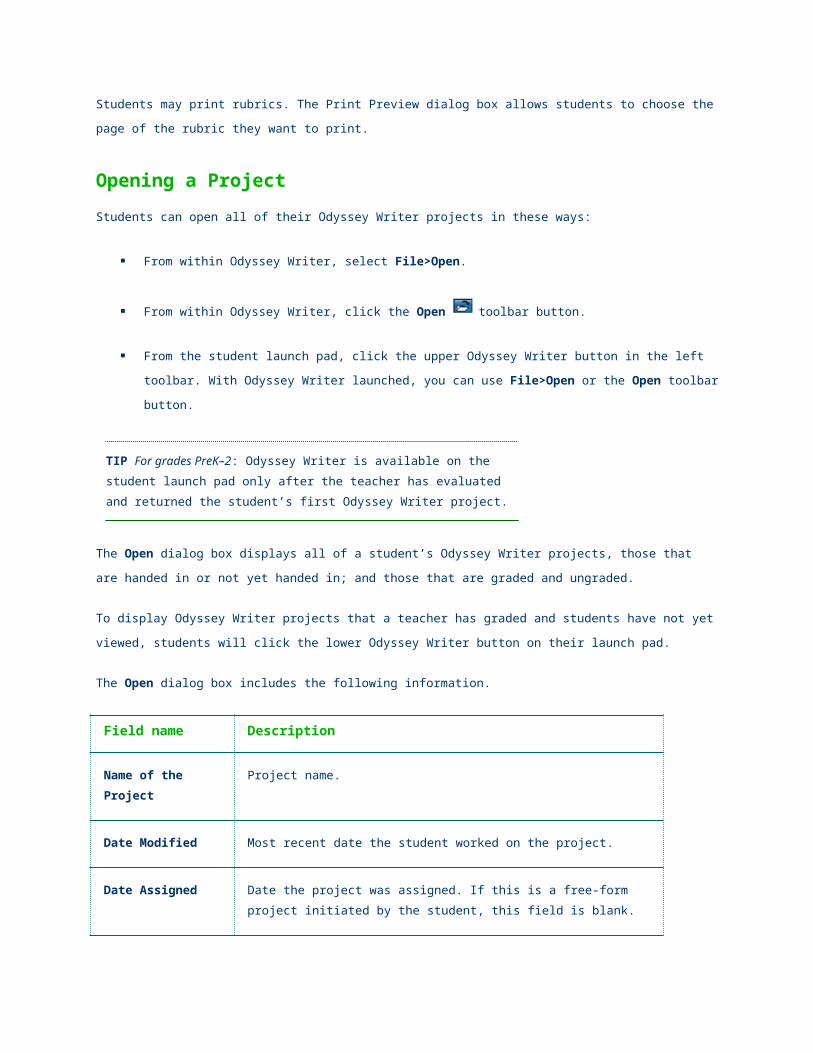
Opening a ProjectStudents can open all of their Odyssey Writer projects in these ways:
From within Odyssey Writer, select File>Open.
From within Odyssey Writer, click the Open toolbar button.
From the student launch pad, click the upper Odyssey Writer button in the left toolbar. With Odyssey Writer
launched, you can use File>Open or the Open toolbar button.
TIP For grades PreK–2: Odyssey Writer is available on the student launch pad only after the teacher has evaluated and returned the student’s first Odyssey Writer project.
The Open dialog box displays all of a student’s Odyssey Writer projects, those that are handed in or not yet handed
in; and those that are graded and ungraded.
To display Odyssey Writer projects that a teacher has graded and students have not yet viewed, students will click
the lower Odyssey Writer button on their launch pad.
The Open dialog box includes the following information.
Field name Description
Name of the Project Project name.
Date Modified Most recent date the student worked on the project.
Date Assigned Date the project was assigned. If this is a free-form project initiated by the student, this field is blank.
Date Completed Date the student handed the project into the teacher.
Date Graded Date the teacher reviewed and graded the project and returned it to the student.
Teacher Name Name of the teacher who assigned the project.
Viewing an Evaluated ProjectTo view a project that has been evaluated and returned by the teacher—denoted by a date in the Date Graded
column of the Open dialog box—students select the project name from the Open dialog box and then click Open.
Graded projects are opened in Teacher Assessment mode, with the student’s editable project on top and the
teacher’s evaluated, read-only version on the bottom.
Error indicators—green text surrounded by double asterisks—enable students to identify the types of errors they have
made; for example, spelling, run-on, comma, and so on. Teacher’s notes are blue, underscored text surrounded by
double asterisks. All material in the teacher’s panel is read-only and cannot be changed by the student.
Using the buttons along the bottom of the left panel, students can view the letter grade, teacher’s comments, and how
the teacher assessed their work against the rubric.
Students can print the following parts of the teacher assessment:
evaluated text
rubrics
comments and grade
note cards
idea boxes in the graphic organizer
Deleting a ProjectStudents can delete any of their projects as follows:
1. With the Open dialog box displayed, click the project name.
2. Click the Delete button
3. At the confirmation, click OK.
After a student deletes a project, the project cannot be retrieved.
EditingWhen students begin revising their projects, they have reached the editing stage of writing. They can edit their
projects by using the spell checker and by cutting and pasting sentences and paragraphs to rearrange the flow of
text. Students will also use some editing features later, when they revise their projects, based on teacher feedback.
Performing Spellcheck To check the spelling of an Odyssey Writer project, select Tool>Spelling.
Similar to spell checkers in other word processing programs, the Odyssey Writer spelling tool searches the document
for misspellings and prompts the student to either correct the spelling or leave as is. To correct spelling, students
accept the default spelling or select one from the scroll list and then click Change. To leave the spelling as is,
students click Ignore. To replace a word with a spelling of their own choice, students may type their word in the
Replace With section and click Change.
To navigate the document, use the Prev Page and Next Page buttons.
NOTE If you use the scroll bar in the lower box of the Spelling window, the misspelled word in your text loses its highlighting. Click anywhere in the text to restore the highlighting.
When spell check is complete, you will see an informational message box. Click Close.
Editing a ProjectOdyssey Writer offers the following editing functions, available through the Edit menu or the editing toolbar buttons.
NOTE Avoid using right-clicks or keyboard function keys to edit an Odyssey Writer project.
Edit function Description
Undo Undoes the most recent action. You can toggle between Undo and Redo.
Redo Available only after Undo is selected. Select Redo to revert back to the project’s state before selecting Undo. You can toggle between Undo and Redo.
Cut Removes the selected block of text or graphic and copies it to the Clipboard (memory). Students cannot cut teacher-defined note cards and text boxes.
Copy Copies the selected block of text or graphic to the Clipboard without deleting the text or graphic.
Paste Pastes the items from the Clipboard to the Odyssey Writer project.
Delete Page Available from the Edit menu only. To use Delete Page, click on the page to select it, and then select the Delete Page option. Note that the page will be deleted with no warning message.
PublishingThe publishing phase includes all steps a student takes to create a final product. Students may use desktop
publishing features in Odyssey Writer, such as adjusting the fonts, spacing, and alignment.
Formatting a ProjectStudents can adjust the formatting of their projects using options in the Format menu or formatting buttons in the
toolbar.
Formatting option
Description
Font Applies a font family to new and existing text. To change existing text, select the text and then select Format>Font or use the font dropdown menu in the toolbar. Choose from Arial, Comic Sans, Helvetica, Times New Roman, or Verdana.
Font Style Applies a font style to new and existing text. To change existing text, select the text and then select Format>Font Style>Bold, Italic, or Underline or the bold, italic, and underline buttons in the toolbar.
Font Size Applies a font size to new and existing text. To change existing text, select the text and then select Format>Font Size>Size or the size dropdown menu in the toolbar. Font sizes range from 10 points to 24 points.

Spacing Applies single- or double-spacing to new and existing text. To change the spacing of existing text, select the text and then select Format>Spacing>Single or Double.
Alignment Aligns new and existing text left, right, or center. To change the alignment of existing text, select the text and then select Format>Alignment>Right, Left, or Center or select the alignment button from the toolbar. The toolbar also offers left-margin increase and decrease buttons.
Students can change font color by using the color palette located on the toolbar.
To display the color palette, click on the color palette button on the toolbar. A color is selected by clicking a color
square in the palette. The color selection is applied to new text entered following the selection and to any text
highlighted before or subsequent to the color selection.
Handing in a ProjectWhen students are ready to hand in a project, they will use the toolbar Hand-In button.
1. Click the Hand-In button.
2. At the confirmation message, click Yes.
3. If your classes are taught by different teachers, a dialog box lists your and their classes. Select the desired teacher and click Send.
4. At the successful submission message, click Close.
5. To send your project to another teacher, repeat steps 1 through 4.
Odyssey Writer FAQs
How does a student hand in an Odyssey Writer project from a different activity?When a student opens Odyssey Writer from another activity and completes a free-form project, the student must save
and hand in the project beforeclosing the other activity and logging out. If the other activity is closed first, the student
will not be able to save or hand in the Odyssey Writer project.
Can student names be printed on Odyssey Writer projects?Because student names do not appear on project printouts by default, you may instruct students to type their names
in the text box in the Drafting tool.
May I right-click within Odyssey Writer?Odyssey Writer does not support the “right-click” mouse function. To cut, paste, or use other “right-click” functions,
use the buttons on the toolbar or the menu options.
How does a student start typing with the Drafting tool?Before students can begin typing in the Drafting tool, they must first click in the top left corner of the text box to
display the cursor.
How does a student move text to the previous page?To move text from the top of a page back to the previous page, students must use the toolbar button to cut the
desired text, place the cursor location after the final paragraph on the previous page, and then use the toolbar button
to paste the cut text. Text cannot be moved back to the previous page with the Backspace key on the keyboard.
May I copy and paste text from other applications into Odyssey Writer?Do not paste text into Odyssey Writer from other applications, such as Word. External applications, including Word,
often include hidden characters that may interfere with Odyssey Writer functions.