… · i’ll be using fimo clay for the inlay material. it bakes in the oven to a hard inlay that...
TRANSCRIPT
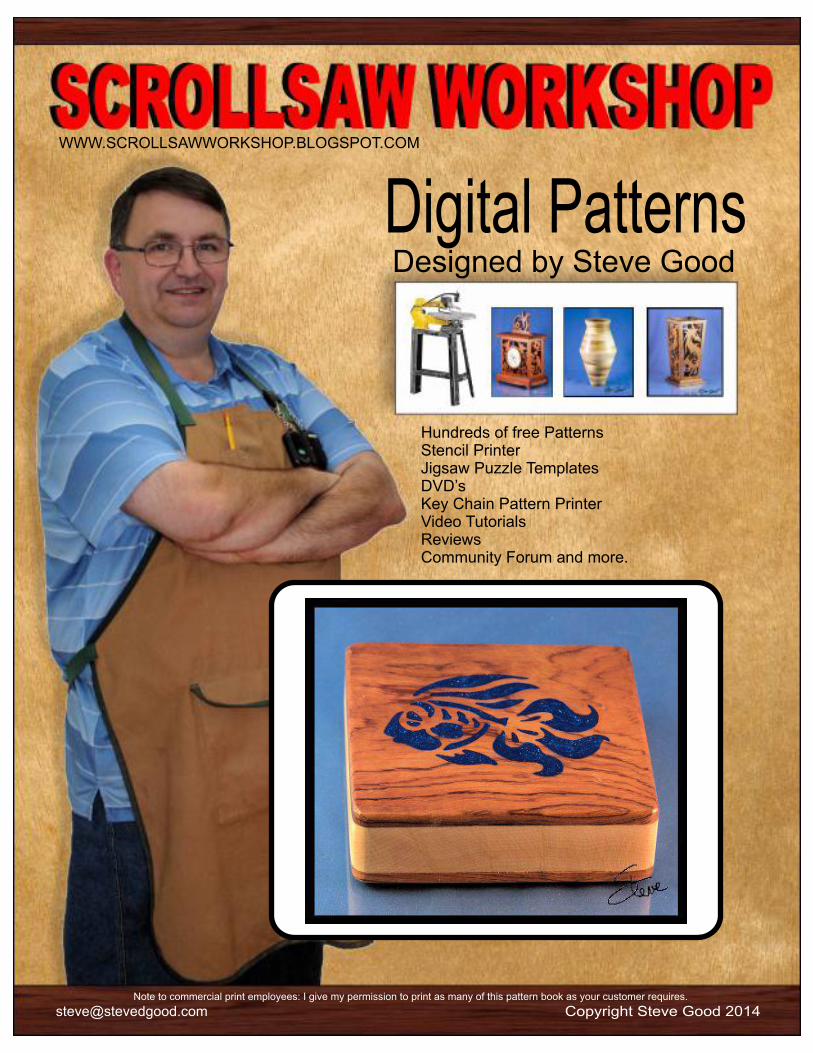
Designed by Steve Good
Digital PatternsWWW.SCROLLSAWWORKSHOP.BLOGSPOT.COM
Copyright Steve Good [email protected] to commercial print employees: I give my permission to print as many of this pattern book as your customer requires.
Hundreds of free PatternsStencil PrinterJigsaw Puzzle TemplatesDVD’sKey Chain Pattern PrinterVideo TutorialsReviewsCommunity Forum and more.

Scroll Saw Fish Inlay Box With FIMO Clay
FIMO clay can be purchased at mostcraft stores.

1” Thick
1/8” Thick inlay backer.
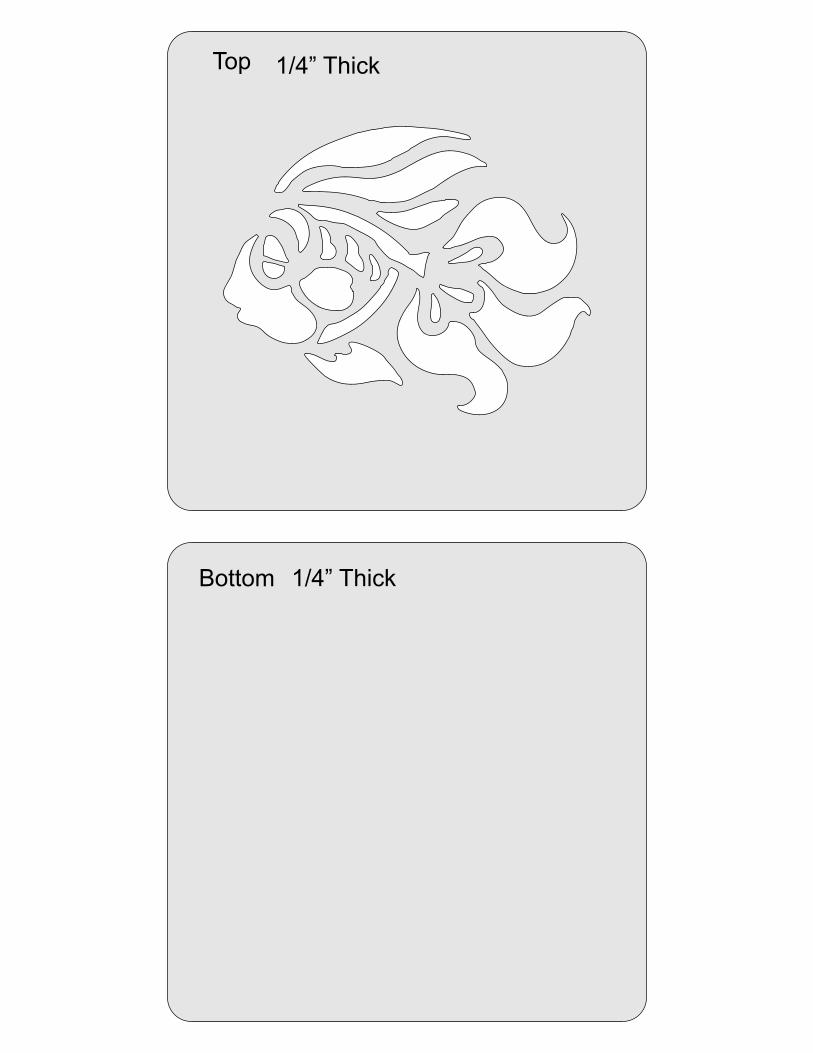
1/4” ThickTop
Bottom 1/4” Thick

Prepare the patterns and your wood blanks.
Cut all the parts. Glue the inner walls to the bottom.

I’ll be using FIMO clay for the inlay material. It bakes in theoven to a hard inlay that can be sanded.
You need to knead the clay to a soft consistency.

Begin to fill all the cutouts. Insert a little at a time and fillcompletely. Flip the piece over as you go to make sure the
cutouts are filled.
You want to over fill the clay. We will sand it flush later.
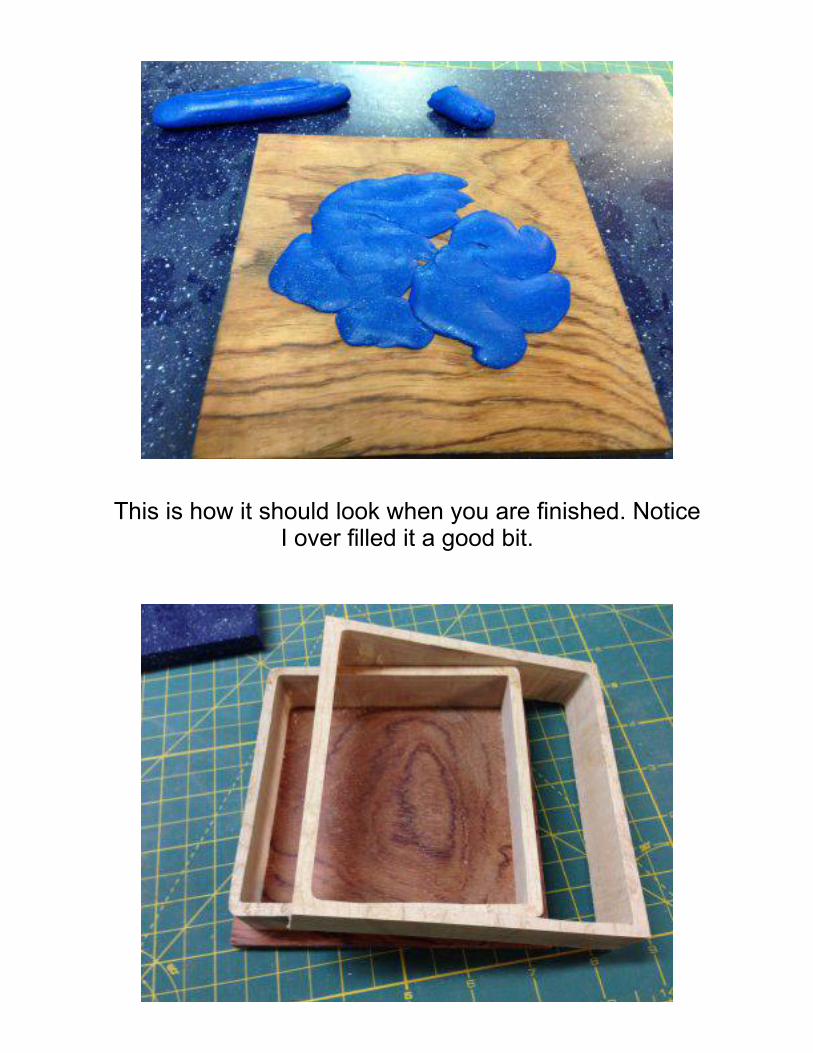
This is how it should look when you are finished. NoticeI over filled it a good bit.

Follow the directions on the package for baking. Ovens varyso you may need to experiment. I set my over to 265 degrees
with a timer of 25 minutes.
After you remove the top it is time to sand. I use the followingset up but use what you have. Notice the vacuum. It get’s
dusty.

The sanding will gradually reveal the cutout filled with theinlay.
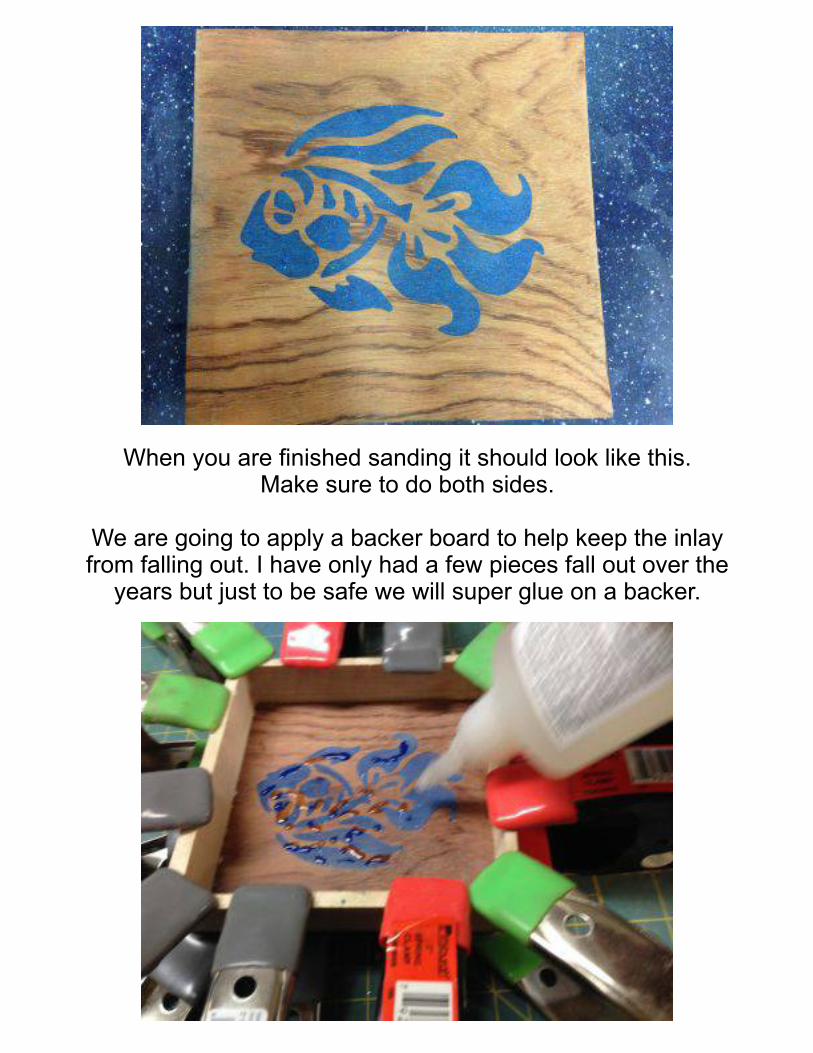
When you are finished sanding it should look like this.Make sure to do both sides.
We are going to apply a backer board to help keep the inlayfrom falling out. I have only had a few pieces fall out over the
years but just to be safe we will super glue on a backer.
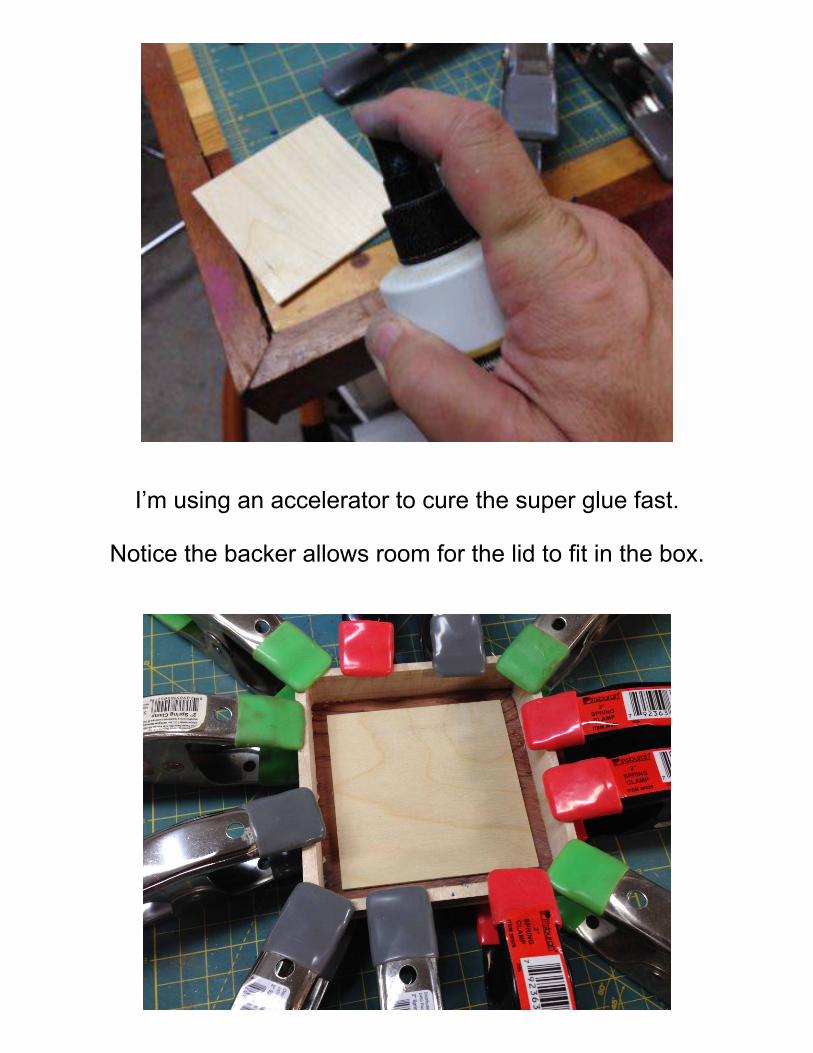
I’m using an accelerator to cure the super glue fast.
Notice the backer allows room for the lid to fit in the box.

Glue on the top to the outside walls and get ready to sand.
Sand the sides flush.
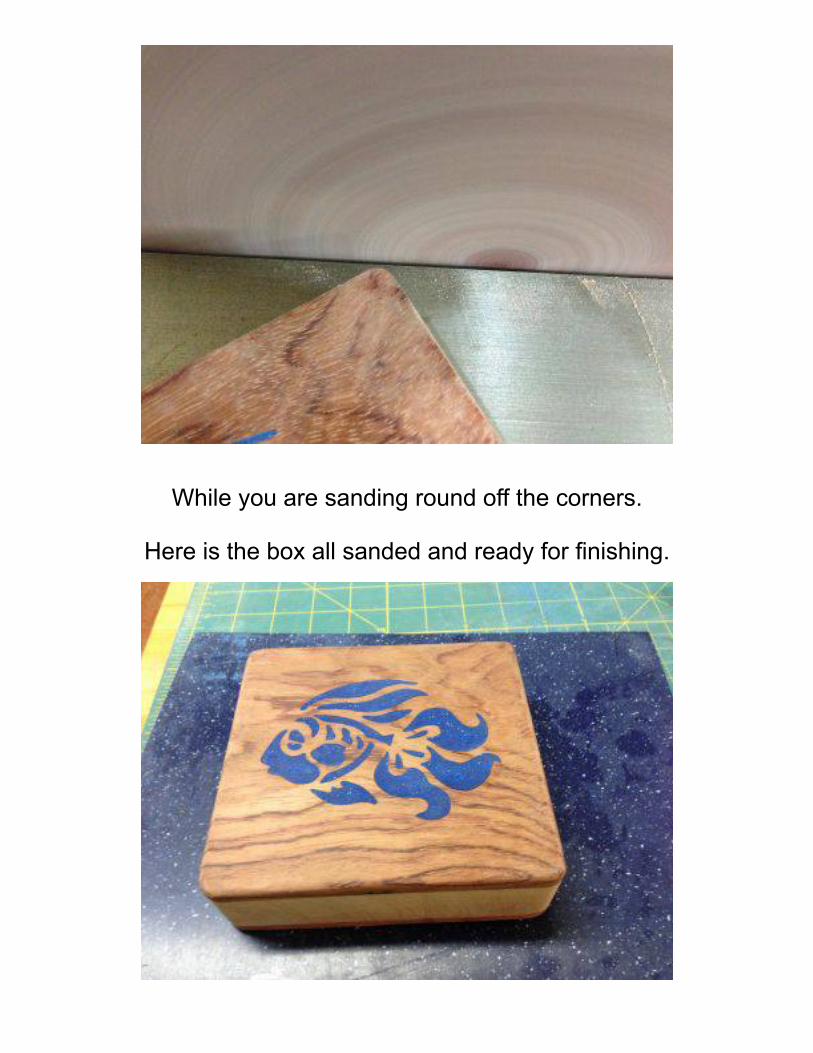
While you are sanding round off the corners.
Here is the box all sanded and ready for finishing.

I’m using a gloss spray acrylic. Make sure to do the inside.